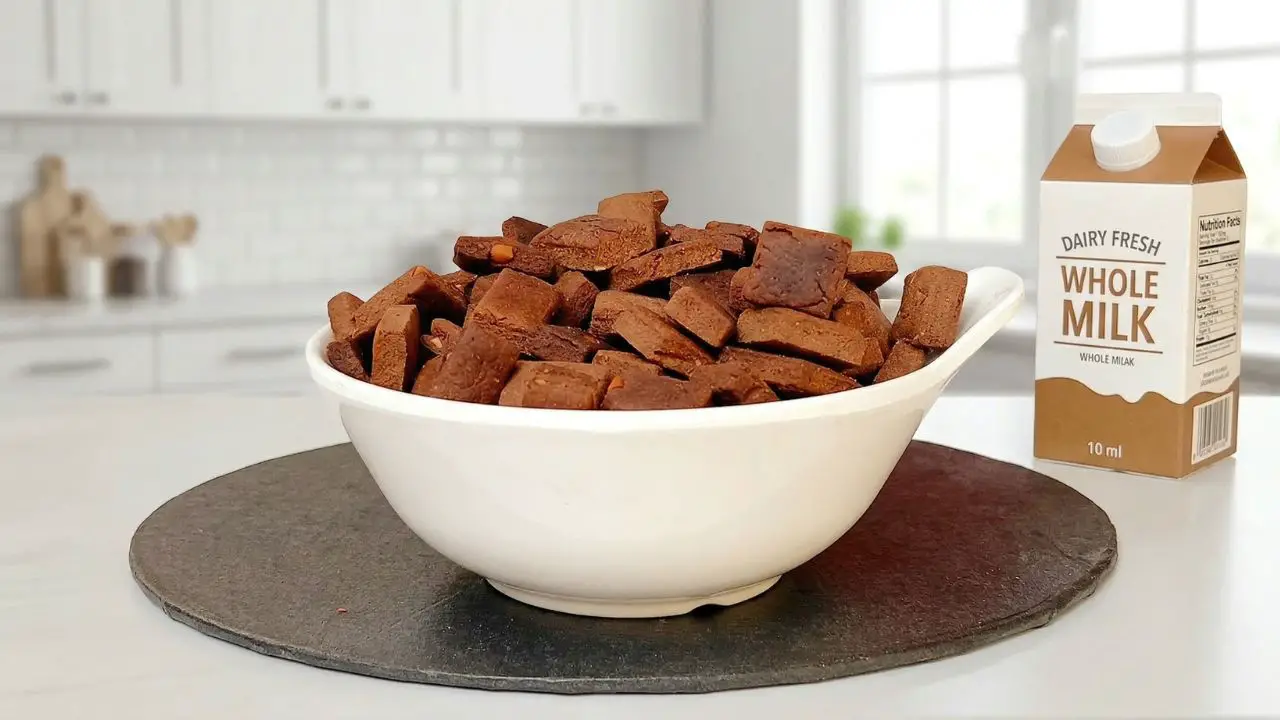
If you want a homemade breakfast that is crispy, chocolatey, easy to make, and honestly so satisfying, this peanut butter cereal is such a good one to try. I love this recipe because it uses simple pantry ingredients, comes together fast, and gives you those crunchy little cereal bites that are hard to stop eating… with milk or straight from the pan.
Check out my Peanut Butter Cereal recipe video below, and see just how easy it is to make this crispy homemade cereal at home… so satisfying! If you enjoyed it, please like the video and subscribe to my YouTube channel for more easy homemade breakfast recipes and snack recipes.
Why you’ll love this peanut butter cereal
I really like this peanut butter cereal because it is simple, crispy, and made with ingredients I usually already have at home. It is one of those recipes that does not feel fussy, but still turns out so good.
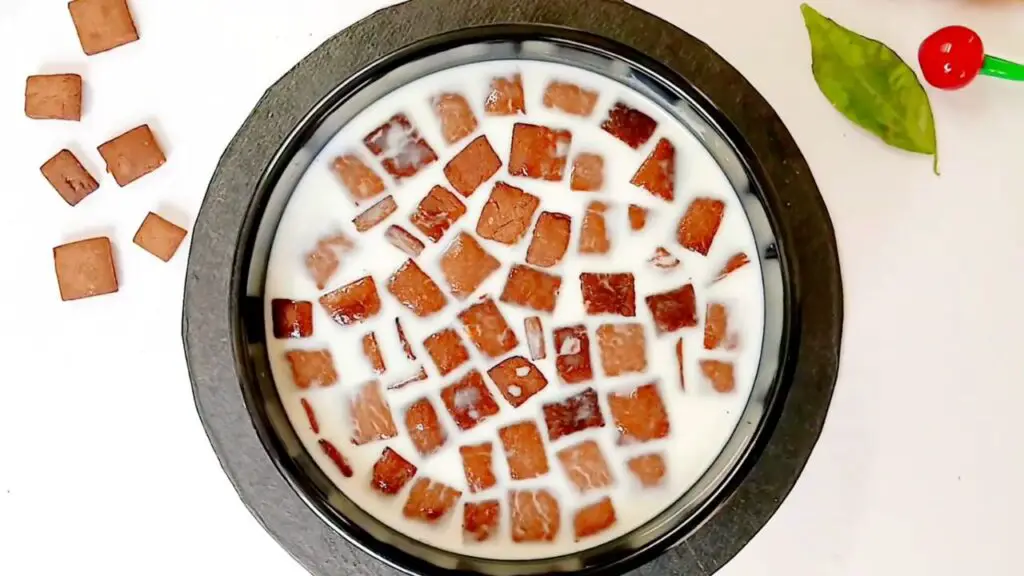
I also love that it works in more than one way. It is great for breakfast with milk, but it is also really good as a snack when you want something crunchy and a little chocolatey.
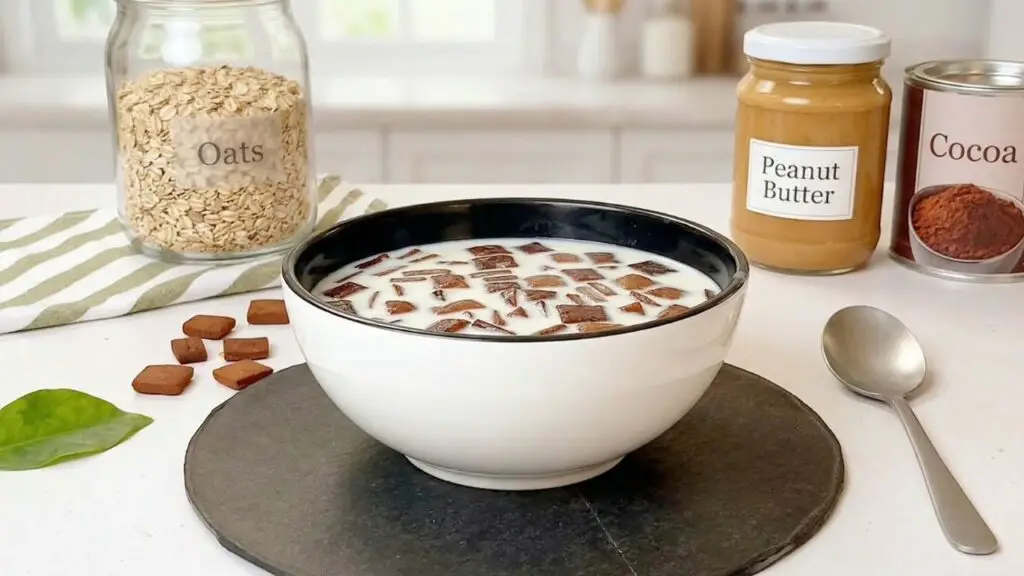
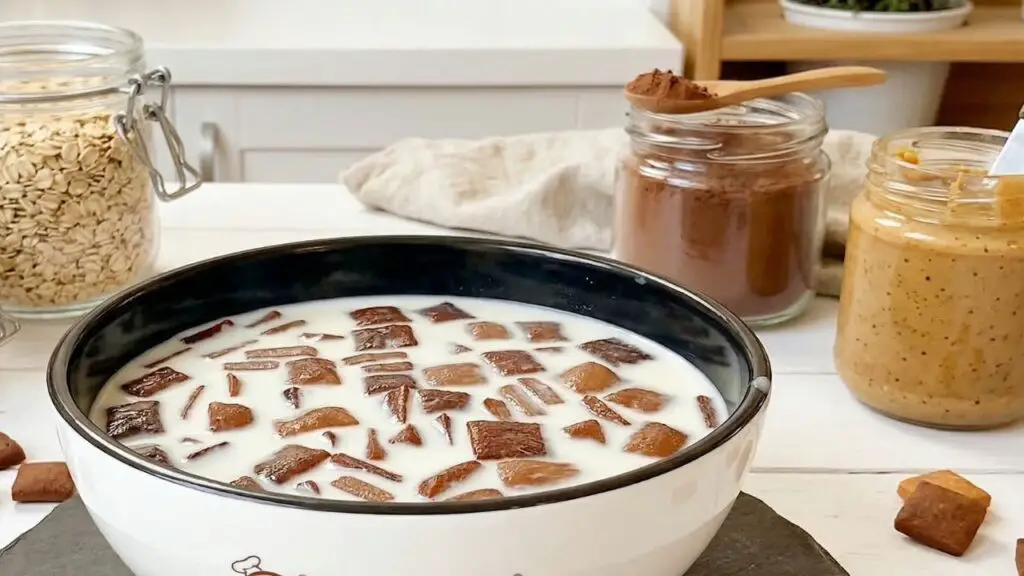
And let’s be honest, I love this with cold milk because the chocolate flavor really comes through, and the crisp texture is sooo good. It also works really well sprinkled over yogurt if you want something a little different.
And honestly, it is super delicious by the handful as a snack. I do that all the time. It is one of those recipes that disappears fast because everyone keeps nibbling at it.
Texture + flavor
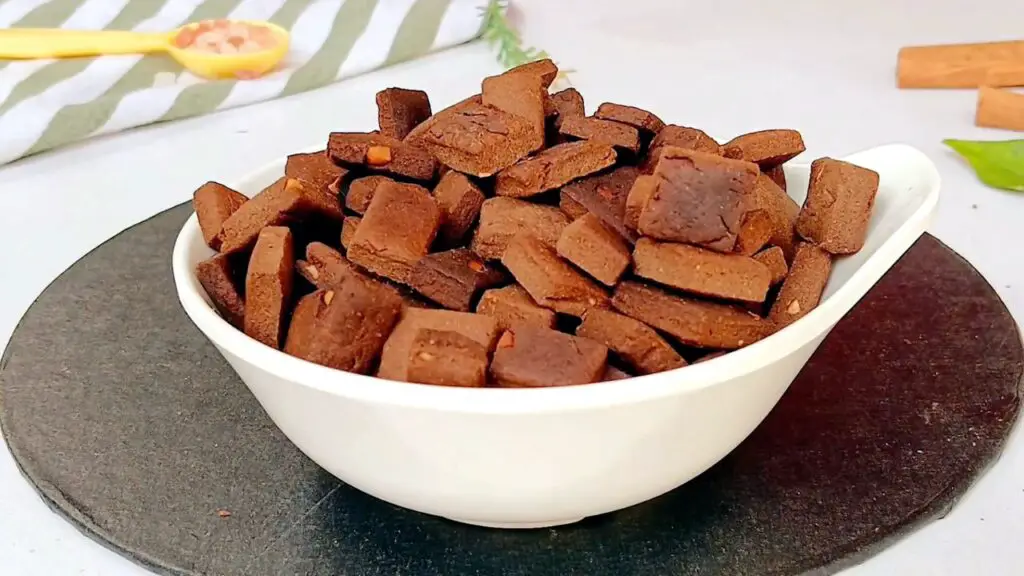
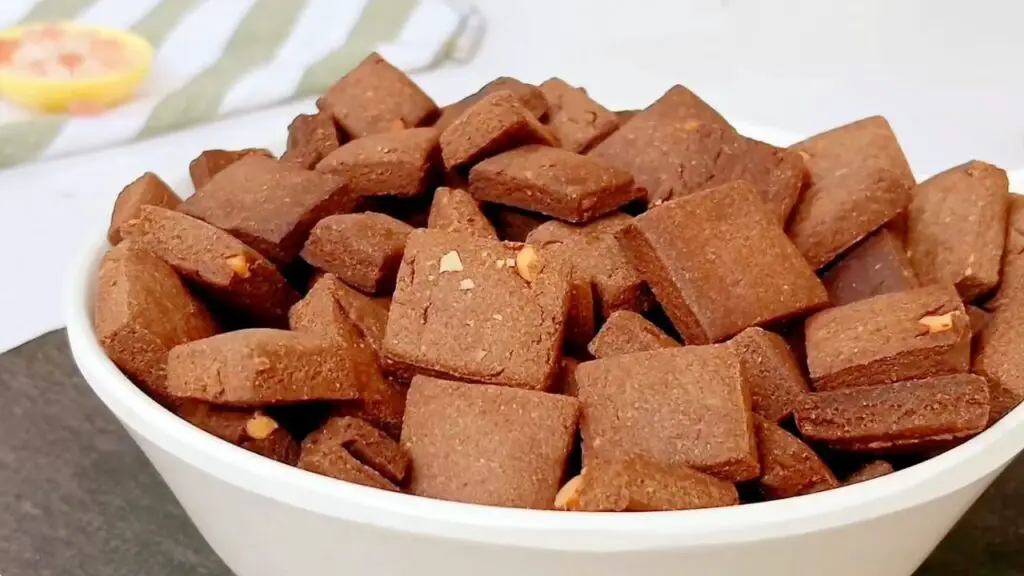
This cereal is crispy once it cools; the pieces have a light crisp bite and a little snap when you break them. They are not puffed or airy like some boxed cereals, but they are still crunchy and easy to eat.
The flavor is rich and chocolatey, with a gentle sweetness that does not feel too heavy. You also get a little warmth from the vanilla, and the pinch of salt helps bring everything together. It is simple, but really good.
Peanut butter cereal ingredients
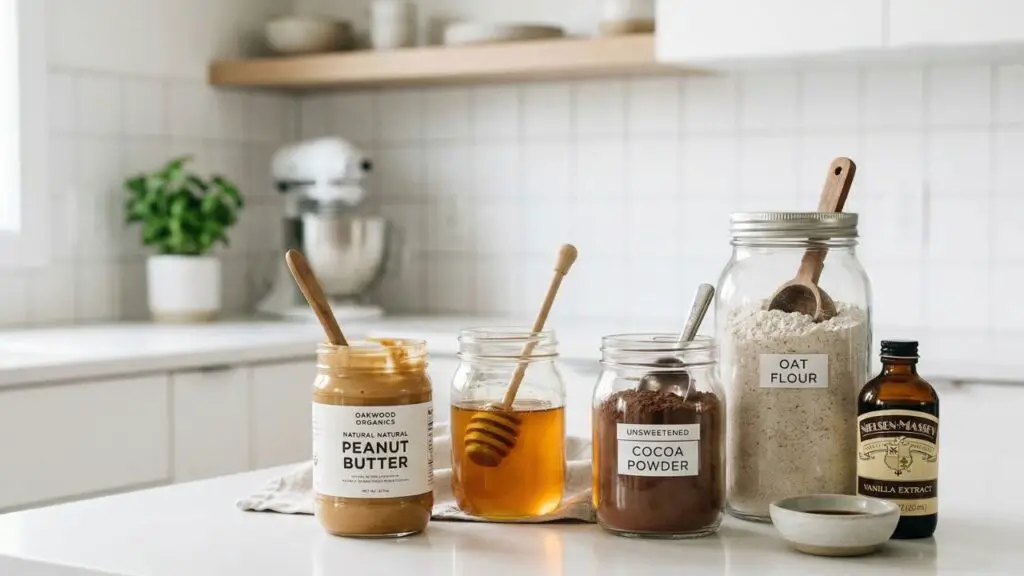
- 1/2 cup of smooth or crunchy peanut butter, 128 grams
- 1/2 cup of honey, 170 grams
- 1 teaspoon of vanilla extract, 5 grams
- 1 1/3 cups of oat flour, 120 grams
- 4 tablespoons of unsweetened Dutch-Process Cocoa Powder, 20 grams
- A pinch of salt, 1 gram
Equipment you’ll need
- Mixing bowl
- Spoon or spatula
- Rolling pin
- Knife or pizza cutter
- Cookie sheet or baking sheet
- Parchment paper, if you like easy cleanup
Let me show you how I make this peanut butter cereal
Step 1: Take a mixing bowl and add half a cup of smooth or crunchy peanut butter, half a cup of honey, and one teaspoon of vanilla extract. Mix everything together until it looks smooth and glossy with no streaks left. If it seems a little firm at first, keep mixing, and it should come together after about a minute.
Step 2: Add one and one-third cups of oat flour, four tablespoons of unsweetened cocoa powder, and a pinch of salt. Mix again until everything looks evenly combined with no dry spots left. The mixture will still look a little crumbly, which is normal, but it should hold together when you press it.
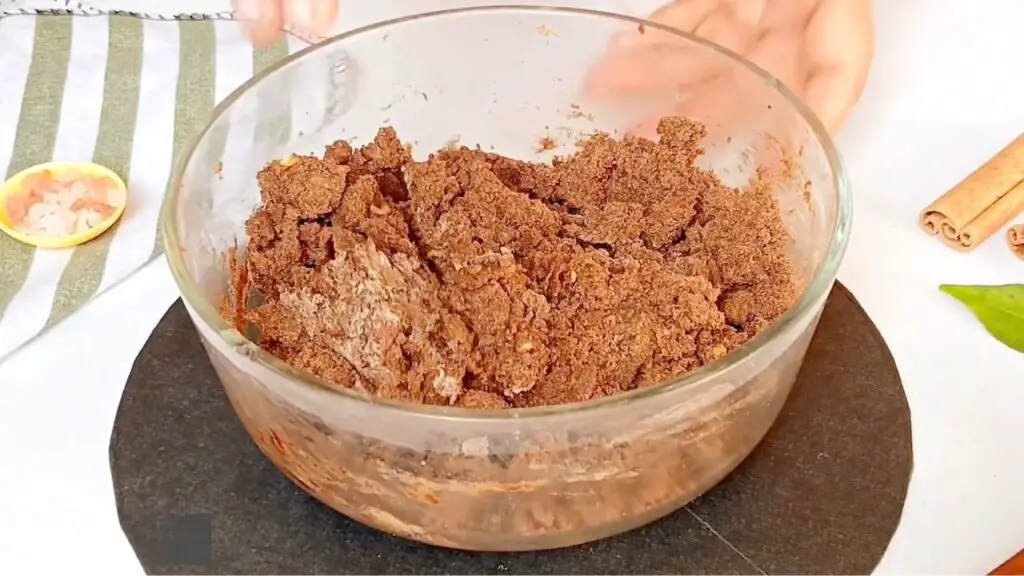
Top Tip: If the dough still feels too loose after mixing, keep mixing a little longer before changing anything. The peanut butter and honey usually need an extra moment to pull the dry ingredients together.
Step 3: Use your hands to press the mixture together and shape it into a smooth ball. Set it on your work surface and roll it out to about one-eighth of an inch thick. That thinness really matters here because it helps the cereal bake up crisp instead of staying soft in the middle.
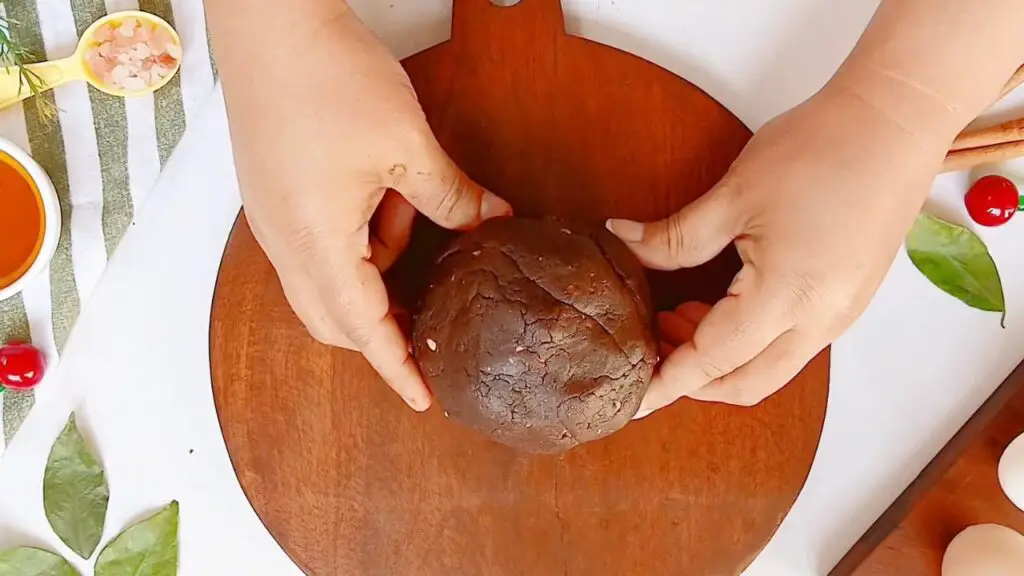
Note: If the dough sticks while you roll it, place it between two sheets of parchment paper. That makes it much easier to work with and helps you roll it evenly.
Step 4: Cut the dough into small squares. You can use little shape cutters if you want something extra cute, but I usually keep it quick and just cut squares because I make this recipe all the time and like the easy version best.
Step 5: Place the cereal squares on a cookie sheet and bake in a preheated oven at 350°F, or 180°C, for 13 to 15 minutes. Start checking around 12 minutes. They should look a little darker, smell warm and chocolatey, and feel crisp around the edges. Watch them closely near the end because they can go from just right to too dark pretty fast.
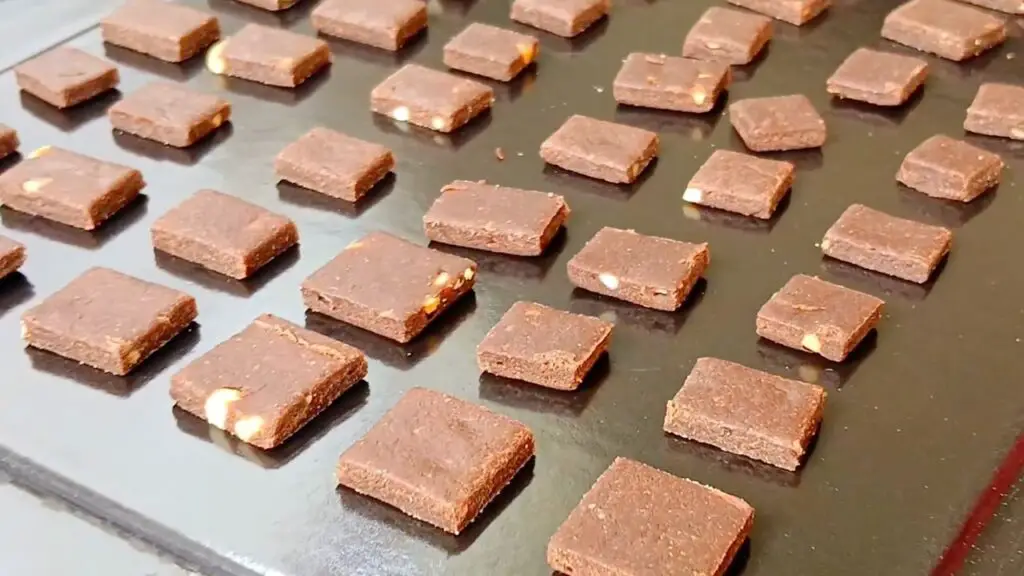
Top Tip: Try to keep the pieces close to the same size so they bake evenly. Tiny pieces will crisp up first, and larger ones may need a little longer.
Step 6: Let the cereal cool completely on the pan or on a wire rack. This is when it gets crisp. Once it is cool, this peanut butter cereal is ready to eat with milk or by the handful as a snack.
Related Recipe: If you liked this healthy, homemade crispy cereal, then check out also these peanut butter cookies with Rice Krispies here.
Homemade Peanut Butter Cereal Recipe
This crispy peanut butter cereal is such a fun homemade breakfast. It is chocolatey, crunchy, easy to make, and honestly, so satisfying with milk or by the handful as a snack.
4
servings15
minutes15
minutes455
kcal30
minutesKeep the screen of your device on
Ingredients
1/2 cup smooth or crunchy peanut butter
1/2 cup honey
1 teaspoon vanilla extract
1 1/3 cups oat flour
4 tablespoons Dutch-Process Cocoa Powder
1 pinch salt
Directions
- In a mixing bowl, add peanut butter and honey.
- Add vanilla extract and mix until smooth with no streaks.
- Add oat flour, cocoa powder, and salt to the peanut butter mixture.
- Mix until evenly combined, forming a crumbly dough.
- Press the dough into a smooth ball with your hands.
- Roll out dough to 1/8 inch thickness on a work surface.
- Cut the dough into small squares with a knife or shape cutters.
- Place squares on a cookie sheet.
- Bake in a preheated oven at 350°F (180°C) for 13-15 minutes.
- Let cereal cool until crisp before serving with milk or as a snack.
Recipe Video
Notes
- Best peanut butter choice: Smooth or crunchy peanut butter, both work here. Smooth gives you a more even dough, while crunchy adds a little extra texture in the finished cereal.
- Why the dough looks crumbly: Do not worry if the dough looks a little dry or crumbly after mixing. Similar oat and nut butter recipes often stay crumbly at first, then come together when you press them firmly with your hands
- Roll thin for crunch: Keep the dough close to one-eighth of an inch thick if you want a crisp cereal texture. Thicker pieces tend to stay softer in the middle, while thinner pieces bake and cool crisper. This lines up with similar homemade cereal recipes that focus on a crisp finish.
- Let it cool fully: The cereal gets crispier as it cools, so give it time before deciding if it is done. Similar homemade cereal recipes also recommend cooling completely before storing, so the pieces stay crisp instead of trapping steam.
- Use a pizza cutter: A pizza cutter is a quick and easy way to cut the rolled dough into small squares. It is usually faster than using a knife, especially when you want lots of little cereal pieces. Similar baked oat recipes also use this trick for clean, quick cuts.
- Cool before storing: Let the cereal cool all the way before you put it into a container. If you store it while it is still warm, the trapped steam can soften the pieces and take away some of that crunch.
- Best ways to serve: This peanut butter cereal is really good with cold milk, but it also works well over yogurt. You can even pack some into a small container for an easy, crunchy snack later in the day.
Nutrition Facts
- Total number of serves: 4
- Calories: 455kcal
- Fat: 19g
- Carbohydrates: 68g
- Protein: 13g
How to store it
Once the cereal is fully cool, store it in an airtight container at room temperature. It is best when it stays dry, so make sure there is no warmth trapped in the container before you close it.
It should keep well for several days and stay nicely crisp if stored properly. If it softens a little, you can spread it back on a baking sheet and warm it in the oven for a few minutes at 300°F, or 150°C, then let it cool again.
Nutrition for this recipe
Based on 4 servings, each serving is about:
- 455 calories
- 68 grams of carbs
- 13 grams of protein
- 19 grams of fat
More breakfast recipes to try
If you liked this peanut butter cereal, check out more homemade snack recipes here too.
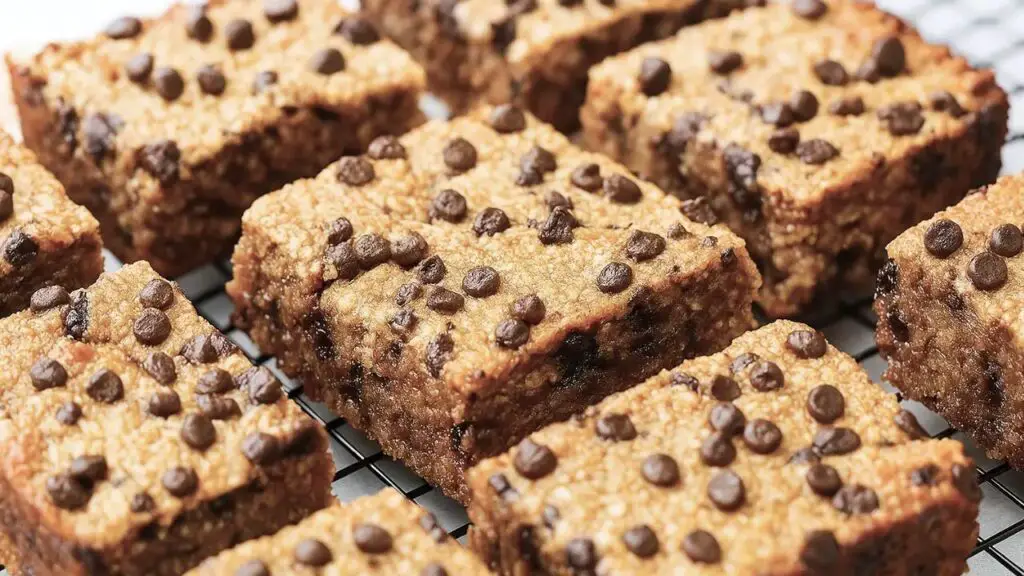
- The Easiest Breakfast Oat Bars With Only 5 Simple Ingredients – Simple, hearty oat bars made with just a handful of ingredients, ideal for a quick grab-and-go breakfast or snack.
- Best Fluffy Almond Flour Pancakes – Light, fluffy pancakes made with almond flour for a naturally gluten-free and wholesome breakfast that still feels indulgent.
- Healthy breakfast oat cake with prunes and yogurt – A soft and nourishing oat-based cake with natural sweetness from prunes and a creamy yogurt finish, perfect for a balanced morning meal.
And if you make this peanut butter cereal, or have any questions about it, leave a comment below or ask in the YouTube video comments. I will do my best to reply… I always love hearing how it turned out for you!