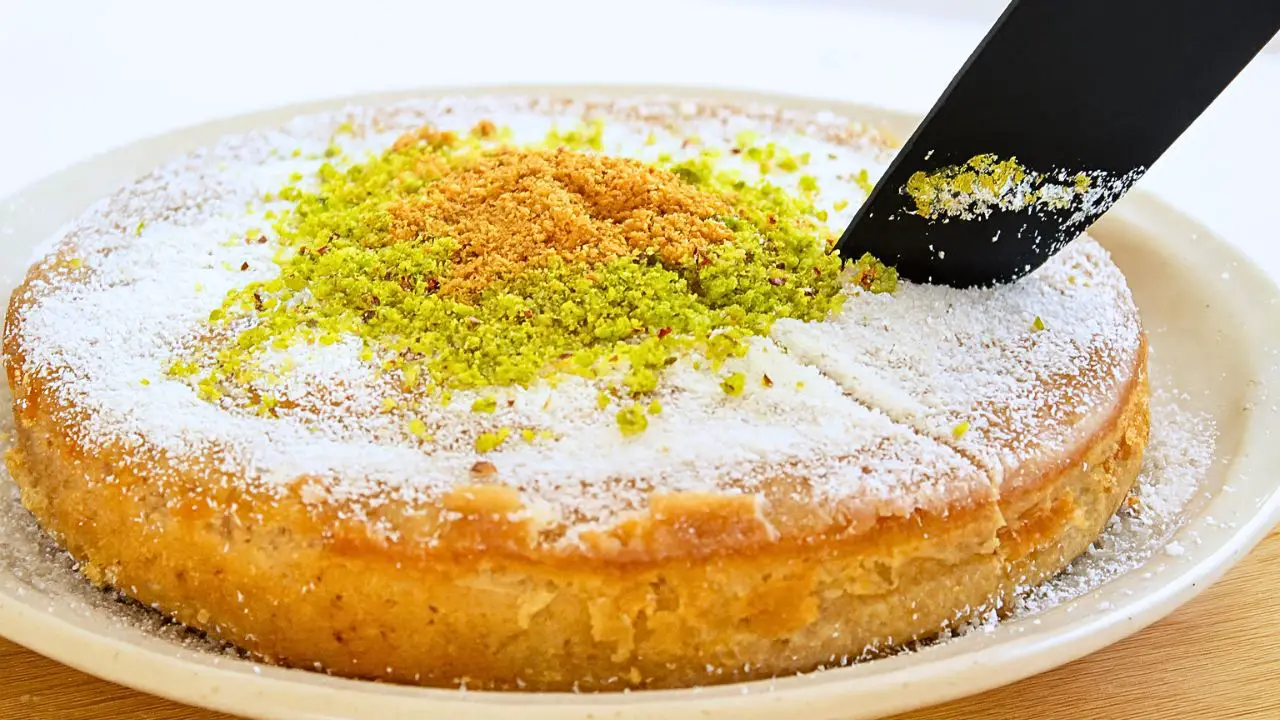
I cannot wait to show you how to make this amazing old fashioned nut cake recipe. This Tunisian nut cake is so moist and has a really nice nutty flavor that is not too sweet. It is the kind of cake where you take one bite and then suddenly half the cake is gone because you cannot stop eating it.
Check out the video below to see how to make this old fashioned Tunisian Nut Cake step by step. If you enjoy baking recipes from different cultures, subscribe to the channel for more unique cake ideas you can try at home.
Why This Old-Fashioned Tunisian Nut Cake Is Special
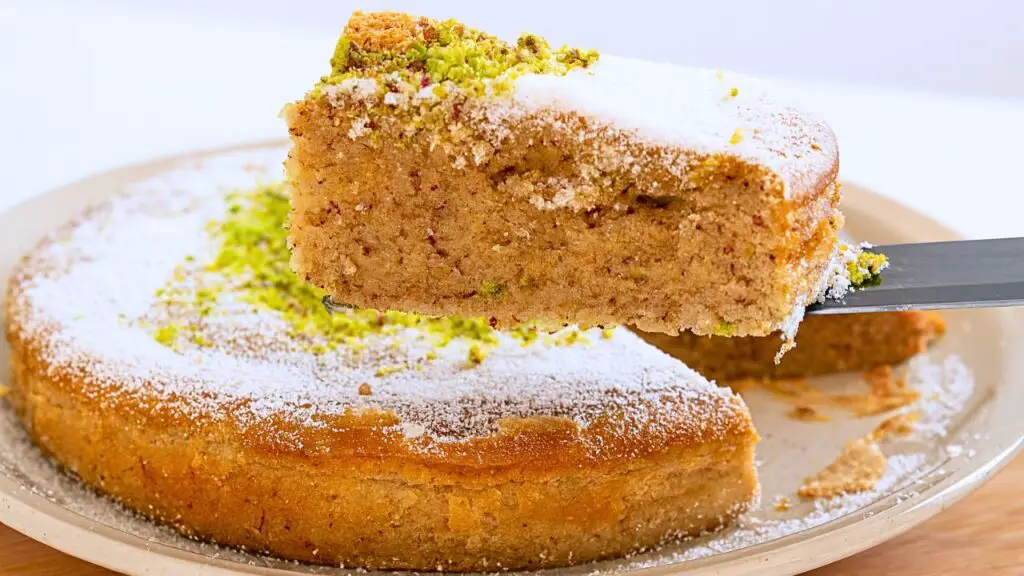
The flavor of this cake is what makes it special. The mix of walnuts, pistachios, and almonds creates this amazing nutty base, and then the rose syrup adds a subtle sweetness that’s really unique. My friend who “doesn’t like cake” ate three slices of this in one sitting. It’s that good. 🙂
Traditional Tunisian Nut Cake Ingredients
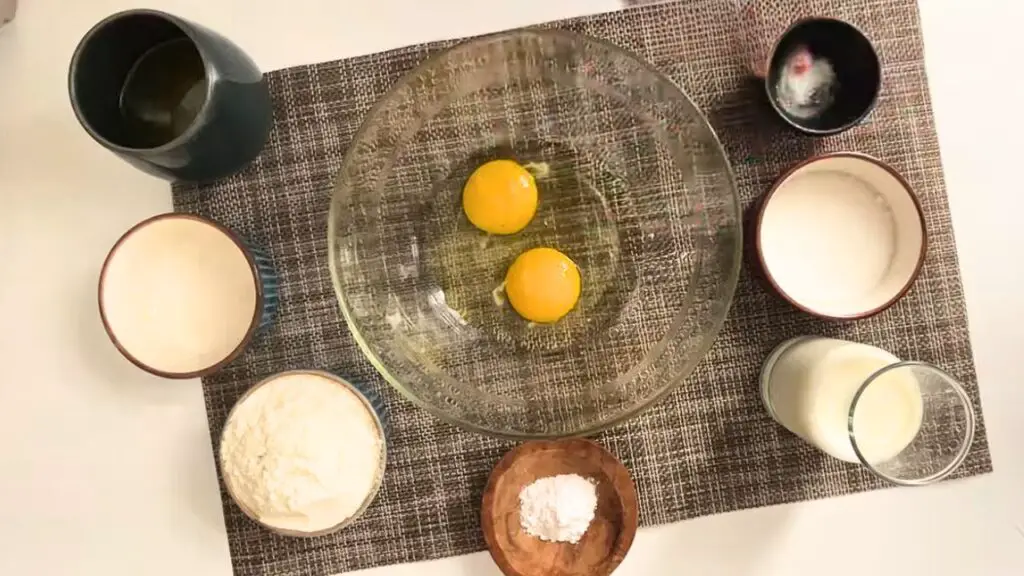
For the cake:
- 2 eggs
- 60 grams (1/2 cup) powdered sugar
- 100 grams (7 tablespoons) butter, melted
- 1/2 teaspoon salt
- 100 grams (3/4 cup) all-purpose flour
- 1/2 teaspoon baking powder
- 50 grams (1/2 cup) ground walnuts
- 50 grams (1/2 cup) ground almonds
- 50 grams (1/2 cup) ground pistachios
- 60 ml (1/4 cup) unsweetened coconut milk
For the rose syrup:
- 120 ml (1/2 cup) water
- 100 grams (1/2 cup) granulated sugar
- 5 ml (1 teaspoon) rose water
- 3 thin lemon slices

TAP ON IMAGE TO VIEW PRICE
For decoration (optional):
- Whole or ground nuts (walnuts, almonds, pistachios)
- Dried rose petals
Equipment Needed
- Mixing bowls
- Electric mixer or whisk
- Measuring cups and spoons
- 9-inch cake pan
- Parchment paper (optional)
- Spatula
- Small pot for syrup
- Toothpick
Preparing the Nuts

If you can’t find pre-ground nuts, making your own is super easy. Just pulse whole nuts in a food processor until they’re finely ground but not turning into nut butter. I usually do this in small batches to get an even grind.
Top Tip: Don’t over-process the nuts or they’ll start releasing their oils and turn into a paste. Pulse in short bursts until they reach a sandy texture.
Making the Cake Batter
Let me walk you through how to make this delicious cake step by step.

Step 1: Crack two eggs into a mixing bowl and add half a teaspoon of salt. Using an electric mixer, start mixing the eggs.
Step 2: Gradually add sixty grams (half a cup) of powdered sugar while continuing to mix. Keep mixing until the mixture becomes light and fluffy, which usually takes about 2-3 minutes.
Note: Room temperature eggs will whip up better and create more volume in your cake.
Step 3: Slowly pour in one hundred grams (seven tablespoons) of melted butter that has cooled slightly. Mix until well combined.
Step 4: Add one hundred grams (three-quarters cup) of all-purpose flour and half a teaspoon of baking powder. Mix just until combined.
Step 5: Now add fifty grams (half a cup) each of ground walnuts, ground almonds, and ground pistachios. Using a spatula, fold in all the ground nuts until everything is well combined.
Step 6: Finally, pour in sixty milliliters (one-quarter cup) of unsweetened coconut milk. Add it little by little, mixing after each addition until you have a smooth batter.
Top Tip: The coconut milk gives this cake a subtle flavor that works beautifully with the nuts. Regular milk will work in a pinch, but the coconut milk really makes this cake special.
Baking Your Tunisian Nut Cake to Perfection
Now that your batter is ready, let’s get it in the oven.

Step 7: Grease a nine-inch cake pan with butter and dust it with a little flour to prevent sticking. Pour the batter into the prepared pan and smooth the top with your spatula.
Step 8: Tap the pan on the counter a few times to remove any air bubbles in the batter.
Step 9: Bake in a preheated oven at one hundred and eighty degrees Celsius (three hundred and fifty degrees Fahrenheit) for about forty-five minutes.
Did You Know? This cake was traditionally made for celebrations and special gatherings in Tunisia, where nuts are considered a symbol of prosperity.
To check if the cake is done, insert a toothpick into the center. If it comes out clean or with just a few crumbs, your cake is ready. If there’s wet batter on the toothpick, it needs more time.
Making the Rose Syrup
While the cake is baking, you can prepare the rose syrup that will give this cake its unique flavor and incredible moisture.

Step 10: Slice three thin pieces of lemon and add them to a small pot with one hundred and twenty milliliters (half a cup) of water.
Step 11: Add one hundred grams (half a cup) of granulated sugar and stir until it starts to dissolve.
Step 12: Bring the mixture to a gentle boil over medium heat, stirring occasionally until all the sugar dissolves.
Step 13: Once the sugar has completely dissolved, add five milliliters (one teaspoon) of rose water and stir well. Let the syrup simmer for about 5 minutes until it thickens slightly.
Step 14: Remove from heat and let the syrup cool slightly with the lemon slices still in it. This allows the lemon flavor to infuse into the syrup.
Top Tip: Be careful not to add too much rose water. Just one teaspoon gives the perfect hint of rose flavor without making the cake taste like perfume.
Finishing the Cake
The final steps bring everything together for a moist, flavorful cake.

Step 15: Once the cake is baked, let it cool in the pan for about 10-15 minutes. It should be cool enough to handle but still warm.
Step 16: While the cake is still in the pan, poke small holes all over the top with a toothpick. This helps the syrup soak in evenly.
Step 17: Slowly pour the rose syrup all over the cake, making sure to cover the entire surface. Don’t rush this step – you want the syrup to soak in rather than run off the sides.
Note: The cake will absorb all the syrup, which might seem like a lot, but this is what makes it so moist and flavorful.
Step 18: Let the cake cool completely in the pan before removing it. This allows the syrup to fully distribute throughout the cake.
Serving Suggestions

This cake is delicious on its own, but I like to dress it up a bit before serving.
Step 19: Carefully remove the cake from the pan and place it on a serving plate.
Step 20: Decorate the top with some whole nuts – walnuts, almonds, and pistachios look beautiful. If you have them, a sprinkle of dried rose petals adds a lovely touch.
The cake tastes even better the next day after all the flavors have had time to meld together. I actually prefer making it a day ahead when I’m planning to serve it for guests.
It pairs wonderfully with a cup of strong coffee or mint tea. The contrast between the sweet, nutty cake and the bitter coffee or refreshing mint tea is really nice.
Check Out Also: If you enjoy this moist nut cake, you might also like my moist peanut butter cake recipe with peanut butter frosting here.
Classic Moist Nut Cake Recipe with Rose Syrup
6
servings15
minutes45
minutes425
kcal1
hourThis moist Tunisian nut cake is packed with rich, nutty flavors from ground pistachios, almonds, and walnuts. It’s soaked in a fragrant rose syrup that adds just the right touch of sweetness and floral aroma.
Keep the screen of your device on
Ingredients
1/2 cup (60 grams) powdered sugar
2 pieces large eggs
1/2 teaspoon (3 grams) salt
7 tablespoons (100 grams) melted butter
3/4 cup (90 grams) all-purpose flour
1/2 teaspoon (6 grams) baking powder
1/2 cup (60 grams) ground pistachios
1/2 cup (50 grams) ground almonds
1/2 cup (50 grams) ground walnuts
1/4 cup (60 ml) unsweetened coconut milk
1/2 cup (120 ml) water
1/2 cup (100 grams) granulated sugar
1 teaspoon (5 ml) rose water
3 thin slices lemon
Directions
- Start by cracking 2 eggs into a mixing bowl, then add 1/2 teaspoon of salt. Mix with an electric mixer.
- Gradually add 60 grams (1/2 cup) of powdered sugar and mix for 2 to 3 minutes until light and fluffy.
- Add 100 grams (7 tablespoons) of melted butter, ensuring it is not hot, and mix well.
- Slowly incorporate 100 grams (3/4 cup) of all-purpose flour with 1/2 teaspoon of baking powder, mixing smoothly.
- Fold in 50 grams (1/2 cup) each of ground pistachios, ground almonds, and ground walnuts using a spatula.
- Gradually add 60 ml (1/4 cup) of unsweetened coconut milk, mixing with a spatula until smooth and even.
- Pour the batter into a greased and floured 9-inch round cake pan, tapping to remove air bubbles.
- Bake in a preheated oven at 180°C (350°F) for about 45 minutes.
- For the syrup, add 3 lemon slices, 120 ml (1/2 cup) of hot water, 100 grams (1/2 cup) of sugar, and 1 teaspoon of rose water to a pot.
- Bring to a gentle boil, simmering for about 5 minutes until slightly thickened. Add the lemon slices.
- Cool the baked cake in the pan and evenly pour the syrup over, allowing it to soak in.
- Carefully remove the cake from the pan and garnish with chopped pistachios, walnuts, and almonds.
Recipe Video
Notes
- Switching Up The Nuts: I’ve made this with just walnuts when I was out of pistachios, and it still turned out great. You could also try hazelnuts if that’s what you have in your pantry.
- No Rose Water?: When I couldn’t find rose water, I used a splash of vanilla and a pinch of cardamom instead. Different flavor but still really good.
- Keeping It Fresh: Keeps on the counter in a covered container for about 3 days before it starts getting a bit dry. I’ve never had leftovers last longer than that anyway!
- Quick Nut Shortcut: Don’t feel like grinding nuts? I’ve used store-bought almond flour and just roughly chopped the pistachios and walnuts. Saves time and still works great.
- Measuring Nut Powders: Always measure nuts after grinding, not before. A cup of whole nuts yields different amounts of powder depending on how finely you grind them.
Nutrition Facts
- Total number of serves: 6
- Calories: 425kcal
- Fat: 28g
- Carbohydrates: 38g
- Protein: 8g
Like this recipe?
Check Out @FoodHow on Pinterest.
Like our Facebook Page!
Follow us on Facebook
Storing Your Nut Cake
This cake stays moist for several days thanks to the syrup. Store it in an airtight container at room temperature for up to 3 days, or in the refrigerator for up to a week.
If you’re serving it after refrigeration, I recommend letting it come to room temperature first to fully appreciate the flavors and texture.
More Delicious And Unique Cake Recipes To Try

If you enjoyed this Tunisian Nut Cake, here are some other international cakes worth trying:
- Indian Honey Cake uses warming spices like cardamom with a sticky honey glaze
- Sri Lankan Butter Cake has a rich, dense texture that melts in your mouth
- Sri Lankan Love Cake combines cashews, semolina, and spices with rose water and honey
These might be different from cakes you usually make, but they all have unique flavors that make them special.
Let me know what you think of this Tunisian Nut Cake in the comments below or under the YouTube video. I am curious if you have tried baking with rose water before!