
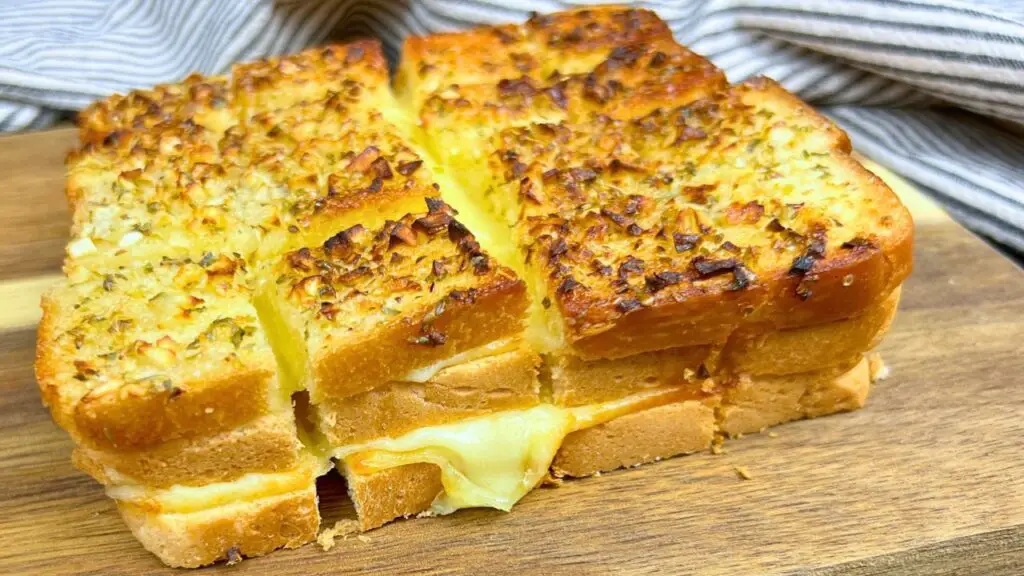
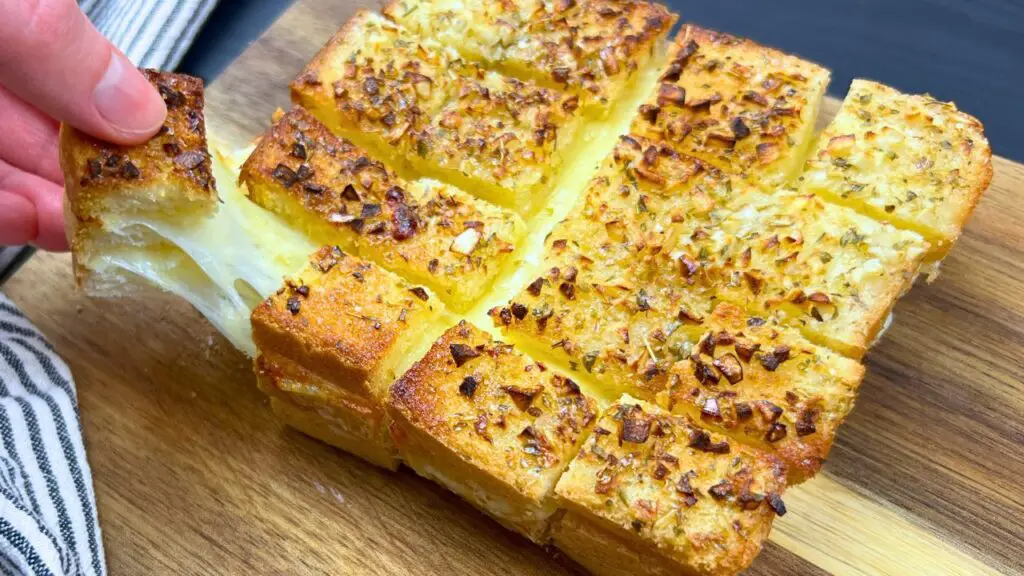
Let me show you how to make the most delicious cheesy air fryer garlic bread. It has golden, crispy edges and gooey melted cheese inside that makes it completely irresistible. I make this all the time now because it’s so quick and everyone loves it.
Check out the recipe video below to see exactly how I make this cheesy air fryer garlic bread step by step. If you enjoyed this recipe, please like and subscribe for more easy air fryer recipes that save time but still taste amazing.
What Makes This Air Fryer Garlic Bread Special
I like making garlic bread in my air fryer because it’s just faster. My oven takes forever to heat up, but the air fryer is ready in a minute.
The honey might sound weird with garlic, but it actually works – takes away that raw garlic bite without making it sweet.
And cutting it into cubes, as you see it in the recipe video above, before cooking means everyone can grab their own pieces easily, plus you get more of those crispy edges that everyone fights over.
Ingredients
I keep the ingredients simple for this air fryer garlic bread. You probably have most of them in your kitchen already.

For the Garlic Butter
- 4 garlic cloves
- 30 grams (2 tablespoons) room temperature butter
- 1 teaspoon dried oregano
- 1 tablespoon honey
- Pinch of salt
For the Bread
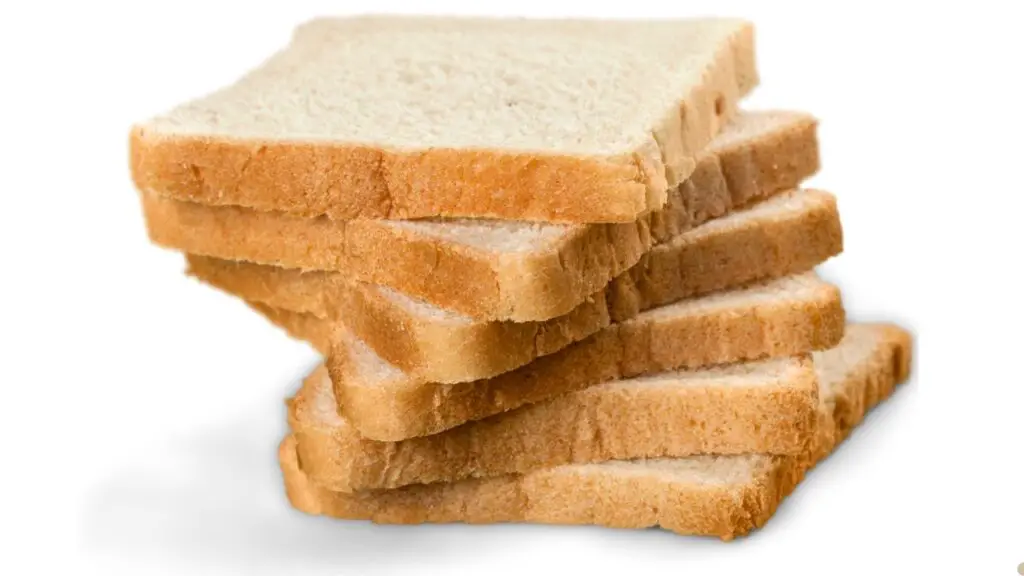
- 3 slices of square white sandwich bread
- Mozzarella cheese slices (or cheddar, provolone, Swiss)
Equipment Needed
You don’t need anything fancy to make this recipe – just the basics and an air fryer.
I make this garlic bread in my Ninja air fryer – it’s the one I’ve had for about two years now, and it never disappoints. The bread gets super crispy, and it’s big enough to fit all the pieces at once without crowding. Check it out below if you need a good one!

TAP ON IMAGE TO VIEW PRICE
- Air fryer
- Sharp knife
- Cutting board
- Small mixing bowl
- Spoon for spreading
Garlick Bread Preparation
The prep for this air fryer garlic bread is pretty straightforward. I’ll walk you through each step so it turns out perfect every time.
Making the Garlic Butter
This garlic butter is what makes this recipe stand out. It takes just a couple of minutes to put together, but it adds so much flavor.
Step 1: Prepare the garlic. Peel about 4 garlic cloves. I like to remove the green sprout in the middle of each clove because it can taste bitter. Then chop the garlic up really fine with a knife into really small pieces.
Top Tip: Small garlic pieces mix better with the butter and give you that nice garlic flavor in every bite instead of hitting random chunks. You can also use a garlic crusher if you have one.
Step 2: Make the garlic butter mixture. In a separate bowl, add about 30 grams of room-temperature butter, and then add the chopped garlic to the butter.
Then add 1 teaspoon of dried oregano to the butter and give all the ingredients a good mix till they are creamy and well combined.
Step 3: Add the secret ingredient. Add one tablespoon of honey, which gives the garlic bread a nice sweet flavor that balances out the garlic. It might sound weird, but it works really well with the savory flavors.
Assembling the Cheesy Bread
Now, let’s put everything together to create those perfect cheesy layers.
Step 4: Prepare the bread and cheese. Take two slices of bread and place them on a plate or cutting board. I use square white sandwich bread for this recipe since it fits perfectly in most air fryers. Place cheese slices on top of each bread slice, covering them completely.
Note: I like to use mozzarella because it melts really well and gives you that perfect cheese pull when you take a bite, but cheddar, provolone, or Swiss work great too. Even a mix of different cheeses adds amazing flavor.
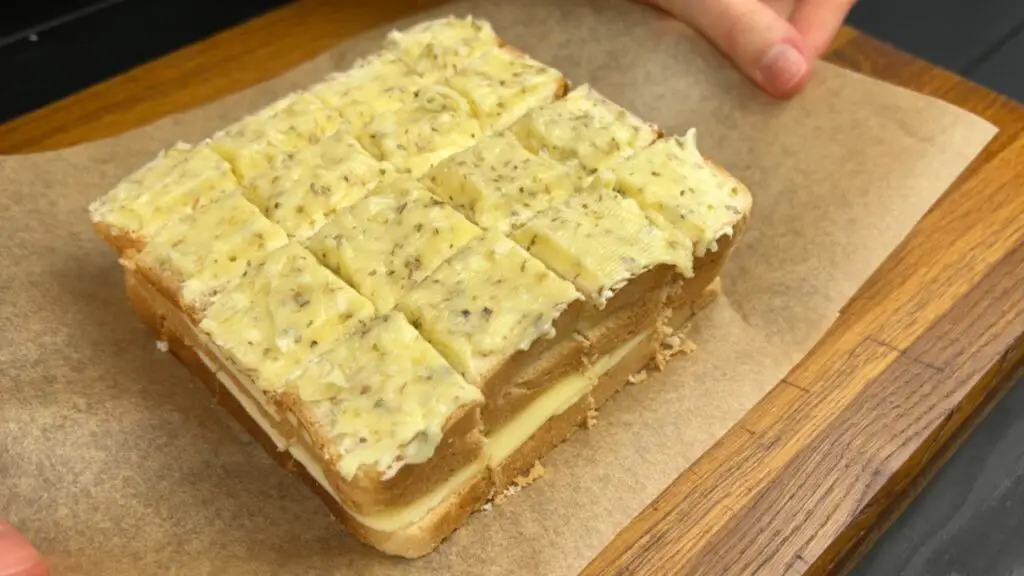
Step 5: Create your air fryer garlic cheese bread. Place the bread slices on top of each other, and then put another slice of bread on top. Take your time arranging them neatly so they line up well.
Then, grab a spoon and scoop up some of that garlic butter mixture you prepared. Spread it evenly across the top slice of bread, working from the center outward. Make sure to cover it completely from edge to edge, getting right to the corners.
Top Tip: Don’t be shy with the butter – I like to use all of it, you want a nice thick layer that will soak into the bread as it cooks.
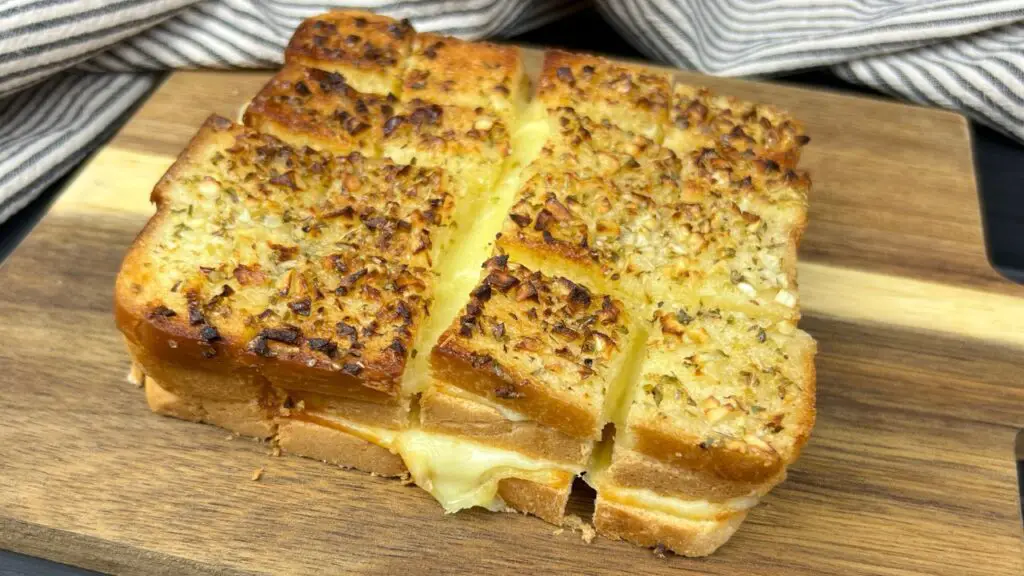
Step 6: Cut into bite-sized pieces. I like to cut the bread into little bite-sized cubes. That not only gives you more crispy edges, but also makes it easier to share and eat with your fingers.
Plus, the cheese will melt really nicely that way, flowing between all the little pieces. Just make sure to use a sharp knife and cut all the way through so the pieces separate nicely.
Cooking in the Air Fryer
The air fryer is the star of this recipe. It cooks the bread quickly and gives it that perfect texture.
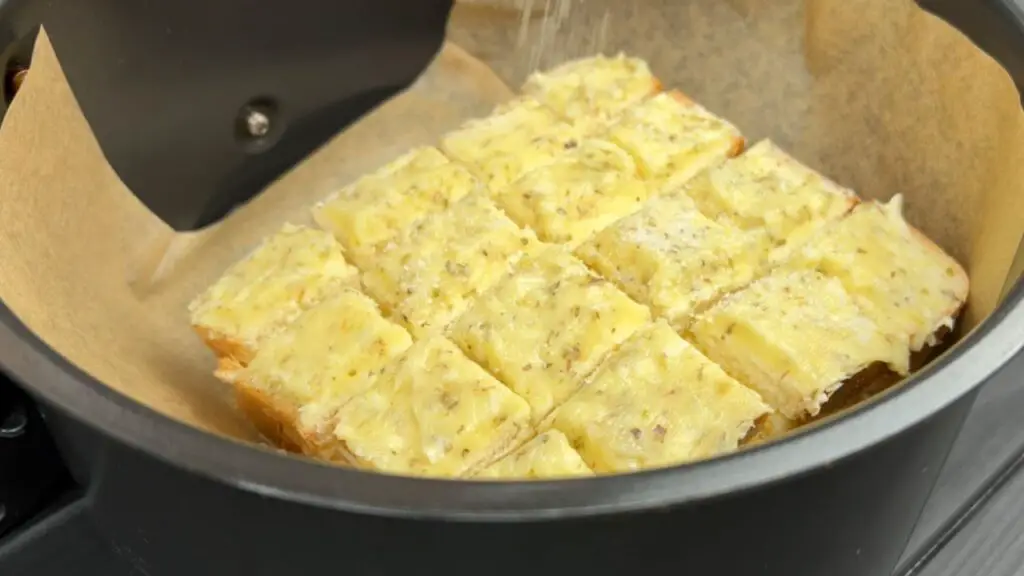
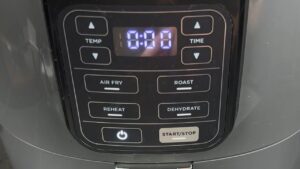
Step 7: Air fry to perfection. Carefully place the bread cubes in the air fryer basket and sprinkle a bit of salt on top. Then air fry the garlic bread at 350°F (175°C) for seven and a half minutes until the bread turns perfectly crunchy outside, and when you pull out a piece, the gooey cheese stretches into long, delicious strings.
Related Recipe: If you liked this easy air fryer recipe, then check out also my super-easy air fryer omelet recipe here. I make it all the time now for breakfast.
Family Favorite Cheesy Air Fryer Garlic Bread Recipe
4
servings30
minutes40
minutes300
kcal1
hour10
minutesDelicious air fryer garlic bread with gooey cheese and crispy edges. You will love it 🙂
Keep the screen of your device on
Ingredients
3 slices bread
4 cloves garlic
30 grams room temperature butter
1 teaspoon dried oregano
1 tablespoon honey
0.5 cup Mozzarella cheese (sliced cheese or grated cheese)
1 pinch salt
Directions
- Peel and finely chop 4 garlic cloves. Remove the green sprout in the middle of each clove if desired.
- In a bowl, combine 30 grams of room temperature butter with the chopped garlic and 1 teaspoon of dried oregano.
- Add 1 tablespoon of honey to the garlic butter mixture and mix well until creamy and combined.
- Place cheese slices on top of two bread slices, and cover them completely with cheese. Sandwich them with another bread slice on top.
- Spread the garlic butter mixture evenly across the top slice of bread, covering it from edge to edge.
- Cut the bread into bite-sized cubes for more crisper edges and better cheese melting.
- Place the bread slices in an air fryer basket lined with parchment paper. Sprinkle a pinch of salt on top.
- Air fry at 350°F (175°C) for seven and a half minutes until golden brown and crispy outside, with melted cheese inside.
Equipment
 Ninja Air Fryer,Check it out on Amazone here
Recipe Video
Notes
- Best Cheese for Melting: Regular mozzarella works best for stretchy cheese pulls, but cheddar adds more flavor. For best results, use a mix of both.
- Troubleshooting Browning Issues: If bread browns too fast but cheese isn’t fully melted, lower the temperature to 320°F and cook 1-2 minutes longer.
- Alternative Cooking Methods: Bake at 375°F for 8-10 minutes or use a toaster oven on a medium-high setting until golden and cheese melts.
- Best Bread Selection: Square white sandwich bread fits perfectly in most air fryers, but sourdough or ciabatta adds extra flavor. Avoid very soft breads that might become too mushy.
- Flavor Variations: Replace oregano with Italian seasoning or rosemary for different flavor profiles. Add a pinch of red pepper flakes to the butter mixture for a spicy kick.
Nutrition Facts
- Total number of serves: 1
- Calories: 495kcal
- Fat: 29g
- Carbohydrates: 43g
- Protein: 16g
Like this recipe?
Check Out @FoodHow on Pinterest.
Like our Facebook Page!
Follow us on Facebook
Tips for Garlicky Bread Success
I’ve made this air fryer garlic bread dozens of times, and I’ve picked up a few tricks along the way that make a big difference.
Getting the Best Cheese Pull
Everyone loves that moment when you pull a piece of garlic bread and the cheese stretches out in long strands. Here’s how to make sure you get that perfect cheese pull.
Top Tip: If you want extra stretchy cheese, use low-moisture mozzarella rather than fresh mozzarella, which can make your bread soggy. Also, let the bread cool for about 1 minute after cooking – if it’s too hot, the cheese will just break instead of stretching.
Customizing Your Air Fryer Garlic Bread
One thing I love about this recipe is how easy it is to change it up based on what you have or what you’re in the mood for. I’ve tried a bunch of different variations, and they all turn out great with minimal effort.
For herbs, you can substitute the dried oregano with:
- Italian seasoning
- Fresh basil (finely chopped)
- Dried parsley
- Rosemary (use sparingly as it’s strong)
For cheese variations:
- Pepper jack for a spicy kick
- Smoked Gouda for a deeper flavor
- Fontina for extra creaminess
Note: Whatever cheese you choose, make sure it’s one that melts well for the best results.
Storing and Reheating
This air fryer garlic bread is best fresh out of the air fryer, but sometimes I make extra on purpose for leftovers. Here’s how to keep it tasting still edible the second time around.
To store: Let cool completely, then wrap in foil or place in an airtight container. Refrigerate for up to 2 days.
To reheat: Place back in the air fryer at 320°F for 2-3 minutes until heated through and crispy again. The microwave works in a pinch, but the bread won’t be as crispy.
Other Quick Air Fryer Recipes to Try

If you enjoyed this cheesy air fryer garlic bread, you might also like my other super-easy air fryer recipes. I make them all the time now for breakfast.
- Quick Tuna Cakes – These get so crispy in the air fryer and take just minutes to make.
- Air Fryer Egg on Toast – My go-to breakfast when I’m running late but still want something hot.
- The Best Air Fryer Grilled Cheese with Leftover Chicken – A Perfect way to use up chicken from yesterday’s dinner.
I hope you enjoy making this cheesy air fryer garlic bread! Have you tried making garlic bread in your air fryer before? Let me know if you have any questions about the recipe or if you have your own favorite cheese or bread combinations that work well.
You can leave me a message below this article or at the YouTube video. I’d love to hear how it turns out for you!