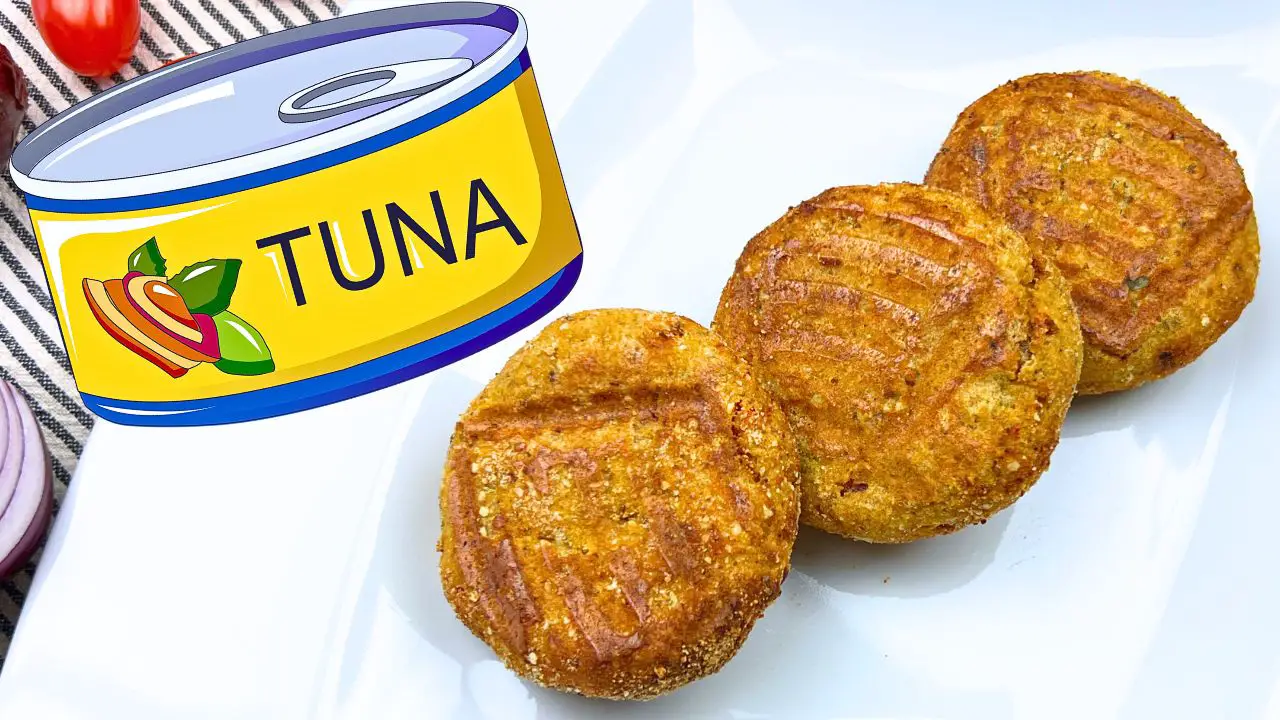
Last month, I was making tuna cakes and realized I had no potatoes. I decided to just use the fresh vegetables and eggs to bind everything together instead. These air fryer tuna fish cakes without potatoes turned out amazing! They’re lighter, full of flavor from the bell peppers and herbs, and get perfectly crispy in the air fryer. My kids clean their plates every time, and they’re ready in just 20 minutes.
Check out the full recipe video below to see exactly how I make these air fryer tuna fish cakes step by step. If you want more quick and easy air fryer recipes like this one, hit the subscribe button and give this video a thumbs up!
Why I Keep Making These Tuna Cakes
Look, I make these tuna cakes because they’re dead simple and they work.
I don’t need to plan ahead or go shopping. I’ve always got tuna in the cupboard and eggs in the fridge.
The air fryer part is nice because I can just set it and forget it for a few minutes while I help my kid with homework or whatever else needs doing.
They’re super cheap to make. Just basic pantry stuff and whatever veggies need using up in the fridge. Way cheaper than ordering pizza again.
They’re packed with protein too, which actually keeps everyone full until breakfast. No more kids raiding the fridge an hour after dinner.
That’s it. Nothing fancy. They’re just good, easy food that solves the “what’s for dinner” problem when I don’t have the energy for anything complicated.
Simple Ingredients That Transform Canned Tuna
The beauty of this recipe is that it uses mostly pantry staples and simple fresh ingredients.
What You’ll Need:
- 3 cans of tuna in water (5-6 oz each), drained
- 3 slices of white sandwich bread (or 1 cup bread crumbs)
- 1/2 red onion, chopped
- 1 red bell pepper, chopped
- 1 red chili, seeds removed if you prefer less heat
- 5 garlic cloves, peeled
- 2 medium tomatoes, seeds removed
- Small bunch of cilantro
- Juice of 1/2 lemon
- 1 teaspoon Dijon mustard
- Salt and pepper to taste
- 3 large eggs (for the mixture)
- 2 cups panko bread crumbs (for coating)
- Cooking spray for the air fryer
Note: Panko bread crumbs make these tuna cakes super crispy in the air fryer – they’re worth grabbing instead of regular bread crumbs if you have them.
Kitchen Tools You Probably Already Have
You don’t need fancy equipment for these tuna cakes – just the basics.
I make these tuna cakes in my Ninja air fryer – it’s the one I’ve had for about two years now, and it never disappoints. The cakes get super crispy, and it’s big enough to fit 4-5 at once without crowding. Check it out below if you need a good one!

TAP ON IMAGE TO VIEW PRICE
- Air fryer (mine is a basic 4-quart Ninja air fryer, nothing fancy)
- Large mixing bowl
- Food processor or blender
- Measuring cups and spoons
- Fork for flaking tuna
- Ice cream scoop (my secret weapon for perfectly sized cakes)
Quick Prep Steps for Perfect Tuna Cakes

Prep is straightforward – chop the vegetables first, then mix with the drained tuna and remaining ingredients. The active work takes about 10 minutes, with another 12 minutes for air frying in batches.
Making The Tuna Base
Step 1: Drain your canned tuna thoroughly. I actually press the lid against the tuna while draining to squeeze out extra liquid – soggy tuna makes soggy cakes.
Step 2: Put the tuna in a large mixing bowl and break it down with a fork. I don’t mash it completely smooth – some texture is good.
Step 3: Take 3 slices of sandwich bread and cut them into chunks. Last week, I only had the end pieces left, and they still worked perfectly.
Step 4: Pulse the bread in a food processor until you get crumbs. Day-old bread works better than fresh, but use what you have.
Step 5: Mix the bread crumbs into the flaked tuna. This creates the base that will absorb all the flavors from the vegetables and seasonings.
Step 6: Roughly chop the onion, bell pepper, chili, garlic, tomatoes (seeds removed), and cilantro.
Note: The first time I made these, I didn’t remove the tomato seeds, and my mixture was too wet. The cakes still tasted great, but were harder to form.
Step 7: Toss all these vegetables in your food processor.
Step 8: Pulse until finely chopped but not puréed. I’ve found these ingredients completely mask the “fishy” taste that makes my kids suspicious of seafood. When they ask what’s for dinner, I just say “those crispy cakes you like” and leave it at that.
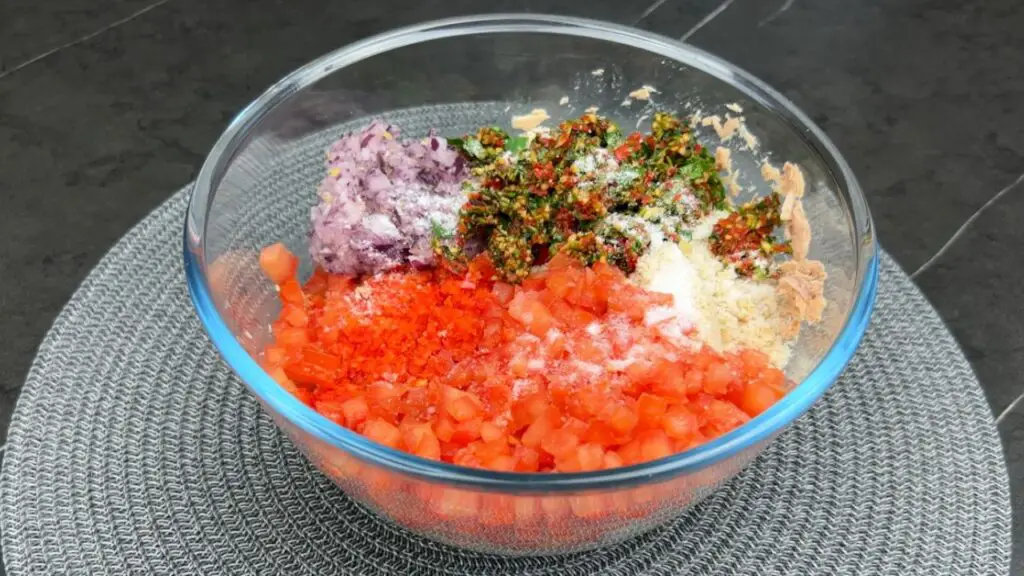
Step 9: Add the vegetable mixture to the tuna and bread crumbs.
Step 10: Add lemon juice, Dijon mustard, salt, and pepper. The lemon juice brightens everything up – don’t skip it.
Step 11: Crack the eggs into the mixture and mix thoroughly. I usually start with a fork and finish mixing with clean hands to really get everything incorporated.
Top Tip: Let the mixture sit for 5-10 minutes before forming cakes. One night, I got distracted by a phone call and came back to the mixture after about 10 minutes – the cakes held together better than ever. Now I always build in this rest time.
Crispy Tuna Cakes Without the Oil
The air fryer is really good here. Before I got one, I used to pan-fry these, and they’d soak up so much oil.

Step 12: Preheat your air fryer to 380°F (190°C). Mine takes about 3 minutes to heat up – just enough time to form the cakes.
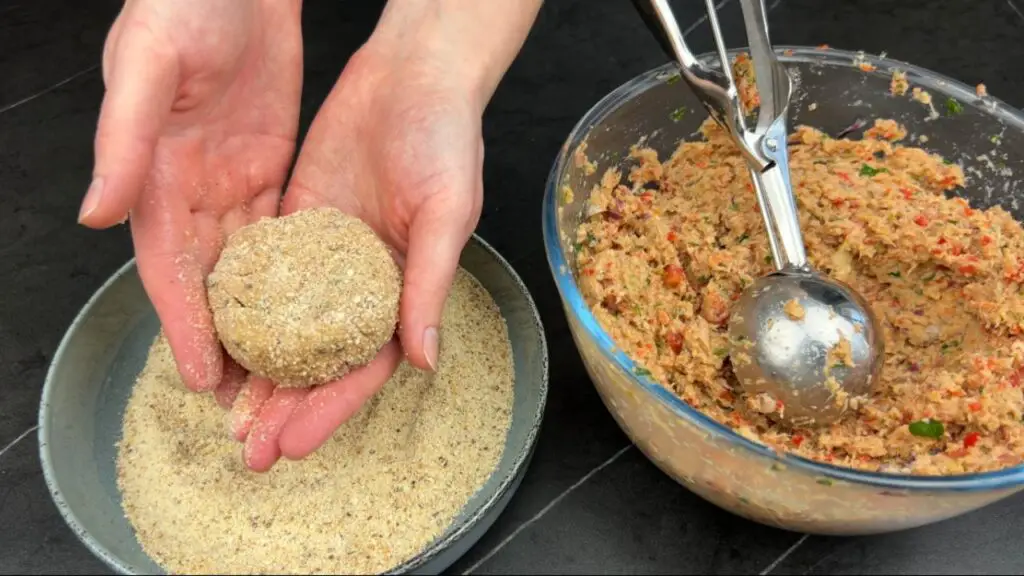
Step 13: Divide the mixture into 6 equal portions. I use my ice cream scoop to measure, then flatten each portion into a patty about 3/4 inch thick.
Step 14: Press each patty into bread crumbs on both sides. Don’t skip this – it creates that amazing crispy exterior.
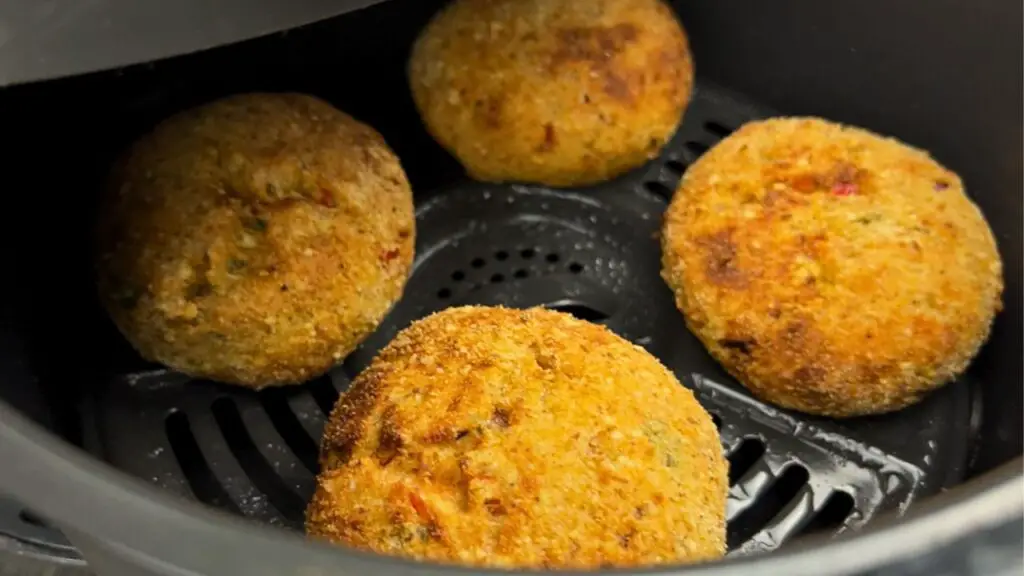
Step 15: Spray the air fryer basket lightly with cooking spray. I learned the hard way that if you skip this step, you’ll leave half your tuna cake stuck to the basket.
Step 16: Place the cakes in the basket without overcrowding. In my air fryer, I can fit 3 at a time.
Step 17: Spray the tops of the cakes lightly with cooking spray.
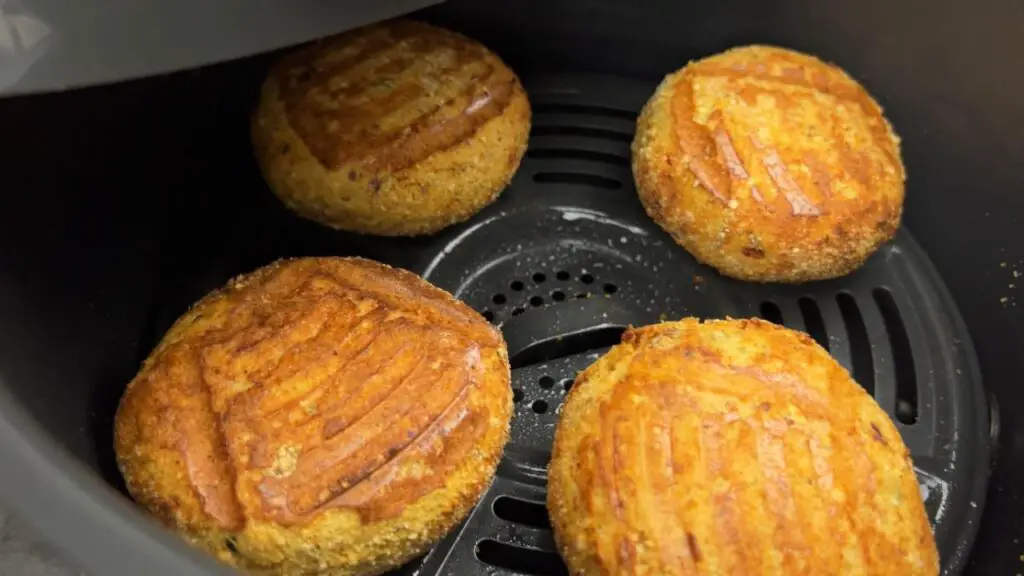
Step 18: Cook for 8-10 minutes, then carefully flip and cook another 5-7 minutes until golden brown on both sides.
Step 19: Place the tuna fish cakes on a wire rack. This keeps the bottom from getting soggy.
Did You Know? These cakes actually get crispier in the air fryer than they do when pan-fried, with about 75% less oil.
Related Recipe: If you liked these tuna cakes, try my air fryer sardines recipe here! Even sardine haters become fans – they get super crispy and lose that fishy taste that turns people off!
Air Fryer Tuna Cakes – Crispy and Delicious
6
servings15
minutes12
minutes165
kcal27
minutesDelicious tuna cakes with a crispy texture made in an air fryer.
Keep the screen of your device on
Ingredients
3 cans canned tuna in water, drained
3 slices white sandwich bread, or 1 cup bread crumbs
1/2 cup red onion, chopped
1 red bell pepper, chopped
1 red chili, seeds removed
5 cloves garlic, peeled
2 medium tomatoes, seeds removed
1 small bunch cilantro
1/2 lemon, juiced
1 teaspoon Dijon mustard
to taste salt and pepper
3 large eggs
2 cups Panko bread crumbs, for coating
cooking spray for the air fryer
Directions
- Drain the tuna and place it in a large mixing bowl, breaking it down into smaller flakes using a fork.
- Cut 3 slices of bread into 1-inch squares or use 1 cup of store-bought bread crumbs.
- Place bread pieces in a blender or food processor and pulse until they turn into fine crumbs.
- Add bread crumbs to the mixing bowl with tuna flakes.
- Chop the red bell pepper and pulse it in the food processor until finely chopped, then add to the mixing bowl.
- Remove seeds and goop from the tomatoes, chop finely, and add to the mixing bowl.
- Chop half a peeled red onion finely using a food processor and add to the mixing bowl.
- Add red chili, garlic cloves, and cilantro to the food processor and pulse until finely chopped, then add to the mixing bowl.
- Add salt, pepper, lemon juice, and mustard, then mix everything well.
- Crack the eggs into a separate bowl, whisk them, and add to the tuna mixture, mixing thoroughly.
- Scoop the mixture to form patties the size of your palm and roll them in bread crumbs.
- Preheat the air fryer to 180°C or 350°F.
- Place tuna cakes in the air fryer basket, leaving space for air circulation, and cook for 10-12 minutes until golden brown, flipping halfway.
- Serve with your favorite sides or dipping sauce.
Equipment
 Ninja Air FryerCheck it out on Amazon here
Recipe Video
Notes
- Drain tuna in a fine mesh strainer: Press down firmly with a fork to remove all liquid. Let it sit in the strainer for 3-4 minutes while you prep other ingredients for maximum dryness.
- Don’t skimp on the bread crumb coating: The exterior bread crumbs create that crispy shell that makes these so good. Press them firmly onto both sides of each cake.
- Spray both the basket AND the cakes: A light spray of oil on both the air fryer basket and the tops of the cakes prevents sticking and helps achieve even browning.
- Make uniform-sized cakes for even cooking: Try to make all your cakes the same thickness so they finish cooking at the same time.
- Store leftover mixture in the fridge: If you have extra mixture, it keeps well in the refrigerator for up to 24 hours. Just form and cook fresh cakes when needed.
Nutrition Facts
- Total number of serves: 6
- Calories: 247kcal
- Fat: 4g
- Carbohydrates: 15g
- Protein: 17g
Like this recipe?
Check Out @FoodHow on Pinterest.
Like our Facebook Page!
Follow us on Facebook
Meal Prep and Storage Tips
These tuna cakes have saved me on busy weeknights because they store and reheat so well.
- Make-ahead: You can prepare the mixture up to 24 hours ahead and keep it in the fridge before cooking.
- Refrigerator storage: Store cooked cakes in an airtight container for up to 3 days.
- Freezer storage: Wrap each cake individually, then store in a freezer bag for up to a month.
Note: To reheat in the air fryer (which keeps them crispy), set to 350°F for 3-4 minutes from refrigerated or 8-10 minutes from frozen. Sometimes I actually think they taste better the second day.
Make-Ahead and Meal Prep Options
These tuna cakes are perfect for meal prep because they actually taste better the next day. Here’s how I use them throughout the week:
- Make a double batch on Sunday – cook half and refrigerate the rest of the mixture
- Turn leftover cakes into quick lunch wraps with lettuce and mashed avocado
- Freeze cooked cakes individually for up to a month – they reheat perfectly
- Pack cold tuna cakes for lunch boxes – they’re good at room temperature
- Form the mixture into smaller cakes for appetizers or snacks
I often make these on weekends when I have a bit more time, then enjoy them for quick meals during my busiest days.
This is why I love these for weeknight dinners – they’re satisfying without being heavy. The protein keeps everyone full, and I don’t have to hear “I’m hungry” an hour after dinner.
Easy Flavor Variations When You Need a Change
After making these tuna cakes countless times, I’ve experimented with different variations to keep things interesting.

Mediterranean Version: Last summer, I added chopped olives, capers, and crumbled feta. This was a huge hit with my husband, though the kids were suspicious of the “green things.”
Spicier Option: Double the chili and add a dash of cayenne. This is my favorite version when I’m making them just for the adults.
Herb Garden Cakes: When my herb garden is thriving, I substitute whatever’s growing well for the cilantro. Dill and parsley make an amazing combination.
Asian-Inspired: One night when I was out of lemons, I used lime juice instead, added some ginger, and a splash of soy sauce. Different but delicious!
Troubleshooting When Things Go Wrong
Even I still have the occasional tuna cake fail. Here’s how I fix common issues:
Problem: The Mixture is too wet to form cakes
Solution: Add more bread crumbs, one tablespoon at a time, until you can form patties that hold their shape. Different brands of tuna contain different amounts of moisture.
Problem: Cakes falling apart when flipping
Solution: Make sure you’re letting them cook long enough on the first side before flipping. I usually give them a full 9 minutes, even though I’m tempted to check earlier.
Problem: Not crispy enough
Solution: Make sure you’re not crowding the air fryer basket. The cakes need air circulation to get crispy. Also, that light spray of oil on top makes a big difference.
More Quick Air Fryer Recipes You’ll Love
If you enjoyed these tuna fish cakes, check out these other super simple air fryer recipes on my channel:
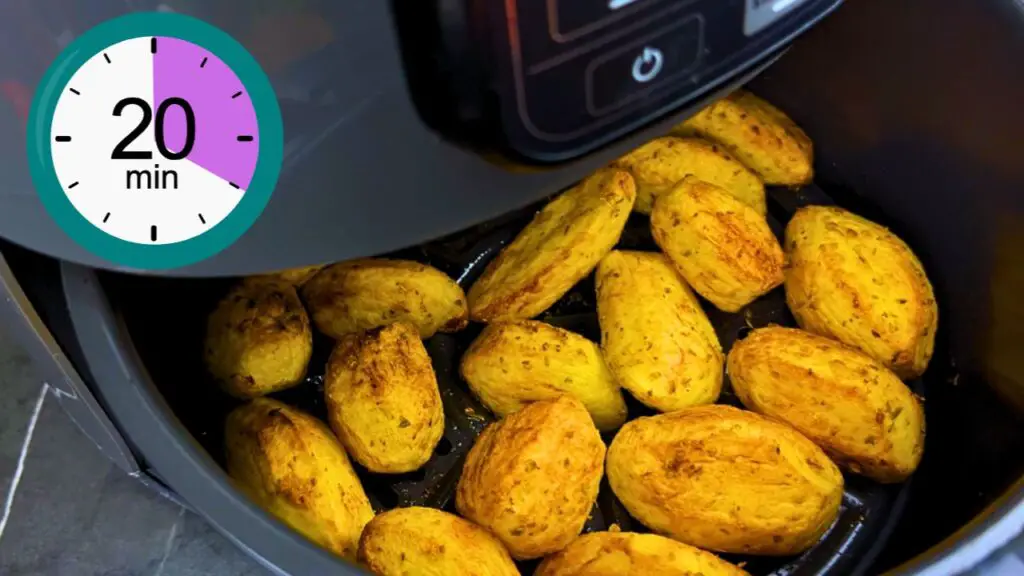
- Crispy and Fast Air Fryer Canned Potatoes Recipe – Who knew canned potatoes could get this crispy? These take just 12 minutes and make a perfect side dish with almost no prep work.
- Air Fryer Egg on Toast – Breakfast Ready in 7 Minutes! – My go-to breakfast when I’m running late. The toast gets perfectly crisp while the egg cooks right on top. One viewer called it “the easiest breakfast hack ever.”
- Best Air Fryer Hot Dogs – Forget boiling or grilling! These get a perfect snap on the outside while staying juicy inside. My kids actually prefer them this way now.
Want more easy air fryer recipes? Subscribe to my channel for a new one every week!
Have you tried making air fryer tuna fish cakes without potato in your air fryer? Did you add any special ingredients? Let me know how they turned out or if you have questions!