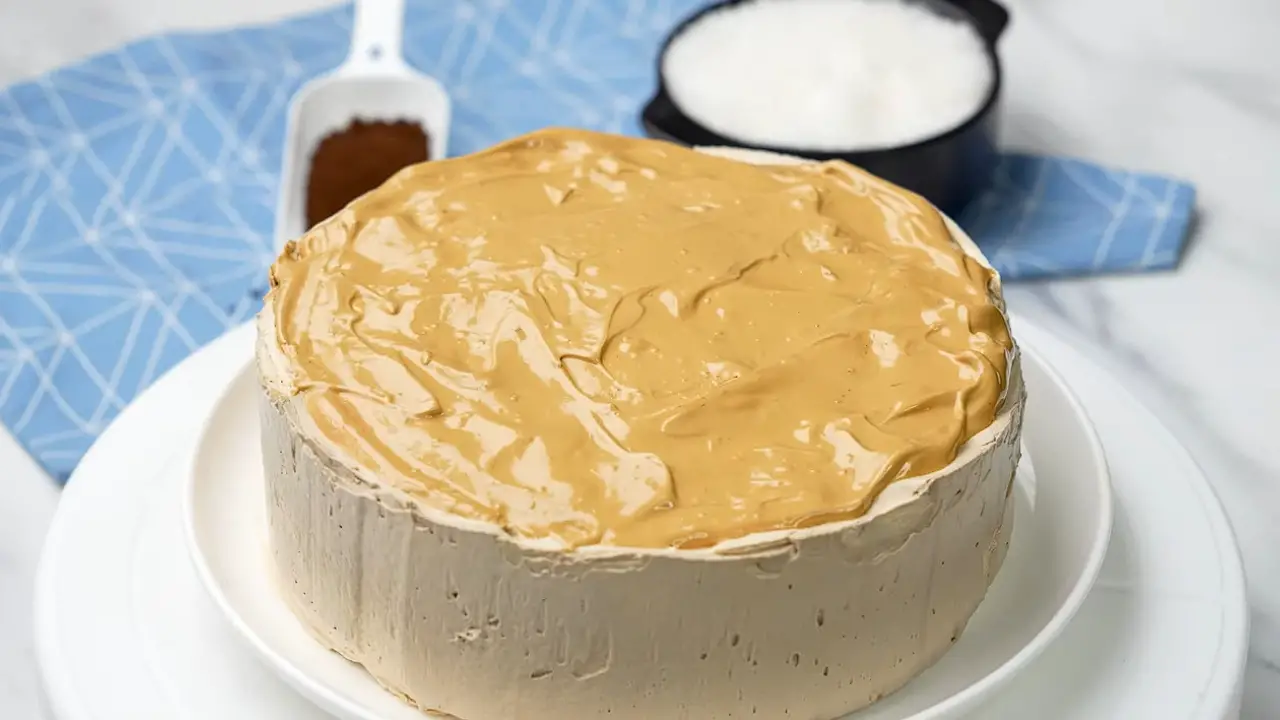
Have you ever wanted to impress guests with a stunning dessert but did not want to spend hours in the kitchen? This no-bake easy coffee cake recipe is my absolute favorite solution; it looks fancy but needs just a handful of ingredients.
Watch my video below for a simple, step-by-step recipe for creating this Easy Coffee Cake. If you enjoy it, don’t forget to like and subscribe for more easy and delicious no-bake recipes!
Why You’ll Love This Easy Coffee Cake Recipe
Everyone needs that one reliable, impressive dessert recipe in their collection. This creamy coffee cake has earned its place as my signature dessert for good reason.
This creamy coffee cake has become my signature dessert because:
- It requires zero baking – no hot oven is needed
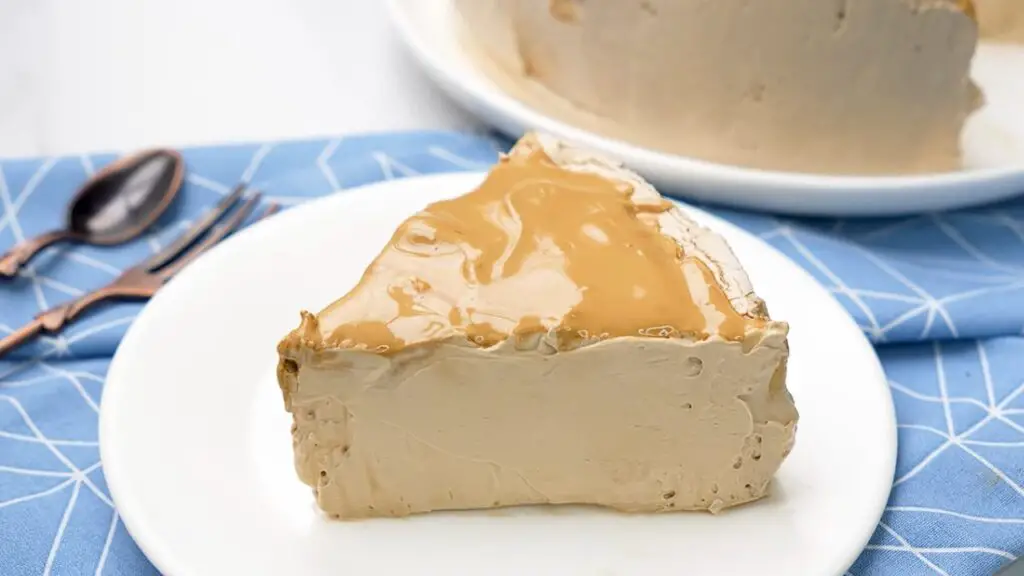
- The texture is luxurious – between a mousse and a cheesecake
- The coffee flavor is perfectly balanced – not too strong, not too weak
- It is fast to prepare but looks impressive
I discovered this recipe during a particularly hectic Christmas when my oven actually broke down two days before hosting a dinner party. I was panicking until a friend suggested this coffee dessert cake. Now I make it even when my oven works perfectly, it is that good. Last summer, I brought it to a potluck and had three people ask me for the recipe before the night was over.
What You Will Need For This Dessert
Gathering all your ingredients and tools before starting makes the whole process much smoother. Here is everything you will need to create this coffee dessert.
Ingredients for the creamy base:
- 4 tablespoons instant coffee
- 2 tablespoons room-temperature milk
- 3 tablespoons sweetened condensed milk
- 1¾ cups heavy whipping cream (cold)
- 1 teaspoon vanilla extract
Ingredients for the whipped coffee recipe topping:
- 2 tablespoons instant coffee
- 2 tablespoons granulated sugar
- 2 tablespoons hot water
Top Tip: Sensitive to caffeine? Use decaffeinated instant coffee instead of regular in both the base and topping to enjoy this dessert any time of day.
Equipment:
- Electric mixer
- 2 mixing bowls
- Measuring spoons and cups
- Rubber spatula
- 8-inch springform pan or cake ring
- Plastic wrap
- A wooden skewer or spoon handle
I once made this in a mountain cabin with just a hand mixer and a makeshift springform pan I created from aluminum foil and a cake pan. It turned out surprisingly well, so do not worry if your kitchen equipment is not perfect.
Making the Coffee Cake Base
Creating the creamy coffee-flavored cake base is surprisingly simple, though it does require attention to detail. This base gives the dessert its rich flavor and luxurious texture.
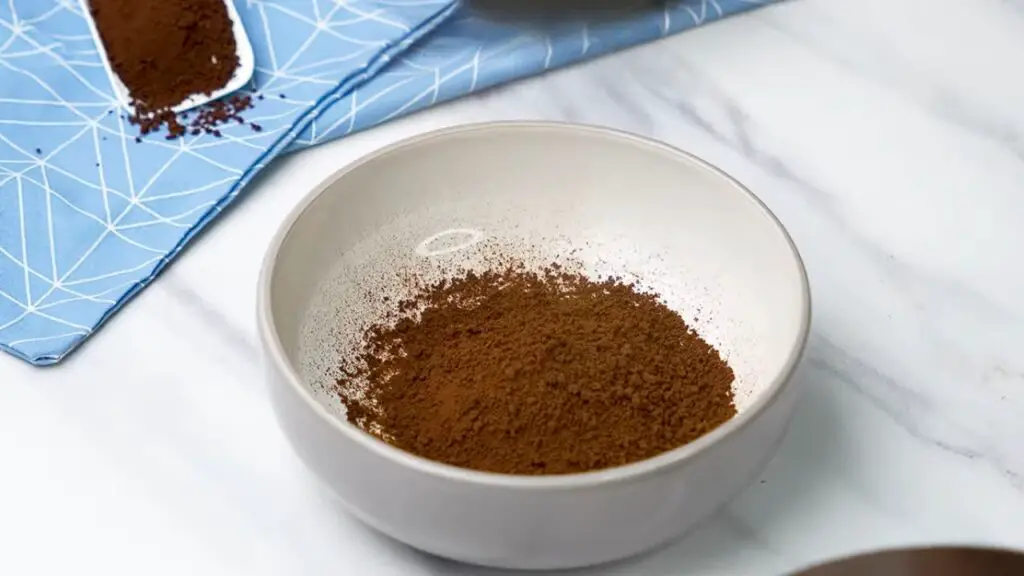
Step 1: Make the Coffee Mixture
Mix the instant coffee with room-temperature milk in a small bowl until completely dissolved.
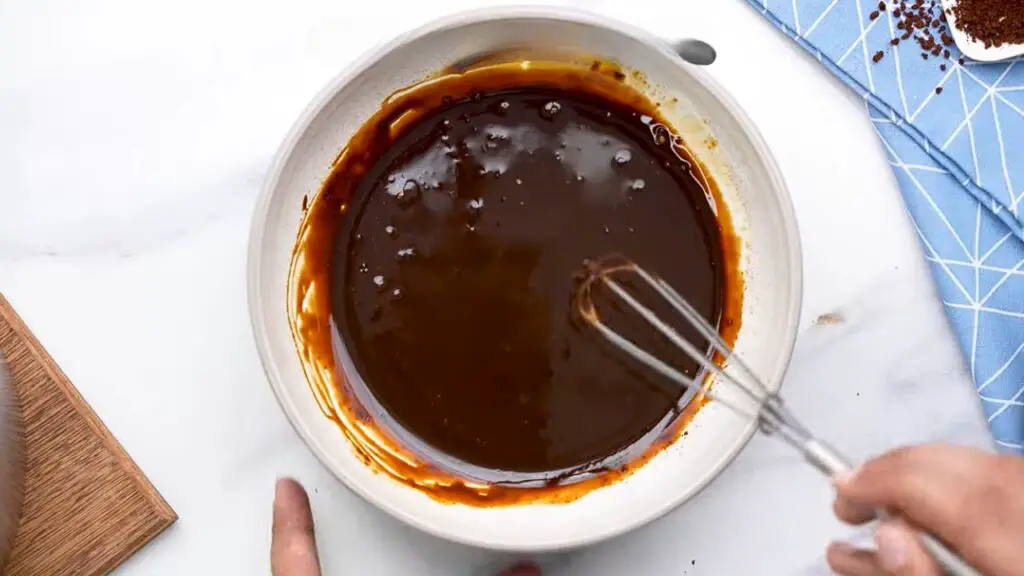
Step 2: Add Sweetened Condensed Milk
Stir the sweetened condensed milk into your coffee mixture until fully combined. Set aside.
Step 3: Whip the Cream
In a separate bowl, whip the cold heavy cream until stiff peaks form (about 3-5 minutes).
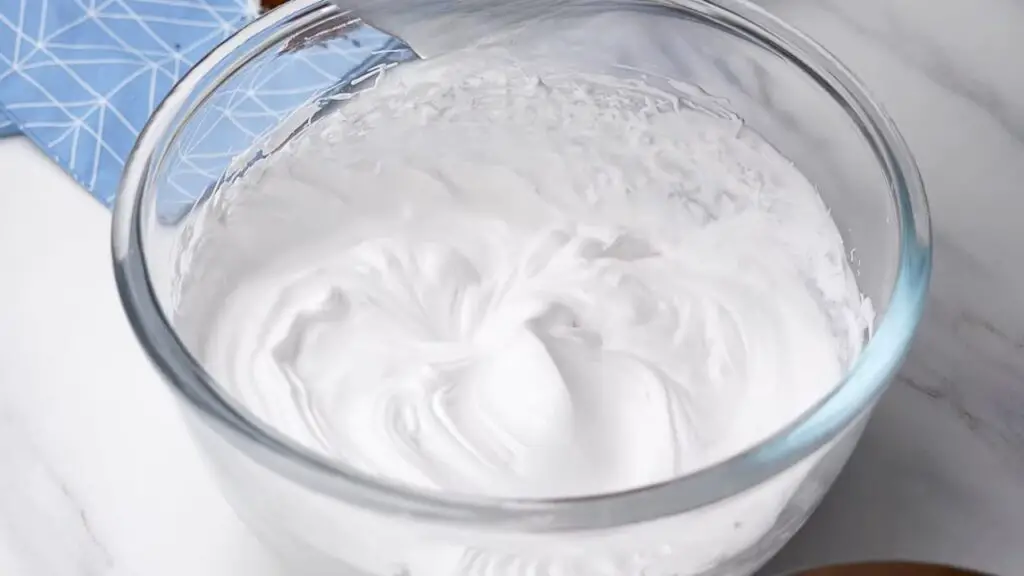
Note: Be careful not to overwhip, it can turn into butter before you know it!
Step 4: Add Vanilla
Mix the vanilla extract into the whipped cream with a quick 5-second mix.
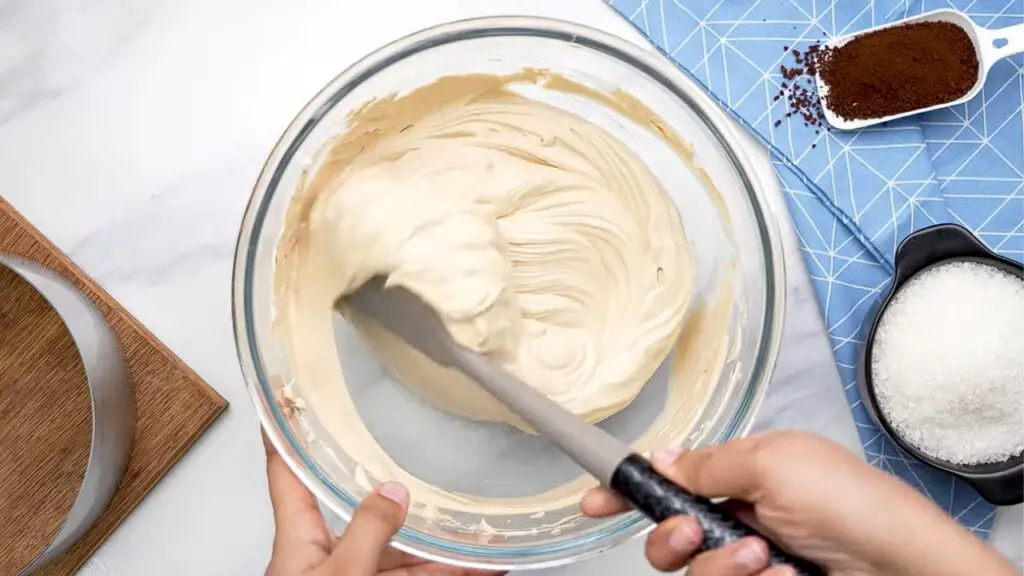
Step 5: Combine Everything
Gently pour the coffee mixture into the whipped cream and mix on low speed just until evenly combined. Stop as soon as you see a uniform light brown color.
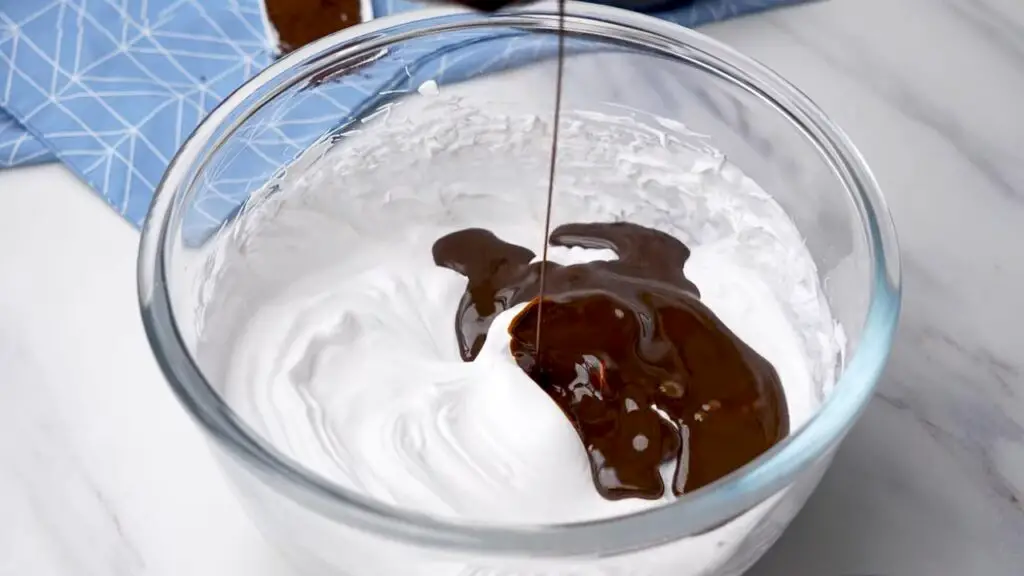
Note: The first time I made this, I overwhipped at this stage and ended up with something closer to coffee butter than cream. Trust me, stop mixing the moment everything looks combined. I learned that lesson the hard way!
Setting Up Your Cake
Properly setting up your dessert ensures it not only tastes good but also looks impressive when served. These steps make the difference between an average dessert and an exceptional one.
Step 6: Prepare Your Pan
Place your springform pan or cake ring on a sturdy plate or tray.
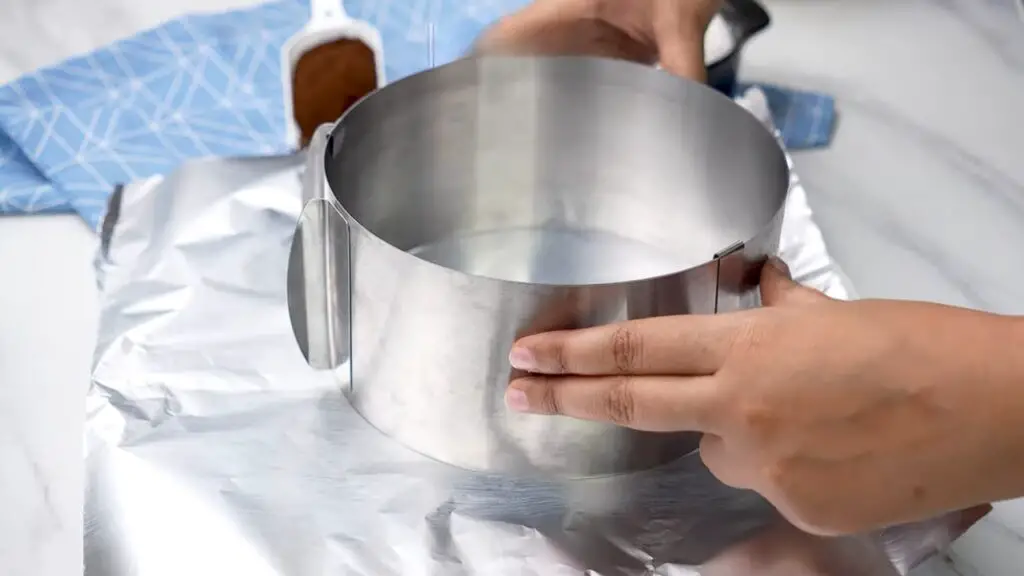
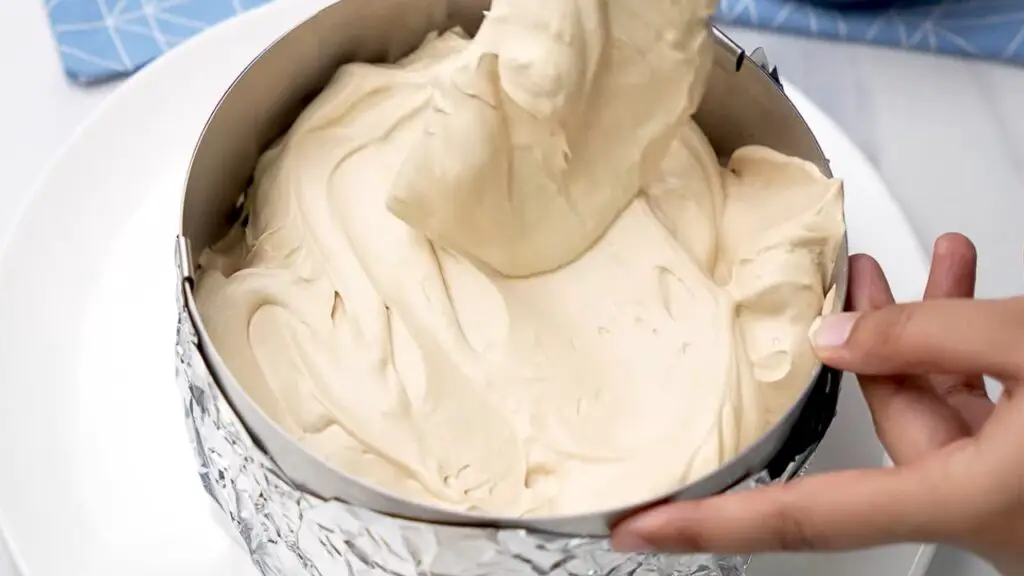
Step 7: Fill the Pan
Spoon the coffee cream mixture into the pan and smooth the top with a spatula.
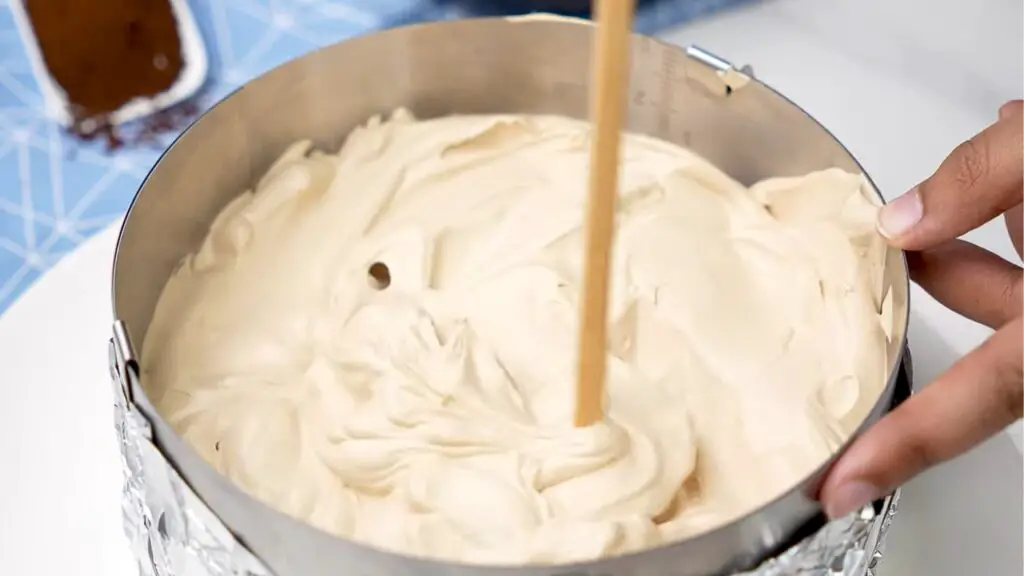
Step 8: Remove Air Bubbles
Use a wooden skewer to gently swirl through the mixture to release any trapped air.
Step 9: Refrigerate
Cover with plastic wrap and refrigerate for at least 3 hours (overnight is best).
I once needed this cake ready faster for unexpected guests, so I put it in the freezer for an hour before transferring it to the fridge. It worked in a pinch, but the texture was not quite as silky as the properly refrigerated version. Patience really pays off with this recipe.
Making the Coffee Topping
The whipped coffee topping adds both visual appeal and an extra layer of coffee flavor. This technique transforms ordinary coffee into a light, airy foam that crowns your dessert beautifully.
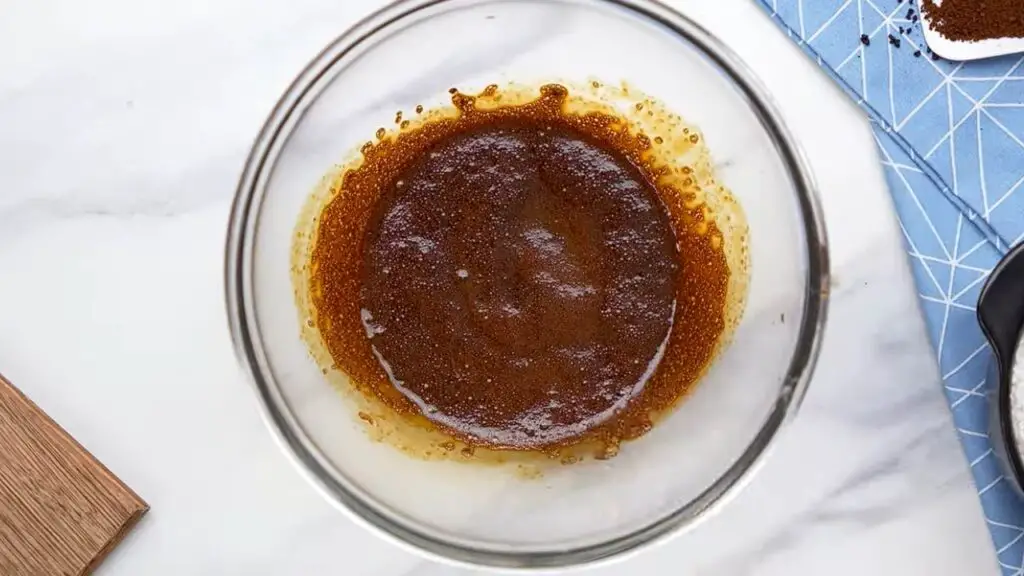
Step 10: Mix Coffee Topping Ingredients
Combine instant coffee, sugar, and hot water in a clean bowl until dissolved.
Step 11: Whip Until Fluffy
Using an electric mixer, whip on high speed for 4-5 minutes until thick and frothy with stiff peaks.
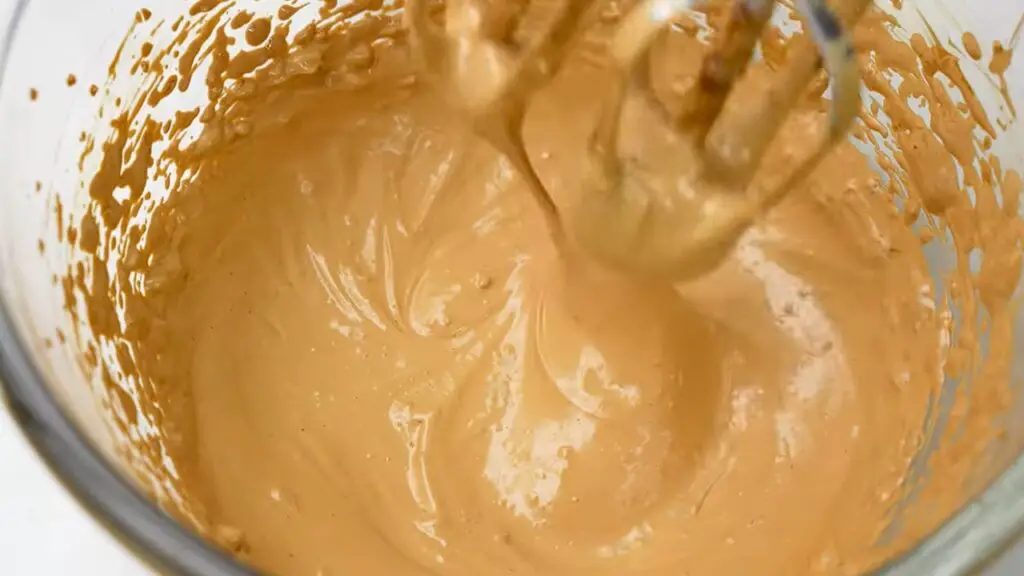
I learned this whipped coffee technique during the Dalgona coffee trend, but I think it is much better as a dessert topping than as a drink. The first time I made it, I was genuinely amazed watching the dark liquid transform into a light, mousse-like foam. My kids thought I was performing kitchen magic.
Finishing Your Coffee Cake
These final touches elevate your dessert from homemade to seemingly professional. Taking care with these last steps ensures your cake looks as good as it tastes.
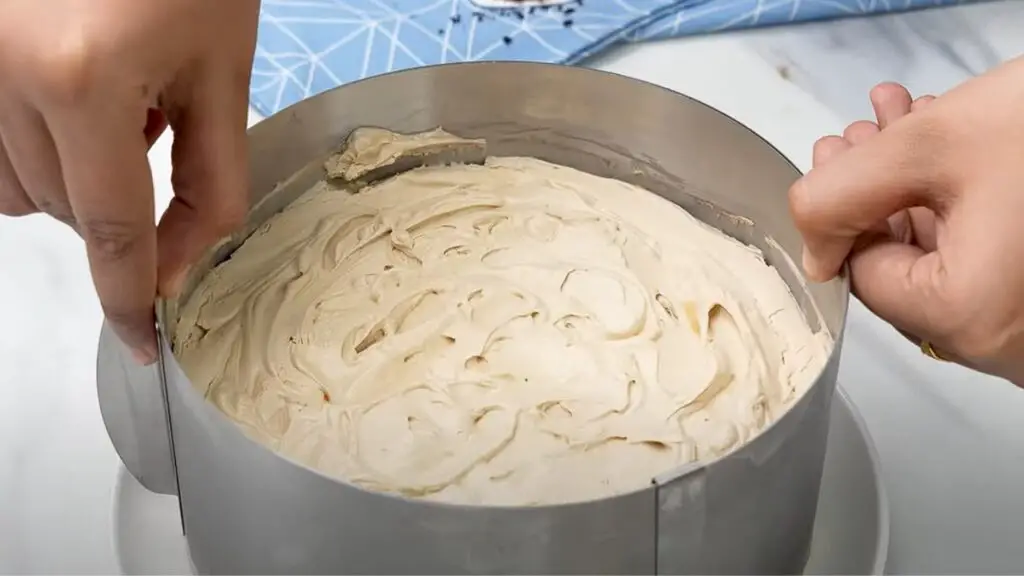
Step 12: Remove From Mold
Run a knife around the edge of your set cake and carefully remove the springform ring.
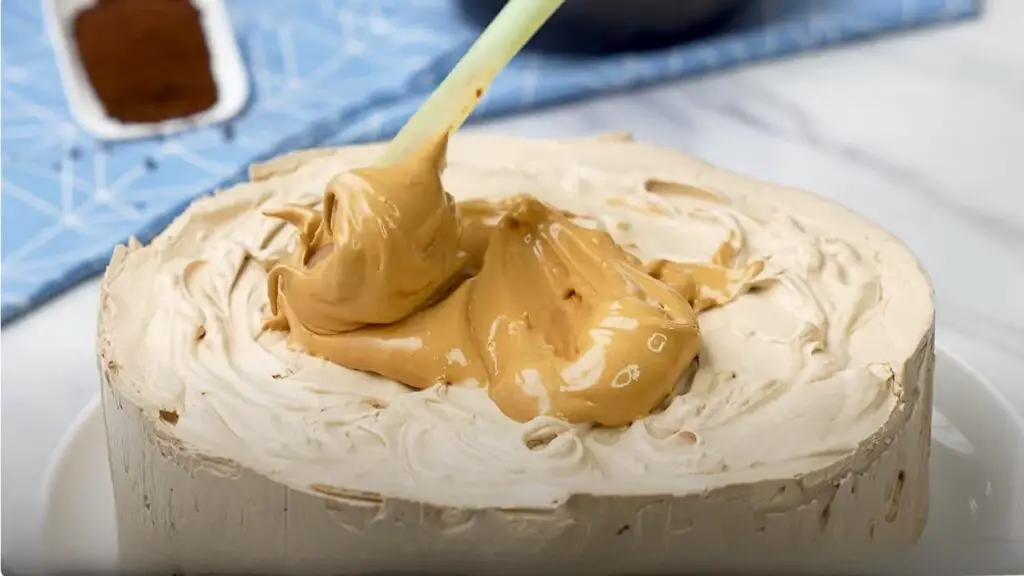
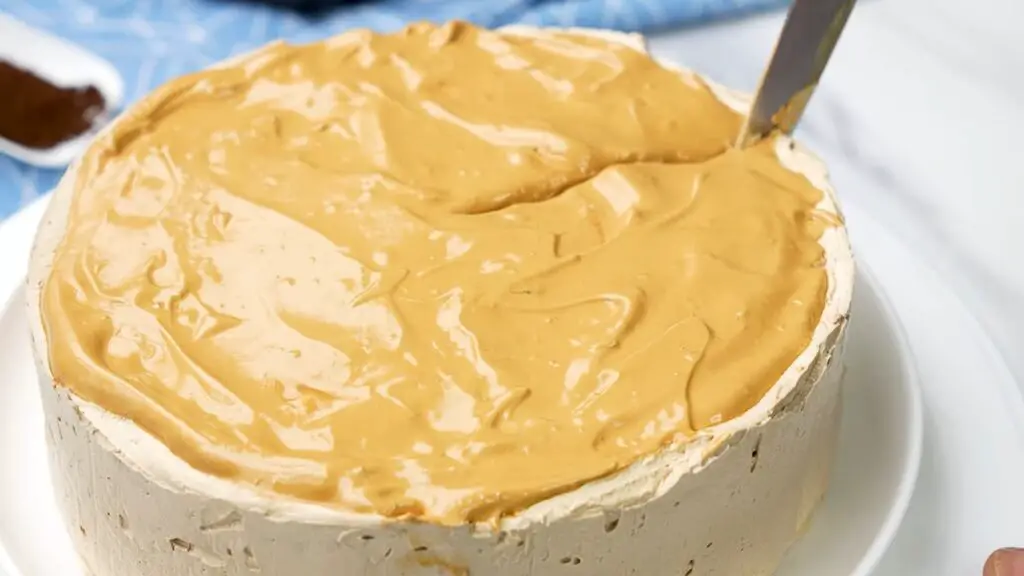
Step 13: Add Topping
Spread the whipped coffee topping over the cake surface.
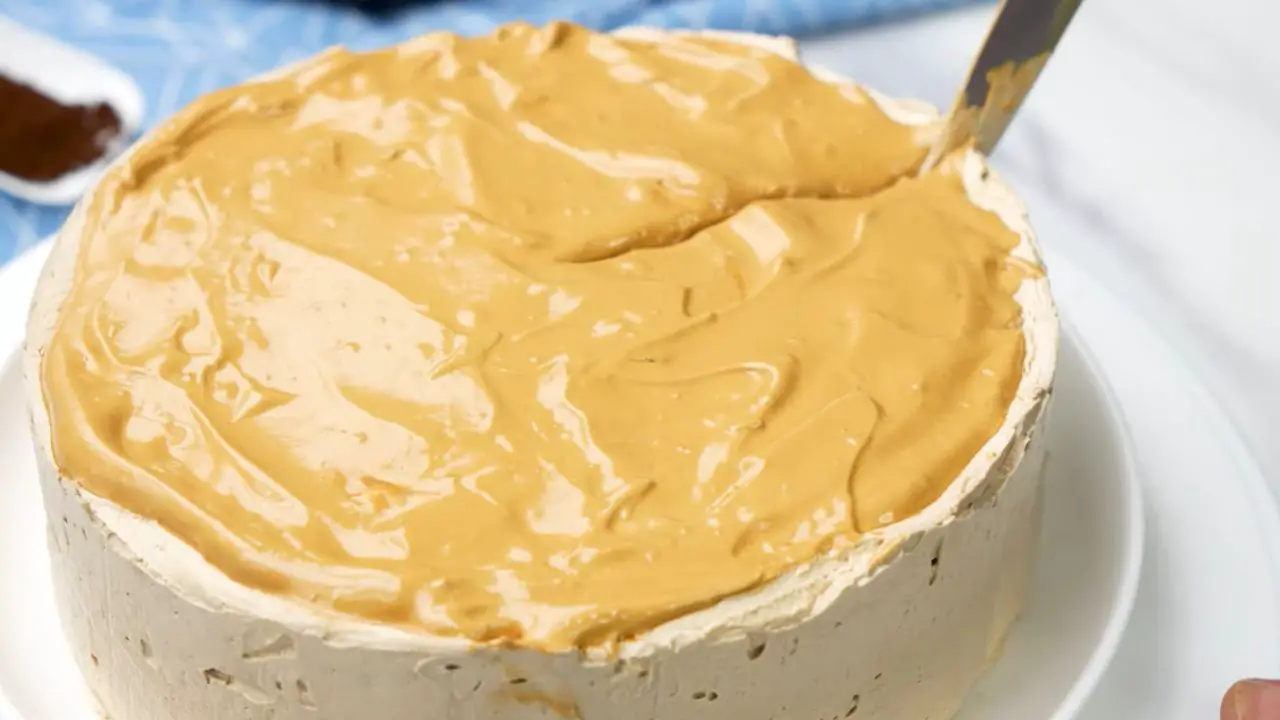
Step 14: Optional Garnish
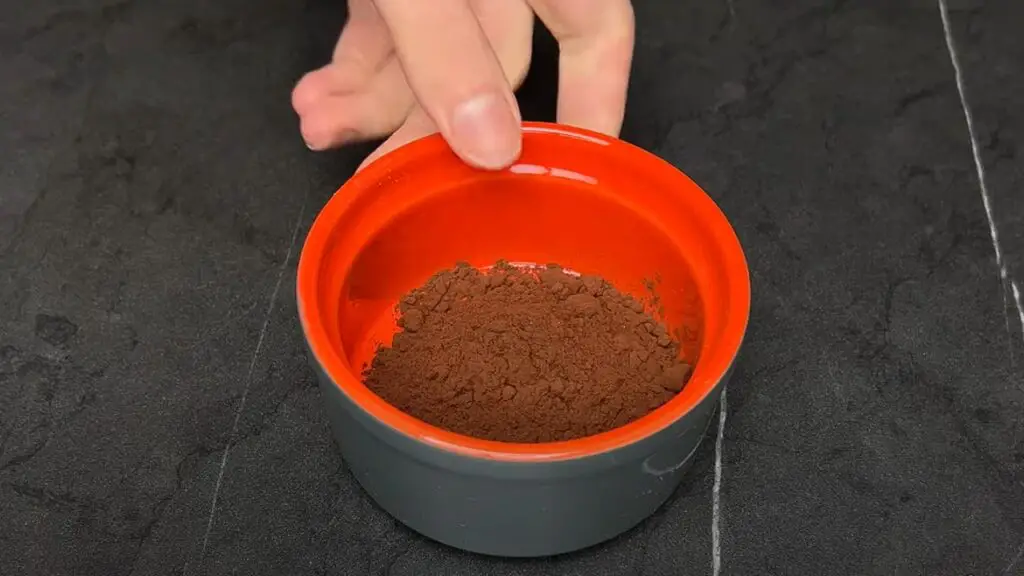
Dust lightly with cocoa powder or add a few chocolate-covered coffee beans.
Step 15: Serve
Let the cake rest at room temperature for 10 minutes before slicing with a warm knife.
My mother-in-law, who is generally critical of my cooking, actually asked me where I bought this coffee-flavored cake the first time I served it. When I told her I made it, she did not believe me until I demonstrated how to make it at our next family gathering. It is now her go-to recipe as well.
Try this also: Loved this coffee dessert cake? Try this creamy, easy No Bake Oreo Dessert – Better Than Oreo Cheesecake!
No-Bake Coffee Cake Dessert – Easy and Delicious!
This no-bake coffee cake is a creamy and indulgent dessert that combines rich coffee flavors with a light, fluffy texture. Effortlessly simple to make, it’s a show-stopping treat perfect for coffee lovers and any special occasion!
8
servings25
minutes3
hours320
kcal3
hours25
minutesKeep the screen of your device on
Ingredients
- For the Cake Base:
4 tablespoons (12 g) (24g) instant coffee
2 tablespoons (20 ml) (20ml) room-temperature milk
3 tablespoons (60ml) sweetened condensed milk
1 3/4 cups (400ml) heavy whipping cream
1 teaspoon (4ml) vanilla extract
- For the Whipped Coffee Topping:
2 tablespoons (6 g) (12g) instant coffee
2 tablespoons (25 g) (25g) sugar
2 tablespoons (30 ml) (30ml) hot water
Directions
- Start by mixing 4 tablespoons of instant coffee with 2 tablespoons (20 milliliters) of room-temperature milk. Stir until the coffee dissolves completely. Add 3 tablespoons of sweetened condensed milk, stir again, and set it aside.

- In a separate bowl, pour 1 ¾ cups (400 milliliters) of heavy whipping cream. Using an electric mixer, whip the cream until it forms stiff peaks. You’ll know it’s ready when the cream holds its shape and doesn’t collapse when you lift the mixer out.
Add 1 teaspoon of vanilla extract to the whipped cream and gently mix. Be careful not to overmix, or the cream might turn too heavy.
- Gently fold the coffee and condensed milk mixture into the whipped cream. Use a mixer on low speed to ensure everything is evenly combined while keeping the mixture light and fluffy.
This is the perfect texture, as you can see in the video here.
- Spoon the creamy mixture into a springform pan or a baking frame placed on a sturdy tray. Smooth out the top with a spatula, making sure it’s even. Using a skewer or the handle of a spoon, gently swirl through the mixture to release any trapped air bubbles.
Cover the pan with plastic wrap and refrigerate for at least 3 hours to set completely.
- In a small bowl, combine 2 tablespoons of instant coffee, 2 tablespoons of sugar, and 2 tablespoons of hot water. Whip the mixture on high speed with an electric mixer for about 4–5 minutes until thick, frothy, and forming stiff peaks.

- Remove the cake from the fridge and carefully take off the springform pan or baking frame. Spread the whipped coffee topping evenly over the top with a spatula. Don’t worry about perfection—it’s all about that creamy goodness!

Recipe Video
Notes
- Adjust the coffee flavor – This coffee-flavored cake has a rich but balanced coffee taste. Add more or less instant coffee to suit your preference.
- Extra creamy texture – Using sweetened condensed milk makes this a super smooth and indulgent condensed milk coffee cake.
- Keep it light and fluffy – For an extra moist coffee cake recipe, don’t overwhip the cream. Keeping it airy gives the cake that perfect melt-in-your-mouth texture!
- Swirl for a smooth texture – Don’t skip this step! It helps your no-bake coffee cake set evenly and prevents air pockets for a perfect, creamy finish.
- Great for make-ahead – This is one of those easy desserts with few ingredients that keep well in the fridge for up to three days, perfect for parties or when you need a treat ready to go!
Nutrition Facts
- Total number of serves: 8
- Calories: 320kcal
- Fat: 21g
- Carbohydrates: 22g
- Protein: 4g
Storage Tips
Proper storage keeps your coffee cake fresh and delicious for several days. These practical tips help you make the most of your creation.
- Keep refrigerated for up to 3 days
- Always cover with plastic wrap or use an airtight container
- Do not freeze, the texture will become grainy
- For leftovers: transform into a trifle by cubing the cake and layering it with fresh cream
I discovered the trifle idea by accident when I had to transport leftover cake to my sister’s house and it fell apart in the car. I quickly layered the pieces with some leftover whipped cream in individual glasses, and everyone thought it was an intentional fancy dessert. Sometimes kitchen disasters lead to the best discoveries.
Quick Variations
This creamy coffee cake recipe is wonderful on its own, but these simple variations create new flavor experiences with minimal extra effort. Each variation maintains the easy preparation while offering different taste profiles.
Mocha Version:
Add 2 tablespoons of cocoa powder to the whipped cream before mixing with coffee.
Flavored Version:
Use almond or orange extract instead of vanilla.
Cookie Base Version:
Press crushed cookies mixed with melted butter into the bottom of the pan before adding the coffee mixture.
Holiday Spice:
Add a pinch of cinnamon and nutmeg to the coffee mixture.
Lighter Option:
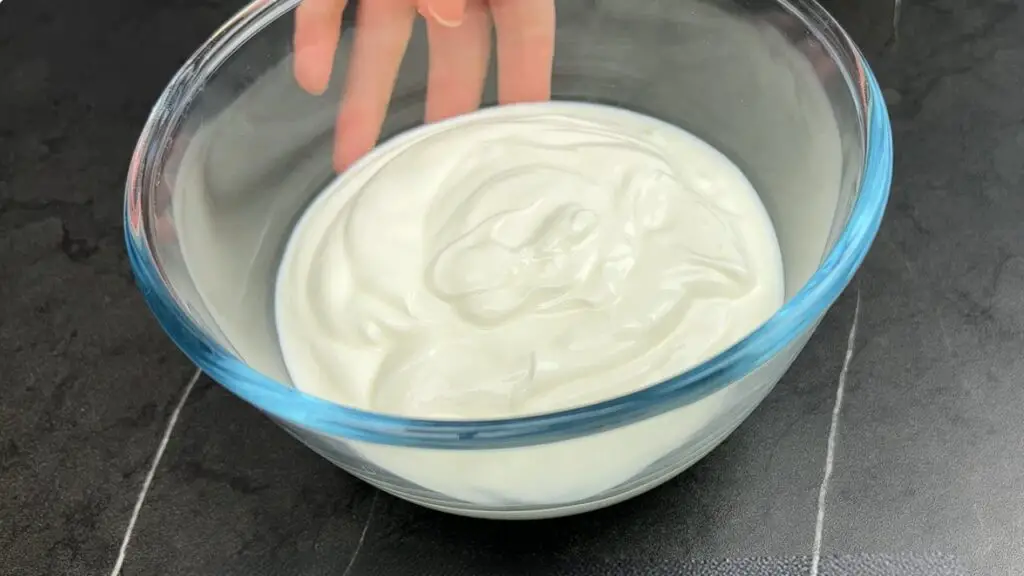
Replace half the heavy cream with Greek yogurt for a tangier, lighter dessert.
The mocha version is my husband’s favorite; he claims it tastes like the expensive coffee shop desserts he loves but cannot justify buying regularly.
I personally prefer the holiday spice version around Christmas time; the warm spices remind me of cozy evenings by the fireplace.
More Delicious Desserts to Try
If you love condensed milk recipes, here are a few more easy, no-fail desserts you have to try!
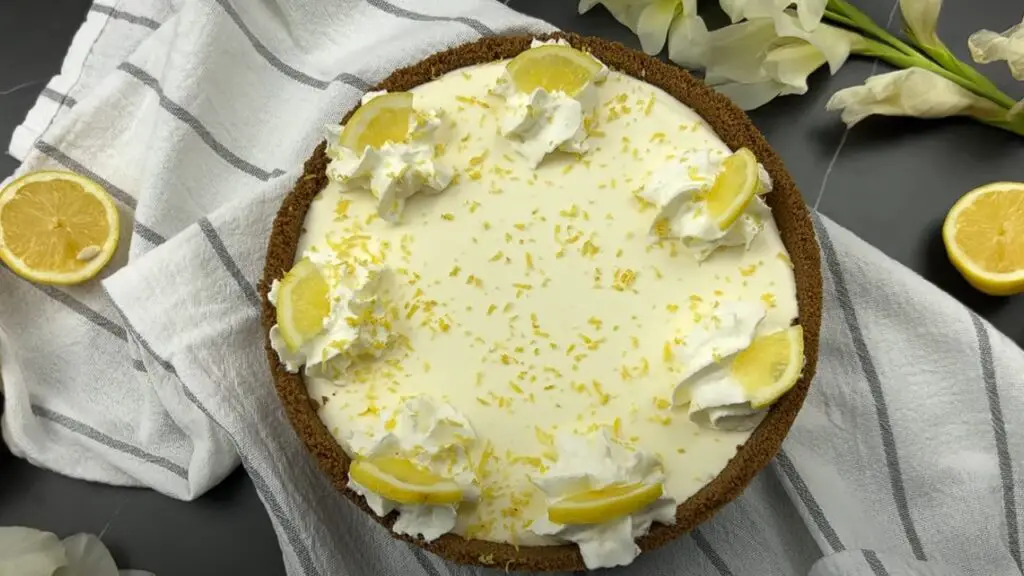
- The Creamiest No-Bake Lemon Pie with Just 4 Ingredients! – This silky, tangy lemon pie is the perfect balance of sweet and citrusy. With just four ingredients, it’s one of the easiest no-bake desserts you’ll ever make!
- How to Make Sri Lankan Milk Toffee with Condensed Milk – This rich, caramel-like treat is made with condensed milk and sugar, creating a chewy, melt-in-your-mouth texture. It’s a classic Sri Lankan sweet that’s incredibly easy to make at home!
- The Easiest Condensed Milk Doughnut Holes Recipe You Will Ever Make – Craving doughnuts but don’t want to deal with yeast and long wait times? These golden, bite-sized doughnut holes come together fast with condensed milk for extra softness and flavor.
- Easy Cheesecake Recipe – A creamy, smooth cheesecake that’s rich but not too heavy. This recipe keeps it simple while delivering that classic cheesecake flavor with the perfect balance of sweetness and tang.
Let me know which one you try next!
I hope this easy coffee cake recipe becomes your go-to dessert for both special occasions and everyday treats. The simplicity and impressive results make it perfect for any situation, and no one needs to know how easy it actually was to make! In my experience, having a few reliable, impressive recipes like this in your collection makes entertaining so much less stressful and more enjoyable.