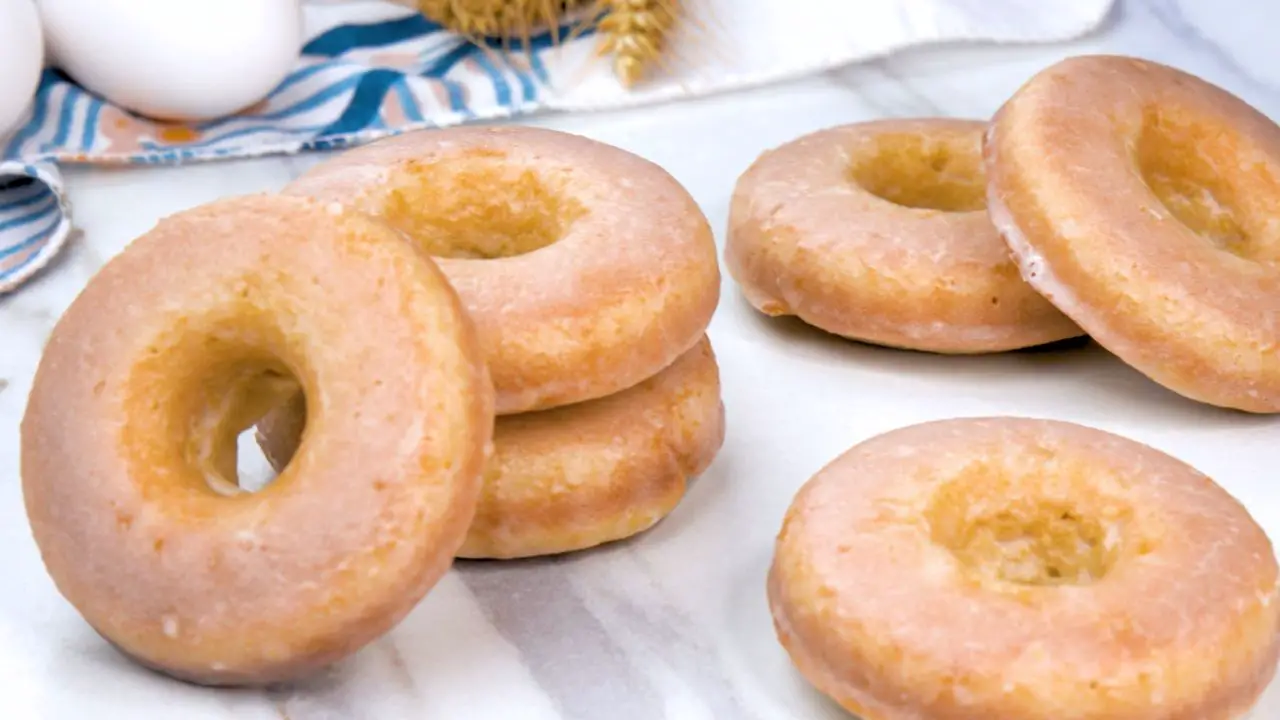
For anyone searching for the best easy doughnut recipe without yeast, let me show you how to make these oven-baked donuts with a simple glaze. They bake up perfectly fluffy and golden in just minutes, with no complicated ingredients. Really, these are better than Krispy Kreme!
Check out my video recipe below to see these easy baked donuts in action, and don’t forget to like and subscribe to my YouTube channel! I share more delicious and easy donut recipes that you won’t want to miss.
What Makes These Donuts Special
These baked donuts are super easy, and if you love donuts but don’t want the greasy mess of deep frying or the long wait for yeast dough to rise. There’s no hot oil to handle, no splatter to clean up, and way less kitchen mess overall.
I started making these when my kids wanted donuts one Saturday morning, but I didn’t have the time (or patience) for traditional donuts.
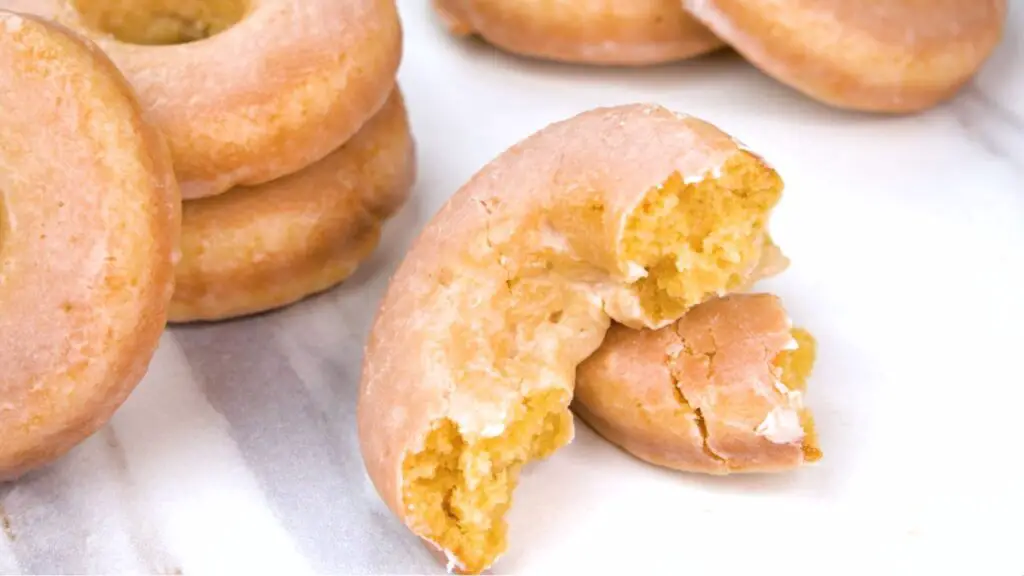
The buttermilk in the batter gives these donuts a slight tang that balances the sweetness perfectly. And that simple sugar glaze creates a thin, crackly shell that makes each bite incredibly satisfying.
Since these doughnuts are baked instead of fried, they don’t give you that heavy, greasy feeling. My family actually prefers these to store-bought donuts now!
Ingredients You’ll Need For These Baked Donuts
Before getting started, gather everything you need for both the donuts and the glaze.
For the Donuts:
- 1/4 cup melted butter
- 1/4 cup canola oil
- 1/2 cup white sugar
- 1/3 cup brown sugar
- 2 eggs
- 1 teaspoon vanilla extract
- 2 1/4 cups flour (plus a bit more if needed)
- 1 1/4 teaspoons baking powder
- 1/4 teaspoon baking soda
- 1 teaspoon salt
- 1 cup milk
- 1 tablespoon white vinegar
For the Glaze:
- 4 cups powdered sugar
- 1/2 cup milk
- Pinch of salt
Equipment You’ll Need
Making these donuts doesn’t require any special tools, just the basics most kitchens already have.
Need to make these delicious baked donuts? This awesome nonstick donut pan (check it out below!) is my secret weapon in the kitchen! With six perfectly sized cavities, it pops out beautiful donuts every time without sticking or breaking – total game-changer for all your donut adventures!
")
TAP ON IMAGE TO LEARN MORE
- Non-Stick Donut pan (this is the only specialty item)
- Two mixing bowls
- Electric mixer (or whisk and some arm strength!)
- Measuring cups and spoons
- Plastic bag for piping
- Wire cooling rack
Top Tip: If you don’t have a donut pan, you can make these in a muffin tin instead. They’ll come out shaped like donut “holes” rather than rings, but they’ll have the same great taste. Just fill each spot in the muffin tin about 2/3 full and check them after 8 minutes, since they bake faster when they’re smaller.
Lets Make This Easy Doughnut Recipe Without Yeast
Follow these simple steps and you’ll have fresh, homemade donuts in about 30 minutes from start to finish.
Preparing the Batter
The key to these donuts is creating a light, fluffy batter that will bake up tender and moist.
Step 1: Preheat your oven to 375°F (190°C) and spray your donut pan with a bit of oil to prevent sticking.
Step 2: Make the buttermilk by combining 1 cup milk with 1 tablespoon white vinegar in a small bowl. Give it a stir and let it sit for about 5 minutes until it looks slightly curdled.
I never really have buttermilk at home, but since this DIY buttermilk recipe is so simple then you can make these doughnuts any time. The acid in the vinegar reacts with the milk proteins to create that tangy flavor we want.
Step 3: In a separate bowl, add your 1/4 cup melted butter, 1/4 cup canola oil, 1/2 cup white sugar, and 1/3 cup brown sugar. Using an electric mixer, give everything a quick mix until well combined.
Step 4: Add 2 eggs, one at a time, mixing for about 20 seconds after each addition. Then add 1 teaspoon vanilla extract and mix again.
Step 5: In another bowl, mix together 2 1/4 cups flour, 1 1/4 teaspoons baking powder, 1/4 teaspoon baking soda, and 1 teaspoon salt. Whisk to combine.
Step 6: Mix the dry ingredients into the wet ingredients in three parts. Add about a third of the flour mixture, mix it in, then pour in half of the buttermilk. Mix again, add another third of flour, then the rest of the buttermilk, and finish with the last portion of flour.
I find this method prevents flour pockets and helps everything blend together smoothly without overmixing. The batter should look smooth and well combined.
Shaping and Baking
Using a plastic bag to pipe the batter makes filling the donut pan much easier and less messy.
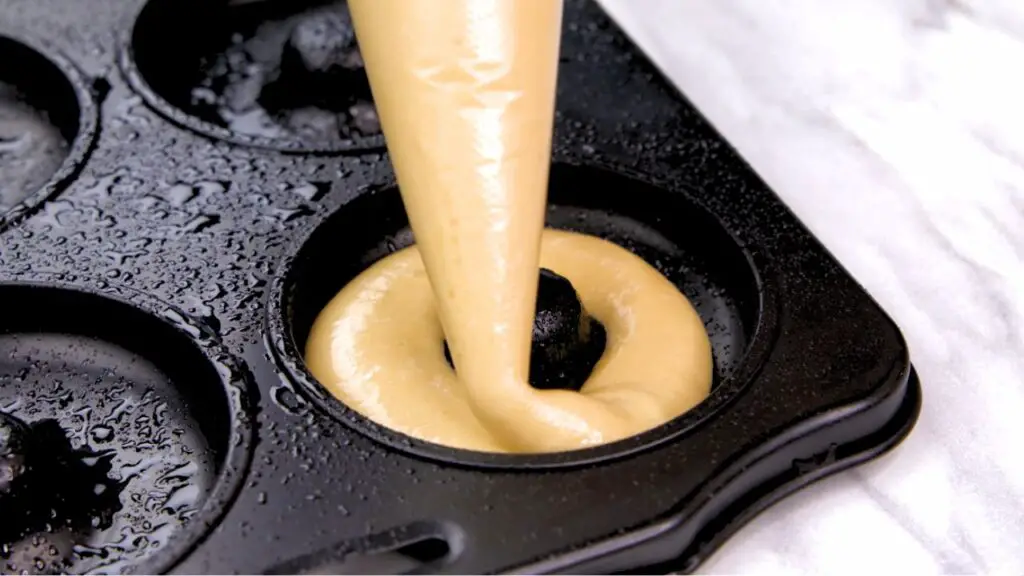
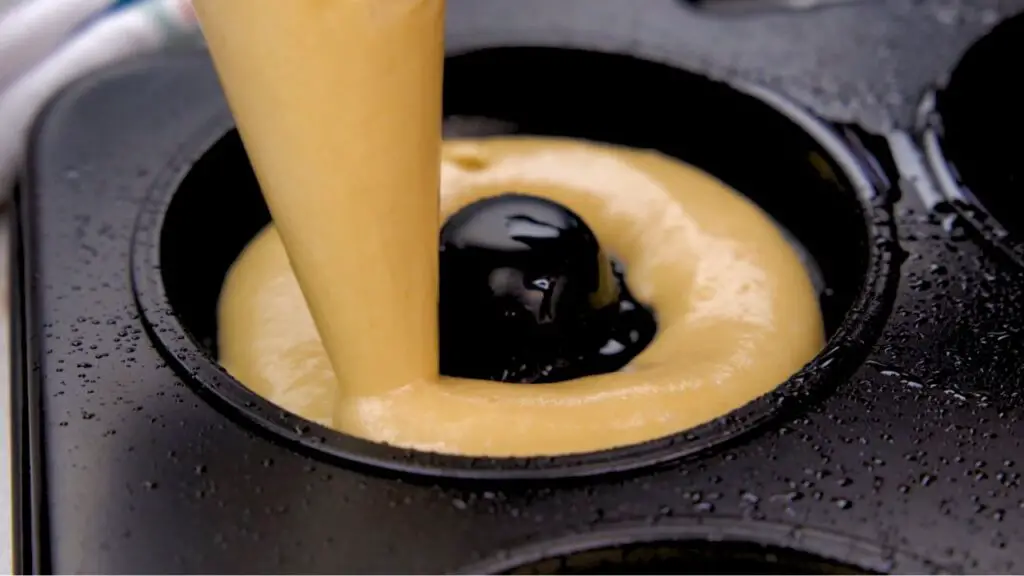
Step 7: Spoon your batter into a large plastic bag and cut off one corner to create a makeshift piping bag. Pipe the batter into the greased donut pan, filling each cavity about 3/4 full.
Top Tip: Don’t overfill the donut cavities or they’ll puff up too much and lose their hole in the middle. If the batter is too thick to pipe easily, add just a tablespoon more milk.
Step 8: Bake the donuts in your preheated oven at 375°F for 10-12 minutes, until they double in size and get golden brown on top.
My oven usually takes exactly 11 minutes, but start checking at 10. They’re done when they spring back slightly when touched.
Step 9: Let the donuts cool in the pan for about 2 minutes, then carefully turn them out onto a wire rack.
Glazing the Donuts
The sugar glaze is what transforms these from good to irresistible. It gives them that classic donut shop look and adds the perfect sweetness.
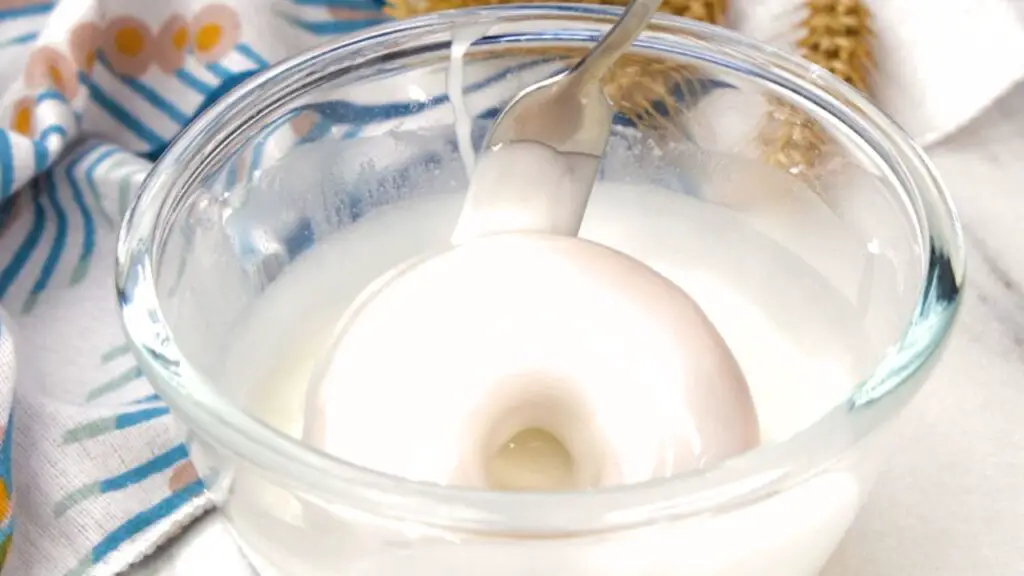
Step 10: While the donuts are cooling (but still warm), make the glaze by mixing together 4 cups of powdered sugar, 1/2 cup milk, and a pinch of salt in a wide bowl until smooth.
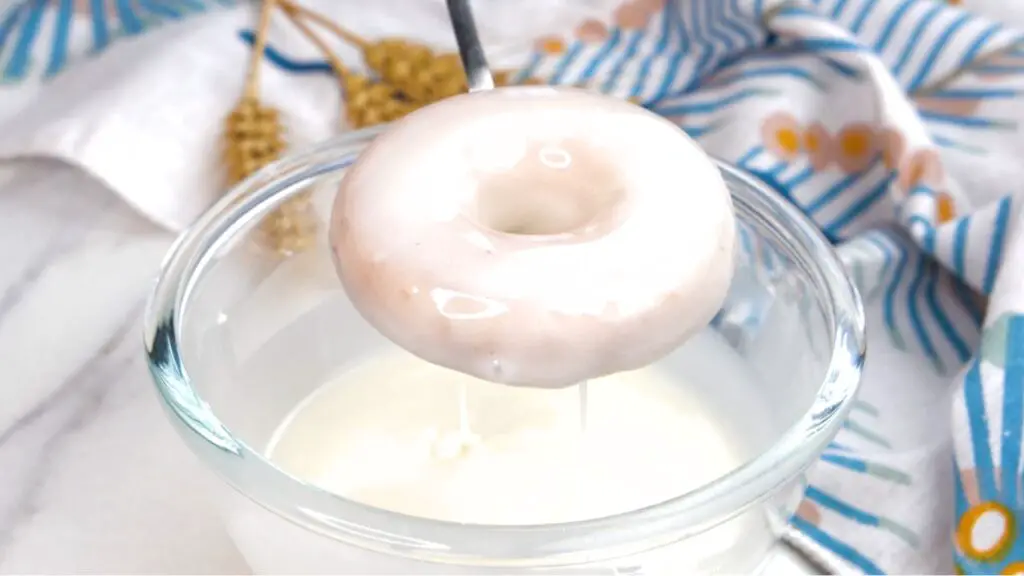
Step 11: Dip each donut fully into the glaze. I like to use two forks to lower the entire donut into the glaze, making sure it gets coated all around.
Step 12: Lift the glazed donut out and let excess glaze drip off for a few seconds before placing it back on the wire rack.

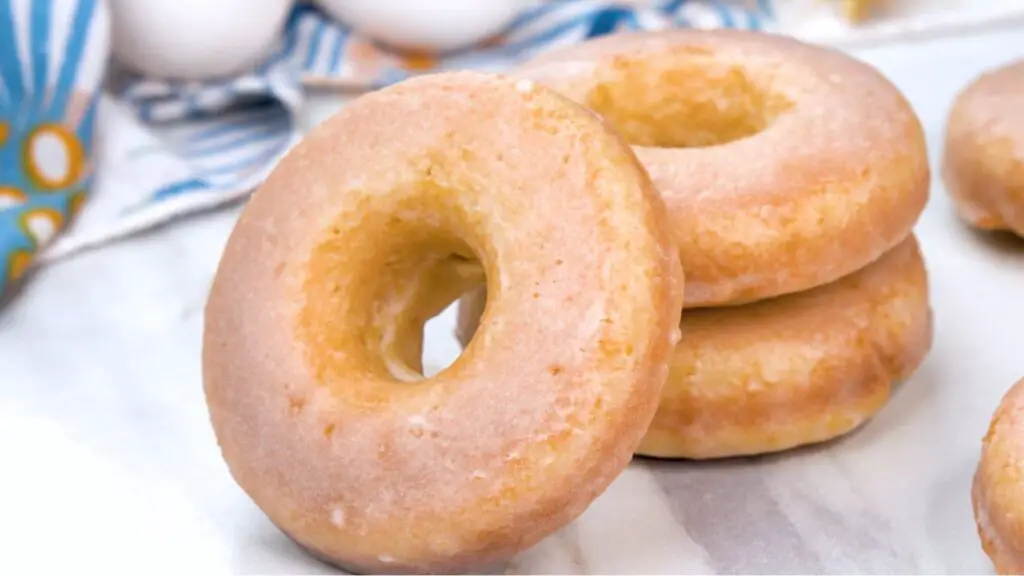
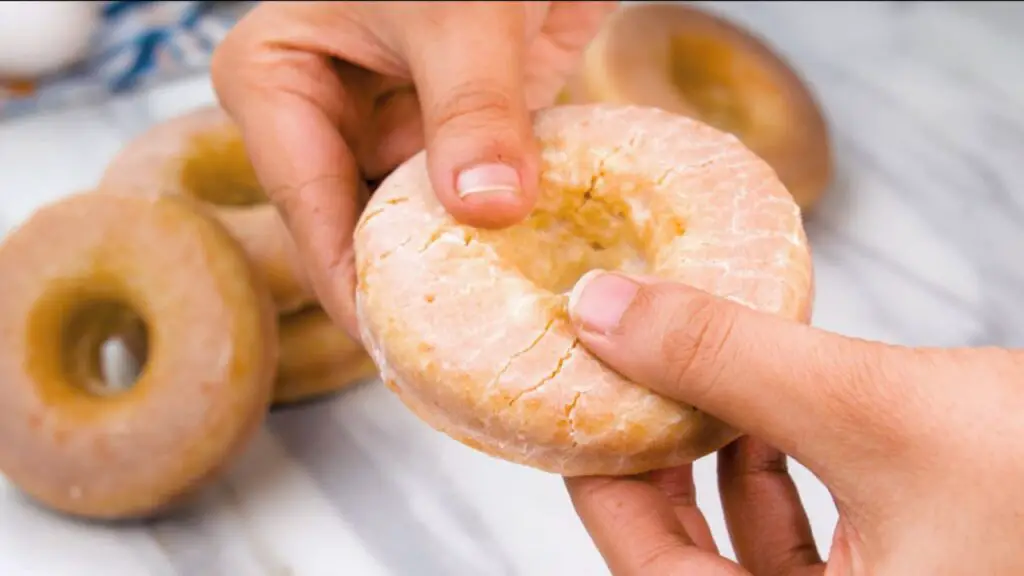
Did You Know? The slight warmth of the donuts helps the glaze adhere better and creates a smoother finish. As they cool completely, the glaze will set into a thin, crackly shell.
These donuts are absolutely best enjoyed fresh, within a few hours of baking. The still-warm donut with that just-set glaze is pretty much donut perfection.
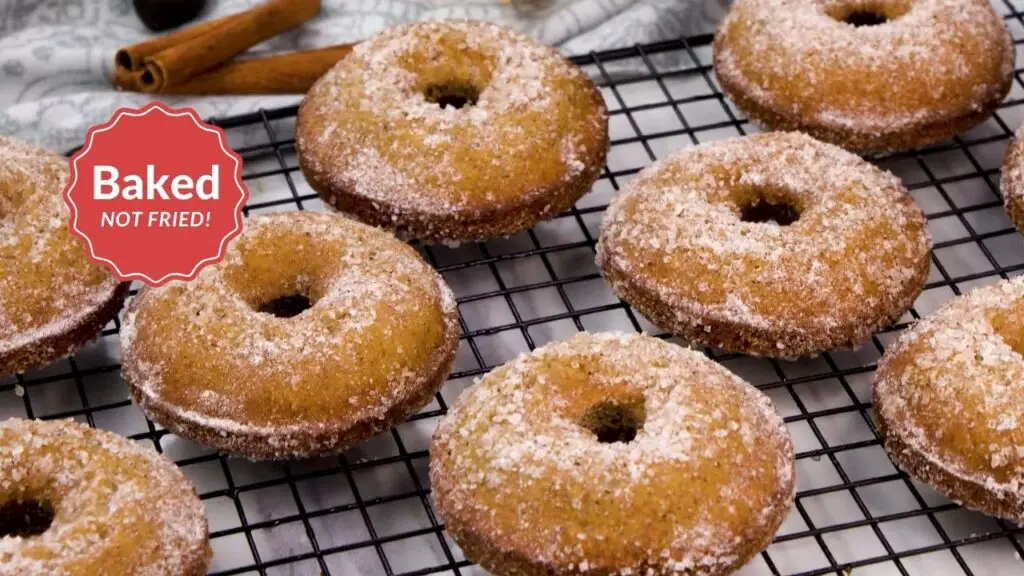
Related Recipe: If you like these baked donuts, then check out also these simple baked apple cider donuts here that are absolutely irresistible and perfect for fall. They have that amazing apple spice flavor.
Simple Baked Donuts Recipe with Perfect Glaze
These homemade baked donuts are fluffy, delicious, and easier than you’d think. No yeast or deep frying needed – perfect for beginners or quick cravings. The buttermilk batter creates incredibly tender donuts that bake up golden in minutes. Topped with a simple sugar glaze, they’re even better than Krispy Kreme but much less work!
12
servings20
minutes12
minutes330
kcal32
minutesKeep the screen of your device on
Ingredients
1/4 cup (60g) melted butter
1/4 cup (50g) canola oil
1/2 cup (100g) white sugar
1/3 cup (75g) brown sugar
2 eggs
1 tsp vanilla extract
1 1/4 tsp baking powder
1/4 tsp baking soda
1 tsp salt
2 1/2 – (300g) cups all-purpose flour
1 cup milk
1 tbsp (15ml) white vinegar
- For the Glaze:
4 cups (500g) powdered sugar
1/2 cup milk
pinch salt
Directions
- Preheat your oven to 375°F (190°C).
- Mix 1 cup milk and 1 tablespoon white vinegar, stirring and letting it sit to curdle slightly.
- In a separate bowl, combine 1/4 cup melted butter, 1/4 cup canola oil, 1/2 cup white sugar, and 1/3 cup brown sugar. Use an electric mixer to mix.
- Add 2 eggs, one at a time, mixing for about 30 seconds after each addition. Add 1 teaspoon vanilla extract.
- In another bowl, whisk together 2 1/2 cups flour, 1 1/4 teaspoons baking powder, 1/4 teaspoon baking soda, and 1 teaspoon salt.
- Gradually add the dry ingredients to the wet ingredients, mixing until combined. Add the prepared buttermilk and mix well.
- Spray a donut pan with oil. Pipe the batter into each mold, filling about three-quarters full.
- Bake for 10 to 12 minutes or until donuts rise and turn golden brown.
- For the glaze, combine 4 cups powdered sugar, 1/2 cup milk, and a pinch of salt in a bowl, stirring until smooth.
- Dip warm donuts into the glaze, ensuring full coverage. Let the excess glaze drip off before placing on a wire rack.
Equipment
 6-Cavity Doughnut Baking PanCheck it out on Amazon here
Recipe Video
Notes
- Watch the consistency: The batter should be thick enough to pipe but not so thick that it’s difficult to squeeze through the bag. If it’s too thick, add a tablespoon of milk. If too runny, add 1-2 tablespoons more flour.
- Don’t overfill the pan: Filling each donut cavity only about 3/4 full gives them room to rise without overflowing. Overfilled cavities can result in donuts without holes.
- Check for doneness: Donuts should spring back when lightly touched and have a light golden color on top. If they sink when touched, they need a bit more time.
- Perfect glaze thickness: The glaze should coat the back of a spoon but still run off slowly. If too thick, add milk 1 teaspoon at a time. If too thin, add more powdered sugar, 2 tablespoons at a time.
- Easy filling method: No piping bag? Use a zip-top bag with the corner cut off. Or spoon batter into a measuring cup with a spout for easier pouring into the donut pan.
Nutrition Facts
- Total number of serves: 12
- Calories: 330kcal
- Fat: 9g
- Carbohydrates: 58g
- Protein: 2g
Variations to Try
Once you’ve mastered the basic recipe, here are some delicious twists to try:
Different Glazes:
- Chocolate glaze: Add 2 tablespoons cocoa powder to the glaze mixture
- Maple glaze: Replace 1/4 cup of the milk with maple syrup
- Lemon glaze: Add 1 tablespoon lemon juice and 1 teaspoon zest
Toppings:
- Sprinkle chopped nuts, shredded coconut, or colored sprinkles on the wet glaze
- Crumbled bacon bits (don’t knock it till you try it!)
- Mini chocolate chips
Flavor Variations:
- Add 1 teaspoon cinnamon and 1/4 teaspoon nutmeg to the dry ingredients
- Mix in 2 tablespoons of cocoa powder for chocolate donuts
- Fold in 1/2 cup mini chocolate chips into the final batter
Storage and Make-Ahead Tips
These donuts are definitely best eaten the day they’re made, but there are a few ways to extend their life or prep ahead.
Short-Term Storage:
- Room temperature: Store in an airtight container for up to 2 days
- Refrigerator: Will keep for 3-4 days, but the texture isn’t quite as good
Make-Ahead Options:
- Prepare the batter up to a day ahead and store it covered in the refrigerator
- Bake the donuts and store them unglazed, then glaze right before serving
Note: These donuts don’t freeze well once glazed, as the glaze becomes soggy when thawed.
More Donut Recipes to Try
If you enjoyed these baked donuts, check out these other donut recipes that I think you’ll love:
- Bambalouni – Best Crispy Fried Donuts Recipe – If you’re in the mood for something more traditional with that amazing crispy exterior, these Tunisian-style fried donuts are absolutely worth trying.
- This EASY Air Fryer Donuts Recipe is a Must Try! – Want something between baked and fried? These air fryer donuts give you that slight crispness on the outside while still being healthier than deep-fried versions.
- Baked Protein Donuts – Over 13g of Protein – For a healthier option that’s perfect after a workout or for a more filling breakfast, these protein-packed donuts taste amazing while giving you over 13g of protein per serving.
Did you enjoy this easy doughnut recipe without yeast? Leave a comment below and let me know how your baked donuts turned out! Do you have any questions about the process or ingredients? I love hearing from you and am happy to help troubleshoot if needed.