Let me show you how I made this rich and creamy old fashioned vanilla ice cream recipe using just 3 simple ingredients and no ice cream maker needed!
Watch my video below for a simple, step-by-step recipe for creating this delicious old fashioned Vanilla Ice Cream. If you enjoy it, don’t forget to like and subscribe for more easy and tasty recipes!
What Makes Old Fashioned Vanilla Ice Cream Recipe Special
This homemade vanilla ice cream is so much better than store-bought. It has this rich, custardy texture, and you can really taste the real vanilla in it. Not that artificial stuff they put in the commercial brands.

What I love about this particular recipe is how it captures the essence of traditional ice cream while simplifying the process that I will show you below.
By using condensed milk, we get that same rich sweetness without having to create a custard base from scratch. This keeps the real taste but is simple enough to make whenever you want.
Simple Ingredients for Extraordinary Results
What I love about this homemade ice cream is how simple it is. You just need three things to make something that tastes as good as store-bought, or even better:

- 2 cups heavy cream (also called heavy whipping cream)
- 1 can (14 oz) sweetened condensed milk
- 2 teaspoons pure vanilla extract
Why These Ingredients Work So Well Together
The heavy cream makes this ice cream rich and smooth, just like the expensive stuff from the store. When you whip it, it gets air inside that makes the ice cream light and easy to scoop.

Sweetened condensed milk does a few jobs at once. It makes the ice cream sweet, helps keep it creamy, and stops those annoying ice crystals from forming. Plus, you do not have to cook any custard base, which saves you a ton of time compared to the old-school way of making ice cream.
Pure vanilla extract gives you that classic taste that everyone loves in vanilla ice cream. In my experience, real vanilla extract works way better than the fake stuff. If you feel like making it even fancier, you could scrape the seeds from an actual vanilla bean instead.
Equipment You Will Need
No specialized ice cream maker is required for this easy ice cream recipe! You only need basic kitchen tools:

- Electric mixer (stand mixer or hand mixer)
- Large mixing bowl
- Rubber spatula
- Freezer-safe container (a loaf pan works perfectly)
- Plastic wrap or container lid
Top Tip: A metal loaf pan works particularly well for freezing ice cream because metal conducts cold more efficiently than glass or plastic, helping your ice cream freeze more evenly.
Step-by-Step Instructions
Just follow these easy steps, and you will end up with vanilla ice cream that tastes like the good old days.

Step 1: Prepare Your Workspace
Before beginning, make sure your mixing bowl and beaters are clean and dry. For the best results, I find that chilling the bowl and beaters in the freezer for about 15 minutes helps the cream whip faster and hold more air.

Step 2: Whip the Heavy Cream
Pour 2 cups of cold heavy cream into your mixing bowl. Using an electric mixer on medium-high speed, whip the cream until stiff peaks form. This typically takes about 3-4 minutes.
Note: Be careful not to over-whip the cream. You will know you have reached stiff peaks when you lift the beaters and the cream stands up in firm peaks that do not fold over at the tips.
Step 3: Incorporate Condensed Milk and Vanilla
Once your cream is whipped to stiff peaks, gently fold in the sweetened condensed milk and vanilla extract. Use a rubber spatula and a light hand to maintain as much air in the mixture as possible.

Did You Know? The air incorporated during the whipping process (called overrun in commercial ice cream production) is what gives ice cream its light, scoopable texture. Without sufficient air, ice cream would freeze solid like an ice cube!
Step 4: Transfer to Freezer Container
Pour or scoop your ice cream mixture into a freezer-safe container. A standard loaf pan works wonderfully for this purpose. Use your spatula to smooth the top of the mixture.

Step 5: Cover and Freeze
Cover the container tightly with plastic wrap, ensuring it touches the surface of the ice cream to prevent ice crystals from forming. For even better protection, you can place a layer of plastic wrap directly on the surface of the ice cream before covering the container.

Step 6: Freeze Until Firm
Place the container in the freezer for at least 7 hours, or preferably overnight. This allows enough time for the ice cream to freeze completely while maintaining its creamy texture.
Top Tip: Placing your ice cream container in the back of the freezer where it is coldest will help it freeze more quickly and evenly.
Related Recipe: If you love easy, no-churn ice cream recipes, you might also enjoy this delicious Oreo Ice Cream variation!
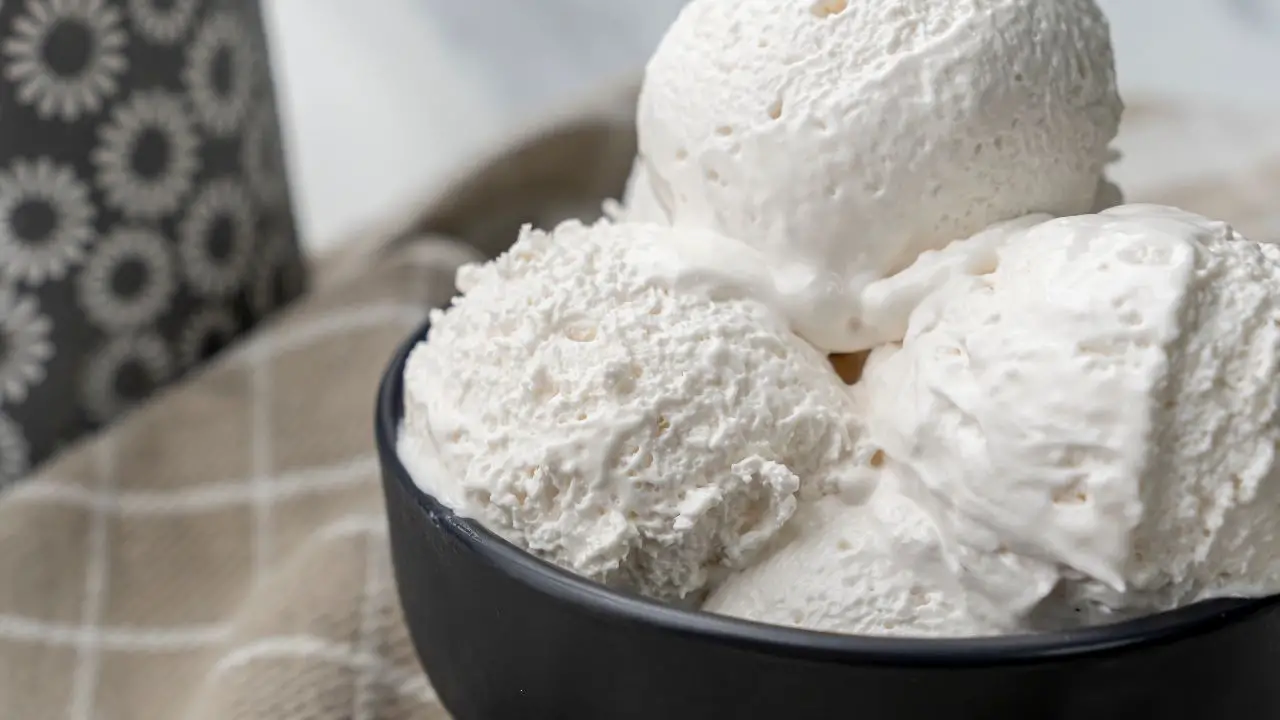
Super Easy Old-Fashioned Vanilla Ice Cream
This no-churn vanilla ice cream is made with just three simple ingredients, making it incredibly easy to prepare. Despite its simplicity, the result is a rich, creamy, and flavorful treat that rivals store-bought versions.
8
servings10
minutes7
hours371
kcal7
hours10
minutesKeep the screen of your device on
Ingredients
2 cups (480 ml) heavy cream
1 can (414 ml ) sweetened condensed milk
1 teaspoon (5 ml) pure vanilla extract
Directions
- Start by whipping 2 cups of heavy cream using an electric mixer on medium-high speed until stiff peaks form, taking about 3 to 4 minutes.
- Once the whipping cream is ready, gently fold in one can of sweetened condensed milk and one teaspoon of vanilla extract until combined.
- Transfer the mixture into a freezer-safe container, like a loaf pan, smoothing out the top with a spatula.
- Cover the container tightly with plastic wrap, ensuring it is sealed properly to prevent freezer burn.
- Place the container in the freezer and let it freeze for 7 hours, which is enough time for it to become firm yet creamy.
Recipe Video
Notes
- Dairy-Free Version: Want an easy ice cream recipe without dairy? Substitute heavy cream with full-fat coconut cream and use dairy-free sweetened condensed milk.
- Softer Scooping: Let your homemade ice cream recipe sit at room temperature for 5-10 minutes before scooping for the best texture.
- Best Enjoyed Fresh: Since this old-fashioned vanilla ice cream recipe has no preservatives, enjoy it within 2 weeks for the best texture and flavor.
- Freeze in a Metal Pan: Metal conducts cold better than plastic, helping your ice cream recipe with condensed milk freeze more evenly.
Nutrition Facts
- Total number of serves: 8
- Calories: 371kcal
- Fat: 26g
- Carbohydrates: 26g
- Protein: 5g
Ice Cream Serving Suggestions
Once your ice cream is frozen, you can finally enjoy what you made with barely any work. Here are some tasty ways to serve your homemade vanilla ice cream:

- In a bowl with fresh berries or sliced fruit
- On top of warm apple pie or peach cobbler
- Between two mayonnaise cookies for a homemade ice cream sandwich
- With a drizzle of chocolate sauce or caramel
- In a cone for a classic ice cream experience
- Alongside a slice of birthday cake
- As the base for a root beer float
For the best scooping experience, let the ice cream sit at room temperature for about 5 minutes before serving. This slightly softens the ice cream and makes it easier to scoop.
Flavor Variations
While classic vanilla stands on its own, this ice cream recipe with condensed milk is incredibly versatile. Here are some variations you might enjoy trying:
Chocolate Chip Vanilla

Fold in 1/2 cup of mini chocolate chips after combining all the ingredients and before freezing.
Cookie Dough

Add 1/2 cup of small pieces of edible cookie dough to the mixture before freezing.
Strawberry Swirl
Prepare a strawberry sauce by cooking 1 cup of chopped strawberries with 2 tablespoons of sugar until soft. Cool completely, then swirl through the ice cream mixture before freezing.
Mint Chocolate Chip
Replace the vanilla extract with 1 teaspoon of mint extract and fold in 1/2 cup of mini chocolate chips.
Note: When adding mix-ins, make sure they are small enough to be enjoyable when frozen. Large chunks can become too hard when frozen.
Troubleshooting Common Issues
Even with such a simple recipe, you might encounter a few challenges. Here are solutions to common ice cream problems:

Ice Cream Is Too Hard
If your ice cream freezes too hard to scoop easily, this is usually because it does not have enough fat or air incorporated.
Solution: Make sure you whip the cream to stiff peaks before folding in the other ingredients. Also, allowing the ice cream to sit at room temperature for 5-10 minutes before serving helps make it more scoopable.
Ice Crystals Have Formed
Ice crystals can form if the ice cream is not stored properly or if it partially melts and refreezes.
Solution: Always store ice cream with plastic wrap directly touching its surface. Keep your freezer at a consistent temperature and avoid repeated thawing and refreezing.
Ice Cream Is Too Soft
If your ice cream is not firming up properly, it might have too much air or the freezer might not be cold enough.
Solution: Make sure your freezer is set to 0°F (-18°C) or below. Also, avoid overwhipping the cream, which can incorporate too much air.
Storage Tips
Proper storage is crucial for maintaining the quality of your homemade ice cream:

- Keep ice cream in an airtight container to prevent freezer burn
- Store ice cream in the back of the freezer, where the temperature is most consistent
- Place a piece of plastic wrap directly on the surface of the ice cream before putting the lid on
- Homemade ice cream is best enjoyed within 2 weeks of making it
Did You Know? Commercial ice cream contains stabilizers and emulsifiers that help maintain its texture during long-term storage. Since homemade ice cream lacks these additives, it is best enjoyed fresh.
Final Thoughts
Old fasioned vanilla ice cream, like this, is simple and traditional in the best way. With just 3 ingredients, you can make real homemade ice cream without fancy equipment or difficult steps. What you get is creamy and full of flavor, tasting just like those ice creams from summers when you were a kid.

I find that there is something truly special about serving homemade ice cream to friends and family. Their faces light up with surprise and delight when they taste the rich, creamy texture and pure vanilla flavor. It is these simple pleasures that make cooking from scratch so rewarding.
Whether you are making this recipe for a special occasion or simply treating yourself on a warm evening, I hope you enjoy the process and the delicious results. Happy ice cream making!
More Easy Dessert Recipes to Try
If you loved this homemade ice cream recipe, here are more simple and delicious dessert ideas that you can make with minimal ingredients:

- Sri Lankan Milk Toffee with Condensed Milk – A rich, creamy treat made with condensed milk and sugar.
- No-Bake Lemon Pie with Just 4 Ingredients – A tangy, refreshing pie that requires no baking!
- Just Mix 2 Ingredients with Condensed Milk for the Best Ice Cream Ever! – Another ridiculously easy ice cream recipe you’ll love!
These desserts are quick, beginner-friendly, and perfect for satisfying your sweet cravings. Let me know which one you try next!