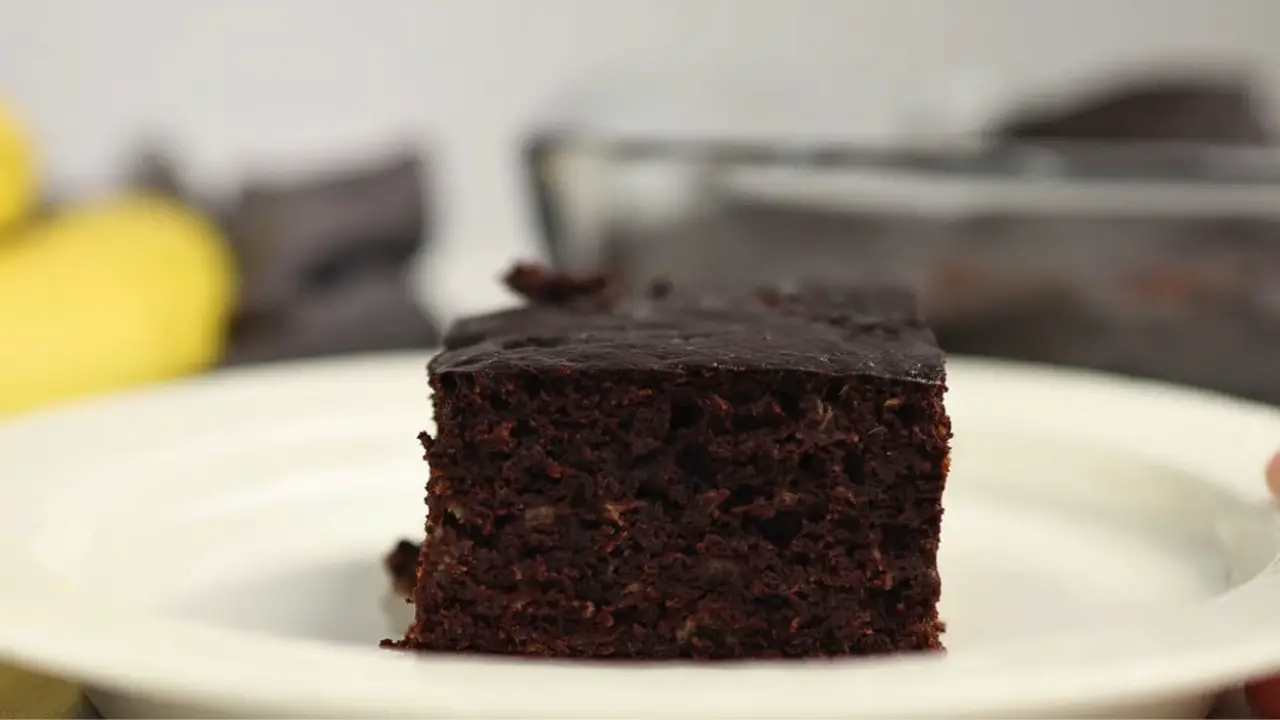
Do you have some bananas, eggs, and cocoa powder? That is all you really need to make these 4-Ingredient Healthy Brownies recipe— that satisfy chocolate cravings without the guilt. With just four simple ingredients, they make for a perfect treat when you want something sweet but do not want all the sugar and flour of regular brownies.
Loved this flourless healthy brownie recipe? Check out the quick video below to see how easily this recipe comes together! Like and subscribe for more simple, good-for-you chocolate treats.
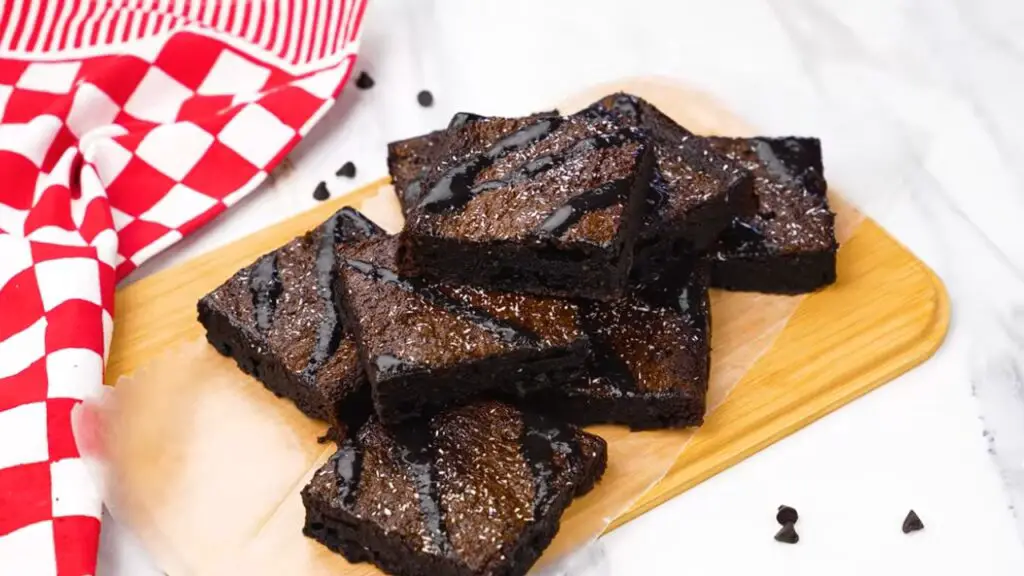
What Makes These 4-Ingredient Banana Brownies Special
Finding desserts that taste good while still being relatively healthy can be difficult. But I must say, these brownies give me my chocolate fix with no flour or added sugar.
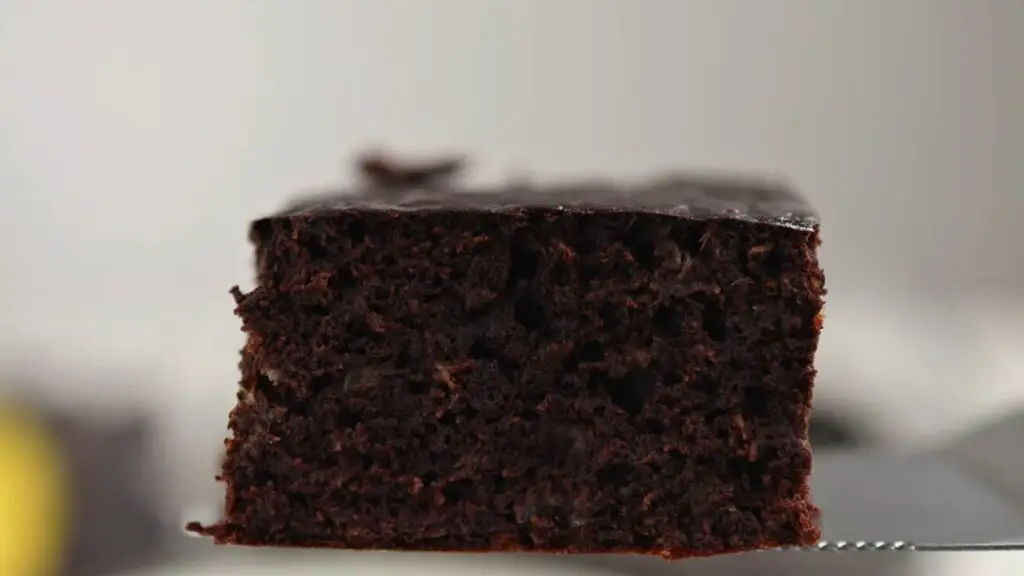
When I first tried these flourless banana brownies, I was skeptical that something so simple could taste like a real dessert. The texture surprised me – fudgy yet light, with a rich chocolate flavor that does not taste like a compromise.
Note: These brownies are naturally gluten-free, making them perfect for those with wheat sensitivities.
Ingredients (Makes 9 servings)
Just four simple ingredients come together to create something nice and chocolatey. The magic of this healthy brownie recipe with cocoa powder lies in its simplicity.
- 4 ripe bananas (about 2 cups mashed or 450g)
- 4 large eggs (150g)
- 1/2 cup unsweetened cocoa powder (60g)
- 1 teaspoon baking powder (5g)
Top Tip: For the richest chocolate flavor, use Dutch-processed cocoa powder instead of regular.
Dutch-processed cocoa gives these brownies a smoother, richer chocolate flavor without the bitter edge that regular cocoa sometimes has.
 Dutch Processed Cocoa Powder, Unsweetened, Extra Rich Cocoa Flavor, 22-24% Fat, Premium Culinary Grade, Non-GMO Sourced, Fair Trade Certified, Perfect Cocoa for Baking and Cooking")
TAP ON IMAGE TO VIEW PRICE
I recommend using bananas with some brown spots for optimal sweetness, but not completely brown. The ripeness directly affects the final sweetness of your brownies.
For cocoa powder, a higher quality brand will give you a more intense chocolate flavor, which helps these brownies taste more indulgent.
Optional Add-ins
While the basic recipe stands perfectly on its own, sometimes a little customization makes it even better. These optional ingredients can enhance the brownies without compromising their healthy their low-calorie healthy brownies profile.
- 1/4 teaspoon salt for enhanced flavor (salt actually intensifies the chocolate taste)
- 1 teaspoon vanilla extract for depth of flavor
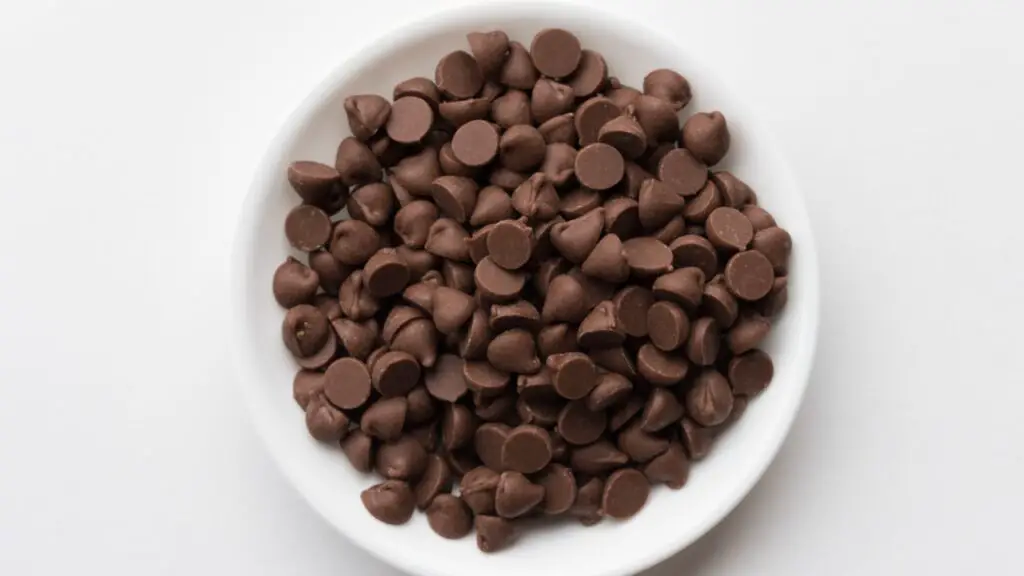
- 1/4 cup gluten-free semi-sweet chocolate chips for pockets of melty chocolate
- 1/4 cup chopped walnuts or pecans for texture and healthy fats
- 1 teaspoon cinnamon for a warming spice note
- 1 tablespoon instant coffee to enhance the chocolate flavor
I often add a little vanilla and salt to mine, as these two ingredients really elevate the chocolate flavor without changing the brownie recipe’s low sugar profile. For special occasions, I might include some dark chocolate chips for extra indulgence.
Step-by-Step Instructions
Follow the steps below to make this delicious Flourless Healthy Brownies recipe with just four simple ingredients. These brownies are easy to prepare, naturally gluten-free, and perfect for a guilt-free treat!
Step 1: Prepare Your Eggs
The eggs provide structure and help bind the brownies together. They are crucial in a flourless recipe like this one.
Start by adding 4 eggs to a mixing bowl. Give them a quick mix so the whites and yolks combine well. I find that room-temperature eggs mix more easily than cold ones straight from the refrigerator. A fork or whisk works perfectly here – no fancy equipment is needed.
Step 2: Add Cocoa Powder
Cocoa powder is the star ingredient that makes these 4 ingredient brownies healthy and so chocolatey despite having no added sugar. It brings rich flavor without extra calories.
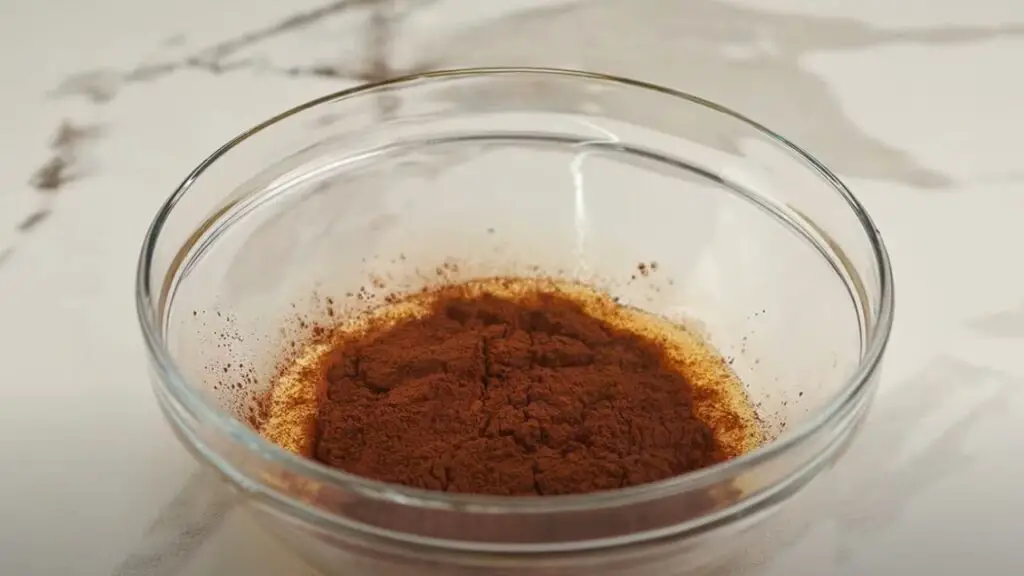
Next, add half a cup of cocoa powder and mix until you have a thick, chocolatey mixture with no dry spots. This mixture will be quite thick and paste-like, which is exactly what we want.
Make sure to break up any lumps of cocoa powder for the smoothest result. I personally use Dutch-processed cocoa powder for a smoother taste, but any unsweetened cocoa works fine.
Step 3: Add Baking Powder
Add one teaspoon of baking powder and mix again. Make sure your baking powder is fresh for best results. If you are not sure, test it by putting a small amount in hot water – it should bubble vigorously if it is still active.
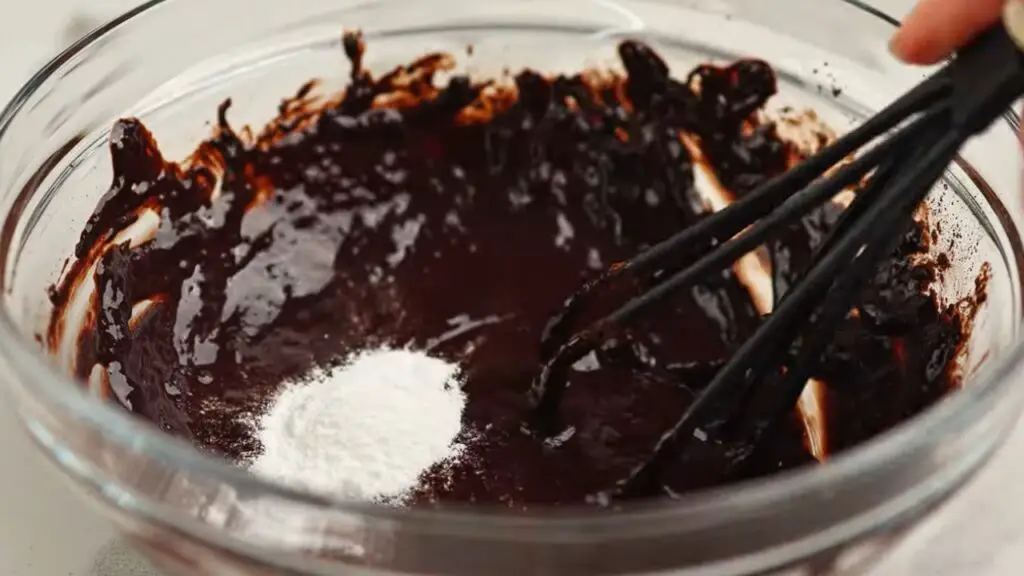
I tried making these both with and without baking powder and found that just a teaspoon gives them the perfect balance – still fudgy in the middle but with enough structure to hold together when sliced.
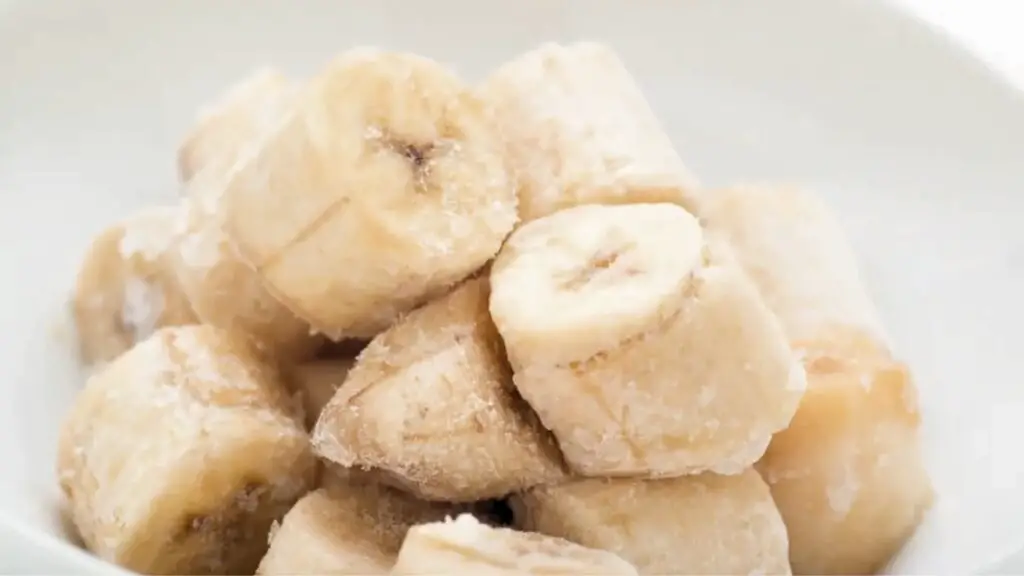
Step 4: Prepare the Bananas
Bananas provide both sweetness and moisture. Their ripeness level directly affects your final result.
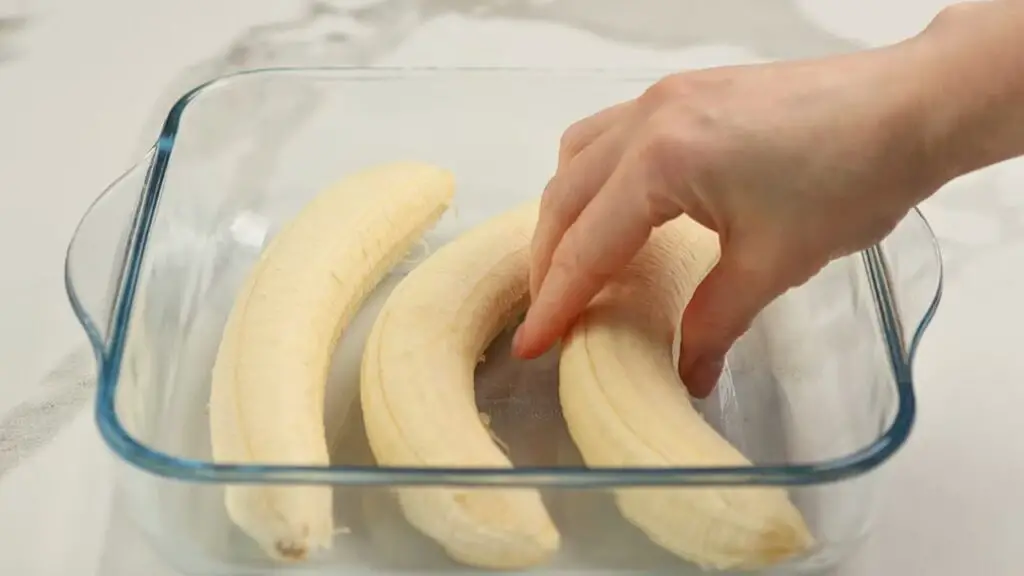
Peel 4 bananas for this recipe. The perfect bananas for this recipe have some brown spots but are not completely brown or mushy. Too ripe and your brownies might be too wet; not ripe enough and they might not be sweet enough. For this recipe, you want bananas that are ripe and sweet but still firm enough to handle easily.
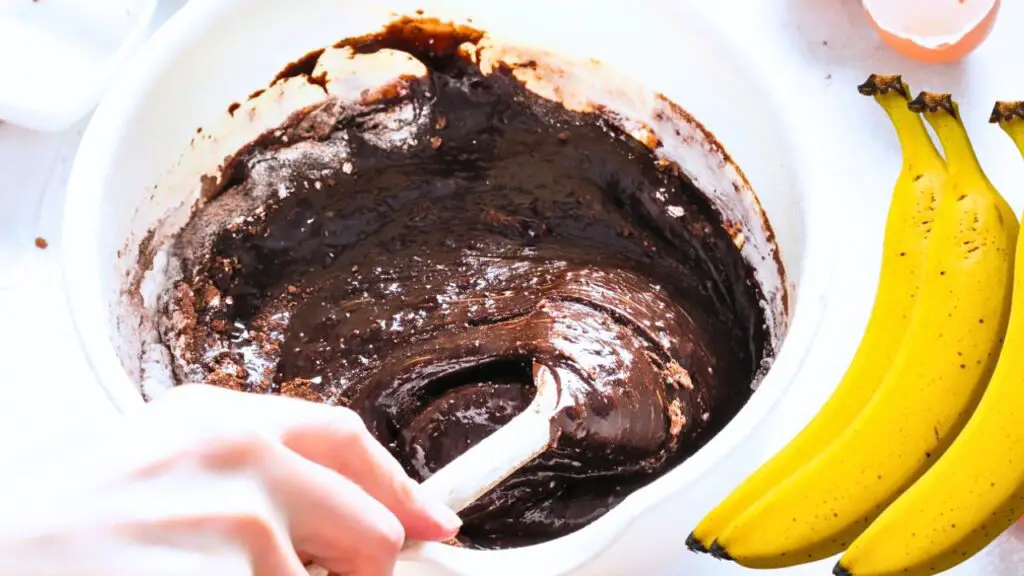
Step 5: Combine and Mash
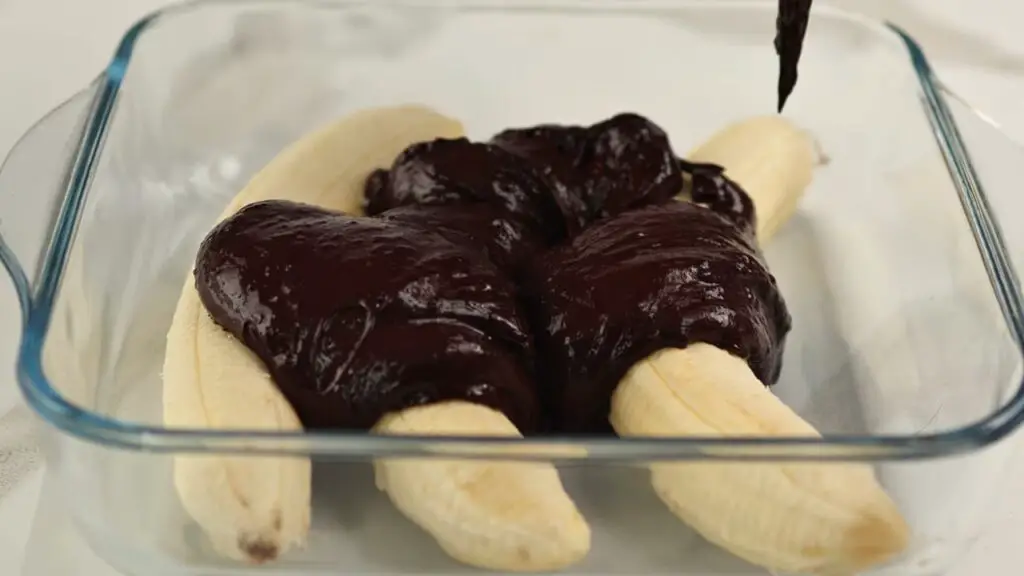
Place the bananas in a square baking dish, then pour the chocolaty mixture on top. Using a fork or potato masher, mash the bananas and mix everything together right in the baking dish.
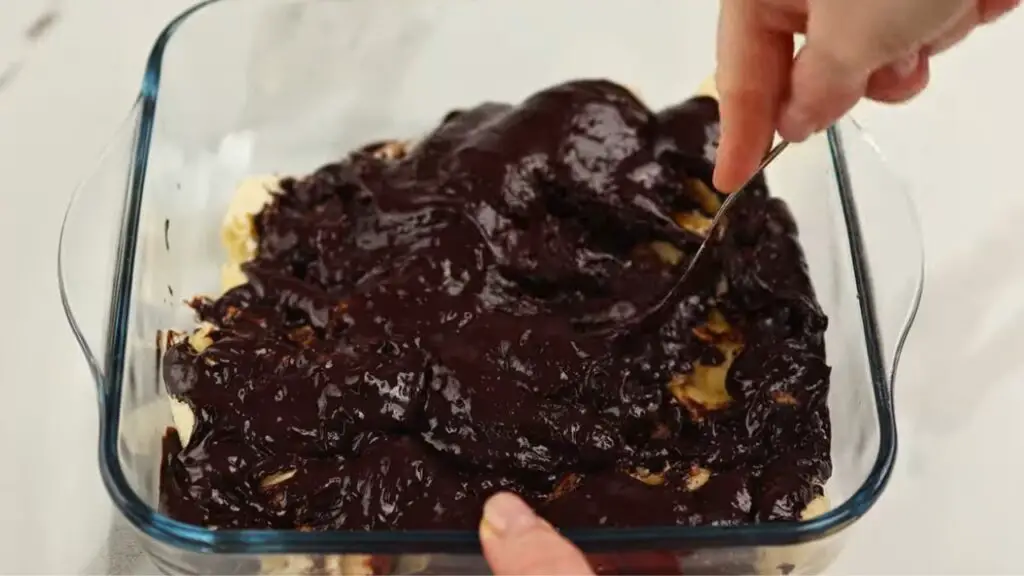
I find this method easier than trying to mash bananas in a separate bowl first. Aim for a relatively smooth mixture, but a few small banana chunks add a nice texture to the finished brownies.
Top Tip: Add a small handful of chocolate chips to the batter if you’re feeling like a rebel. They create these little pockets of melty goodness that take these brownies to another level. Sometimes I sprinkle some on top too – because why not?
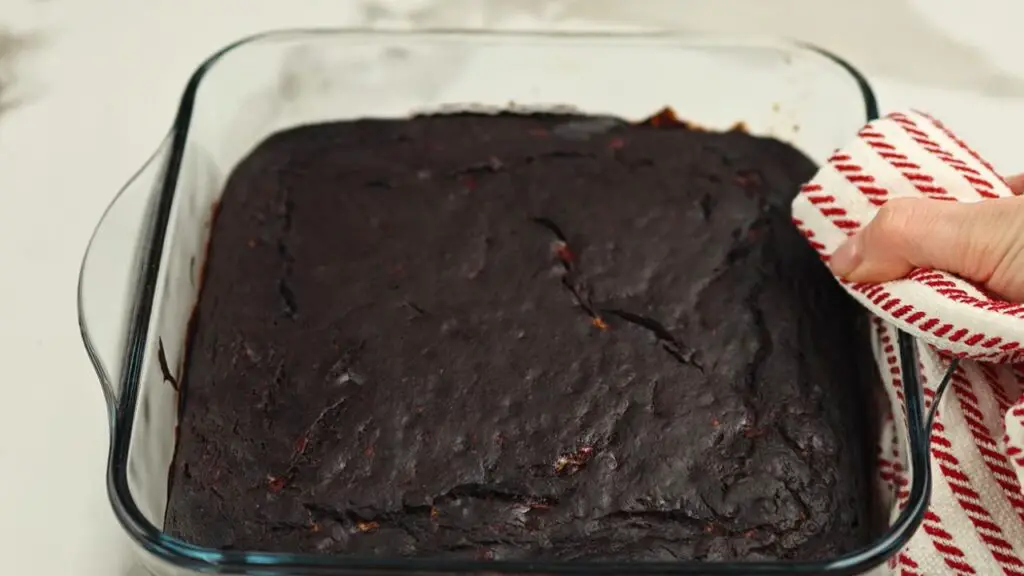
Step 6: Bake the Brownies
Bake at 350°F for 25-30 minutes until set but slightly soft on top. Every oven is different, so start checking at 23 minutes. The top should look dry and set but feel slightly soft when gently pressed.
I prefer to slightly underbake these rather than overbake them – this keeps them moist in the middle. A toothpick inserted into the center should come out with a few moist crumbs but not wet batter.
Top Tip: A metal pan will cook these faster than glass, so check 3-5 minutes earlier if using metal.
Step 7: Cooling and Serving
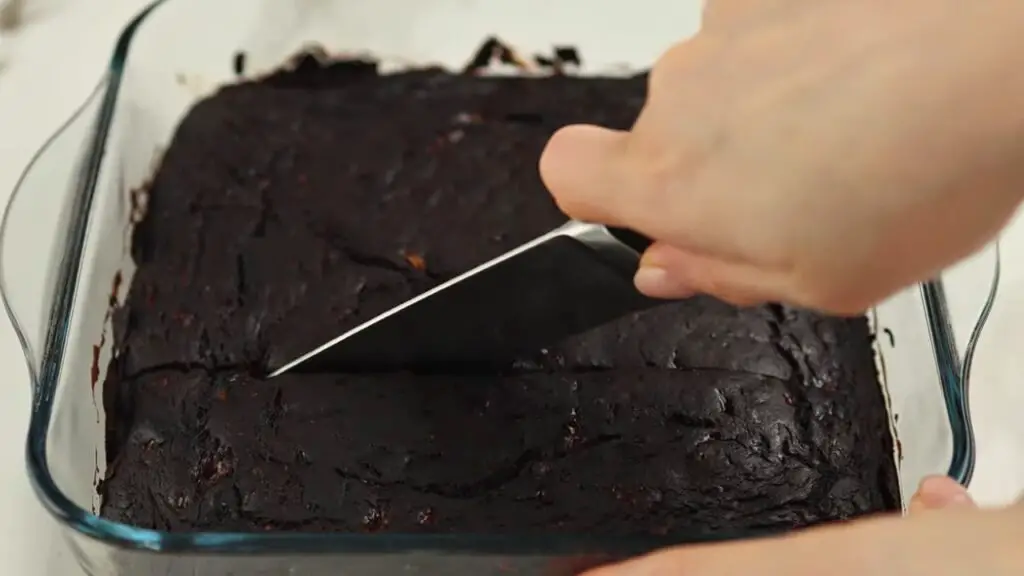
Let the brownies cool in the pan for at least 15 minutes before slicing. For clean cuts, a knife dipped in hot water and wiped dry between slices works beautifully.
These brownies taste great warm or at room temperature. I sometimes enjoy them chilled from the refrigerator as well, which gives them an almost fudge-like quality.
Related Recipe: Fudgey Sweet Potato Brownies Without Flour or Sugar! – A rich, naturally sweet brownie alternative made with nutritious sweet potatoes instead of flour or sugar!
How to Make Healthy Banana Brownies
9
servings10
minutes30
minutes100
kcal40
minutesDo you have some bananas, eggs, and cocoa powder? That’s all you need to make these flourless brownies that satisfy chocolate cravings without the guilt. Rich chocolate flavor with no flour or added sugar – just natural sweetness from ripe bananas.
Keep the screen of your device on
Ingredients
4 pieces ripe bananas
4 pieces eggs
1/2 cup (60g) unsweetened Dutch-processed cocoa powder
1 teaspoon (5g) baking powder
Directions
- Preheat your oven to 350 degrees Fahrenheit (180 degrees Celsius). This will give your oven enough time to reach the ideal baking temperature.
- Add 4 eggs to a mixing bowl. Use a fork or whisk to combine the egg whites and yolks until they are well mixed.
- Add half a cup of unsweetened cocoa powder to the eggs. Stir until the mixture is thick and no dry cocoa remains visible.
- Add 1 teaspoon of baking powder to your cocoa and egg mixture. Stir again until fully combined into a smooth and dark texture.
- Peel 3 to 4 ripe bananas and place them in a square baking dish. It’s crucial to use ripe bananas for natural sweetness.
- Pour the chocolate egg mixture over the bananas in the baking dish. Using a fork or potato masher, mash and combine until smoothly mixed.
- Bake in preheated oven for approximately 25 to 30 minutes. Check doneness by gently pressing the top, ensuring it’s set yet slightly soft.
- Allow the brownies to cool before slicing. This will help them set further and make sure the texture remains fudgy and moist.
Recipe Video
Notes
- Use Overripe Bananas for Best Results – While just ripe bananas work fine, using bananas that are extra soft and spotty will give these healthy brownies banana extra natural sweetness and a smoother texture.
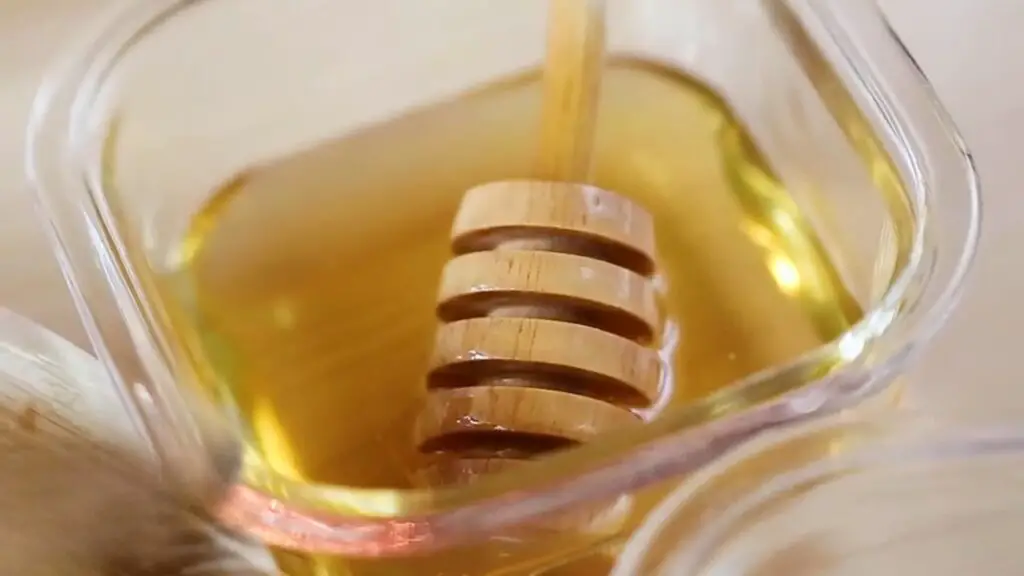
- Adjust Sweetness to Taste – If your bananas aren’t sweet enough, a drizzle of honey or maple syrup can enhance the flavor while still keeping this brownie recipe quite healthy.
- Let Them Cool Completely Before Slicing – These 4 ingredient brownies are extra soft when warm but firm up as they cool. For clean cuts, refrigerate for 30 minutes before slicing.
- Experiment with Spices – Adding a pinch of nutmeg, cardamom, or even a little orange zest can bring unique flavor twists to this healthy brownie recipe.
Like this recipe?
Check Out @FoodHow on Pinterest.
Like our Facebook Page!
Follow us on Facebook
Nutrition Information
Many people are surprised by how nutritious these brownies are compared to traditional versions. The numbers speak for themselves.

Each serving (based on 9 pieces) contains approximately:
- Calories: 95-100 calories
- Carbs: 18g (primarily from bananas)
- Protein: 4g (from eggs and cocoa)
- Fat: 2g (primarily from eggs)
- Fiber: 3g (from bananas and cocoa)
Compare this to traditional brownies which typically contain 200-300 calories per serving, often with much more fat and sugar. And did I mention already, that they are also gluten-free?
Storage Tips
Knowing how to store these brownies properly helps you enjoy them at their best for days. Good storage extends both freshness and flavor.
Store in an airtight container in the refrigerator for up to 5 days. These brownies actually taste even better the next day as the flavors develop. You can freeze them for up to 3 months in a freezer-safe container.

For freezing, I recommend cutting them into individual portions and separating layers with parchment paper. This way, you can thaw just what you need. To thaw, simply place in the refrigerator overnight or leave at room temperature for about an hour.
Variations to Try
The basic recipe is wonderfully adaptable to different flavor preferences. These variations keep things interesting while maintaining a healthy foundation.
- Mint Chocolate: Add 1/4 teaspoon peppermint extract to the batter
- Mocha: Mix 1 tablespoon instant coffee powder with the cocoa
- Spiced: Add 1 teaspoon of cinnamon and a pinch of cayenne for a Mexican chocolate flair
- Nutty: Fold in 1/3 cup chopped walnuts, pecans, or almonds
- Berries: Add 1/2 cup fresh or frozen raspberries or strawberries to the mixture
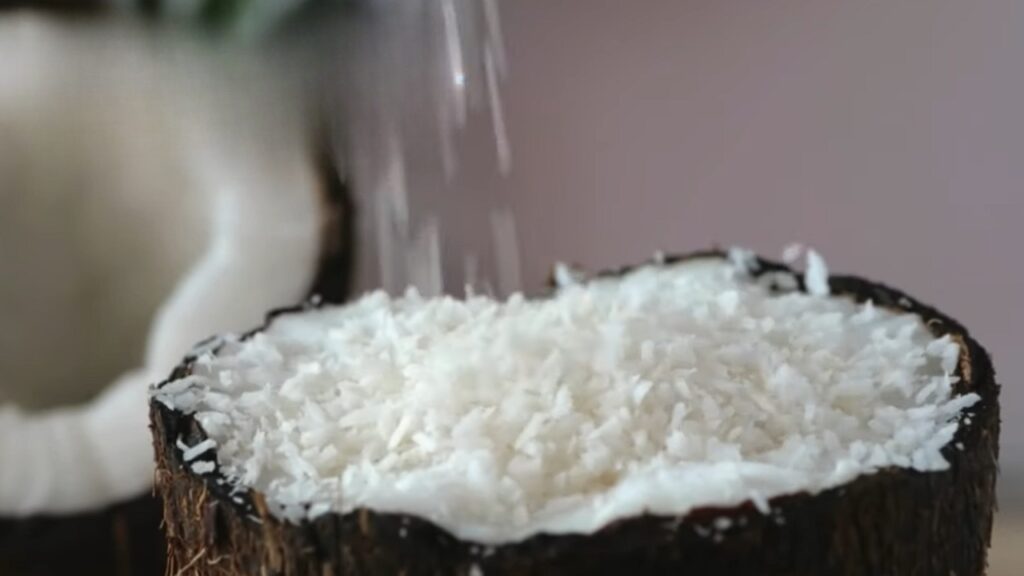
- Coconut: Mix in 1/4 cup unsweetened shredded coconut
Top Tip: A tiny sprinkle of sea salt on top of these brownies before baking makes the chocolate flavor absolutely sing. It’s that sweet-salty thing that makes your taste buds do a little happy dance.
I’ve tried all these variations, but the mocha version is my favorite by far. The coffee brings out the chocolate flavor in an amazing way without adding any extra calories. All of these options keep the same healthy base – no flour, no added sugar, but plenty of flavor.
Common Questions
Here are some questions people sometimes ask about these brownies. The recipe is pretty simple, but these answers might come in handy.
Can I use frozen bananas?
Yes! Just thaw them completely and drain excess liquid before using. Frozen and thawed bananas are often sweeter and softer, which works well in this recipe. I sometimes freeze overripe bananas specifically to use in recipes like this one.
How do I know when they are done baking?
The top should look set but feel slightly soft when gently pressed. A toothpick inserted should come out with a few moist crumbs. The center should not be wet or jiggly, but you also do not want to overbake these brownies as they can become dry.
Can I make these vegan?
You would need to replace the eggs with a substitute like flax eggs, though the texture will be different. The bananas help bind the mixture, so vegan versions still hold together reasonably well despite missing the structure eggs provide.
Why are my brownies too wet?
This usually happens when the bananas are extremely ripe or when the brownies are underbaked. Make sure to drain thawed frozen bananas well, and consider adding an extra tablespoon of cocoa powder to absorb excess moisture if your bananas are very soft.
Can I use a different-sized pan?
Yes, but cooking times will vary. A 9×9 inch pan will need slightly less time, while a loaf pan will need longer. You can also make these as muffins, which typically take about 15-18 minutes to bake.
How sweet are these brownies?
The sweetness depends primarily on your bananas – riper bananas create sweeter brownies. Most people find them pleasantly sweet but not as sweet as conventional brownies.
If you prefer a sweeter treat, you can add 1-2 tablespoons of honey or maple syrup or if you really want to keep them low in sugar then you can add a bit of stevia powder.
Will Kids Actually Eat These?
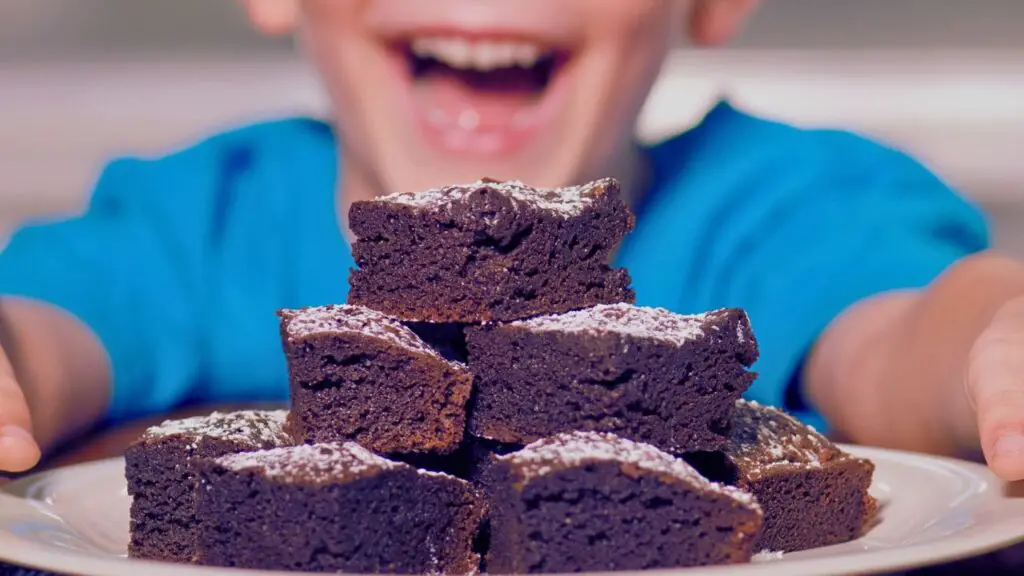
Getting children excited about healthier treats can sometimes be challenging. But with this recipe, my kids and my nieces and nephews have no idea these brownies contain no added sugar – they just know they taste good.
For kids’ parties, I sometimes add a few chocolate chips on top to make them look more like “regular” brownies. These make great lunchbox treats since they hold up well and provide more nutrition than standard desserts.
My trick? I just call them “chocolate banana squares” instead of “healthy brownies” and the kids gobble them up with no questions asked. Most kids love bananas anyway, so the natural sweetness is right up their alley.
More Brownie Recipes to Try
If you love this healthy brownies recipe, here are more delicious brownie recipes to satisfy your chocolate cravings:
- Most Fudgy Protein Brownies You’ll Ever Make – A protein-packed take on brownies for a guilt-free, muscle-friendly treat.
- Easy Sweet Potato Avocado Brownies – A unique twist using nutrient-dense ingredients for an ultra-moist and healthy dessert.
- Best Air Fryer Brownies – A quick and easy way to make brownies in the air fryer with a perfectly crisp top and fudgy center.
Which one will you try next?