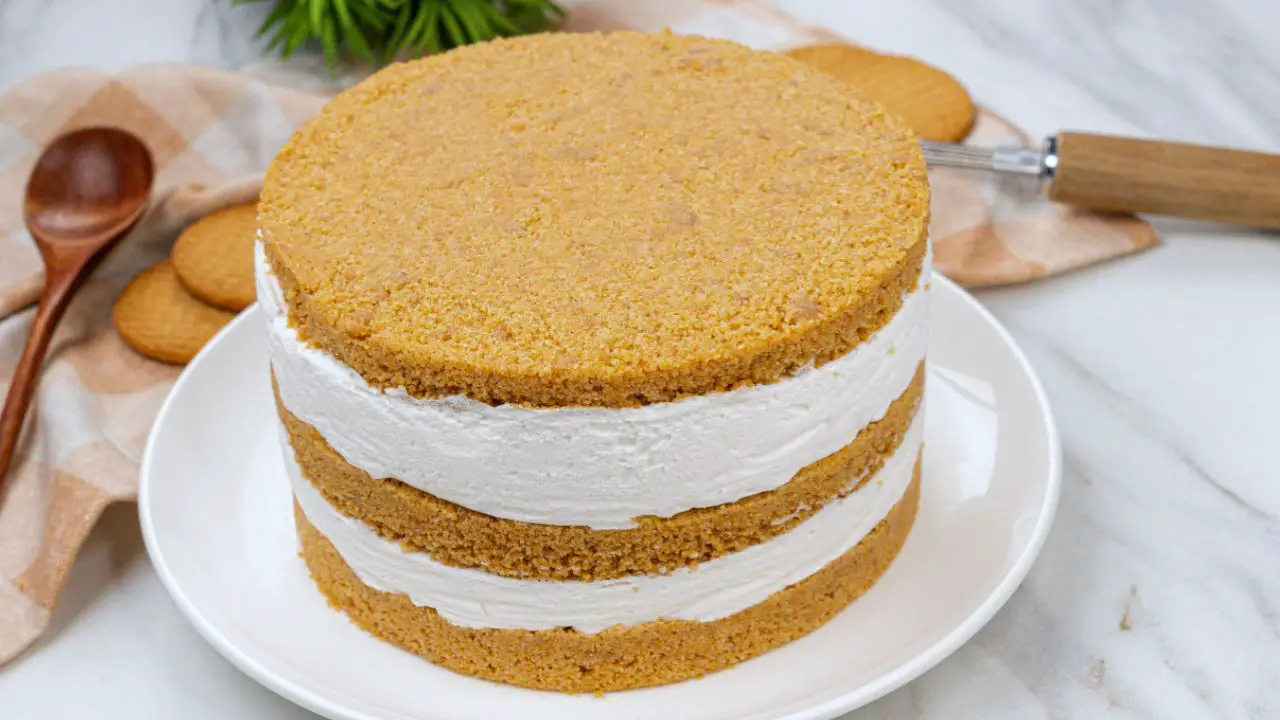
If the crust is your favorite part of cheesecake, this 3 layered cheesecake is made for you. You get a rich no-bake filling with three buttery biscuit crust layers running through the whole thing… and honestly, this is exactly my kind of cheesecake.
Come join me on Facebook here for easy recipes, cozy bakes, and little kitchen tips from my kitchen to yours.
Watch the video below to see how I make this three-layer cheesecake with all that extra crust. And if you enjoy it, give the video a like and subscribe for more easy no-bake recipes.
Why you’ll love this 3 layered cheesecake
I love cheesecake, but I always want more crust with it.
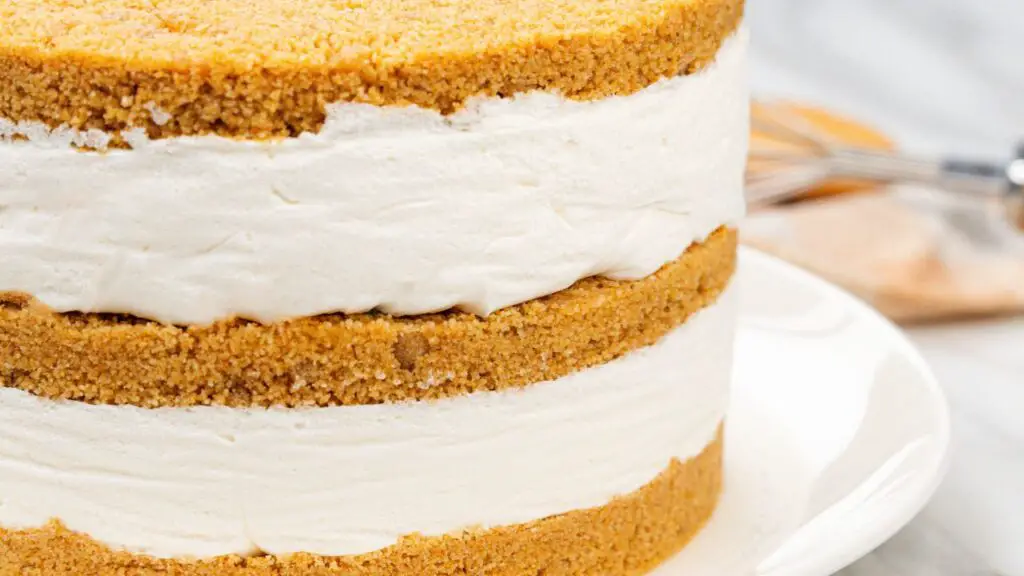
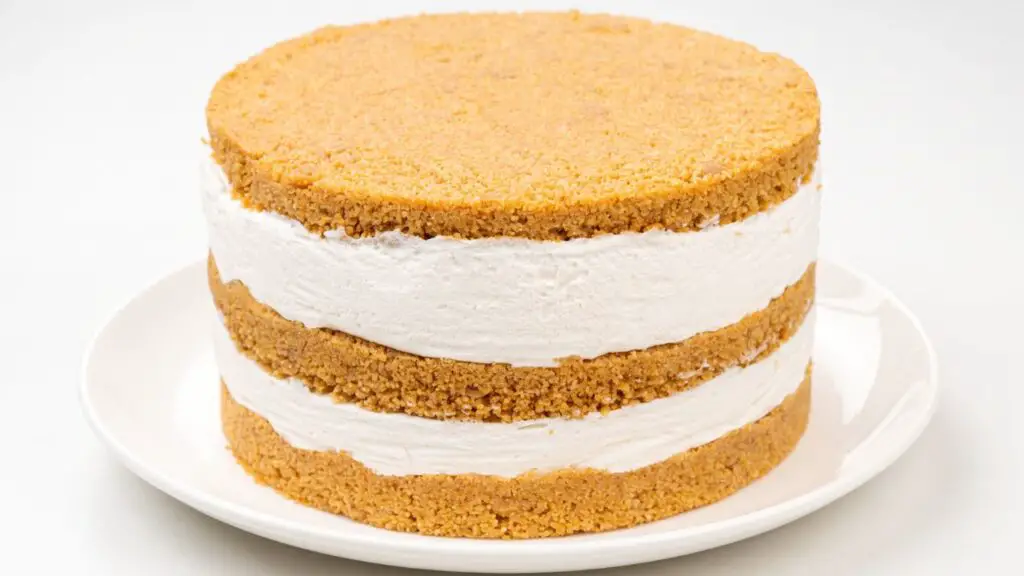
That is what gave me the idea for this one. Instead of having all the biscuit at the bottom, there is another crust layer through the middle and one more on top.
So when you cut into it, you get creamy cheesecake and biscuit together all the way through the slice.
And even though it looks like a lot is going on, it is actually pretty simple to make. There is no oven, no water bath, and no worrying about cracks on top.
The hardest part is leaving it alone in the fridge long enough to set.
Texture + flavor
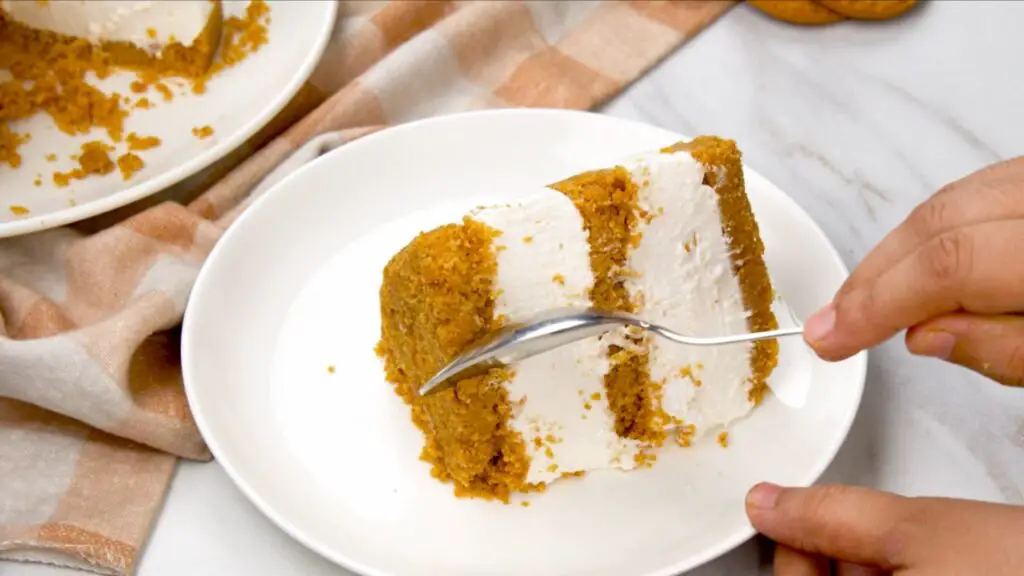
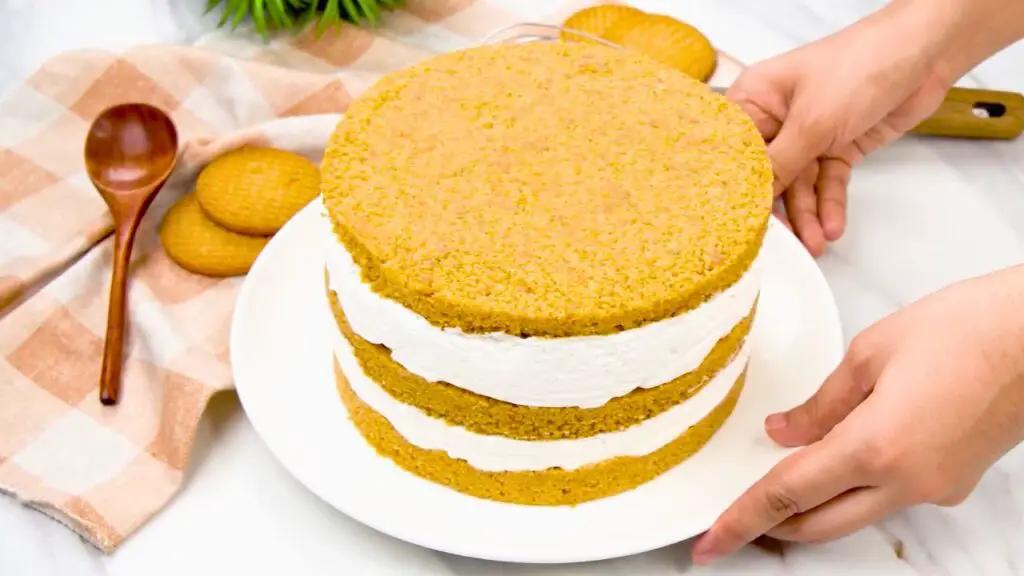
Look how amazing this cheesecake turned out. Honestly, this is exactly my kind of cheesecake.
The filling is rich and creamy, but what I really love is getting that buttery biscuit crunch through the middle instead of only at the bottom.
There is also a little vanilla and lemon in the filling. You are not going to bite into it and think “lemon cheesecake,” but it does stop all that cream cheese and cream from tasting too heavy.
And because this is made in a 7-inch pan, the cheesecake comes out nice and tall, so you can really see all the layers once you cut into it.
Ingredients
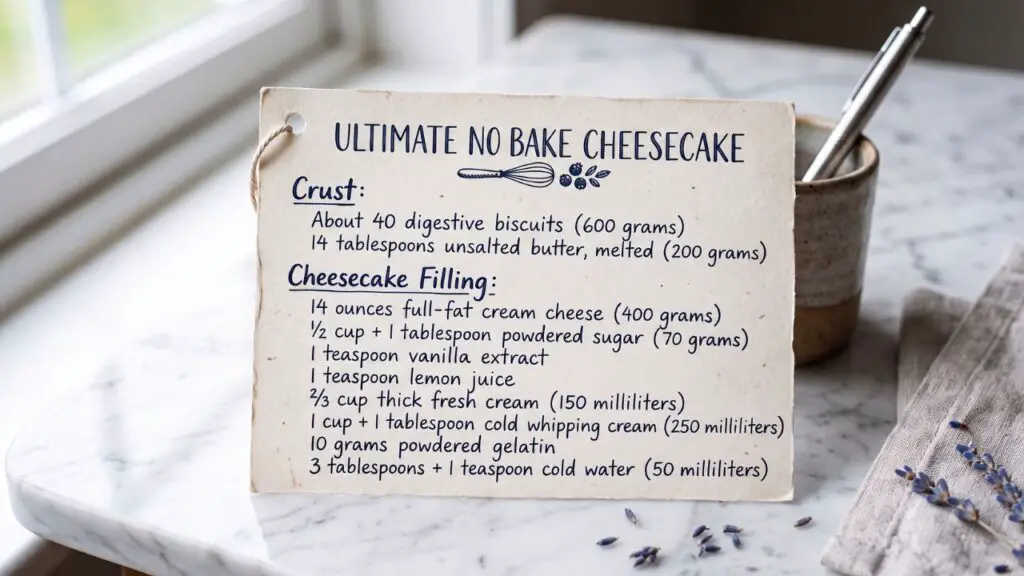
For the crust layers
- About 40 digestive biscuits (600 grams)
- 14 tablespoons unsalted butter, melted (200 grams)
For the cheesecake filling
- 14 ounces full-fat cream cheese (400 grams), such as Philadelphia Original
- 1/2 cup plus 1 tablespoon powdered sugar (70 grams)
- 1 teaspoon vanilla extract
- 1 teaspoon lemon juice
- 2/3 cup thick fresh cream (150 milliliters)
- 1 cup plus 1 tablespoon cold whipping cream (250 milliliters)
For the gelatin
- About 1 tablespoon powdered gelatin (10 grams)
- 3 tablespoons plus 1 teaspoon cold water (50 milliliters)
Note: Use full-fat cream cheese for this one. Low-fat versions can make the filling softer, and we need enough structure here to hold that middle crust layer.
Equipment
- 7-inch round springform pan
- Food processor or rolling pin
- Large mixing bowls
- Small bowl for the gelatin
- Electric hand mixer
- Whisk or spoon
- Rubber spatula
- Flat-bottomed cup
How to make this 3 layered cheesecake
Step 1: Crush the biscuits
First, crush about 40 digestive biscuits, or 600 grams, into fine crumbs using a food processor or a strong food bag and rolling pin.
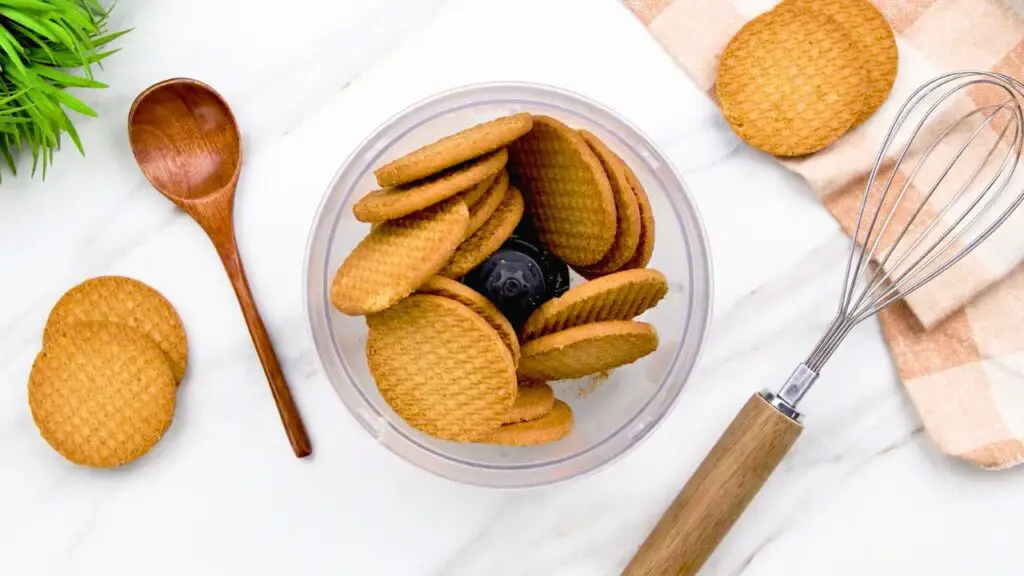
Try not to leave any big biscuit pieces because finer crumbs press together much better for the crust layers.
Step 2: Add the butter
Next, pour 14 tablespoons (200 grams) of melted unsalted butter over the biscuit crumbs and mix well.
The crumbs should look like wet sand and hold together when you squeeze some in your hand.
Step 3: Divide the crumbs
Divide the crumb mixture evenly between three bowls so you have enough for the bottom, middle, and top crust.
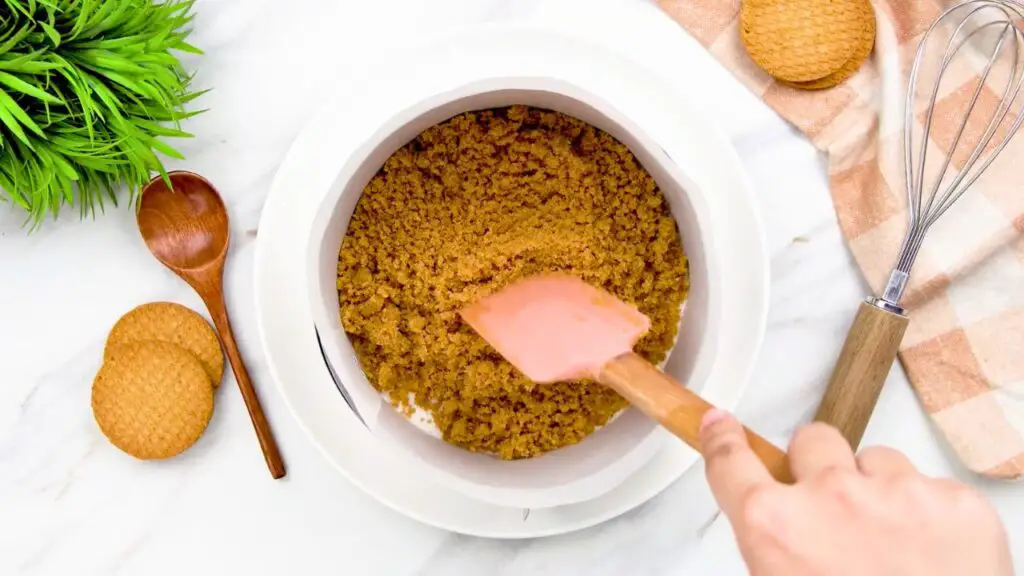
You can weigh them if you want all three layers exactly the same, but I normally just divide them by eye.
Step 4: Make the bottom crust
Add the first portion of crumbs to a 7-inch springform pan and spread them across the bottom.
Use the flat bottom of a cup to press the crumbs down firmly until you have a solid, even base.
Top Tip: Press this bottom layer more firmly than the other two. It needs to support the whole cheesecake when you take it out of the pan.
Place the pan in the fridge while you make the filling.
Make the cheesecake filling
Step 5: Prepare the gelatin
Add 10 grams of gelatin to a small bowl and pour in 3 tablespoons plus 1 teaspoon (50 milliliters) of cold water.
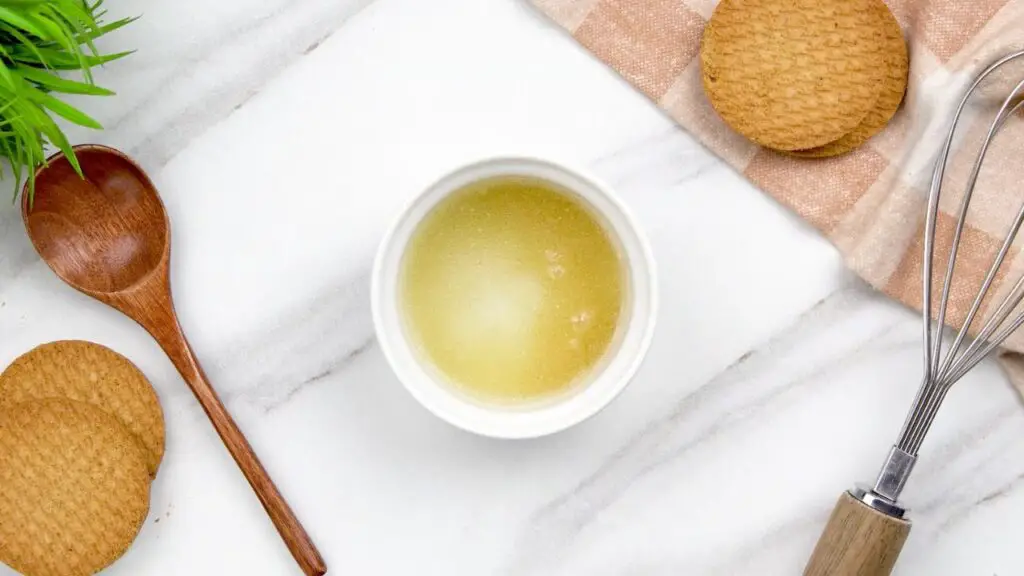
Top Tip: Let the gelatin bloom in cold water first, then warm it only until it turns clear and liquid. Add it while it is still pourable, but not piping hot, so it mixes into the filling without forming little gelatin lumps.
Step 6: Mix the cream cheese and sugar
Add 14 ounces (400 grams) of full-fat cream cheese to a large bowl.
I use Philadelphia Original, but any thick, full-fat cream cheese will work.
Add 1/2 cup plus 1 tablespoon (70 grams) of powdered sugar and mix until the sugar is no longer visible.
Step 7: Add the vanilla and lemon
Add 1 teaspoon of vanilla extract and 1 teaspoon of lemon juice, then mix them in.
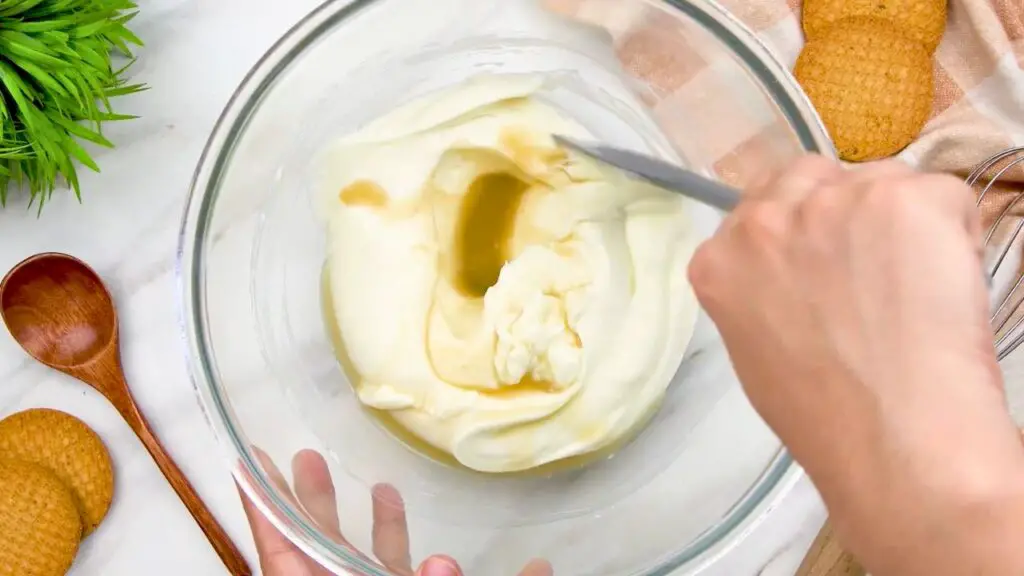
The lemon is only there in a small amount, so it does not turn this into a lemon cheesecake. It just gives the filling a fresher taste.
Step 8: Add the thick cream
Add 2/3 cup (150 milliliters) of thick fresh cream and stir it into the cream cheese mixture.
Keep the cream cold until you are ready to use it.
Step 9: Whip the whipping cream
Pour 1 cup plus 1 tablespoon (250 milliliters) of cold whipping cream into a separate bowl and beat it with an electric mixer until it holds firm peaks.
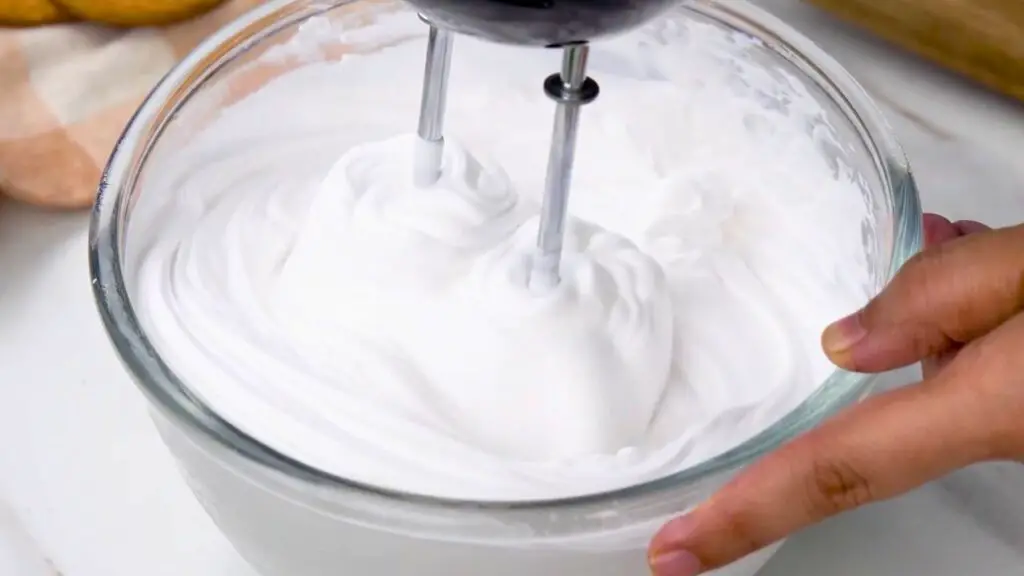
You will know it is ready when you lift the beaters and the cream stands up without falling back down.
Stop once you get there. If you keep going, the cream can start looking grainy.
Step 10: Add the gelatin
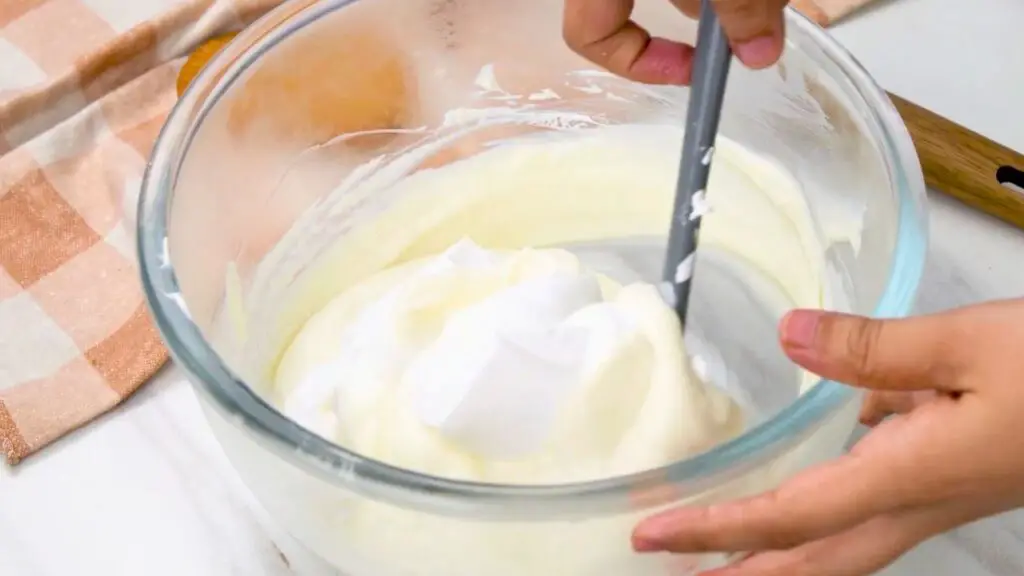
Pour the dissolved gelatin into the cream cheese mixture and stir it in straight away.
You want the gelatin completely dissolved and still liquid when you add it.
Top Tip: If the gelatin has started setting in the bowl before you use it, warm it for a few seconds until it turns liquid again. Do not add little lumps of set gelatin to the filling.
Step 11: Fold in the whipped cream
Add the whipped cream to the cream cheese mixture in two or three parts, gently folding each one in before adding the next.
Do not mix too hard or you will knock out the air you just whipped into the cream.
Build the cheesecake
Step 12: Add the first filling layer
Take the pan out of the fridge and spoon half of the cheesecake filling over the crust.
Spread it across the pan and smooth the top as well as you can.
Put the pan back in the fridge for 15 to 20 minutes.
The filling does not need to be completely set at this point. It just needs to be firm enough that the crumbs you add next do not sink straight into it.
Step 13: Add the middle crust
Take the cheesecake out of the fridge and add the second portion of crumbs over the filling.
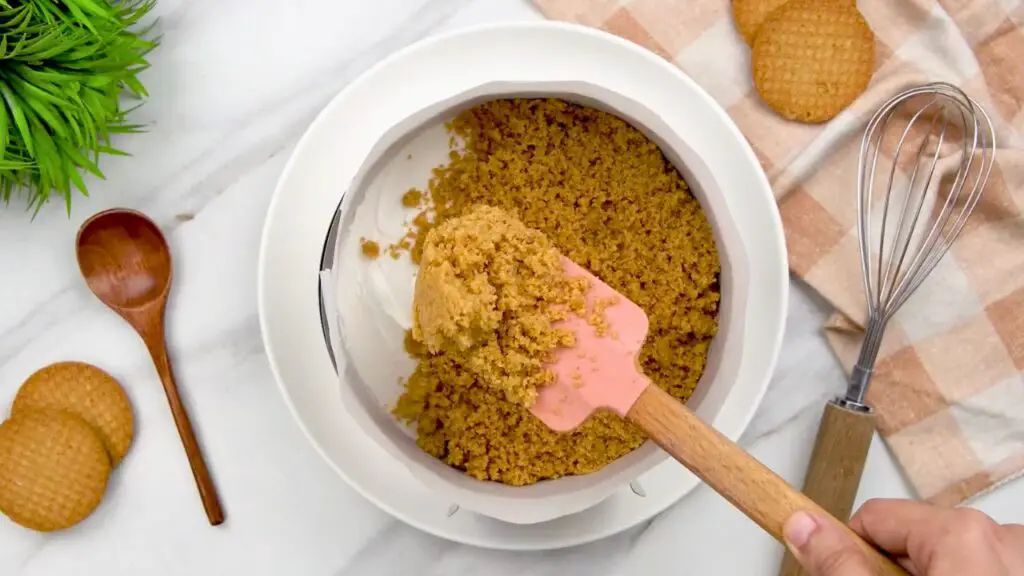
Spread them across the top, then use the flat bottom of a cup to press them down gently.
Do not press this layer as firmly as the bottom crust because there is soft cheesecake underneath.
Top Tip: If the filling still gives way easily when you touch the surface, leave it in the fridge for another 10 minutes before adding the middle crust.
Step 14: Add the rest of the filling
Spoon the rest of the cheesecake filling over the middle crust and spread it across the pan.
Try not to drag the spatula too hard across the crust underneath. A lighter touch keeps that middle layer where it belongs.
Step 15: Add the final crust
Finish with the last portion of biscuit crumbs.
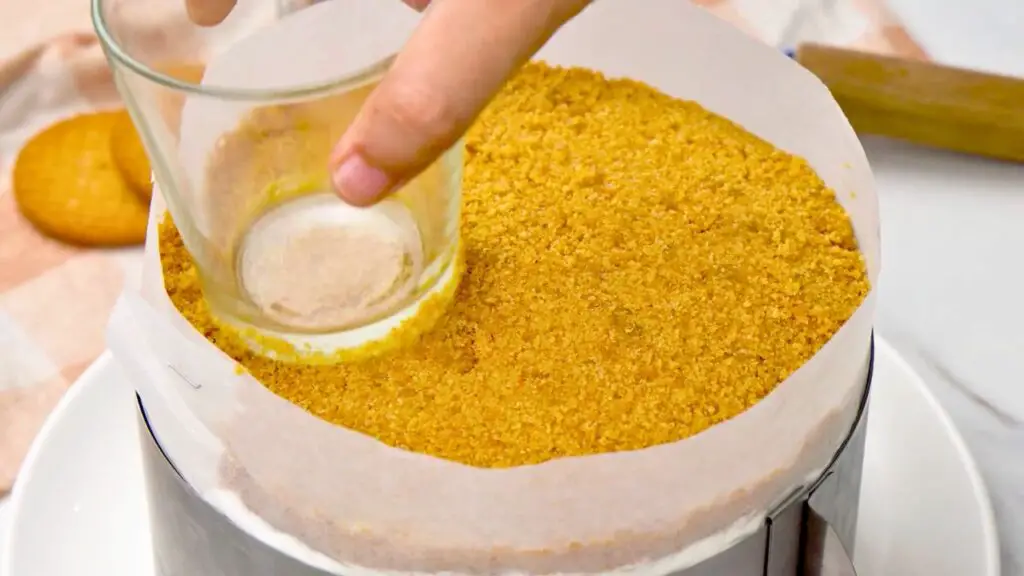
Spread them over the top, then use the bottom of a cup to press them down gently.
You do not need much pressure here. Just enough to help the top layer stay together.
Chill it properly
Place the cheesecake in the fridge for at least 8 hours.
If you can leave it overnight, even better.
I know that sounds like a long wait, especially once you have finished all the layers, but this is not the part I would rush.
The filling needs time to firm up properly, and the middle crust also settles into place while it chills.
By the next day, the whole cheesecake is much easier to remove from the pan and slice.
Taking it out of the pan
If you did not use parchment paper, run a thin knife around the inside edge of the pan before releasing the springform ring.
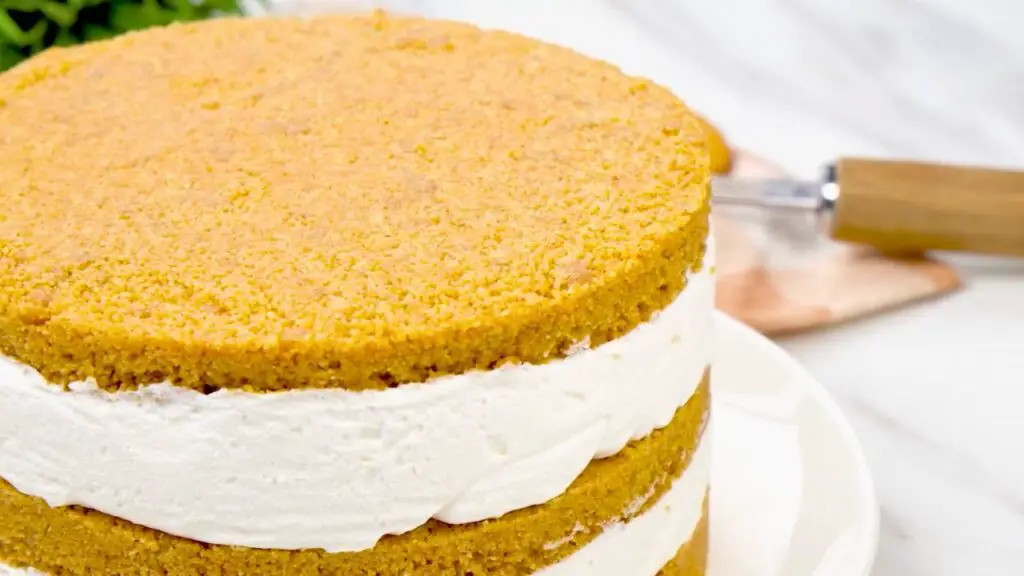
Then slowly lift the ring away.
If the cheesecake is sticking slightly, warm the outside of the pan for a few seconds with a warm kitchen towel.
For cutting, use a sharp knife and wipe the blade between slices.
That sounds fussy, but with three crust layers it really does help keep each slice looking neat.
Realted Recipe: If you like this 3 layered cheesecake, then you should definitely try my creamy no-bake Oreo dessert next. It is easy to make, needs no oven, and is seriously delicious.
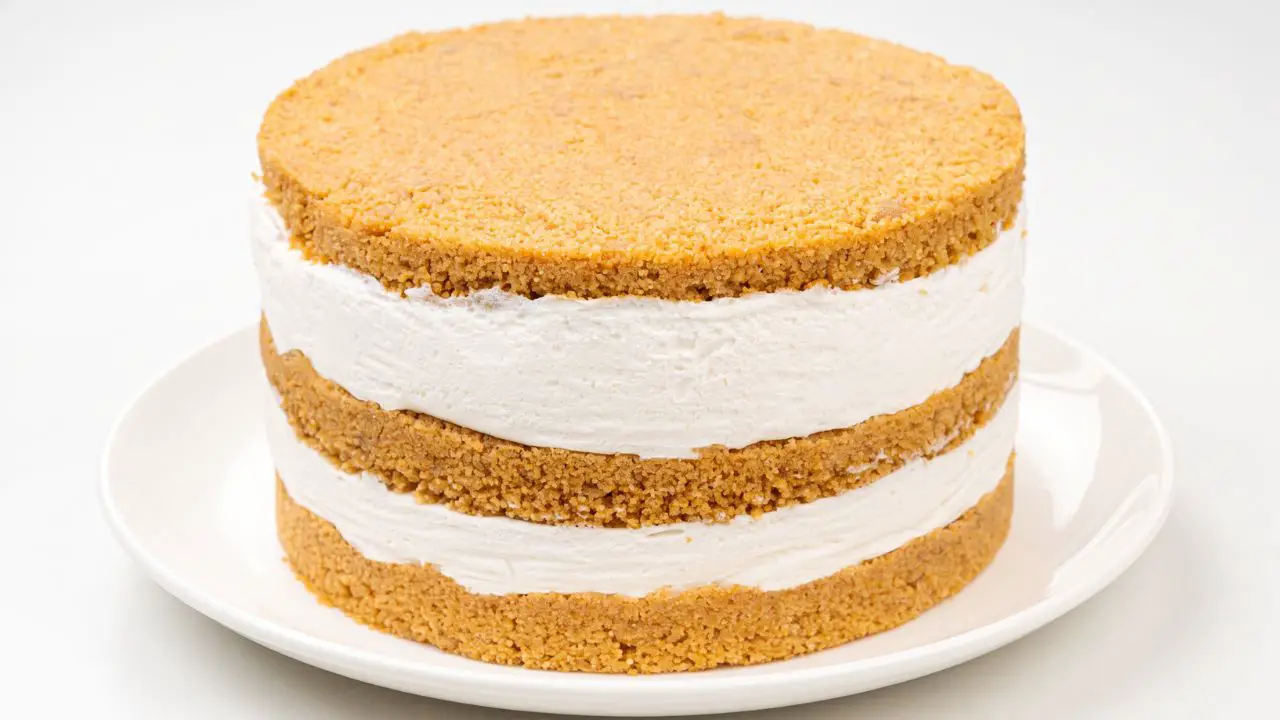

3 Layered Cheesecake with Extra Biscuit Crust
If you love creamy cheesecake but always wish it had a little more crust, this ultimate no-bake cheesecake recipe is for you. Let me show you how easy it is to make.
10
servings35
minutes8
hours710
kcal8
hours35
minutesIngredients
about 40 biscuits about 40 biscuits (600 g) digestive biscuits
14 tablespoons 14 tablespoons (200 g) unsalted butter
- Cheesecake filling
about 1¾ cups about 1¾ cups (400 g) full-fat cream cheese
½ cup + 1 tablespoon ½ cup + 1 tablespoon (70 g) powdered sugar
1 teaspoon 1 teaspoon (5 ml) vanilla extract
1 teaspoon 1 teaspoon (5 ml) lemon juice
⅔ cup ⅔ cup (150 ml) thick fresh cream
1 cup + 1 tablespoon 1 cup + 1 tablespoon (250 ml) cold whipping cream
about 1 tablespoon about 1 tablespoon (10 g) powdered gelatin
3 tablespoons + 1 teaspoon 3 tablespoons + 1 teaspoon (50 ml) cold water
Directions
- Crush 600 grams of digestive biscuits into fine crumbs.
- Mix biscuit crumbs with 200 grams melted unsalted butter.
- Divide evenly into three parts.
- Press one part into a 7-inch springform pan.
- Refrigerate crust while preparing filling.
- Mix 10 grams gelatin with 50 milliliters cold water.
- Combine 400 grams cream cheese with 70 grams powdered sugar.
- Add vanilla extract and lemon juice to the cream cheese.
- Mix in 150 milliliters thick fresh cream.
- Beat 250 milliliters whipping cream until it holds its shape.
- Melt gelatin if needed and mix it into cream cheese.
- Fold in whipped cream in batches.
- Pour half of the filling over the chilled crust and refrigerate for 15-20 minutes.
- Add second crust layer, pack evenly.
- Spread remaining filling over second crust layer.
- Add final crumb layer on top, press gently.
- Refrigerate for at least 8 hours or overnight.
Recipe Video
Notes
- Use full-fat cream cheese: Choose a thick, full-fat cream cheese such as Philadelphia Original. Lower-fat versions can make the filling softer and harder to layer neatly.
- Dissolve the gelatin gently: Let the gelatin sit in cold water first, if needed warm it only until it turns liquid. Do not boil it, and add it while it is still smooth and pourable.
- Chill before middle crust: If the first filling layer still feels too soft after 20 minutes, give it another 10 minutes in the fridge. The surface should be firm enough to hold the second crust without the crumbs sinking in.
- Slice while well chilled: Cut the cheesecake straight from the fridge with a sharp knife, wiping the blade between slices. This helps you keep the filling and crust layers looking neat.
- Make it the night before: This cheesecake needs a long chill, so it is much easier to assemble it the evening before you plan to serve it. No-bake cheesecakes commonly benefit from an overnight chill, and this one especially needs that time because of the extra crust layers.
Nutrition Facts
- Total number of serves: 10
- Calories: 710kcal
- Fat: 54g
- Carbohydrates: 49g
- Protein: 8g
No-bake cheesecake storage
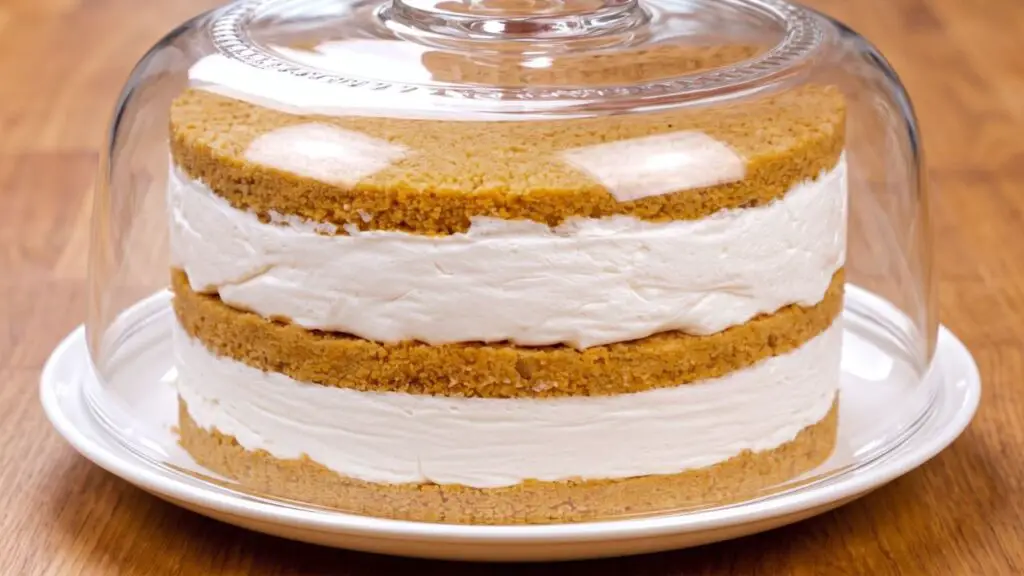
Keep any leftover cheesecake covered in the fridge for about 3 to 4 days.
You can also freeze individual slices for up to about 1 month. Wrap them well so they do not pick up freezer smells, then thaw them overnight in the fridge.
I would not thaw cheesecake in the microwave. The filling can soften unevenly very quickly.
How I like to serve this no-bake cheesecake
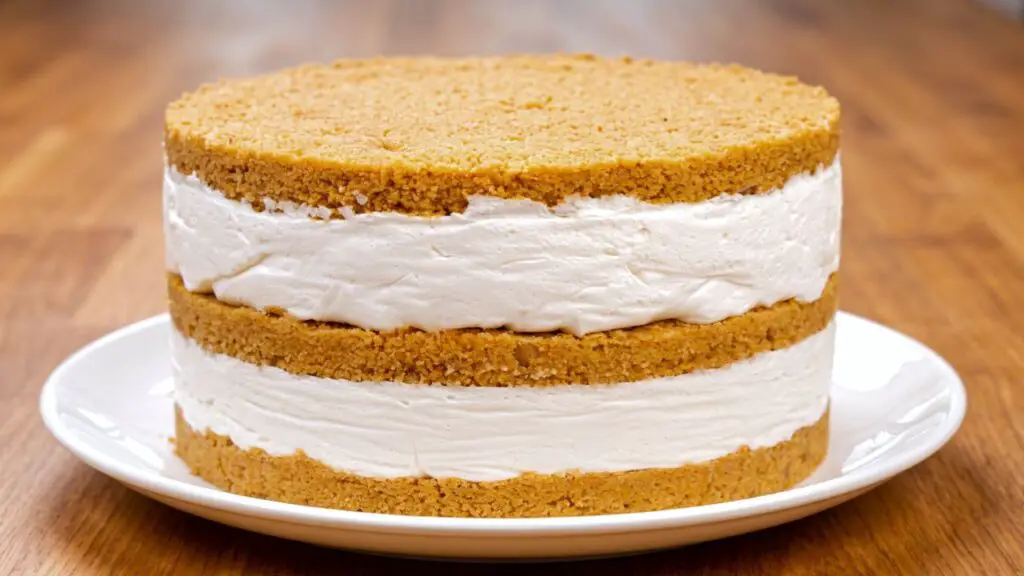
I would honestly serve this one pretty much as it is.
There are already three crust layers, a tall cheesecake filling, and plenty going on once you cut into it.
If I added anything, I would probably keep it simple, maybe a few berries on the side or a little grated chocolate over the top.
But I would not cover the whole thing in sauces or toppings. Those layers are kind of the point.
More cheesecake recipes
If you like creamy no-bake cakes with crunchy layers, then check out more cheesecake recipes below.
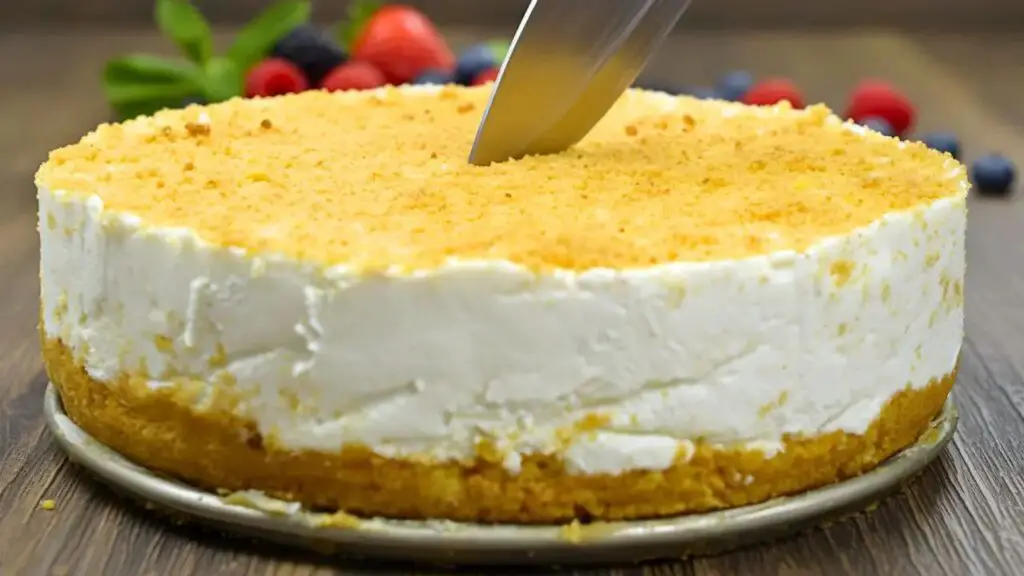
- Super Easy No-Bake Cheesecake Recipe – This creamy no-bake cheesecake is simple to prepare with a crunchy biscuit base and smooth filling. It is an easy dessert when you do not want to turn on the oven.
- Cottage Cheese and Oats! No Sugar! Healthy Cheesecake – This lighter cheesecake combines cottage cheese and oats for a creamy, satisfying dessert without added sugar.
- Protein-Packed Cottage Cheese Cake Everyone Is Talking About – A creamy cottage cheese cake packed with protein and made with simple ingredients. It is a great option when you want a lighter homemade treat.
And if you make this 3 layered cheesecake, leave me a comment below and tell me how it went. If you have a question about the recipe, you can leave that too, either here or in the YouTube comments. I try to get back to as many as I can.