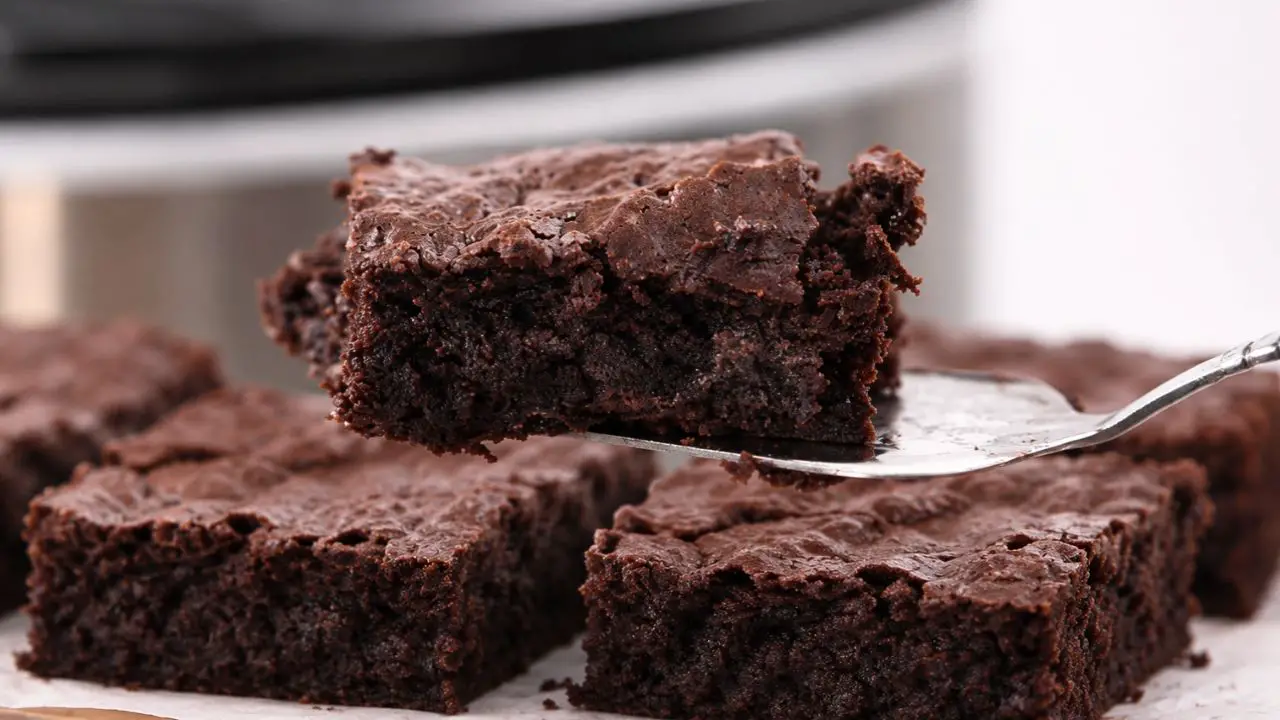
Who knew you could make such delicious, moist, fudgy chocolate brownies without even turning on your oven? These moist, fudgy slow cooker brownies are packed with rich chocolate flavor, have a wonderfully soft center, and are so easy to make… you might wonder why you haven’t tried them before.
Come join me on Facebook here for easy recipes, cozy bakes, and little kitchen tips from my kitchen to yours.
Check out my moist, fudgy slow cooker brownies recipe video below and see how easy it is to make these delicious brownies without an oven. If you enjoy the video, give it a like and subscribe to my YouTube channel for more yummy chocolate desserts and easy baking recipes.
Why I Love These Brownies
I love a good homemade brownie, but when I first saw someone making brownies in a slow cooker, I thought, I’ve got to try this recipe. I mean, I’ve made all sorts of things in my slow cooker, but chocolate brownies? That was something new.
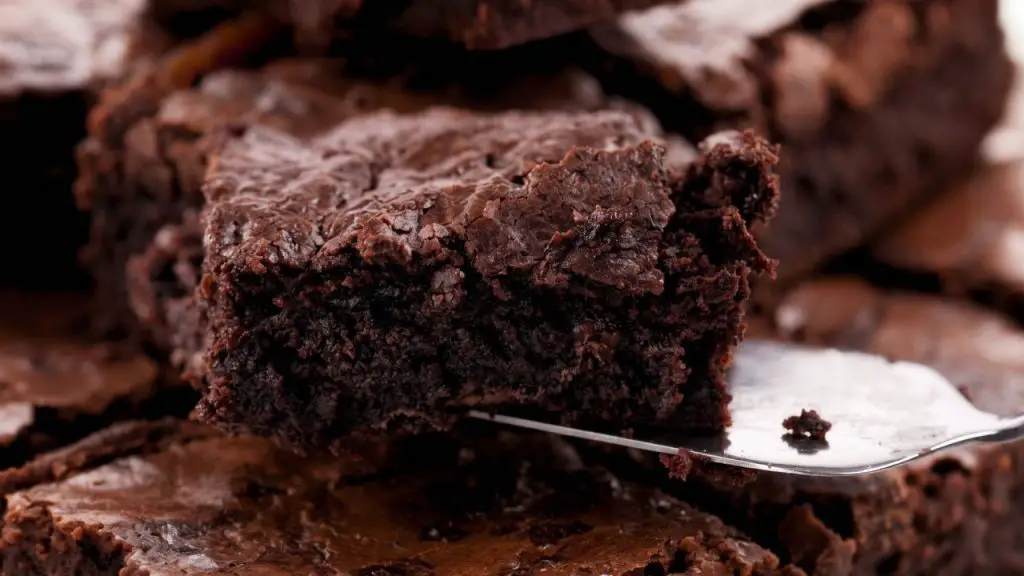
What I really like about this recipe is how little attention it needs once the batter is ready. Just put it in your slow cooker and let it cook slowly while you get on with other things. It’s especially handy when your oven is already busy or you don’t want to heat up the kitchen.
Yes, these brownies take longer to cook than regular oven-baked brownies, but most of that time you can spend doing something else. And I think that’s a pretty good reason to give them a try.
Texture + Flavor
If you love really moist, fudgy brownies, these are for you. They have a rich, dense chocolate center that’s wonderfully soft, with slightly firmer edges and a thin crust on top. They’re definitely more fudgy than cakey.
And the chocolate flavor? So good. We’re using melted dark chocolate, a little cocoa powder, and plenty of chocolate chips, so you get that lovely deep chocolate taste in every bite.
I especially love these brownies slightly warm, when the chocolate is still soft. They’re delicious on their own, but a scoop of vanilla ice cream makes them even better.
Slow Cooker Brownies Ingredients
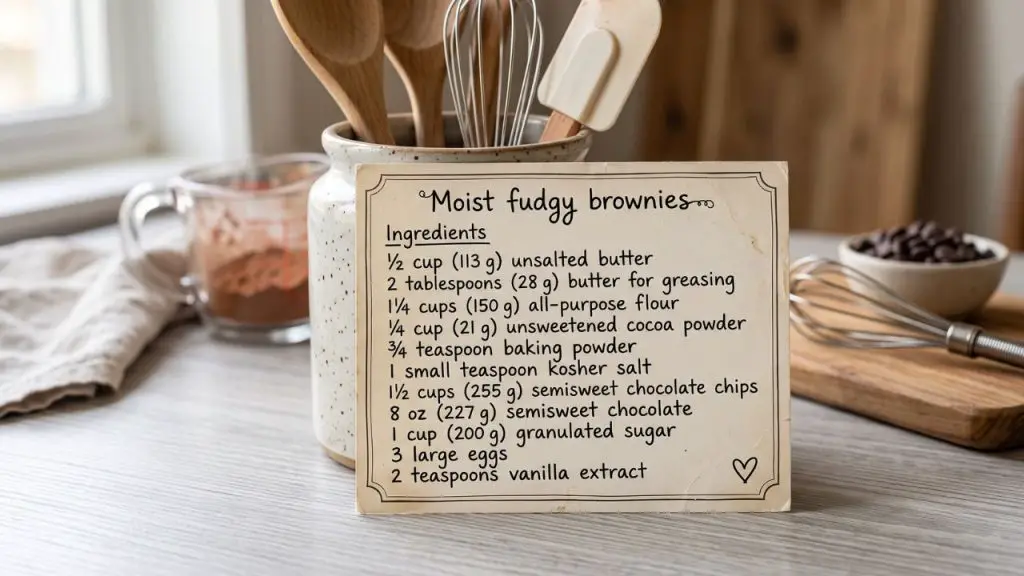
Here’s everything you’ll need to make these brownies. We’re using familiar baking ingredients, along with plenty of chocolate to make them extra rich.
Makes 10 servings
- ½ cup (113 g) unsalted butter, cubed
- 2 tablespoons (28 g) unsalted butter, softened, for greasing
- 8 oz (227 g) dark chocolate (around 70% cocoa), chopped
- 3 large eggs
- 2 teaspoons vanilla extract
- 1 cup (200 g) granulated sugar
- ¾ teaspoon baking powder
- 1 teaspoon kosher salt
- ¼ cup (21 g) unsweetened cocoa powder
- 1¼ cups (150 g) all-purpose flour
- 1½ cups (255 g) semisweet chocolate chips
What Chocolate Should You Use?
I like to use a dark chocolate bar with around 70% cocoa because it gives the brownies a really rich, deep chocolate flavor. We’ll melt this chocolate with the butter to make the base of our brownie batter.
Then we’ll add regular semisweet chocolate chips at the end. They give the brownies extra chocolate throughout, with little pockets of melted chocolate when they’re still warm.
What You’ll Need
You don’t need any special baking equipment for this recipe. Just your slow cooker and a few everyday kitchen items.
- Slow cooker/ crockpot
- Two mixing bowls, including one heatproof bowl
- Medium saucepan
- Whisk
- Spatula
- Pastry brush
- Parchment paper
- Measuring cups and spoons
How to Make Moist Fudgy Slow Cooker Brownies
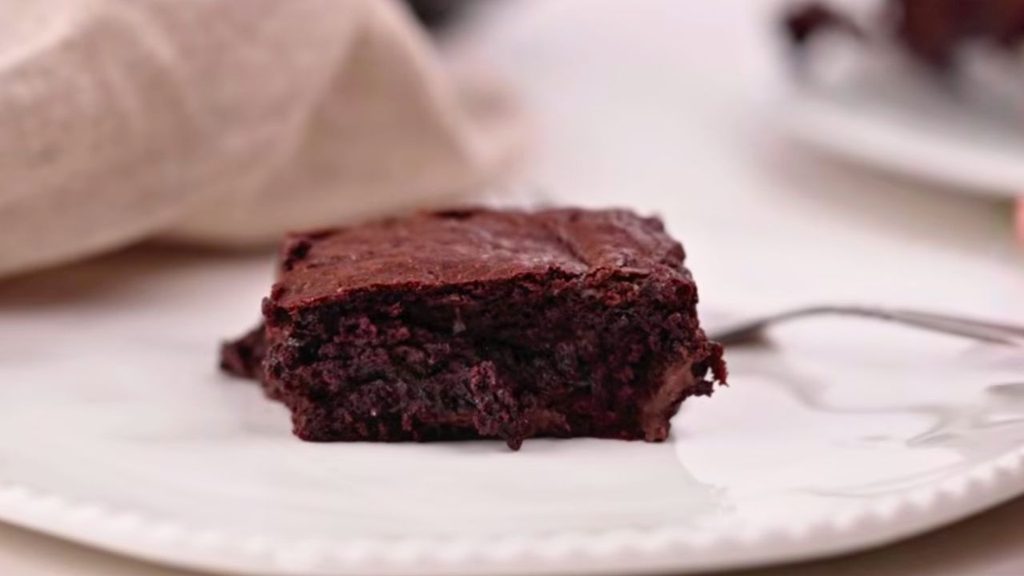
Let me show you how I make these brownies. We’ll start by melting the chocolate, mix our brownie batter, and then get everything ready for the slow cooker.
Step 1: Melt the Chocolate and Butter
First, add ½ cup (113 g) of unsalted butter to a heatproof mixing bowl. Then chop up 8 oz (227 g) of dark chocolate and add it to the bowl with the butter.
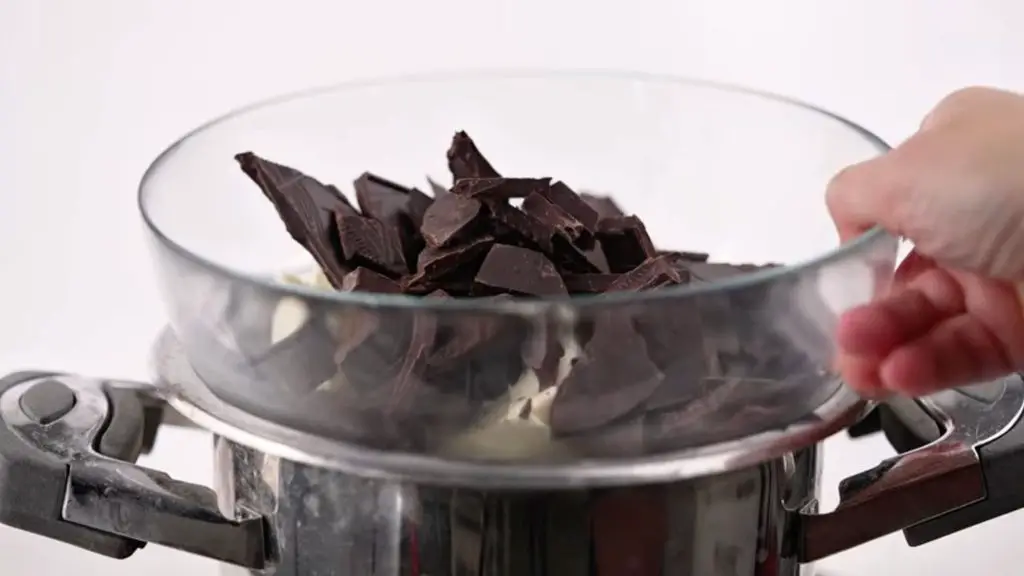
You can melt the chocolate and butter in the microwave, but I like to use a double boiler. It’s just a heatproof bowl sitting over a saucepan of gently simmering water. Make sure the bottom of the bowl isn’t touching the water.
Stir the chocolate and butter together as they melt. After about 3 to 5 minutes, you should have a lovely, smooth melted chocolate mixture.
Top Tip: Keep the water at a gentle simmer rather than a rolling boil. The chocolate doesn’t need much heat to melt, and gentle heating helps keep it smooth. Also, make sure no water splashes into the chocolate.
Step 2: Mix the Eggs and Sugar
Next, take another mixing bowl and add 3 large eggs, 2 teaspoons of vanilla extract, and 1 cup (200 g) of granulated sugar.
Give everything a good whisk until the eggs and sugar are mixed together and the mixture looks smooth. This should only take a minute or two.
Step 3: Add the Melted Chocolate
Now, let’s add all that lovely melted chocolate and butter to our egg and sugar mixture. Just make sure the chocolate has cooled a little first, because we don’t want it to be so hot that it starts cooking the eggs.
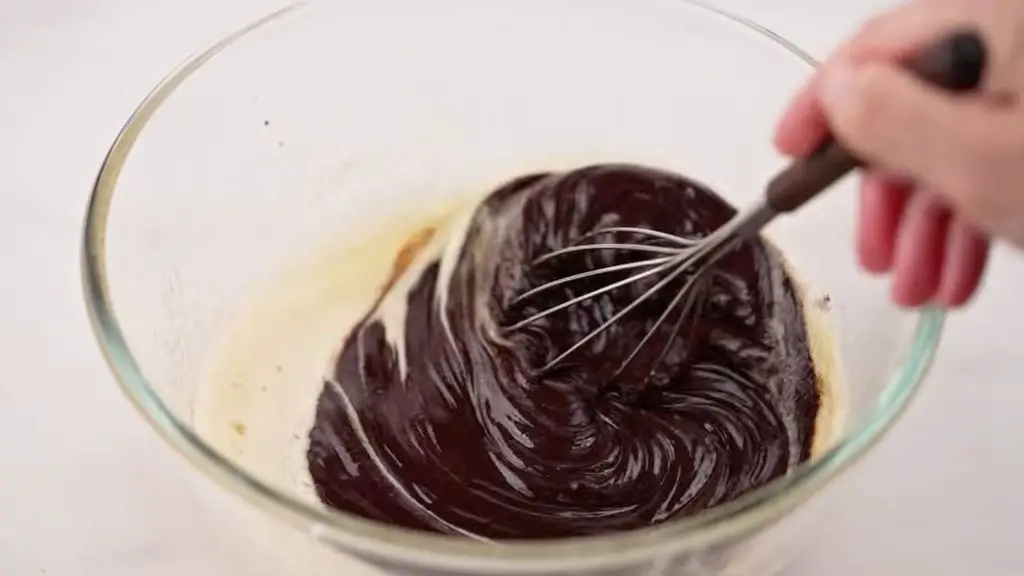
Give it another good whisk until the chocolate is mixed in. You’ll notice the batter starting to get thicker and looking really chocolatey already.
Note: If the melted chocolate is still hot, leave it for a few minutes before adding it to the eggs. It should be warm rather than hot, but still completely melted and easy to pour.
Step 4: Add Baking Powder and Salt
Next, add ¾ teaspoon of baking powder, and then add one small teaspoon of kosher salt. Give it all a good whisk to mix everything in.
I’m using kosher salt here, which has larger crystals than regular table salt. If you’re using fine table salt instead, use just ½ teaspoon so the brownies don’t turn out too salty.
Step 5: Add the Cocoa Powder
Next, let’s add ¼ cup, or 4 tablespoons, of unsweetened cocoa powder. You can use any unsweetened cocoa powder you have at home, but I like to use Dutch-processed cocoa because it gives the brownies a lovely dark color and a really rich chocolate taste.
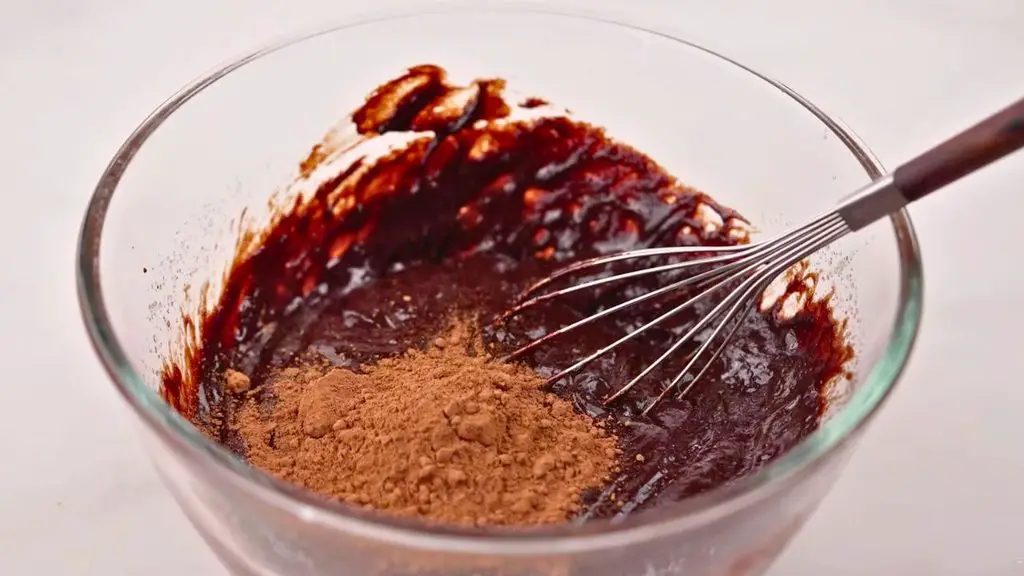
Now, give it all a good whisk to mix the cocoa powder in. You’ll notice the batter getting a little darker as you mix.
Did You Know: Dutch-processed cocoa has a smoother, less acidic taste than regular cocoa powder. It’s also usually darker, which is why I like using it for chocolate brownies. But regular unsweetened cocoa powder works here too.
Step 6: Add the Flour
And the last dry ingredient we’re adding is 1¼ cups (150 g) of all-purpose flour. We’re still using our whisk, but this time we want to mix a little more gently.
Too much mixing after adding the flour can make brownies tough, and we want ours to stay nice and soft. So just gently whisk until you can’t see any dry flour left, and then stop mixing.
Step 7: Add the Chocolate Chips
And now, let’s add 1½ cups (255 g) of semisweet chocolate chips. Give them a gentle mix so the chocolate chips are spread throughout the batter.
And that’s our brownie batter ready. Look how thick and chocolatey it is already. I love how you can see all those chocolate chips mixed in.
Step 8: Prepare the Slow Cooker
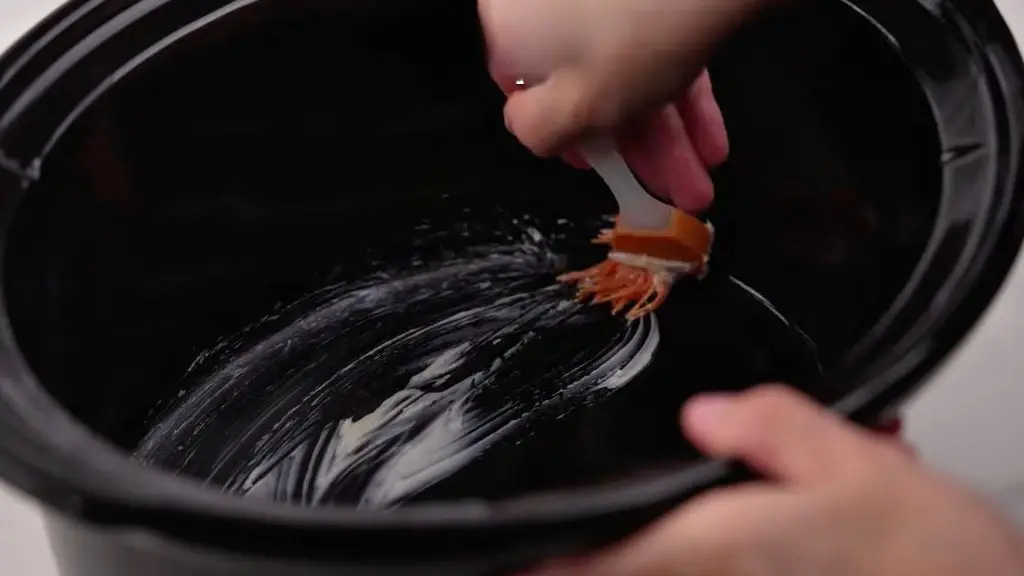
So, we’re not using the oven this time. We’re making these brownies in our slow cooker instead, and you’ll see how good they turn out.
First, cut two long pieces of parchment paper and brush them with a little softened butter. Then brush the bottom and sides of your slow cooker with some butter too.
Now, put the parchment paper into the slow cooker, one piece across the other, with the buttered sides facing up. Leave enough paper sticking up over the sides so you can easily lift the brownies out when they’re done.
Top Tip: Use two pieces of parchment paper that cross in the middle, rather than just covering the bottom. Slow cookers are quite deep, and having parchment on both sides makes it much easier to lift the brownies out without breaking them.
Step 9: Add the Brownie Batter
Now, scoop all that lovely chocolatey brownie batter into your prepared slow cooker. Make sure you get all the batter out of the bowl, and then use your spatula to spread it out evenly.
Smooth the top so the batter is about the same thickness all the way across. This will help the brownies cook more evenly, especially around the edges.
Step 10: Cook the Brownies
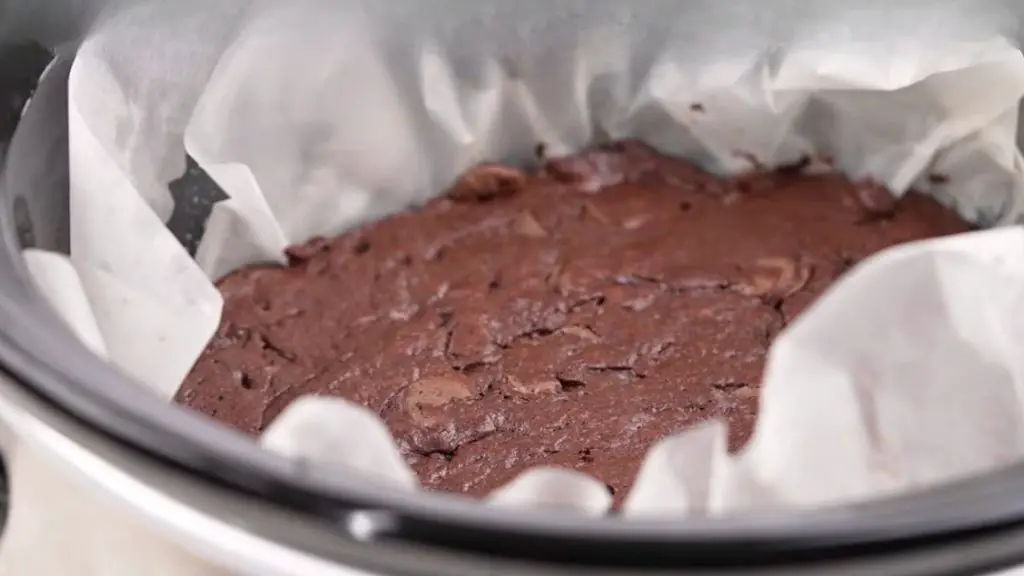
Place the lid on your slow cooker and cook the brownies on LOW for about 1½ hours.
After an hour and a half, take the lid off and let the brownies cook for another 30 minutes. This helps the top dry out a little and form that lovely, thin brownie crust.
Start checking the brownies after about 2 hours in total. The edges should look set, and the center should still be soft but shouldn’t look like wet, uncooked batter.
You can also put a toothpick into the center. If it comes out with a few moist bits of brownie, that’s fine. But if you see liquid batter, they need a little more time. Remember that melted chocolate chips can also leave chocolate on the toothpick, so don’t confuse that with uncooked batter.
Top Tip: Every slow cooker cooks a little differently, so don’t worry if your brownies need longer than 2 hours. If the center is still too wet, keep cooking on LOW without the lid and check every 15 to 30 minutes again. The total cooking time is usually around 2 to 3 hours, but it can take longer depending on your slow cooker.
Step 11: Let Them Cool and Serve
And voilà, you’ve got delicious, moist, fudgy chocolate brownies, all made in your slow cooker. The edges should be set, while the middle stays wonderfully soft and chocolatey.
Turn off your slow cooker and let the brownies cool for about an hour, or until they’re firm enough to lift without falling apart. Then carefully lift them out using the parchment paper.
If you want nice, neat squares, let the brownies cool completely before cutting them into 10 portions. But if you can’t wait, you can also spoon out a warm portion and enjoy it while it’s still soft.
Related Recipe: If you enjoyed these fudgy slow cooker brownies, you should also try my air fryer brownies. They’re another delicious way to make rich, chocolatey brownies without using an oven.

How to make fudgy slow cooker brownies
I never thought I’d be making brownies in my slow cooker, but look at these. They’re rich, chocolatey, and so fudgy. And the best part? You don’t even need an oven. Let me show you how to make them.
10
servings15
minutes2
hours516
kcal2
hours15
minutesIngredients
½ cup (113 g) unsalted butter, cubed
2 tablespoons (28 g) unsalted butter, softened, for greasing
1¼ cups (150 g) all-purpose flour
¼ cup (21 g) Dutch-processed unsweetened cocoa powder
¾ teaspoon (3 g) baking powder
1 small teaspoon (about 3 g) kosher salt
1½ cups (255 g) semisweet chocolate chips
8 oz (227 g) semisweet chocolate
1 cup (200 g) granulated sugar
3 large eggs
2 teaspoons (10 ml) vanilla extract
Directions
- Add cubed butter and chopped chocolate to a heatproof bowl.
- Melt using a double boiler until smooth.
- Whisk eggs, vanilla extract, and sugar in another bowl until smooth.
- Combine melted chocolate mixture with egg mixture, ensuring the chocolate is not too hot.
- Add baking powder and salt; whisk until mixed.
- Mix in cocoa powder gently.
- Fold in flour until just combined.
- Stir in chocolate chips.
- Butter two pieces of parchment paper and line the slow cooker.
- Spread brownie batter evenly in the slow cooker.
- Cook on LOW for 1.5 hours.
- Remove the lid and cook for an additional 30 minutes.
- Allow brownies to cool before lifting out with parchment.
Recipe Video
Notes
- Melt Chocolate in the Microwave: If you don’t want to use a double boiler, melt the chocolate and butter in the microwave in 30-second bursts, stirring each time. Once most of the chocolate has melted, keep stirring until the remaining pieces melt from the heat.
- Add Some Crunchy Walnuts: If you like nuts in your brownies, add ½ cup of chopped walnuts or pecans when you mix in the chocolate chips. They add a lovely crunch without changing the rest of the recipe.
- Choose the Right Slow Cooker: A 5-7 quart slow cooker is a good size for this recipe. If yours is wider, the brownies will be thinner and may cook faster, so start checking them at the 2-hour mark.
- Keep the Lid Closed: Try not to lift the lid during the first 1½ hours because every time you open it, heat escapes and the brownies can take longer to cook. Remove the lid for the final stage, as the recipe explains.
- Use Low, Not Warm: Make sure your slow cooker is set to LOW, not the KEEP WARM setting. Some slow cookers switch to KEEP WARM automatically when the timer ends, but your brownies need to finish cooking on LOW.
Nutrition Facts
- Total number of serves: 10
- Calories: 516kcal
- Fat: 30g
- Carbohydrates: 61g
- Protein: 6g
How to Store Slow Cooker Brownies
These brownies are delicious while they’re fresh, but they also store well if you want to save some for later. Just make sure they’ve cooled completely before putting them away, so you don’t end up with moisture collecting inside the container.
At room temperature: Keep the brownies in an airtight container for up to 3 to 4 days. Store them somewhere cool and dry, away from direct sunlight.
In the refrigerator: You can keep them in an airtight container in the fridge for up to 5 days. They’ll become a little firmer when cold, but you can warm them again when you’re ready to eat.
In the freezer: Wrap individual brownies tightly and put them in a freezer-safe bag or container. They’ll keep well for around 2 to 3 months. Let them thaw before serving, or warm them gently if you like them soft.
What to Serve With These Brownies
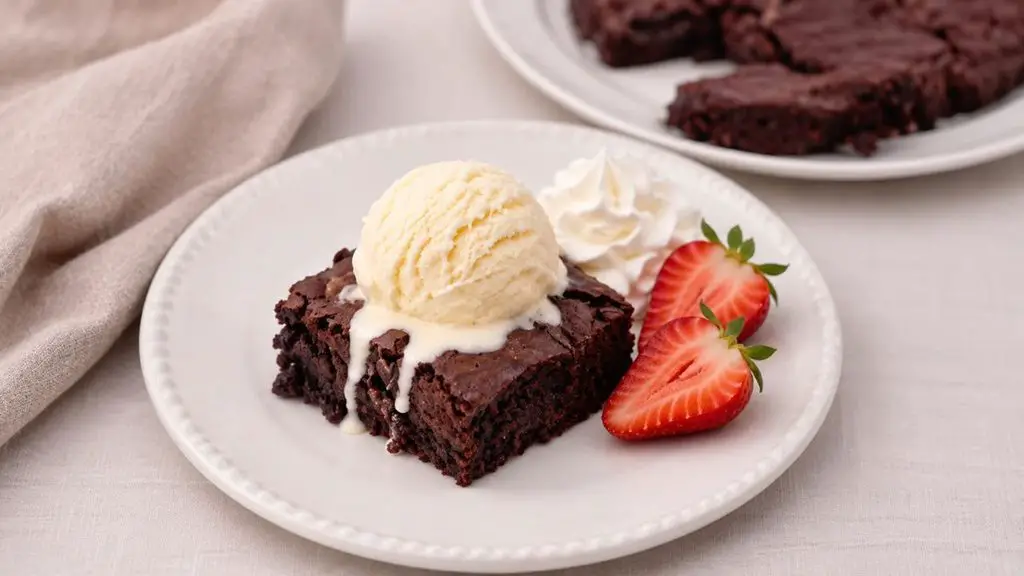
Let’s be honest, a good fudgy brownie doesn’t really need anything else. But if you’re making these for dessert, there are a few things that make them even more delicious.
My favorite is a slightly warm brownie with a scoop of vanilla ice cream. The cold ice cream starts melting over the warm chocolate, and the combination is so good.
You can also add a little whipped cream or some fresh strawberries. I think something fresh is especially nice with these brownies because they’re already so rich and chocolatey.
More Yummy Brownie Recipes
I hope you give these moist, fudgy slow cooker brownies a try, especially if you’ve never made brownies this way before. And, if you love chocolate brownies, check out more of my yummy brownie recipes below.

- Best Lemon Brownies (Lemonies) – Brownies don’t always have to be chocolate! These lemon brownies have a lovely citrus flavor and a soft, dense texture. They’re a refreshing change when you fancy something sweet and tangy.
- Best Healthy Brownies Recipe – Looking for a lighter way to enjoy brownies? Give this healthy brownie recipe a go. It’s a nice option when you want a chocolate treat without making your usual batch.
- Peanut Butter Brownies – Peanut butter and chocolate are always a good combination, especially in brownies. If you enjoy that slightly nutty flavor alongside rich chocolate, this recipe is definitely worth adding to your baking list.
And if you have any questions about these slow cooker brownies, or you’ve tried making them yourself, leave a comment below or in my YouTube video comments. I love hearing how your recipes turn out, and I’ll try to reply to all your comments and questions.