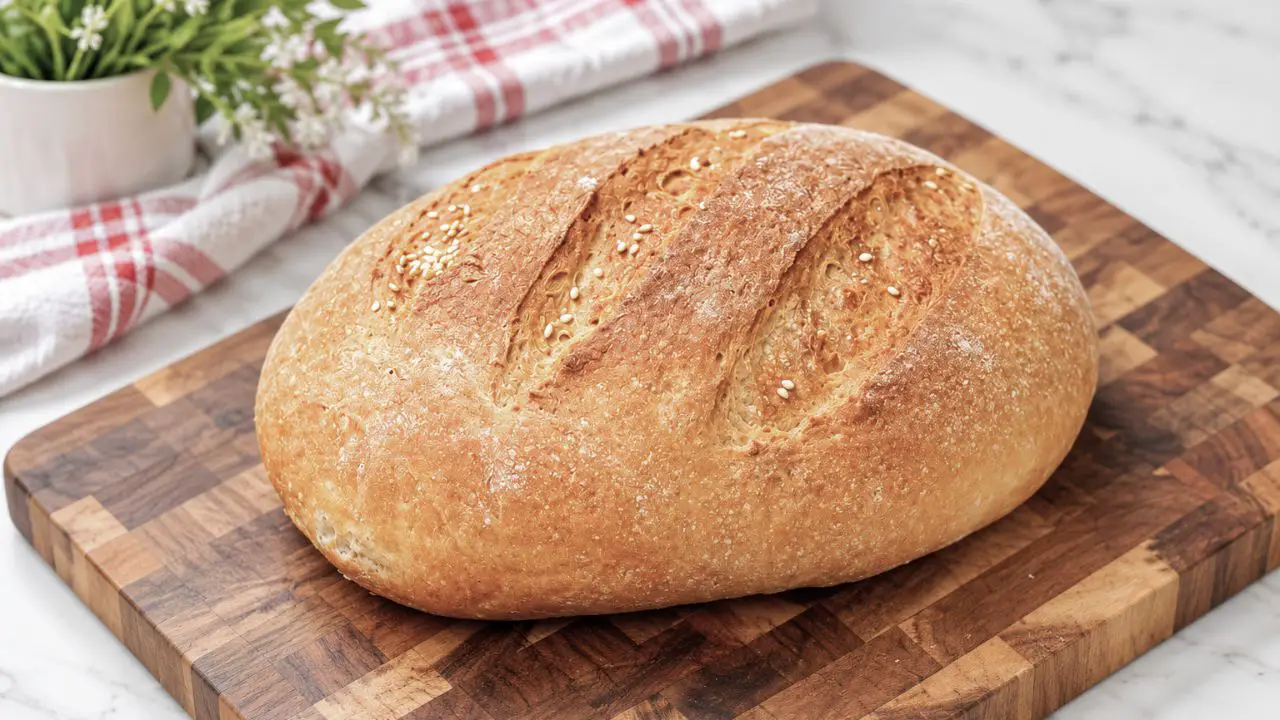
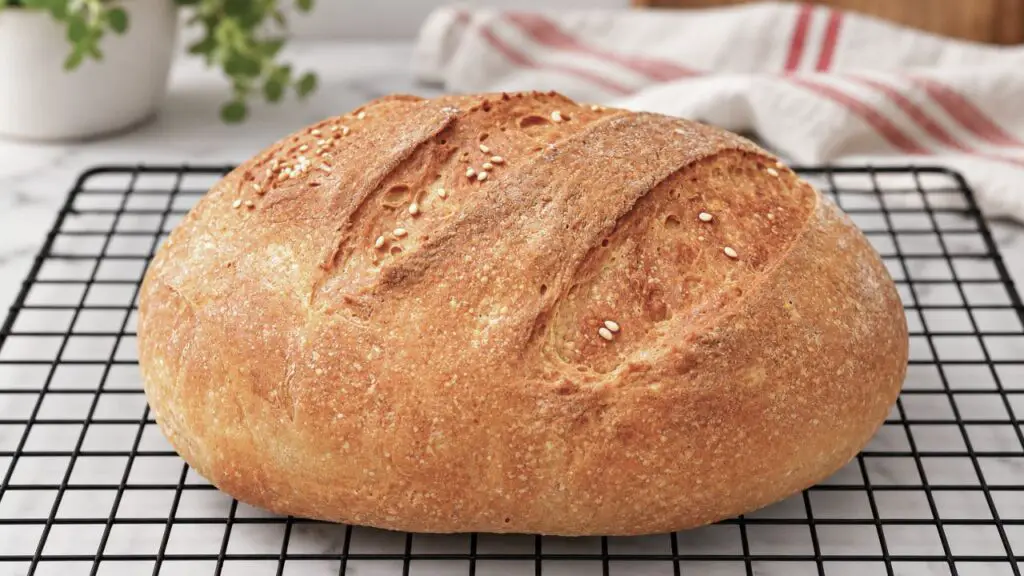
This easy air fryer milk bread recipe is one of those breads I could happily make again and again. You simply mix the dough, let it rise, shape it, and let the air fryer take care of the baking… no kneading and no oven needed.
Come join me on Facebook here for easy recipes, cozy bakes, and little kitchen tips from my kitchen to yours.
Check out my air fryer milk bread recipe video below and see just how easy this soft, fluffy bread is to make. Give the video a like and subscribe to my YouTube channel for more easy air fryer bread recipes!
Why you will love this air fryer milk bread
What I love most about this recipe is how forgiving it is. You do not need a stand mixer, you do not need to spend ten minutes kneading dough, and there really is not much hands-on work at all.
It is also a lovely recipe when you want homemade bread but do not feel like heating up the whole kitchen with the oven. The air fryer does a really nice job, and once you get that warm bread smell filling the kitchen… how can you not get excited?!
Because the dough is quite simple, this is also a good bread recipe if you are still getting comfortable with yeast doughs. Give it enough time to rise, do not overload it with extra flour, and you are already halfway there.
Soft, fluffy, and lightly golden
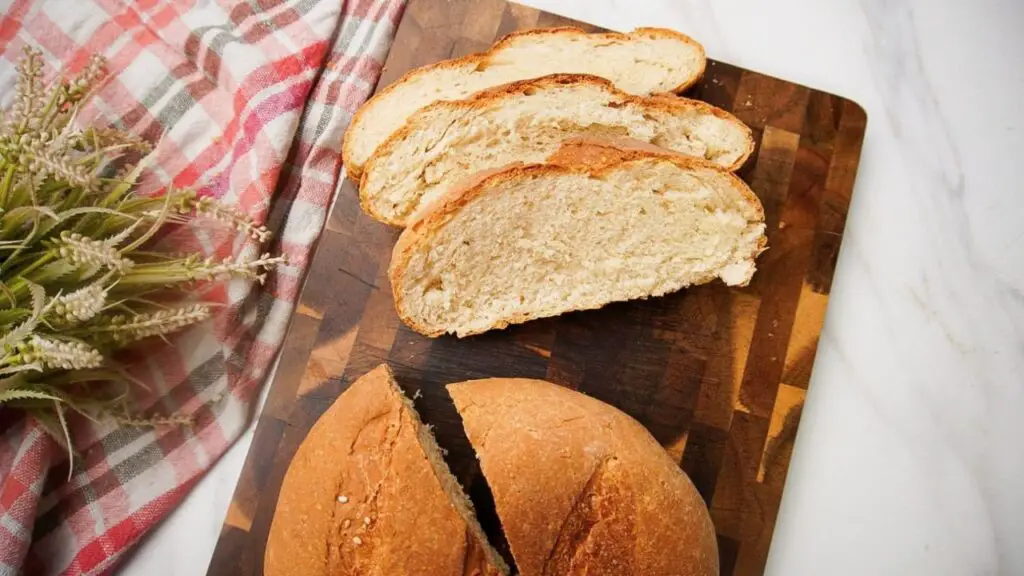
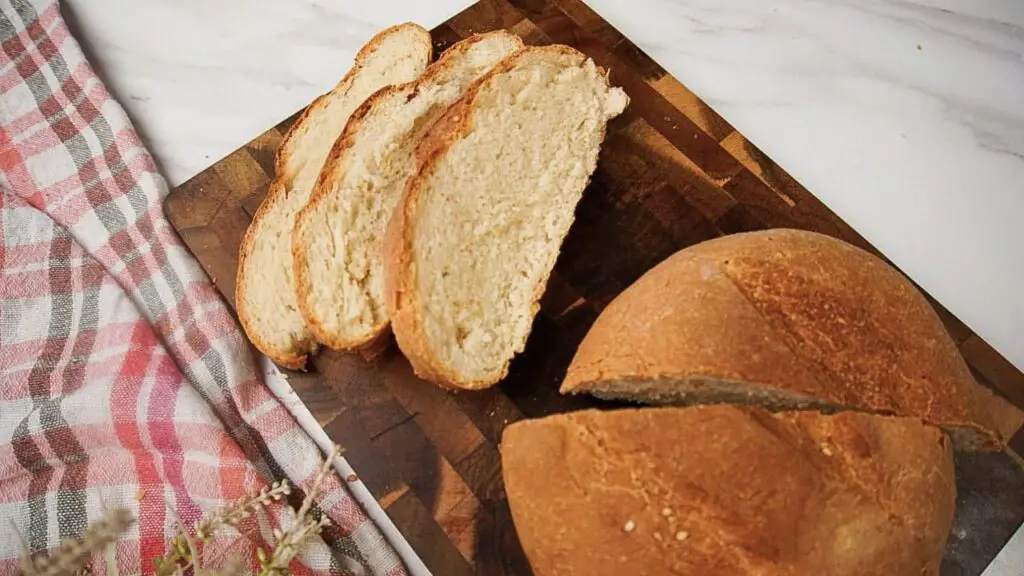
This milk bread is soft and fluffy inside, with a lightly crisp, golden outside. The milk gives the bread a mild richness, while the olive oil keeps it soft without making it heavy.
It is not a super-sweet bread, either. There are only two teaspoons of sugar in the whole loaf, so it works just as well with butter and jam as it does with eggs, cheese, soup, or sandwiches.
Did You Know: Milk helps bread stay softer than bread made with water alone because it adds both fat and milk proteins. That is one reason this loaf stays pleasantly soft after it cools.
Easy milk bread ingredients
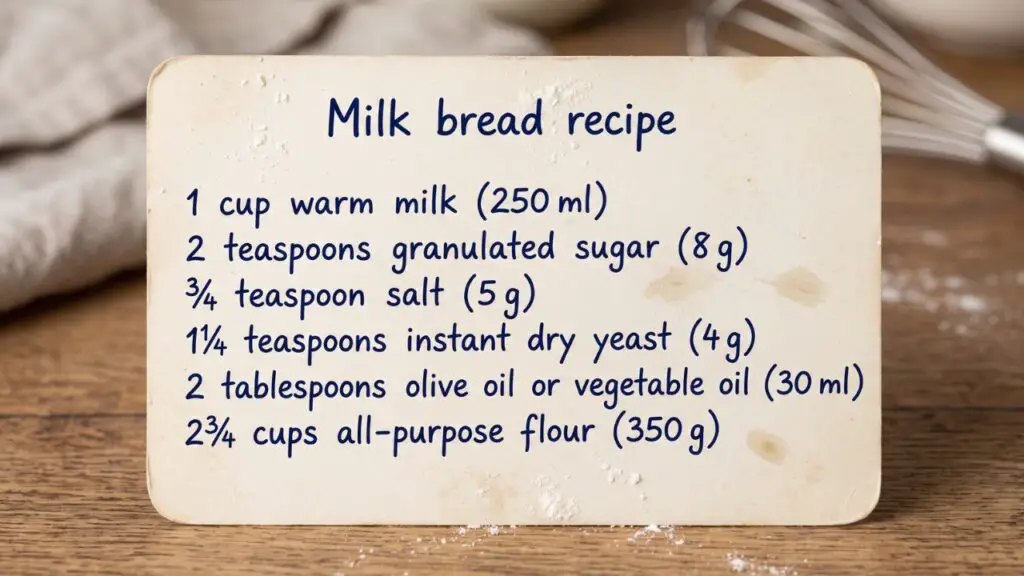
You only need a handful of simple ingredients for this bread, and there is nothing unusual hiding in the list. I usually use olive oil, but a mild vegetable oil will also work if that is what you have.
- 1 cup lukewarm milk (250 ml)
- 2 teaspoons granulated sugar (8 g)
- ¾ teaspoon salt (5 g)
- 1¼ teaspoons instant dry yeast (4 g)
- 2 tablespoons olive oil (30 ml)
- 2¾ cups all-purpose flour (350 g)
- White sesame seeds, for sprinkling on top
Equipment you will need
You do not need any special bread-making equipment for this recipe. A basic air fryer and a large mixing bowl are really the main things you need.
- Air fryer
- Large mixing bowl
- Whisk or spoon
- Plastic wrap
- Parchment paper or air fryer liner
- Oil spray
- Sharp knife
- Cooling rack, if you have one
How to make milk bread in the air fryer
Step 1: Mix the milk and yeast
To make this milk bread, pour 1 cup of lukewarm milk into a large mixing bowl, which is 250 milliliters. Then, add 2 teaspoons of sugar, followed by ¾ teaspoon of salt, and then add 1¼ teaspoons of instant dry yeast, which is about 4 grams.
Give everything a really good stir until the sugar and yeast have mostly dissolved into the milk. The milk should feel comfortably warm, not hot, because very hot milk can damage the yeast.
Top Tip: Aim for milk that feels warm when you touch it but not hot enough that you want to pull your finger away. If the milk is too hot, let it cool for a few minutes before adding the yeast.
Step 2: Add the flour and olive oil
Then, add two and three-quarter cups of all-purpose flour, which is about 350 grams, but do not add it all at once. I like to add the flour in three parts because it makes the dough much easier to mix and helps you avoid those dry pockets of flour.
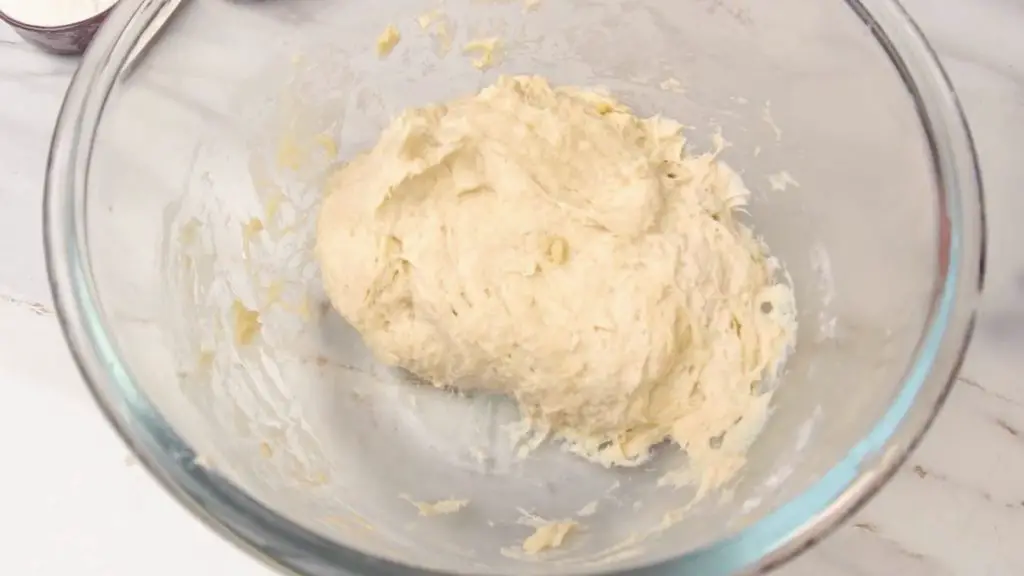
Stir in the first part, then, add the second part and give it another good mix so the flour starts soaking up the milk. I almost forgot the olive oil, so let us add 2 tablespoons, which is about 30 milliliters, and mix that in well.
The olive oil helps keep the bread soft and tender, and it also makes the dough easier to work with. Then, add the last part of the flour and keep stirring until you have a soft, slightly sticky dough with no dry flour left in the bowl.
Note: Try not to keep adding flour just because the dough feels a little sticky. A softer dough will usually give you softer bread, while too much flour can make the loaf heavier and drier.
Step 3: Let the dough rise
Then, cover the bowl with plastic wrap and leave the dough to rise for about 30 to 40 minutes, or until it has roughly doubled in size. Keep it somewhere warm while it rises, and once it looks nicely puffed up and airy, it is ready for shaping.
The exact rising time can change depending on how warm your kitchen is. If your kitchen is cool, do not worry if the dough needs another 10 or 15 minutes.
Step 4: Shape the loaf
Once the dough has risen and looks nicely puffed up, remove the plastic wrap and gently take the dough out of the bowl. Place it onto a lightly floured work area, then, press it down gently with your hands to release some of the larger air bubbles that built up while it was rising.
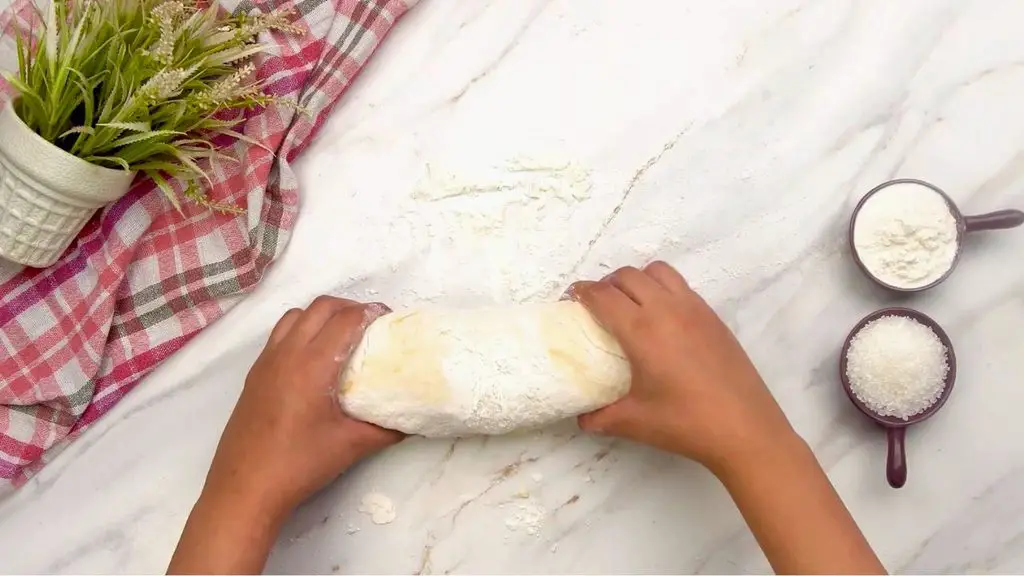
If the dough feels too sticky to handle, sprinkle a little flour over the dough or lightly flour your hands, just enough to make shaping easier. Then, shape the dough into a neat loaf, making sure it will fit comfortably inside your air fryer basket.
Top Tip: Use only a small amount of extra flour while shaping. If you keep adding flour until the dough no longer feels sticky at all, the finished loaf can lose some of that softness.
Step 5: Prepare the air fryer basket
Line the air fryer basket with a piece of parchment paper or an air fryer liner, making sure it sits nicely along the bottom and gives the dough a good base to rest on while it bakes. Then, give the parchment paper a light spray with oil, especially where the loaf is going to sit, because this helps stop the bread from sticking and makes it much easier to lift out once it is baked.
Do not put loose parchment paper into an empty air fryer while it is running because the airflow can lift it toward the heating element. In this recipe, the dough sits directly on the parchment and holds it securely in place.
Step 6: Add the loaf and sesame seeds
Place the shaped dough into the prepared air fryer basket and gently adjust it so it sits nicely in the middle. Try to keep the loaf fairly even in shape, with a little space around the sides so it has room to rise.
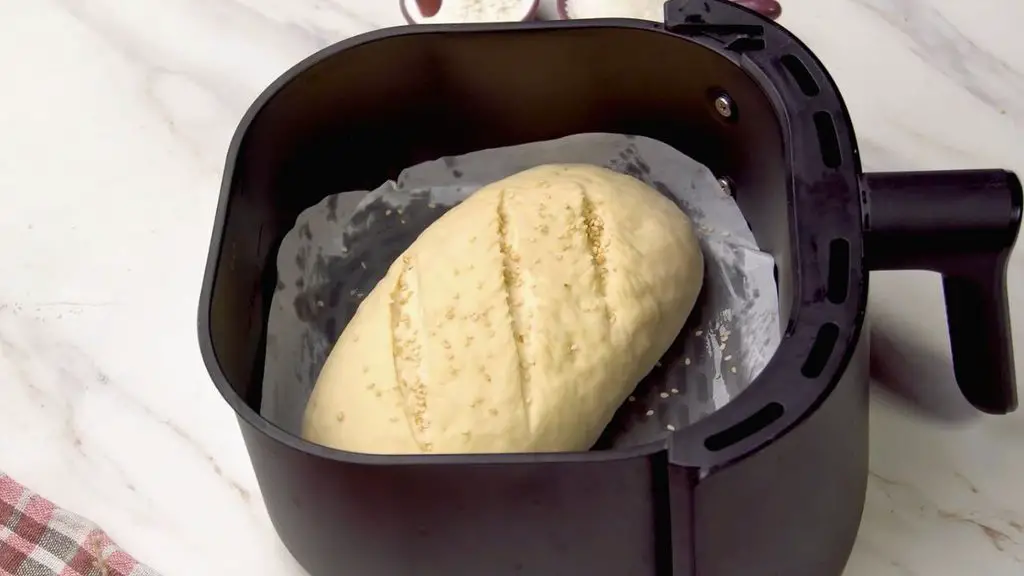
I also like to make a few shallow cuts across the top with a sharp knife. Then, I am going to sprinkle some white sesame seeds over the dough because they add a little extra flavor and make the finished loaf look really nice.
Step 7: Let it rise again
Before we bake it, leave the dough to rest in the air fryer basket for another 20 to 30 minutes. This gives the loaf a little more time to puff up again after shaping.
You do not need it to double completely this time. You are just looking for the loaf to look a little fuller, softer, and slightly puffed before baking.
Step 8: Air fry the bread
Bake the milk bread in the air fryer at 320°F (160°C) for about 30 minutes, until the top of the loaf is golden brown and your kitchen smells absolutely amazing. There is no need to preheat the air fryer for this recipe.
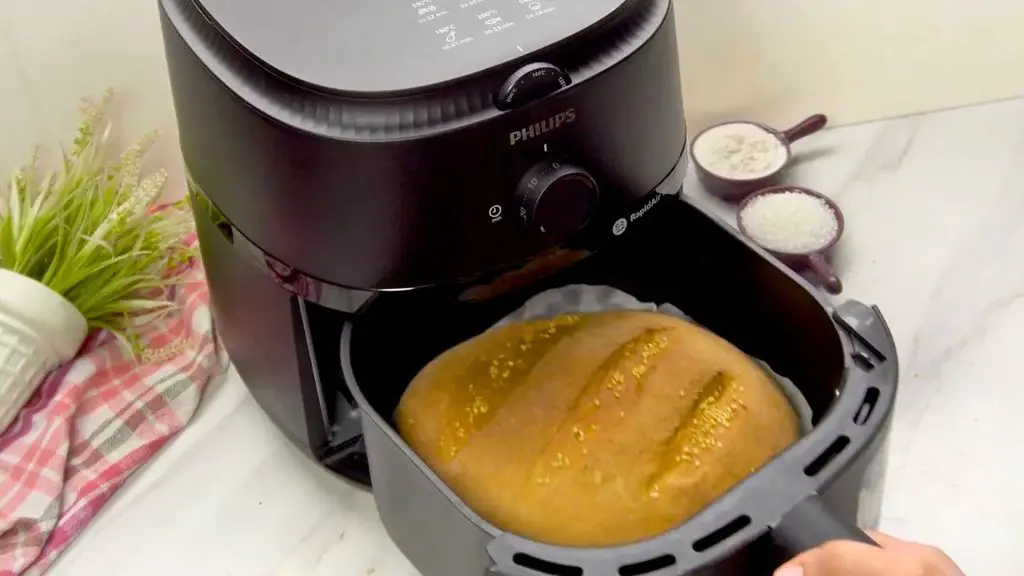
Start checking the loaf at around 25 minutes because air fryers can cook a little differently from one model to another. If the top is browning faster than you like, you can loosely cover it with a small piece of foil for the last few minutes.
Top Tip: If you have an instant-read thermometer, the middle of the bread should be around 190°F to 200°F (88°C to 93°C) when it is baked through. This is especially helpful with air fryer bread because the top can look finished before the middle is quite ready.
Step 9: Flip and brown the bottom
Once the bread is golden brown on top, carefully turn the loaf over and air fry it for another 10 to 12 minutes. Air fryers do not always brown the bottom of bread very well, so flipping the loaf helps it cook and brown more evenly.
Keep an eye on it during those last few minutes because the bottom can color quite quickly once it is facing the heating element. When it looks nicely golden underneath, carefully lift it out of the air fryer.
Let the bread cool before slicing
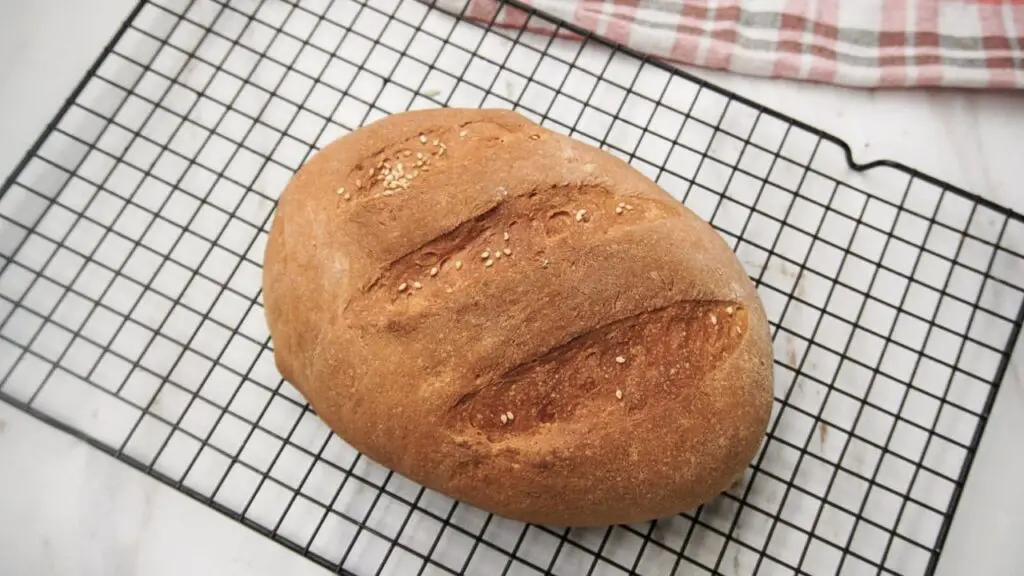
I know it is tempting to cut into homemade bread immediately, especially when the whole kitchen smells like fresh bread. But if you can wait 15 to 20 minutes, the inside will settle a little, and the slices will come out much cleaner.
Move the loaf to a cooling rack if you have one so air can move underneath it. This also helps stop the bottom from becoming damp while the bread cools.
Related Recipe: If you enjoyed this soft air fryer milk bread, you should also try my cinnamon raisin bread in the air fryer. It’s soft, fluffy, and filled with a sweet cinnamon swirl and juicy raisins.

Super easy milk bread recipe
Let me show you how to make this easy milk bread recipe right in the air fryer. It is soft, fluffy, no-knead, and very forgiving, so it comes out great every time.
8
servings1
hour20
minutes40
minutes205
kcal2
hoursIngredients
1 cup 1 cup (250 ml) warm milk
2 teaspoons 2 teaspoons (8 g) granulated sugar
3/4 teaspoon 3/4 teaspoon (5 g) salt
1 1/4 teaspoons 1 1/4 teaspoons (4 g) instant dry yeast
2 tablespoons 2 tablespoons (30 ml) olive oil
2 3/4 cups 2 3/4 cups (350 g) all-purpose flour
Directions
- Pour 1 cup of lukewarm milk into a mixing bowl.
- Add 2 teaspoons of sugar, 3/4 teaspoon of salt, and 1 1/4 teaspoons of instant dry yeast.
- Stir until the sugar and yeast have mostly dissolved.
- Add flour in three parts, stirring between each addition.
- Add 2 tablespoons of olive oil and mix in well.
- Stir until you have a soft, slightly sticky dough.
- Cover and leave to rise for 30-40 minutes in a warm place.
- Once risen, gently deflate the dough on a floured surface.
- Shape the dough into a loaf to fit your air fryer basket.
- Line the air fryer basket with parchment paper and spray lightly with oil.
- Place the shaped dough in the basket and make shallow cuts on top.
- Sprinkle sesame seeds on top (optional) and let it rest for 20-30 minutes.
- Bake in the air fryer at 160°C (320°F) for 30 minutes.
- Flip the loaf over and bake for another 10-12 minutes.
- Remove and let cool before slicing.
Recipe Video
Notes
- Keep the dough soft: The dough should stay soft and a little sticky after mixing. If it feels very wet, add only a small sprinkle of flour at a time because too much flour can make the bread dense and dry.
- Give it enough rise: Let the dough roughly double during the first rise instead of relying only on the clock. A cool kitchen can slow the yeast down, so give it more time if the dough still looks small and heavy.
- Watch the top closely: Air fryers can brown the top of bread faster than the middle cooks. If the loaf gets dark too soon, loosely cover the top with foil and keep baking until the center is done.
- Flip for better browning: The bottom often stays paler because most air fryers heat more strongly from above. Flip the loaf near the end of baking so the bottom gets more direct heat and browns more evenly.
- Store and reheat well: Keep the cooled loaf in an airtight container or bread bag at room temperature for up to 2 days. For longer storage, slice and freeze it, then warm individual slices in the air fryer for a couple of minutes until soft and warm again.
Nutrition Facts
- Total number of serves: 8
- Calories: 205kcal
- Fat: 5g
- Carbohydrates: 34g
- Protein: 6g
Common air fryer bread problems
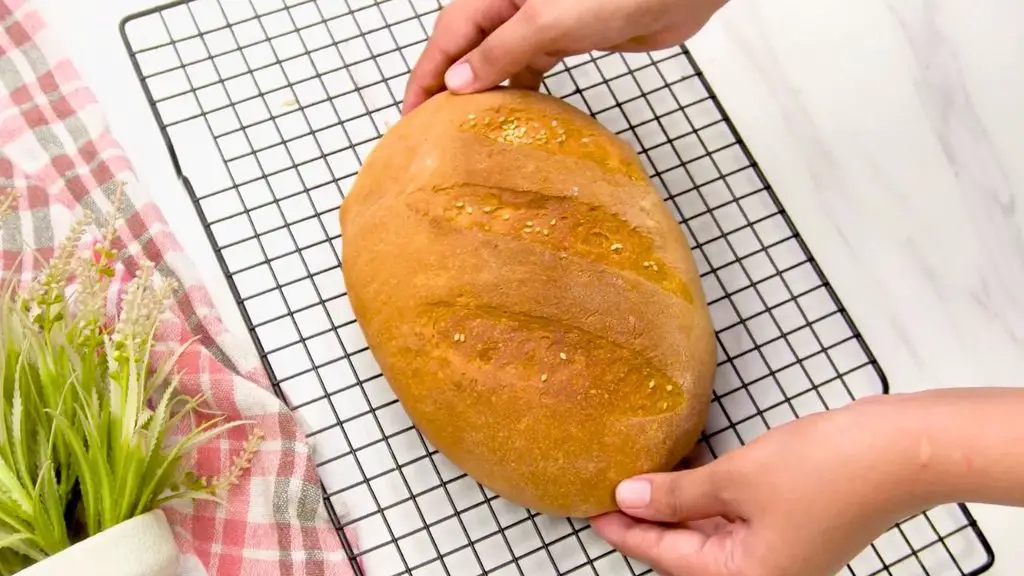
Why did my bread turn out dense?
The most common reason is that the dough did not rise long enough. Instead of watching the clock too closely, look at the dough itself and wait until the first rise has roughly doubled in size.
Another possibility is adding too much flour. This dough should stay a little soft and sticky, so do not keep adding flour until it feels completely dry.
Why is the top brown but the middle is not done?
Air fryers heat the outside of bread very quickly, which means the top can look baked before the middle has caught up. If the top is already golden but the loaf still needs more time, loosely cover it with foil and continue cooking.
A thermometer is really useful here if you bake bread in the air fryer often. Once the center reaches around 190°F to 200°F (88°C to 93°C), you know the inside has baked through.
Why is the bottom pale?
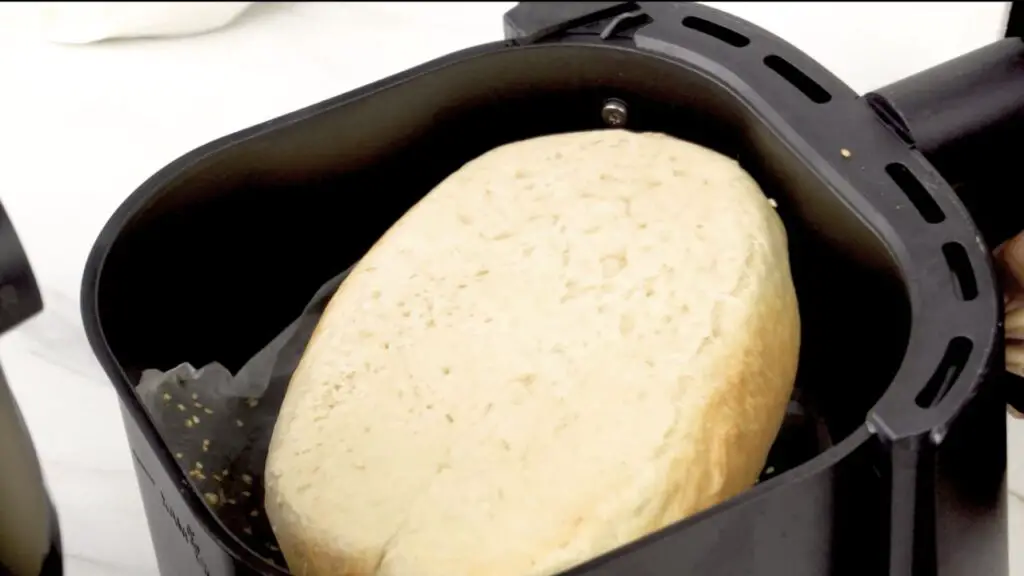
This is completely normal with many air fryers. The strongest heat often comes from above, which is exactly why I flip the loaf for the final 10 to 12 minutes.
That extra step makes a big difference. You get a more evenly baked loaf instead of a beautifully browned top with a pale bottom.
How to store this air fryer milk bread
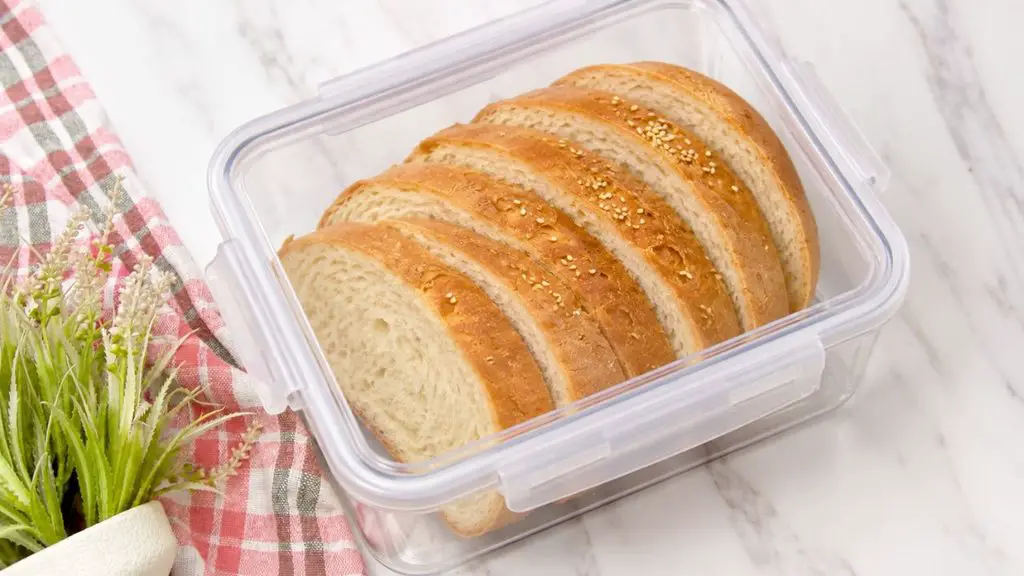
Once the bread is completely cool, keep it in an airtight container or well-sealed bag at room temperature. It is at its best during the first couple of days, although I have a feeling it may disappear much faster than that!
If you want to keep it longer, slice the loaf and freeze the slices in a freezer-safe bag. That way you can take out only what you need instead of thawing the whole loaf.
How to warm it up again
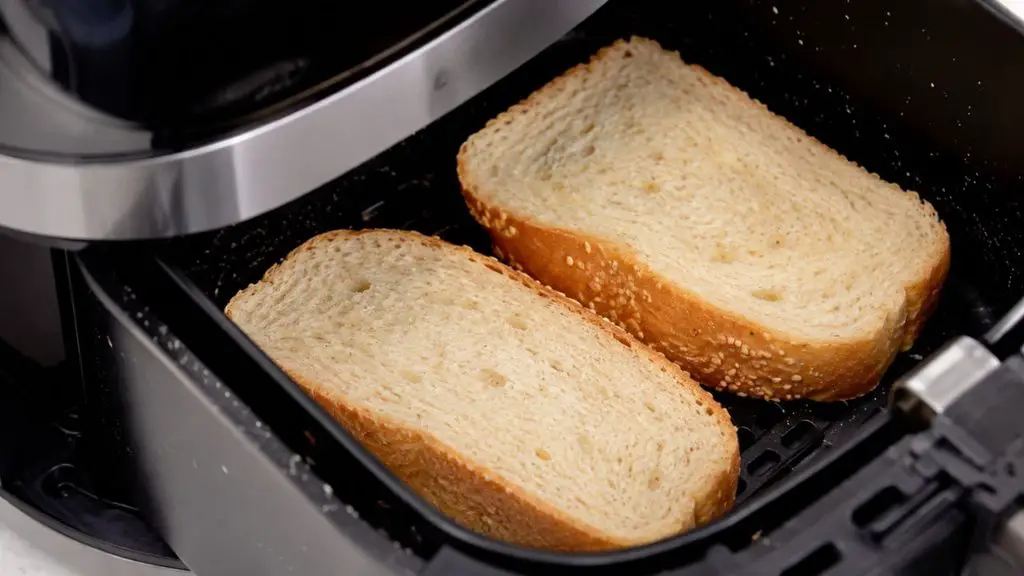
For one or two slices, I usually just toast them or warm them briefly in the air fryer. A few minutes at around 300°F (150°C) is usually enough to make the bread warm again without drying it out.
If you are reheating a larger piece of the loaf, keep the temperature fairly low and check it often. Air fryers work fast, and you want the bread warmed through, not turned into toast unless that is what you are going for!
What to serve with milk bread
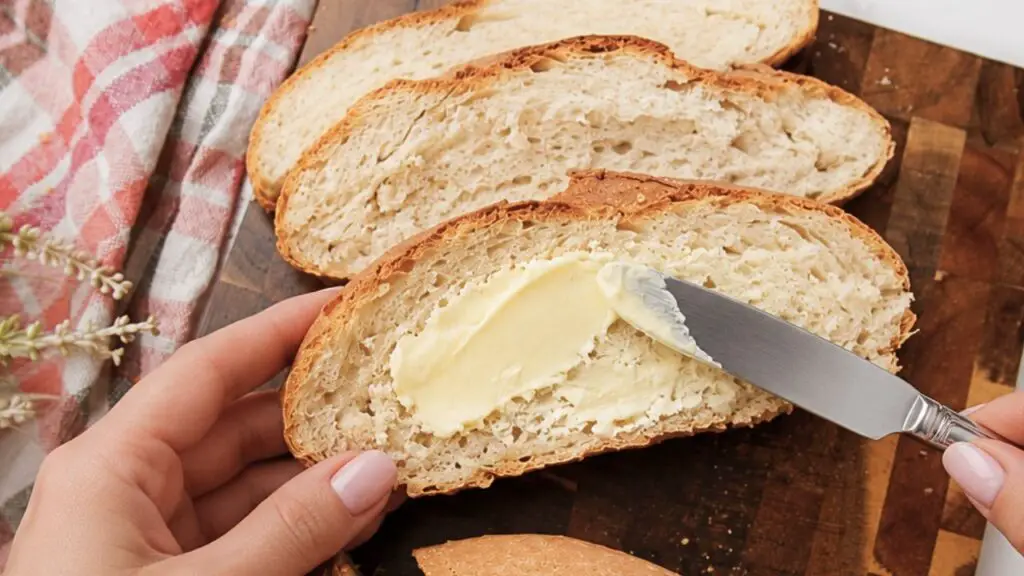
This bread is simple enough to go with almost anything. I love it warm with homemade butter, but it is also really good with jam, honey, eggs, soup, or as the base for a sandwich.
You can also toast it the next day, and honestly… that might be one of my favorite ways to eat it. The edges get lightly crisp while the middle stays soft, and it is sooo good with a little butter.
More air fryer bread recipes
If you like baking in your air fryer, check out some of my other easy air fryer bread recipes below too. There are so many fun ways to make homemade bread without turning on the oven, and I am a little obsessed with testing them!
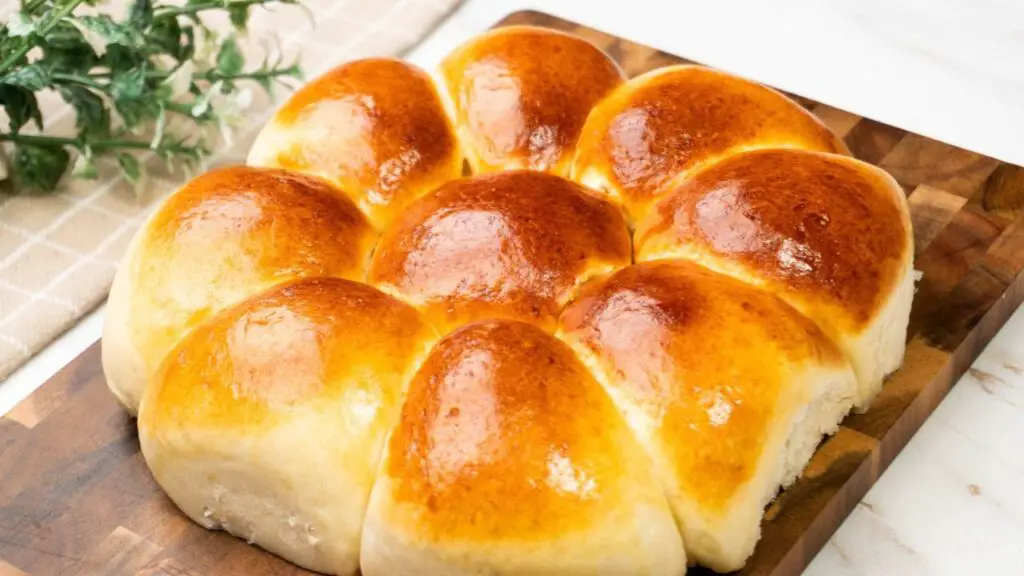
- Soft Air Fryer Brioche Buns Recipe – These homemade brioche buns are soft, fluffy, and wonderfully buttery. They bake up beautifully golden in the air fryer and are perfect for breakfast, sandwiches, or burgers.
- Giant 5-Ingredient Air Fryer Bread Loaf Recipe – This large homemade bread loaf uses just five simple ingredients and comes out with a lovely golden crust and soft, fluffy middle. It’s great for toast or sandwiches.
- Soft and Easy Air Fryer Onion Bread – This savory air fryer onion bread is soft, flavorful, and filled with delicious onion flavor. It’s an easy homemade bread to serve alongside soups, stews, or your favorite meals.
And if you try this air fryer milk bread recipe, leave me a comment below or over on the YouTube video and tell me how your loaf turned out. If you have any questions about the recipe, ask away… I will try to reply to all of your comments and questions.