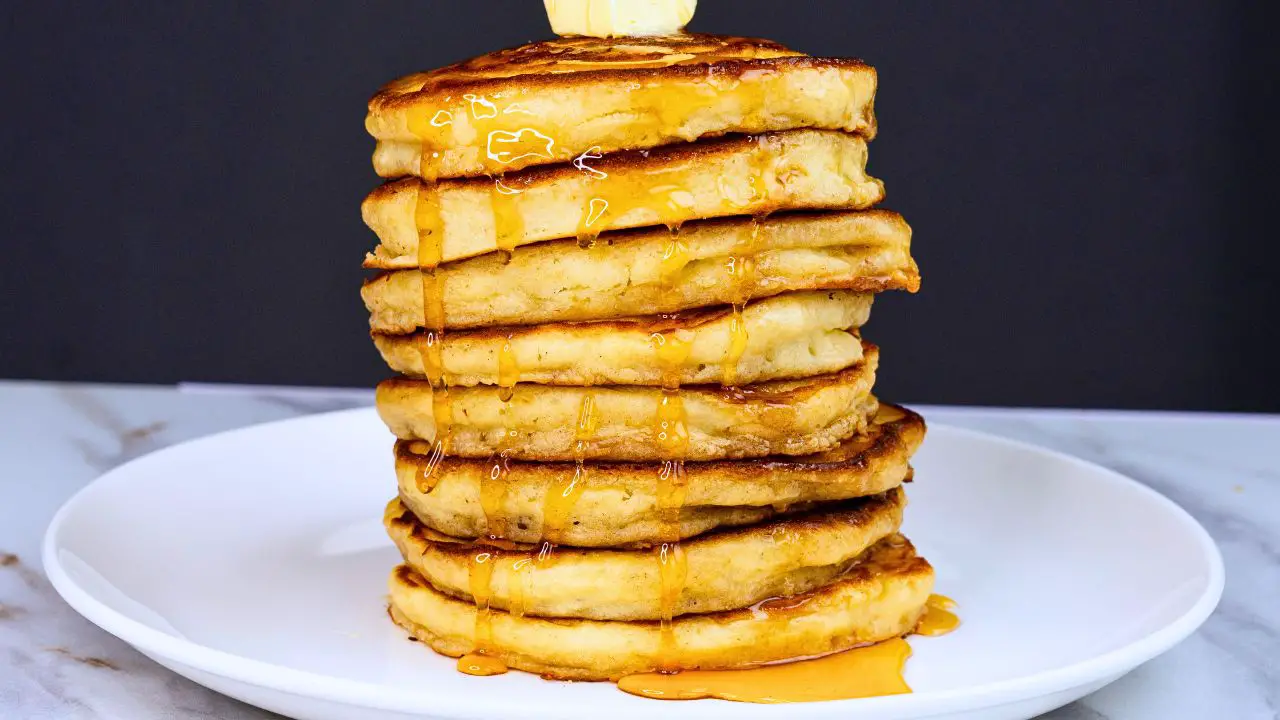
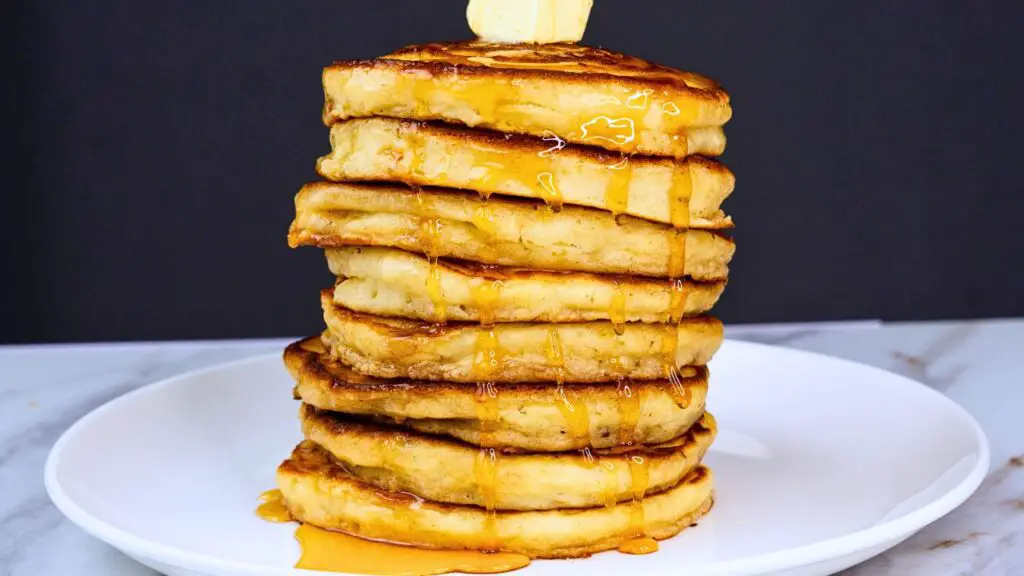
Everyone loves thick, fluffy buttermilk pancakes but let’s be real—who actually has buttermilk when they want pancakes? This easy pancake recipe gives you the same soft, fluffy buttermilk-style pancakes but without buttermilk.
Watch my video below to see how easy it is to make these fluffy buttermilk pancakes! If you love soft, golden pancakes, you will not want to miss it. Like and subscribe for more delicious recipes!
Why You Will Love These Fluffy Buttermilk Pancakes
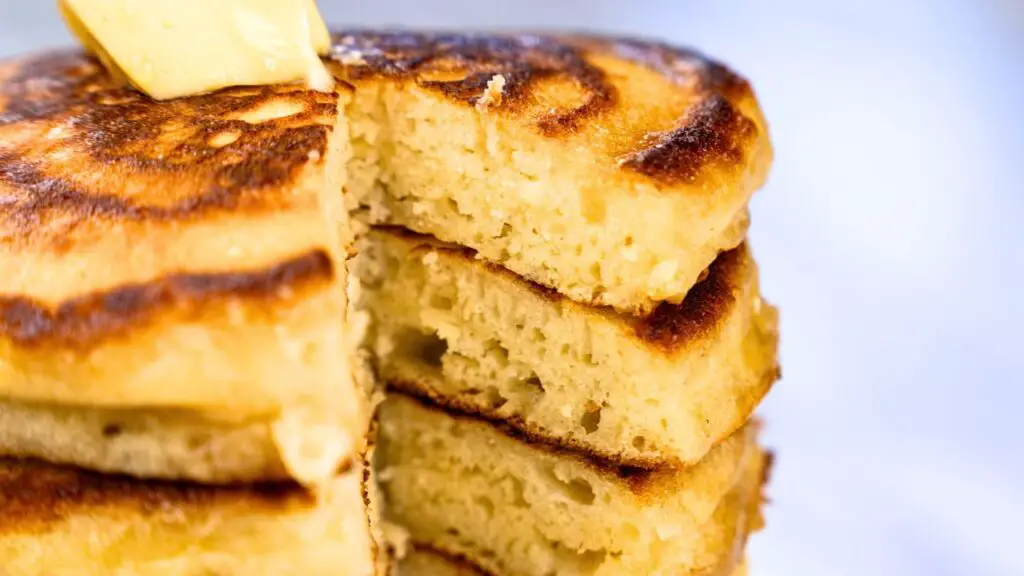
These are the pancakes I make the most. They come out soft in the middle with crispy edges and taste just like classic buttermilk pancakes without needing buttermilk.
I used to think buttermilk was the secret but then I tried the apple cider vinegar trick. It works just as well and now I never worry about whether I have the right ingredients. Once you try this you will not miss buttermilk at all.
Why Add Apple Cider Vinegar to Pancakes
Apple cider vinegar changes the milk so it works like buttermilk. After a few minutes, it thickens and gets a little tangy which helps make the pancakes soft and tender.

TAP ON IMAGE TO VIEW PRICE
Apple cider vinegar also reacts with baking soda to create tiny air bubbles. This is what makes the pancakes rise and keeps them from turning dense. Without this reaction, the pancakes would not be nearly as fluffy.
Ingredients for Fluffy Buttermilk Pancakes
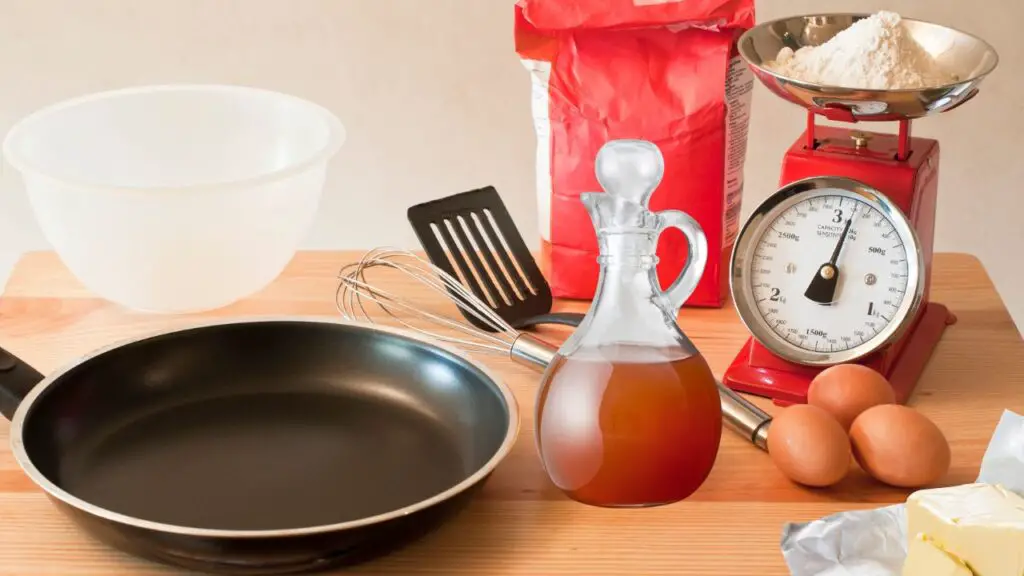
This recipe is super simple, and you probably have everything already. That is why I love it. No weird ingredients, no last-minute store trips, just what is already in the kitchen.
Dry Ingredients
- All-purpose flour – 3 cups (360 grams)
- Sugar – 1/4 cup (50 grams)
- Salt – 1 1/2 tablespoons (22 grams)
- Baking powder – 1 tablespoon (12 grams)
- Baking soda – 1 1/2 teaspoons (6 grams)
Wet Ingredients
- Milk – 2 1/4 cups (530 milliliters)
- Apple cider vinegar – 1/4 cup (60 milliliters)
- Eggs – 3 large
- Vegetable oil – 1/4 cup (60 milliliters)
- Vanilla extract – 1 tablespoon (15 milliliters)
For Cooking
- Butter of ghee (Clarify Butter) – for frying
Optional Toppings
- Grade A amber-rich maple syrup
- Whipped butter
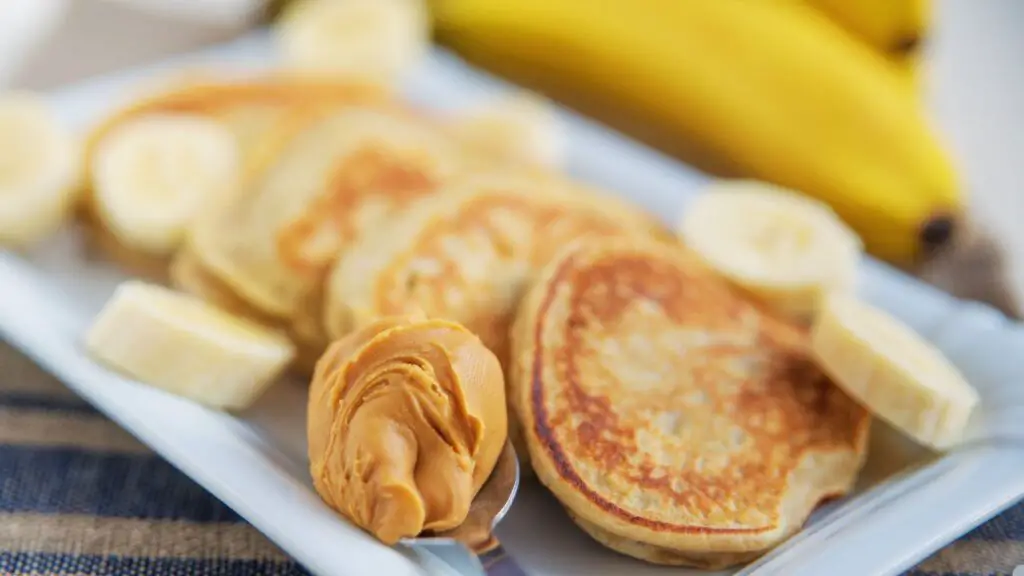
- Fresh fruit (berries, banana slices)
- Nutella or peanut butter
- Powdered sugar
How to Make These Pancakes

I have made this recipe so many times that I could probably do it in my sleep. Here is exactly how I do it, along with little tips I have learned along the way.
Step 1: Mix the Dry Ingredients
I always start by dumping the flour, sugar, salt, baking powder, and baking soda into a big bowl. I give it a quick stir with a whisk, just enough to make sure nothing is clumped together.
If you have ever taken a bite of a pancake and gotten a weird bitter taste, it is probably because the baking soda was not mixed in properly.
Step 2: Make the Buttermilk Substitute

In another bowl, pour in the milk and add the apple cider vinegar. It does not look like much at first, but after a couple of minutes, it starts to curdle slightly and thicken. That is exactly what we want. It is doing the job of buttermilk without actually being buttermilk.
Then, add the eggs, oil, and vanilla and whisk everything together until smooth.
Step 3: Mix the Batter (But Do Not Overmix!)
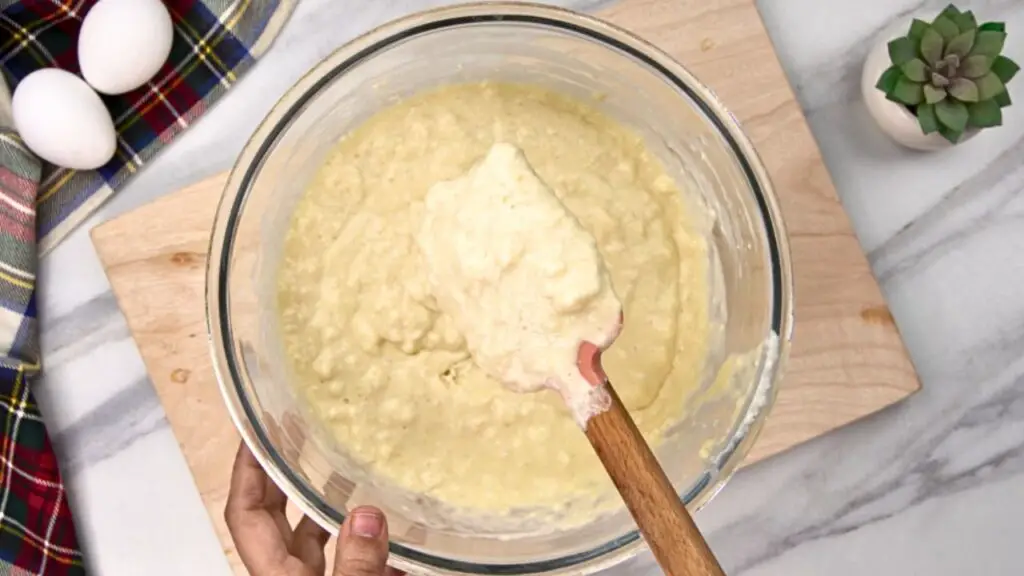
This is the step where a lot of people mess up. If you stir too much, the pancakes will turn out tough instead of fluffy. Pour the wet ingredients into the dry, then stir gently with a spatula just until the flour disappears. A few lumps are fine.
Note: If the batter seems too thick, add a splash of milk. If it is too thin, sprinkle in a little flour. The batter should be thicker than the cake batter but thinner than the muffin batter.
Step 4: Heat the Pan the Right Way
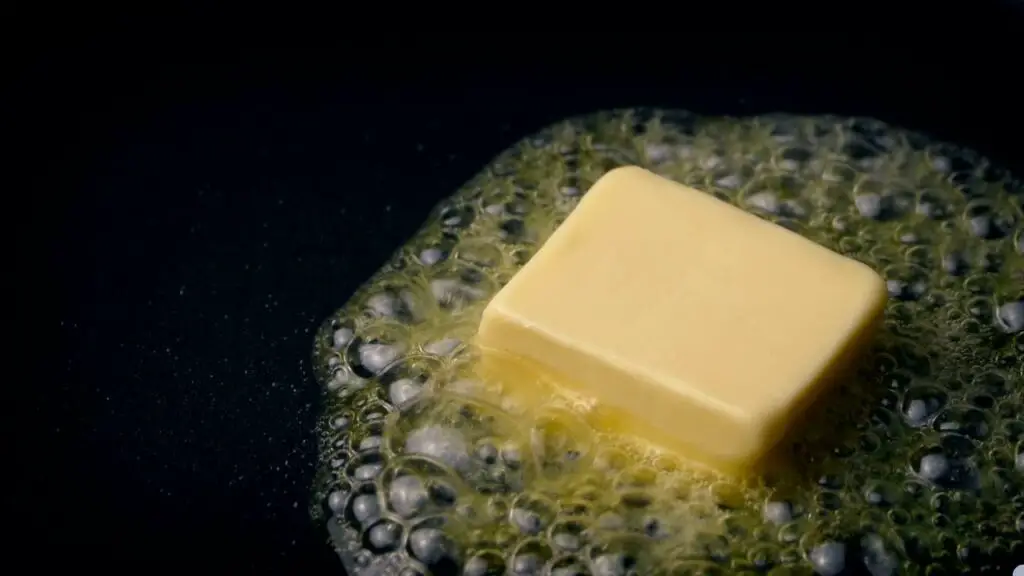
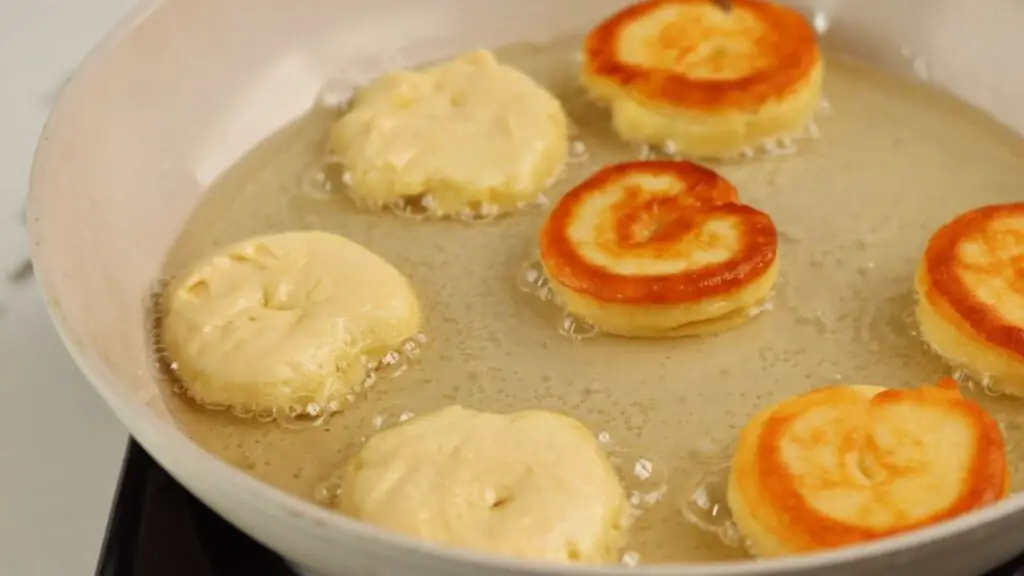
I set my pan to medium heat and melt a little butter. The trick is to let the pan heat up fully before pouring in the batter. If the butter sizzles gently but does not burn, it is ready. If it starts smoking, the pan is too hot.
Pro tip: If your first pancake turns out weird, do not panic. The first pancake is usually a test pancake. Adjust the heat if needed and keep going.
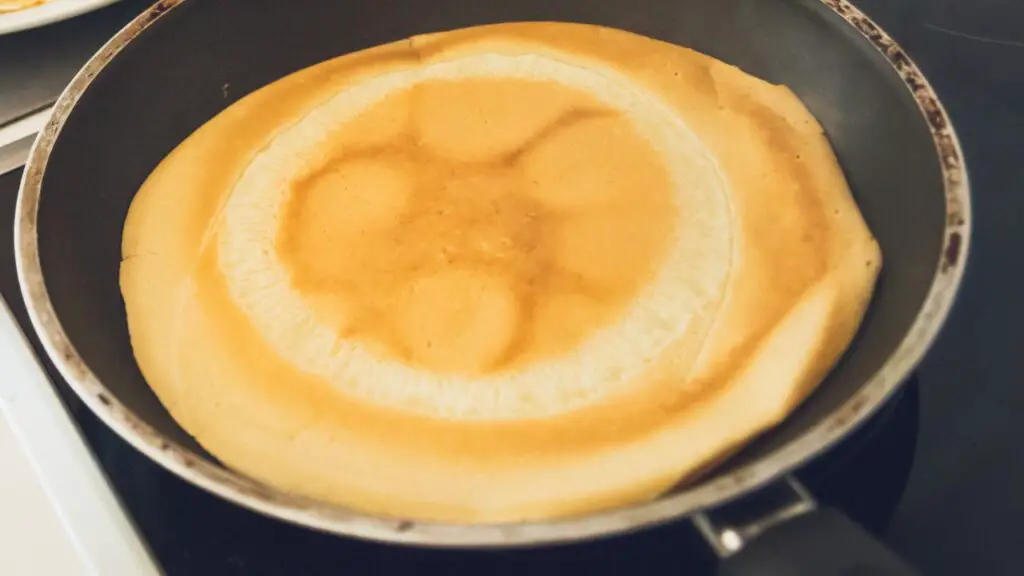
Step 5: Knowing Exactly When to Flip
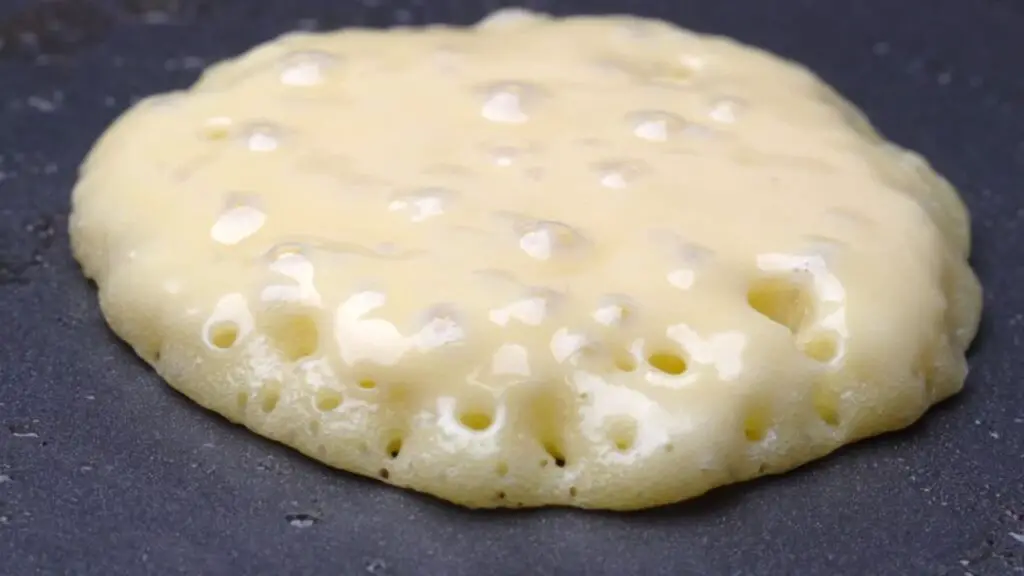
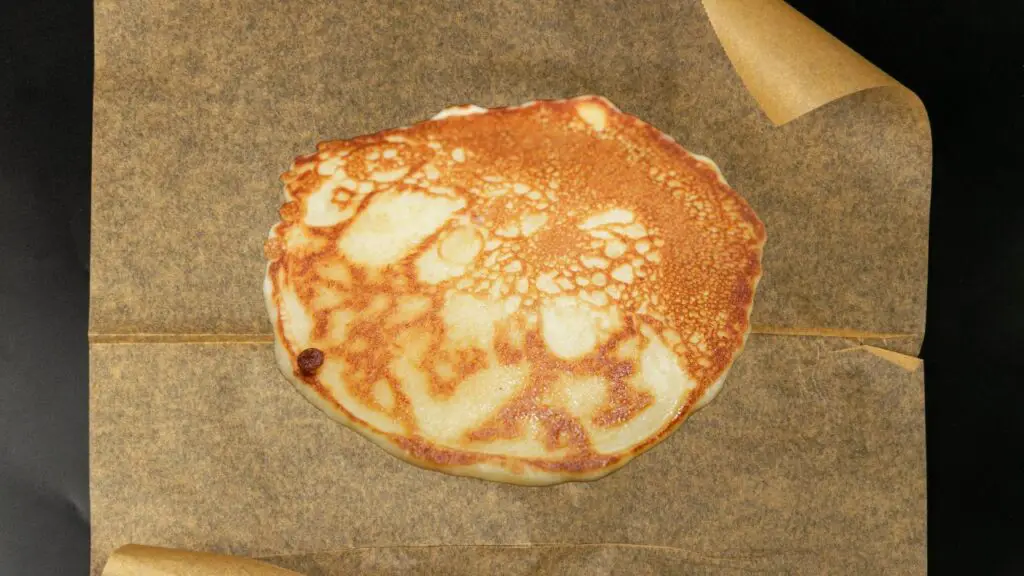
Scoop the batter into the pan and let it spread naturally. Then I watch for the signs. After about three to four minutes, little bubbles start forming on the surface. When they pop and leave tiny holes behind, and the edges start looking dry, it is time to flip.
Slide the spatula underneath, lift it, and flip it in one quick motion. No hesitation. If you flip too early, the pancake will be raw inside. If you flip too late, it will be too dry.
Important: If you flip too early, the pancake will be raw in the middle. If you flip too late, it will be dry and overcooked.
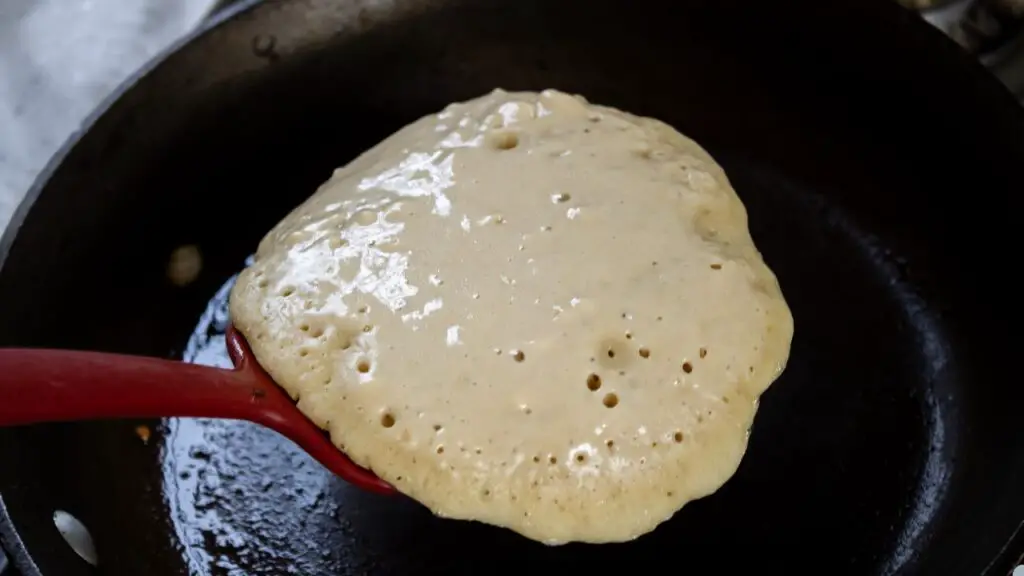
Step 6: Finishing and Stacking the Pancakes
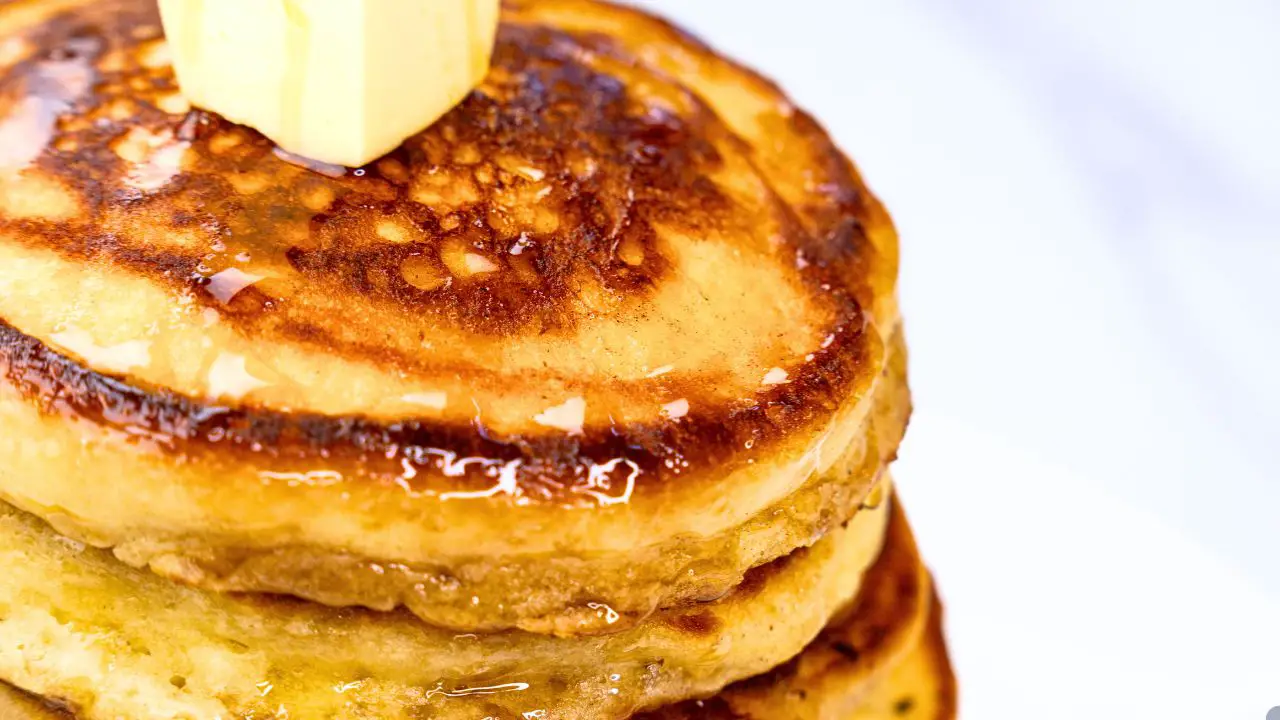
Once I flip, I let them cook for another two to three minutes until golden brown. Then I stack them on a plate, adding a little butter between each one so it melts into every layer. That is what makes them extra rich and soft.
Check Out Also: If you have ever flipped a pancake too early or too late, this guide on when and how to flip pancakes with step-by-step pictures will help you get it just right.
Fluffy Buttermilk Pancakes with Apple Cider Vinegar
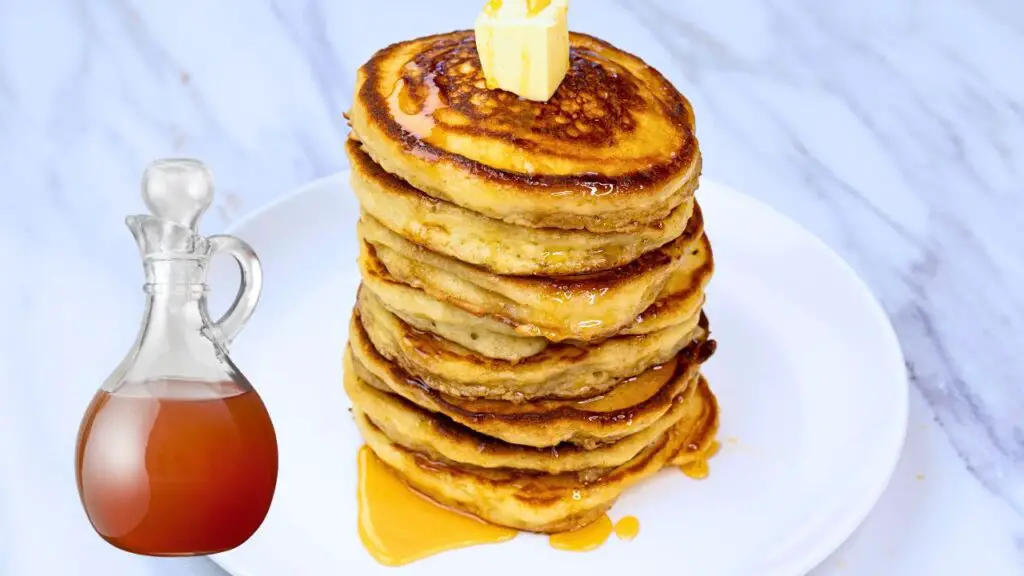
Fluffy pancakes without buttermilk? Yes, it is possible, and they are just as soft, golden, and delicious. The secret is a simple trick with apple cider vinegar that gives you that classic buttermilk texture without the extra trip to the store. These pancakes come out thick, airy, and perfect every time!
8
servings10
minutes20
minutes310
kcal30
minutesKeep the screen of your device on
Ingredients
3 cups (250g) all-purpose flour
0.25 cups (25g) sugar
0.5 teaspoon (3g) salt
1 tablespoon (8g) baking powder
1.5 teaspoon (2g) baking soda
- Wet Ingredients
2.25 cups milk
0.25 cups (30ml) vegetable oil
1 tablespoon (5ml) vanilla extract
0.25 cups (15ml) apple cider vinegar
3 eggs eggs
- For Cooking
8 tablespoons Butter of ghee (Clarify Butter) – for frying
- Optional Toppings
Grade A amber-rich maple syrup for serving
whipped salted butter for serving
Directions
- In a mixing bowl, combine 3 cups of all-purpose flour, 1/4 cup of sugar, 1/2 teaspoon of salt, 1 tablespoon of baking powder, and 1 1/2 teaspoon of baking soda. Mix well.
- In another bowl, mix 2 1/4 cups milk, 1/4 cup vegetable oil, 1 tablespoon vanilla extract, and 1/4 cup apple cider vinegar. Add 3 eggs and whisk until smooth.
- Pour the wet ingredients into the dry ingredients. Mix until no dry flour is visible. The batter should be lumpy.
- Heat butter in a pan over medium heat. Scoop batter into the pan, cooking for 3 to 4 minutes until bubbles appear and the edges look dry. Flip.
- Cook the other side for 2 to 3 minutes until golden brown. Remove from pan. Repeat with the remaining batter.
- Serve hot with whipped salted butter and maple syrup as desired.
Recipe Video
Notes
- Let the batter rest: Rest for or 5 to 10 minutes before cooking. This gives the vinegar and baking soda time to react, creating extra air bubbles for fluffier pancakes.
- Do not overmix the batter: Stir just until the flour disappears. A few lumps are fine and help keep the pancakes light.
- Use room-temperature eggs and milk: Cold ingredients can make the batter dense and affect how well the pancakes rise.
- Preheat the pan properly: The right temperature is key. If the butter sizzles but does not burn when you add it, the pan is ready.
- Do not press down on the pancakes while they cook: This squeezes out the air and makes them dense instead of fluffy.
- For extra crispy edges, cook with butter instead of oil: Butter gives the pancakes a golden, slightly crispy finish that tastes amazing.
- If the batter is too thick, add a little more milk: If it is too thin, sprinkle in a little more flour to get the right consistency.
Nutrition Facts
- Total number of serves: 8
- Calories: 220kcal
- Fat: 10g
- Carbohydrates: 45g
- Protein: 8g
Clever Ways to Serve Pancakes
Pancakes do not have to be just a stack with syrup—there are so many fun ways to serve them! Here are some of my favorites:
- Mini Pancake Dippers – Make small pancakes and dip them in warm syrup, chocolate, or whipped cream. Perfect for snacking.
- Pancake Sundae – Stack pancakes with a scoop of ice cream, drizzle with chocolate or caramel, and top with whipped cream. Dessert pancakes = the best pancakes.
- Pancake Skewers – Cut pancakes into quarters and thread them onto skewers with fruit. Looks amazing and is fun to eat.
- Stuffed Pancakes – Add a spoonful of cream cheese, jam, or peanut butter between two layers of batter for a surprise filling.
- Savory Pancakes – Skip the syrup and top with crispy bacon, scrambled eggs, or cheese for a salty, satisfying twist.
If you always eat pancakes the same way, try switching it up! Let me know your favorite way to serve them!
The Best (and Worst) Ways to Store Pancakes
I have tried a lot of ways to store pancakes, and some work better than others.
- Best way: Let them cool, then stack with parchment paper between each one. Keeps them soft.
- The worst way: Just throwing them in a container without separating them. They get soggy and stick together.
How to reheat them:
- Microwave: 30 seconds. Soft but not crispy.
- Toaster: Best method for crispy edges.
- Oven: 350°F for five minutes. Works well for big batches.
How to Fix the Most Common Pancake Problems
I have ruined plenty of pancakes over the years, so I know exactly what not to do. If you have ever had any of these problems, here is how to fix them:
- Pancakes that are too flat – This usually means your baking soda or baking powder is old. Check the expiration dates! Also, do not overmix the batter—it knocks out all the air.
- Pancakes that are raw in the middle – If this happens, the heat is too high, so the outside is cooking too fast before the inside is done. Turn the heat down a little and let them cook longer.
- Pancakes that are too dense – This usually happens when the batter is too thick. Try adding a splash of milk to loosen it up.
I have made all these mistakes before, and they are easy to fix once you know what went wrong!
Love These Pancakes? Try These Next
If you enjoyed these fluffy buttermilk pancakes, try these other delicious pancake recipes on my YouTube channel:
- Another Best Fluffy Pancake Recipe for the softest, most classic pancakes
- Fluffy Greek Yogurt Pancakes for a protein-packed twist
- Almond Flour Pancakes for a light and nutty option
- Fluffy Sweet Potato Pancakes for a naturally sweet and cozy flavor
- Red Lentil Savory Pancakes for a hearty, gluten-free alternative
Give them a try and let me know your favorite!
Have Questions or Want to Share Your Experience?
If you are making these fluffy buttermilk pancakes and need help, leave a comment. If you have already tried them, let me know how they turned out. You can also share your experience on YouTube. I would love to hear from you!