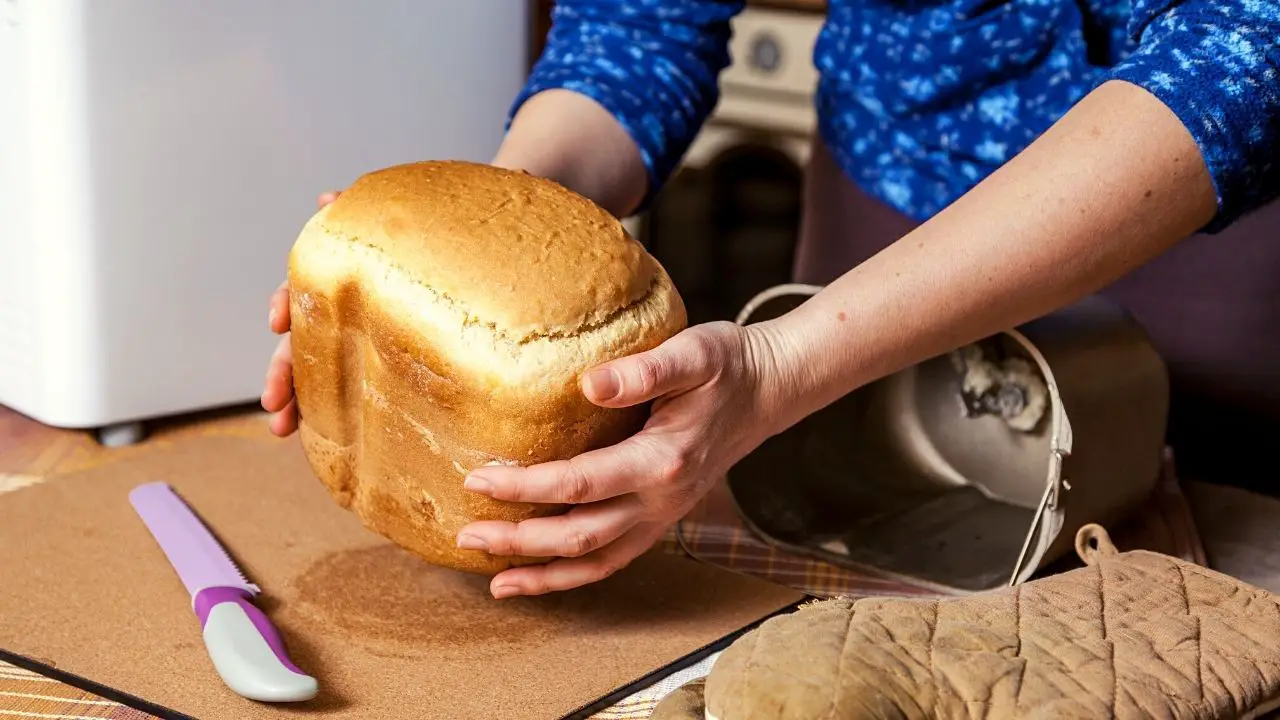
Using a bread machine may seem intimidating for those unfamiliar with them, but they are really not. Although these nifty appliances are pretty straightforward to use, here are a few tips and tricks that would help you get started on your journey of homemade bread baking.
Come join me on Facebook here for easy recipes, cozy bakes, and little kitchen tips from my kitchen to yours.
“Good bread is the most fundamentally satisfying of all foods; and good bread with fresh butter, the greatest of feasts.”
James Beard
11 Bread Machine Tips For Beginners
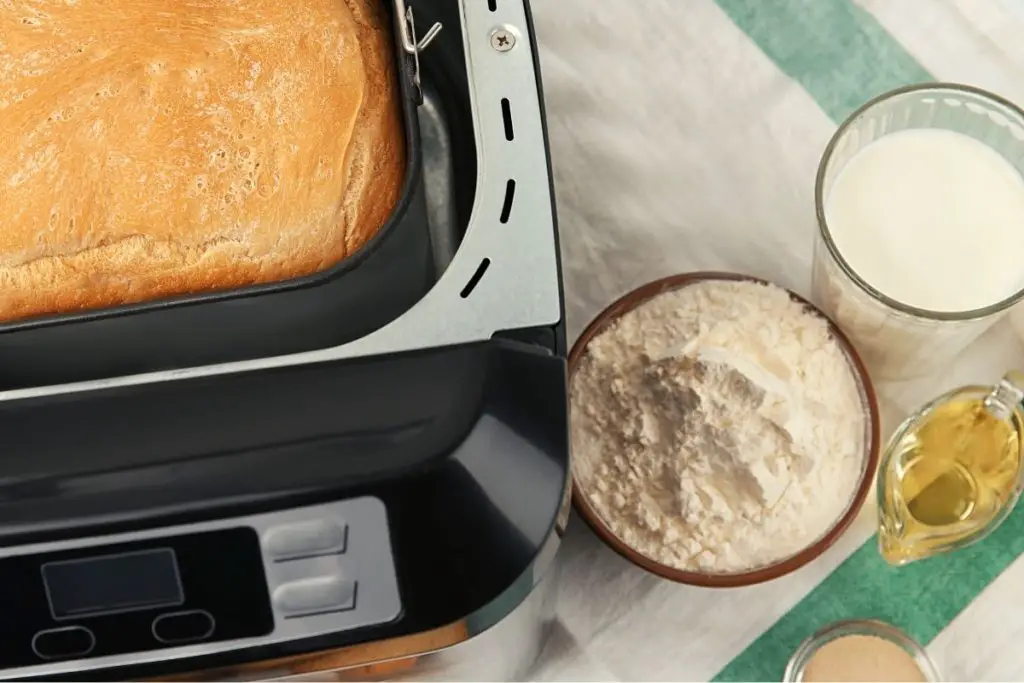
1. Start With A Ready-Made Bread Mix
If you’re a complete beginner in bread making and have no idea where to start, start with a ready-made bread mix like the one below!
Buy a basic bread mix that doesn’t need many ingredients other than warm water, oil or butter, and sometimes an egg. A sachet of fast-action dried yeast is usually included as well.

TAP ON IMAGE TO VIEW PRICE
Follow the instructions and observe what happens to the dough at every stage. This will help you once you start making it from scratch.
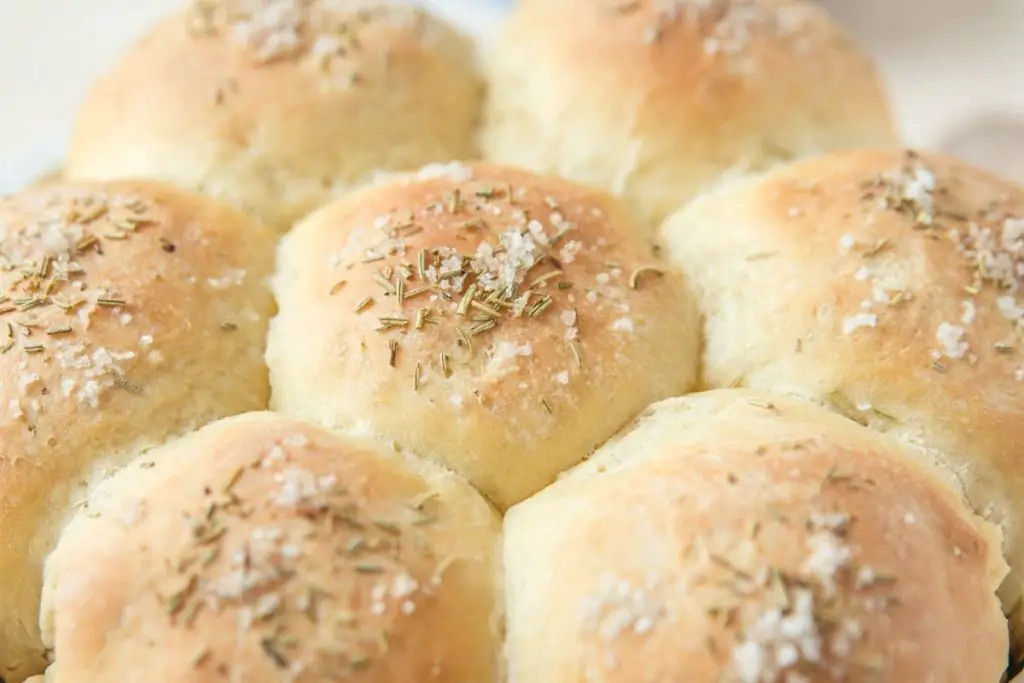
Using a ready-made bread mix is the easiest dependable way to achieve a light, fluffy and moist loaf.
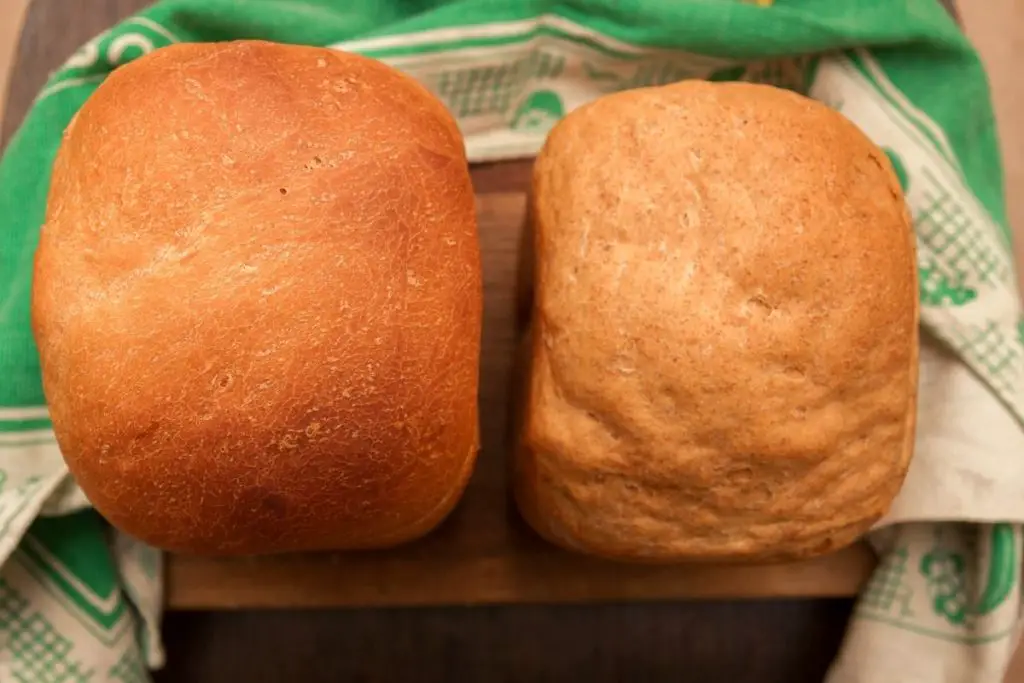
2. Follow A Recipe
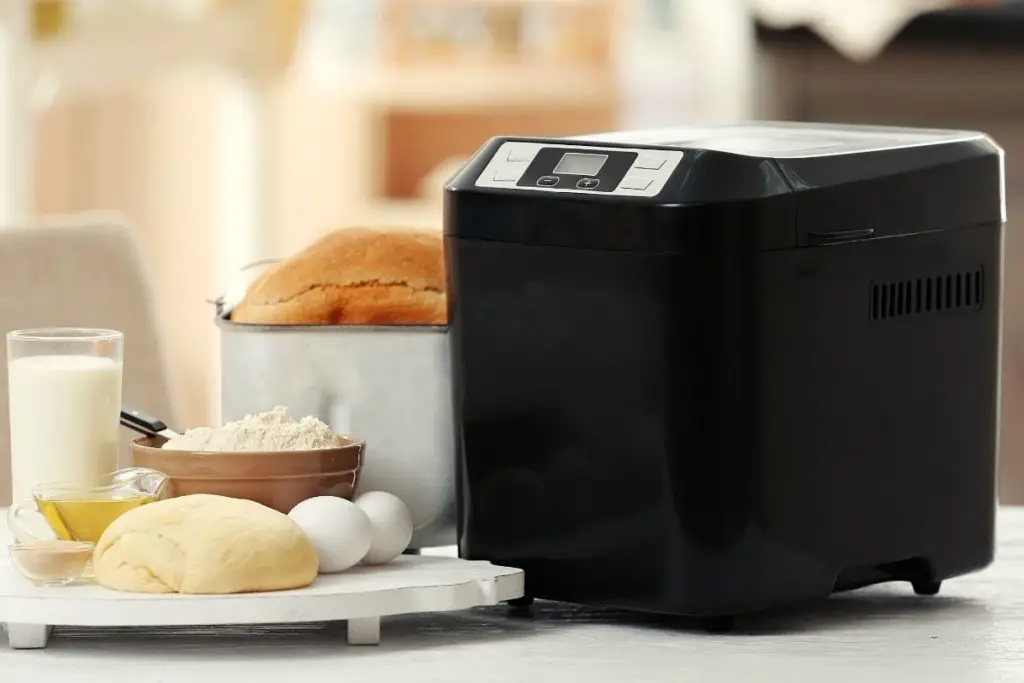
When it comes to bread recipes, there is not much room for error. One small miscalculation of an ingredient can result in a loaf of bread that is either dense, heavy or even collapsed in the middle. That’s why it’s important to follow a bread recipe to the letter, especially if you are a beginner.
Start with a simple white loaf recipe like in the video below and move on to other kinds of bread recipes like brown, seeded, and rye.
Once you have more experience, you can start experimenting with more complex recipes, add-ons, and substitutions.
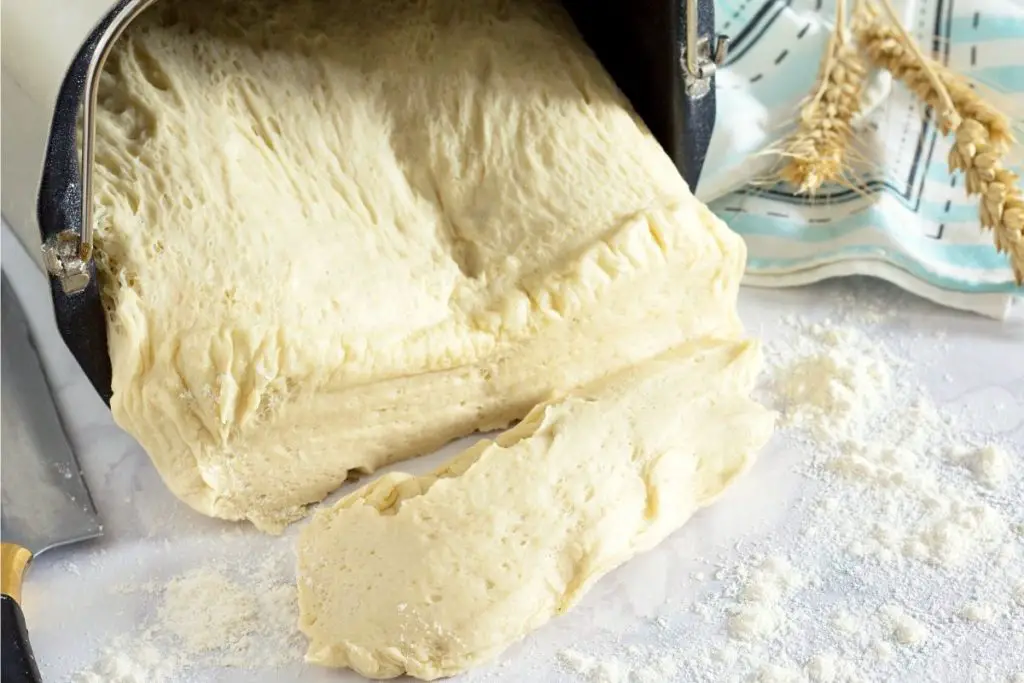
3. Remove The Mixing Paddles
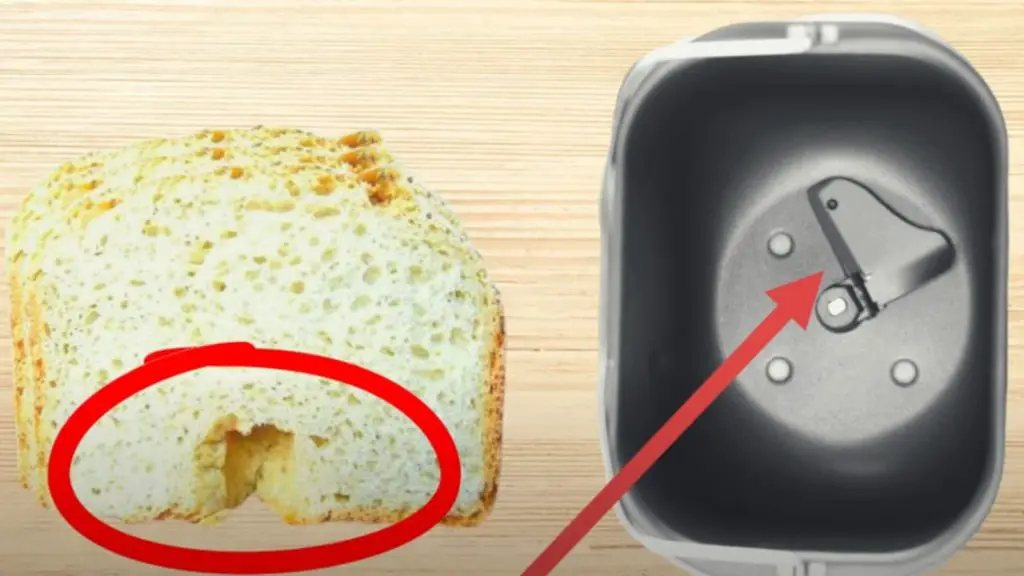
Some people believe that removing the paddle from a bread machine is unnecessary once it has finished its kneading cycle. Others feel that they absolutely hate the hole at the bottom of the loaf that the paddles leave.
Removing the paddles from the breadmaker is not suggested by the manufacturer’s instructions, but it is easy to do if you don’t like digging out the stuck paddles from the bottom of your bread loaf after baking.
Once the kneading cycle is finished, the mixing paddles are not needed anymore. Now, carefully remove the dough from the baking pan, remove the paddles, and place the dough back in the pan. Now let the bread machine complete its baking cycle.
Read Also: 9 Common Bread Machine Baking Problems And Troubleshooting.
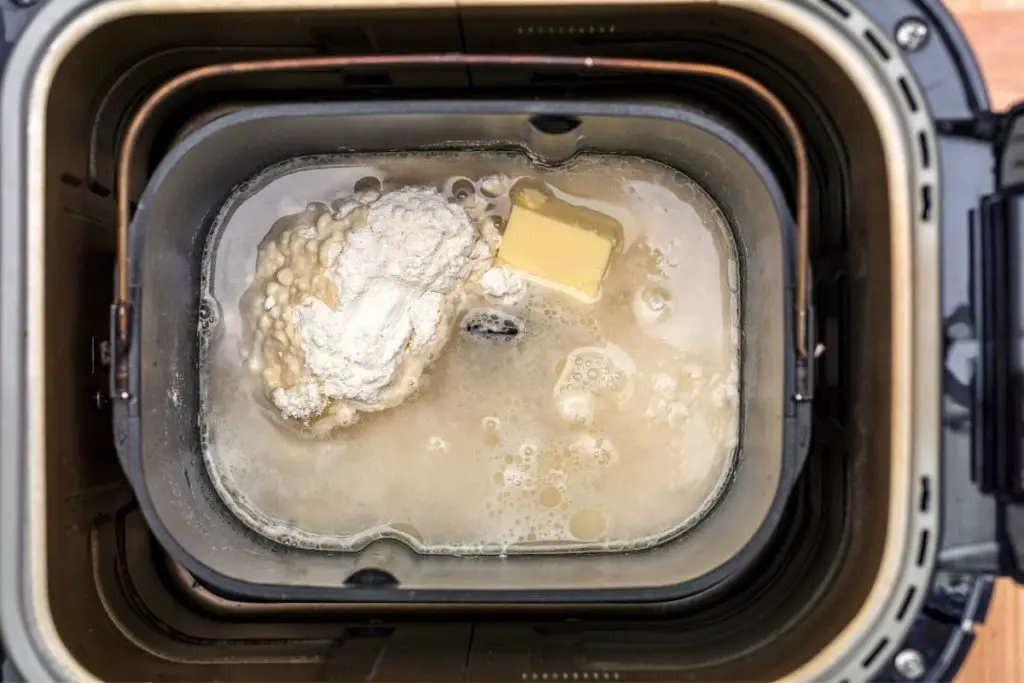
4. Use The Right Flour For Your Recipe
You can make a loaf with any flour. All-purpose flour, oatmeal flour, rye flour, self-rising flour, buckwheat, or whole wheat flour, all of these can be used to produce a beautiful loaf of bread.
Experienced bakers can successfully substitute one type of flour for another; however, if you are just starting out with a bread machine, stick to high-protein bread flour or the flour that is required in the recipe. Substituting one flour for another often requires recalculating other ingredients in the recipe to make it work.
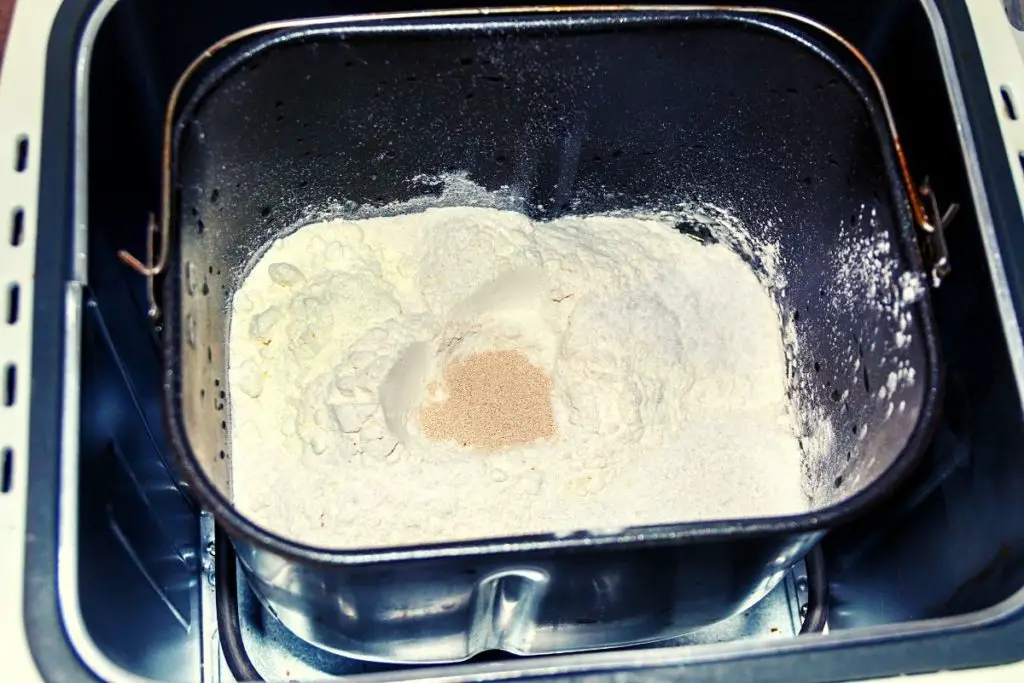
5. Use Instant Dry Yeast
Instant Dry Yeast or Bread Machine Yeast is the best yeast to use when baking bread in a bread machine. It is fast-acting and results in even and consistent dough. It is perfect for most bread cycles.
Additionally, instant yeast does not require proofing, so it is ready to use right out of the package.
You can also use active dry yeast, which most people are more likely to have in their kitchen. Unlike instant yeast, active dry yeast only becomes active when mixed with lukewarm water.
If you follow a recipe, use the yeast required and just stick to the instructions.
6. Use Your Bread Maker For Things Other Than Bread!
Did you know that breadmakers are not just for baking bread?
Breadmakers are really versatile appliances; you can use them in many different ways. Many other recipes can be made with a breadmaker, like baking cakes, brownies, rice pudding, jams, or even meatloaf. Talk about return on investment!
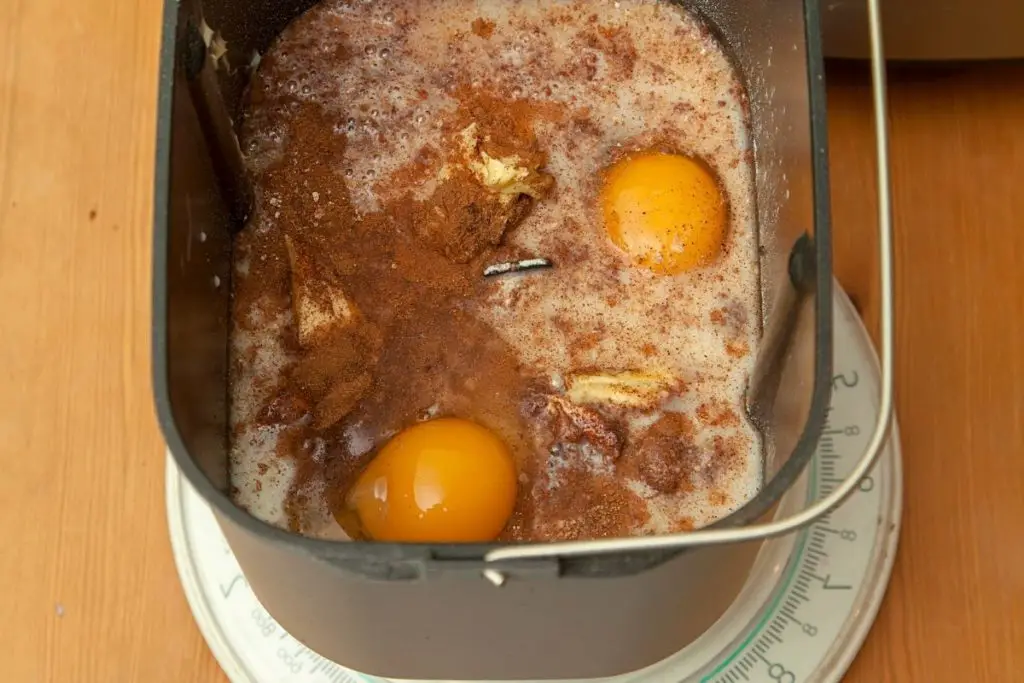
7. Use Room Temperature Ingredients
If your recipe calls for milk, butter, or eggs (for a Brioche loaf, for example), it is best to let your ingredients come to room temperature before using them.
Too hot or too cold will affect the yeast: too cold and nothing will happen; too hot and the yeast will die. Room temperature ingredients aid in the rising of the loaf.
8. Bake Outside The Bread Maker
Although this nifty appliance makes bread-making quick, convenient, and pretty much hands-off, you can also use it to make bread recipes that will be baked in the oven. Things like pizza dough, burger buns, and dinner rolls!
So, basically, you will be using the bread maker to mix and knead the dough for you, then remove the dough from the machine and roll it however needed depending on your recipe, baked in a regular oven.
9. Freeze Your Dough
The whole purpose of this kitchen appliance is to make the baking process fast and easy. But you can make it even easier. Save on time and make the dough in bulk: make several batches of your favorite loaf recipe and freeze after all ingredients are mixed, before the first rise. Wrap the dough tightly in cling film and freeze for up to 6 months.
When ready to use, remove from the freezer, unwrap, and thaw in the refrigerator overnight. Then place your dough back in your machine in a warm place for the first rise; this may take a little longer than usual but will do the trick! Bake as usual.
10. Yes, You Can Make Gluten-Free Bread
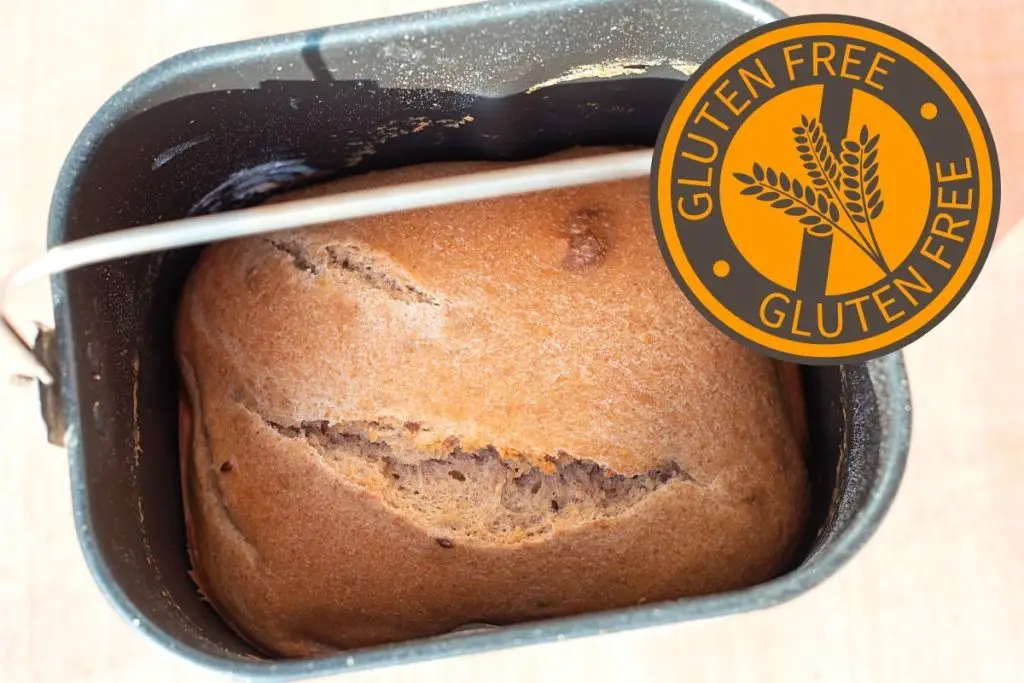
If you have no tolerance for gluten, you can still use the bread machine even if it does not have a gluten-free setting.
Many recipes for gluten-free bread are available online, and many are bread machine-compatible! You can find lots of gluten-free bread flours available in most supermarkets and online; you’ll be surprised at how well they turn out!
If you also use your bread maker for regular bread recipes, keep in mind that if not cleaned properly, your gluten-free loaf may still contain traces of gluten due to cross-contamination.
11. Clean Your Bread Machine
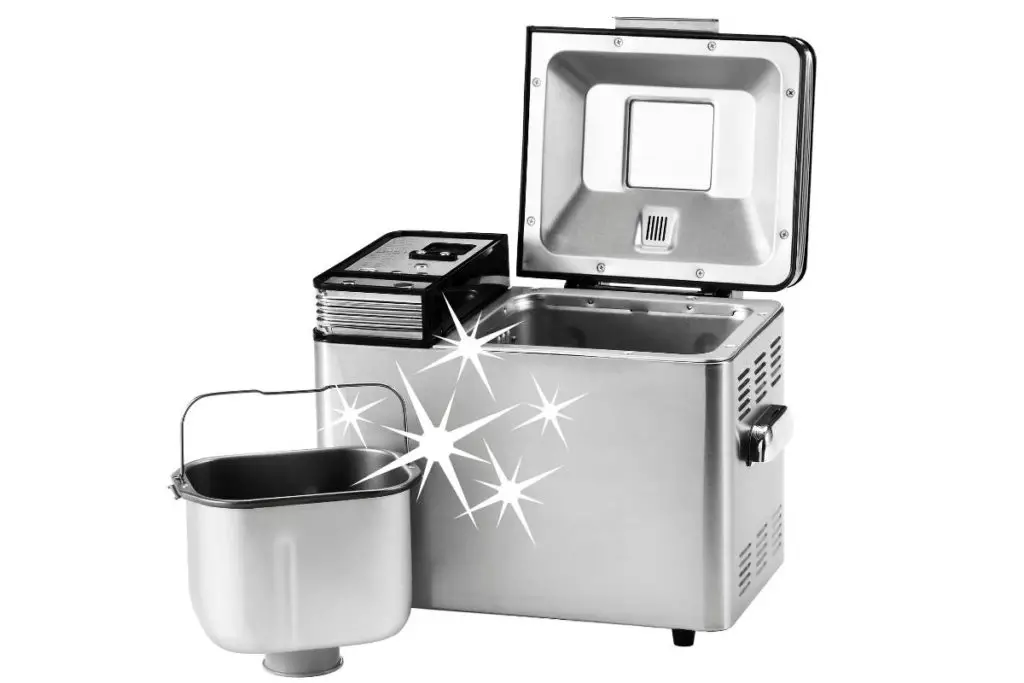
A bread maker can stay with you for a lifetime; they are sturdy machines! The key is to maintain and care for them well by cleaning them often and oiling them when needed.
If your machine starts to make noise, don’t worry, it might just need to be oiled – check your manufacturer’s instructions on how to do this best.
Most machines cannot go in the dishwasher. Here’s how to carefully clean your bread machine:
- Use soap and water with a soft, non-abrasive sponge or cloth to clean the bread pan. Do not submerge the pan in water, and do not use bleach or harsh chemicals.
- Collect crumbs from the inside of the machine and brush them away without getting the inside of the machine wet.
- Use a damp, lint-free cloth to wipe away any dust, residual dough, or flour off the outside surface of the machine.
- Dry the machine with a clean tea towel and leave to air dry before storing or using again!
In conclusion, using a bread machine is a great way to make fresh, homemade bread and cakes without all of the hassle. I hope that these tips for beginners will help you get started and be on your way to enjoying delicious, fresh homemade loaf.
Related Video: 7 Common Bread Machine Mistakes That Are Easy To Avoid
If you want to learn more about baking bread at home then check out these 7 Best Bread Baking Blogs For Deliciously Crusty Homemade Bread Recipes.