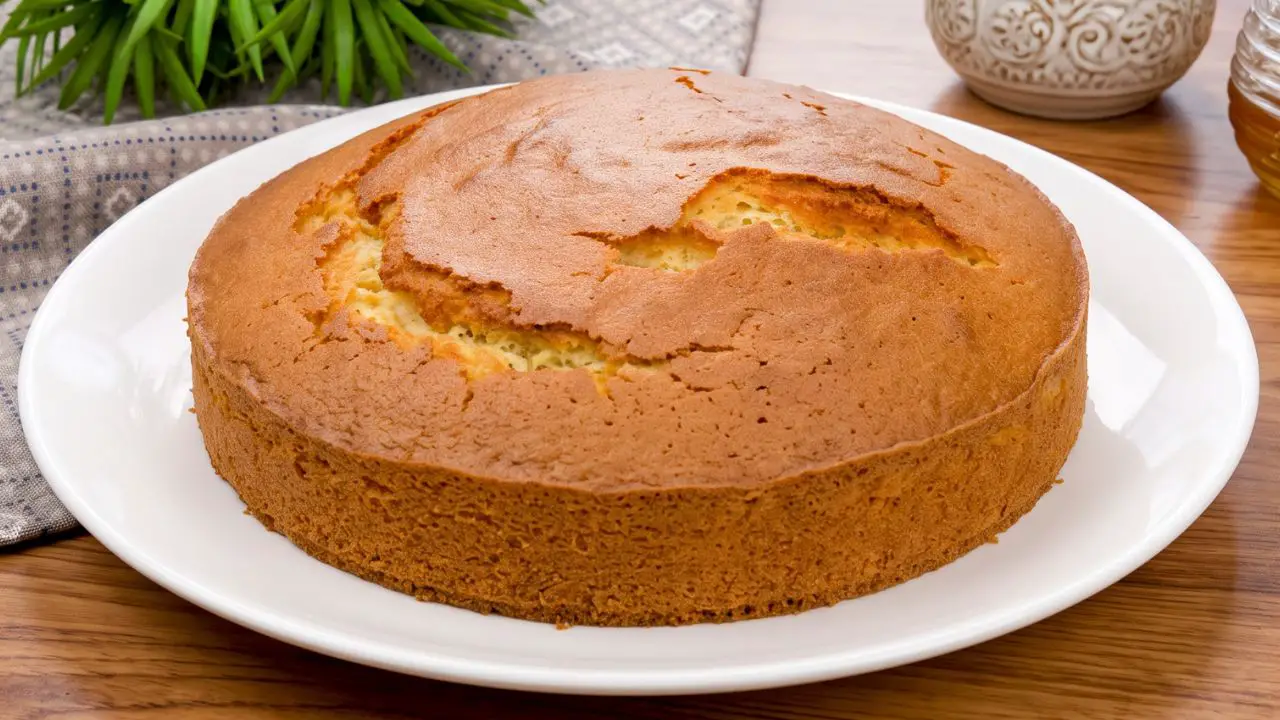
Let me show you how to make this soft and fluffy air fryer yogurt cake! This was actually my grandma’s old yogurt cake recipe, the same simple cake I remember her baking in the oven when I was growing up, but the air fryer does such an amazing job with it that I had to make it this way too.
Come join me on Facebook here for easy recipes, cozy bakes, and little kitchen tips from my kitchen to yours.
Check out my Air Fryer Yogurt Cake recipe video below and see just how easy it is to make! If you enjoy the video, give it a like and subscribe to my YouTube channel for more easy cake and air fryer recipes.
Why you’ll love this air fryer yogurt cake
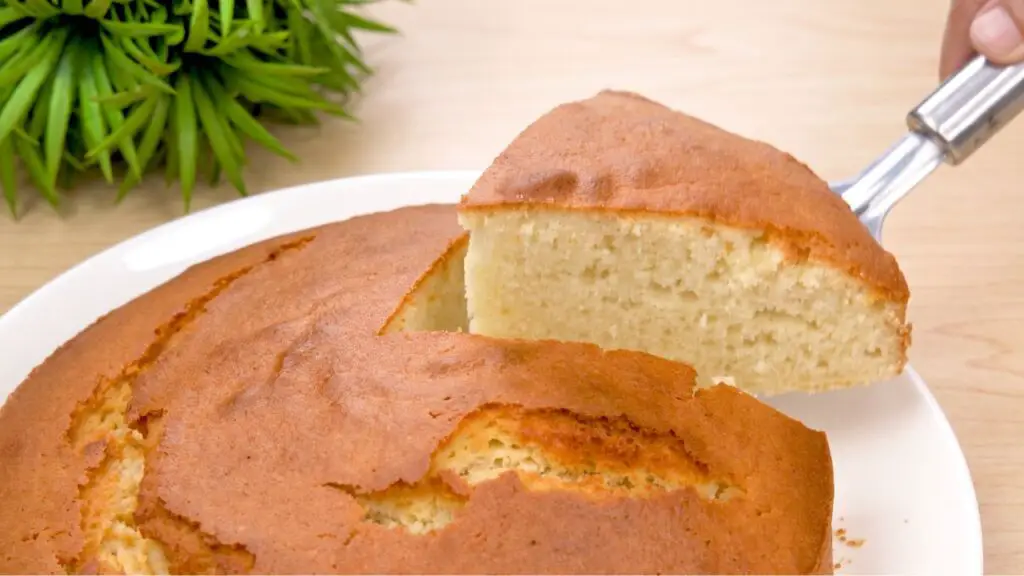
This is one of those simple homemade cakes that does not need frosting, layers, or anything fancy to be seriously delicious. You mix up one easy batter, pour it into a small cake pan, and let the air fryer do the baking.
I especially love making this cake when I do not feel like turning on the big oven. The air fryer heats up quickly, the cake rises beautifully, and you still get that proper homemade yogurt cake I remember from childhood.
It is also a really handy recipe to have when you are looking for cake recipes using yogurt. Regular plain yogurt keeps the cake lovely and tender, while the oil helps it stay soft even after it has cooled.
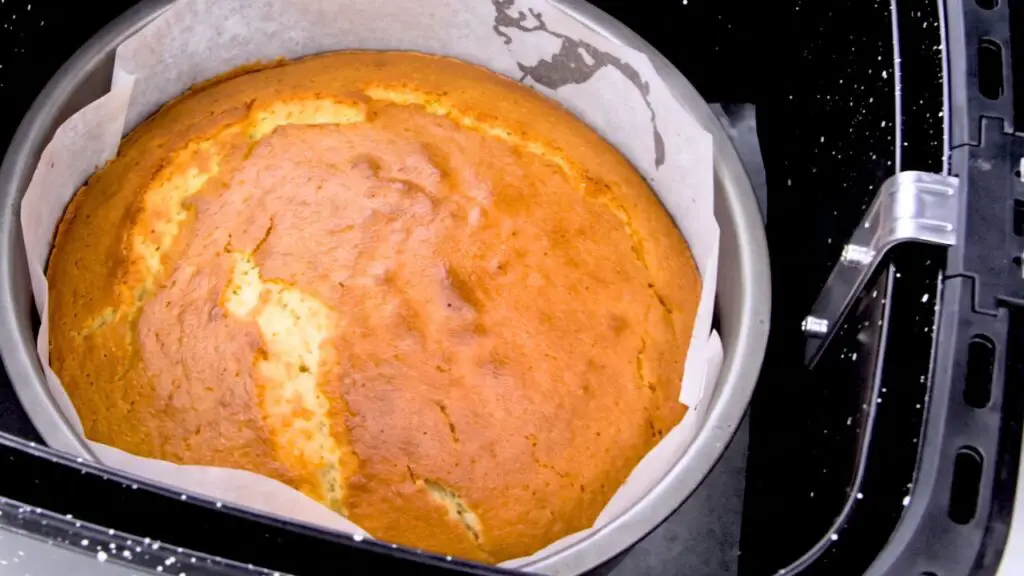
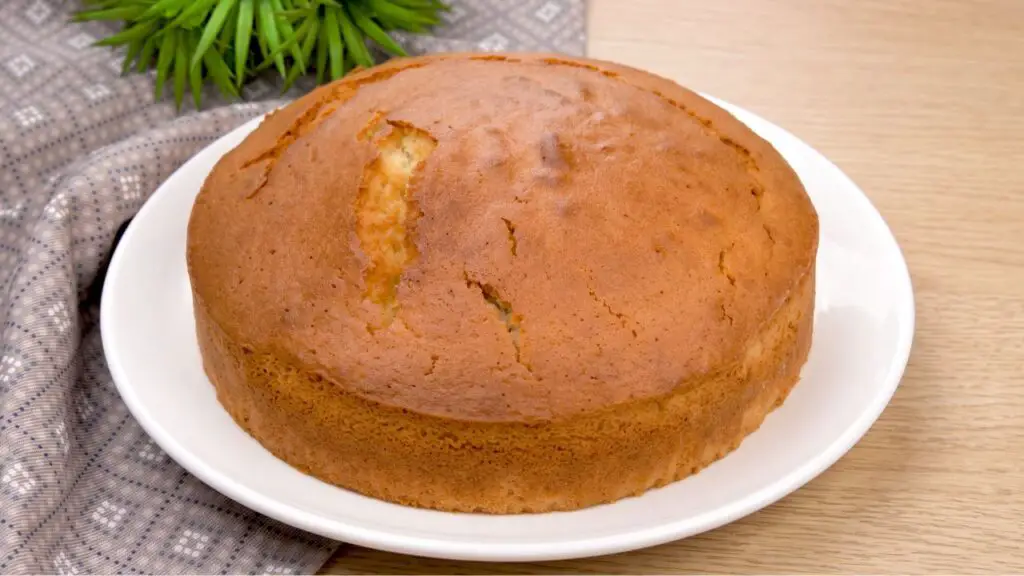
And that golden top with a few little cracks? I love it. It looks exactly like a homemade cake should look.
Texture + flavor
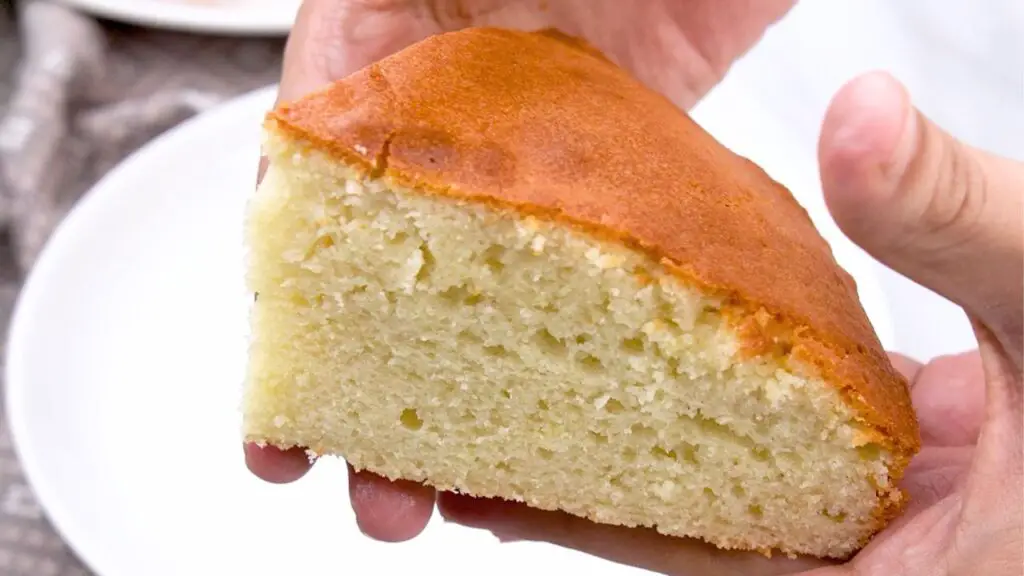
The middle of this yogurt cake is soft, fluffy, and tender without being wet or heavy. It has enough structure to cut into nice slices, but it still feels really light when you eat it.
The orange zest gives it a fresh citrus flavor without turning it into an orange cake, and the vanilla adds that familiar sweet homemade cake smell.
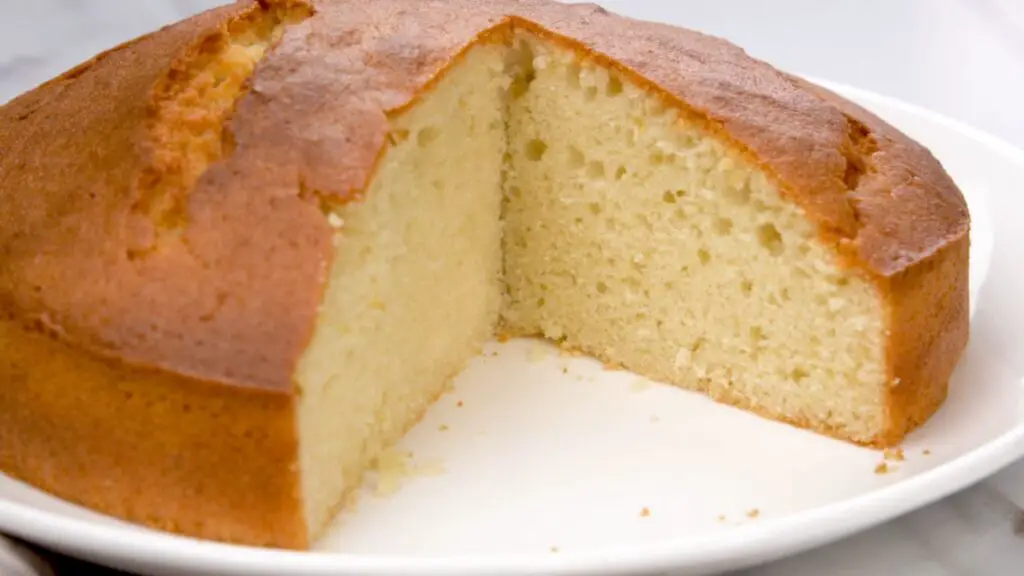
It is not an overly sweet cake either. In my opinion, 160 grams of sugar is just right here because you can actually taste the yogurt, vanilla, and orange instead of getting one big hit of sweetness.
Did You Know: This recipe is based on the traditional yogurt-cup style of cake, where the empty yogurt container was often used to measure the flour, oil, and sugar. It is such a simple old-fashioned way of baking, and I love that it works so well in an air fryer too.
Air fryer yogurt cake ingredients
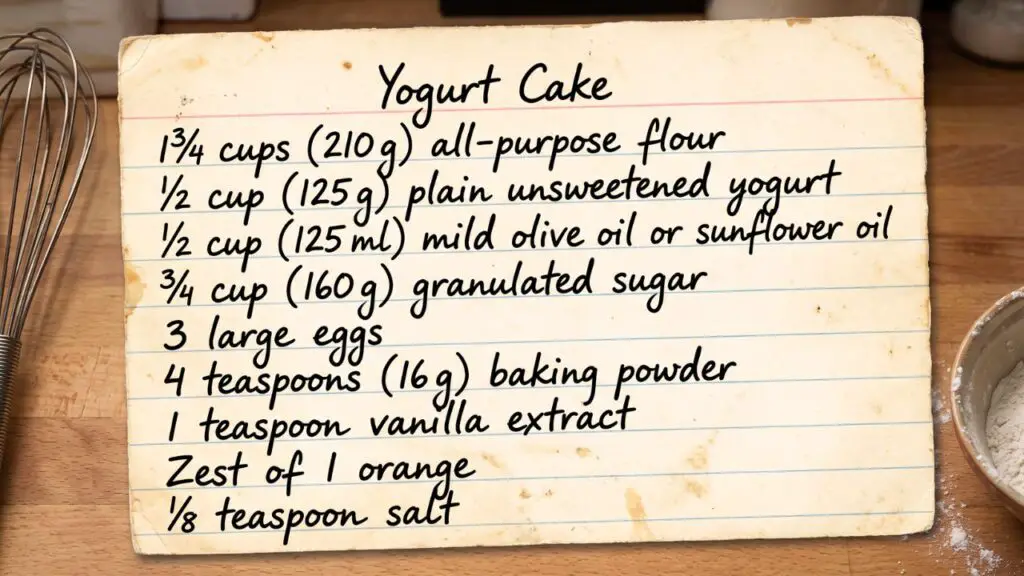
- 1¾ cups (210 g) all-purpose flour
- ½ cup (125 g) regular plain unsweetened yogurt
- ½ cup plus 1½ teaspoons (125 ml) mild olive oil or sunflower oil
- 3 large eggs
- ¾ cup plus 1 tablespoon (160 g) granulated sugar
- 4 teaspoons (16 g) baking powder
- 1 teaspoon vanilla extract
- Finely grated zest of 1 orange
- ⅛ teaspoon salt
What kind of yogurt should I use?
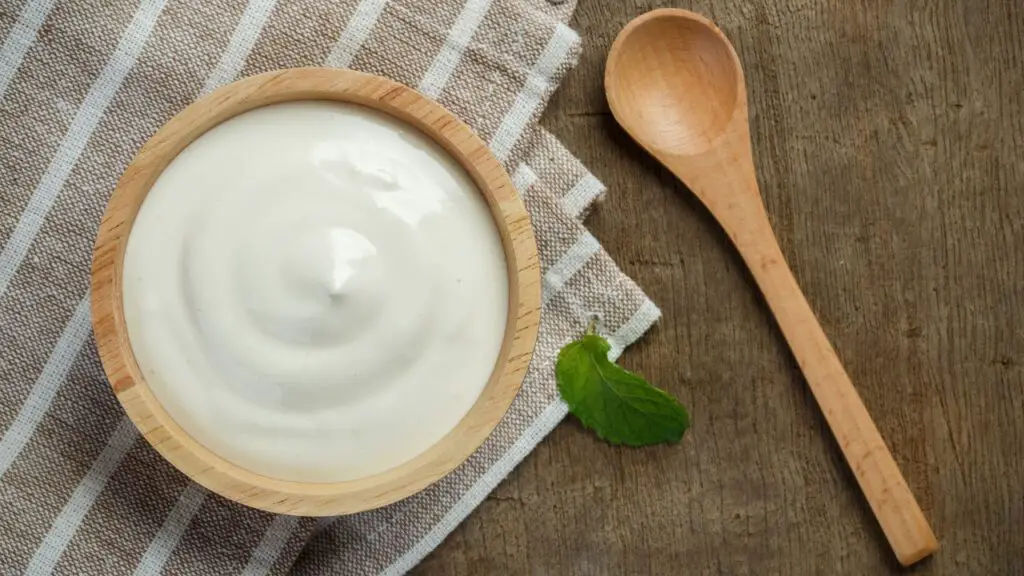
Use regular plain unsweetened yogurt for this recipe.
I would not use thick Greek yogurt for this recipe because it has much less moisture and gives you a thicker batter. It may still work with some adjusting, but regular yogurt gives us the texture this cake was designed around.
Full-fat or standard plain yogurt is my first choice. A lower-fat plain yogurt should also work, but I would avoid flavored or sweetened yogurt because it changes both the sugar and flavor of the cake.
Which oil works best?
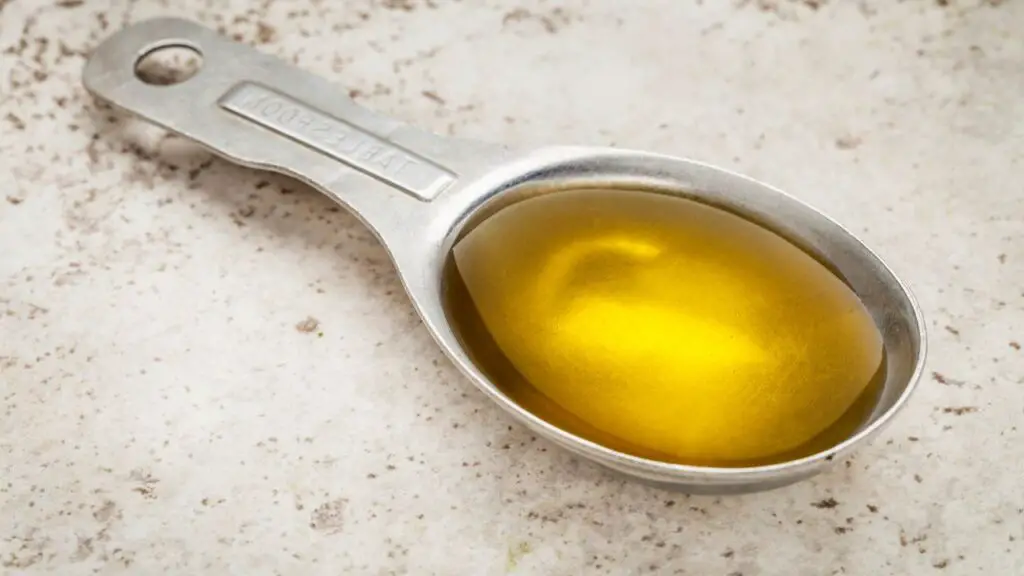
Mild olive oil works beautifully here and is what the original recipe uses. Just make sure it is mild rather than a strong, peppery extra-virgin olive oil.
Sunflower oil is another great option because it has a very neutral flavor. Regular vegetable oil can also be used if that is what you already have.
Equipment
- Large mixing bowl
- Small bowl for checking the eggs, optional
- Electric hand mixer
- Fine grater or zester
- Sieve
- Silicone spatula
- 7-inch round cake pan, about 3 inches deep
- Parchment paper
- Pastry brush
- Long skewer or toothpick
- Air fryer
Note: Check that your 7-inch cake pan fits comfortably inside your air fryer before you start. You want some room around the pan, so the hot air can move around it.
How to make yogurt cake in the air fryer
Step 1: Beat the eggs and sugar
To make this easy yogurt cake in the air fryer, start by cracking 3 large eggs into a mixing bowl, making sure no bits of shell fall in as you go.
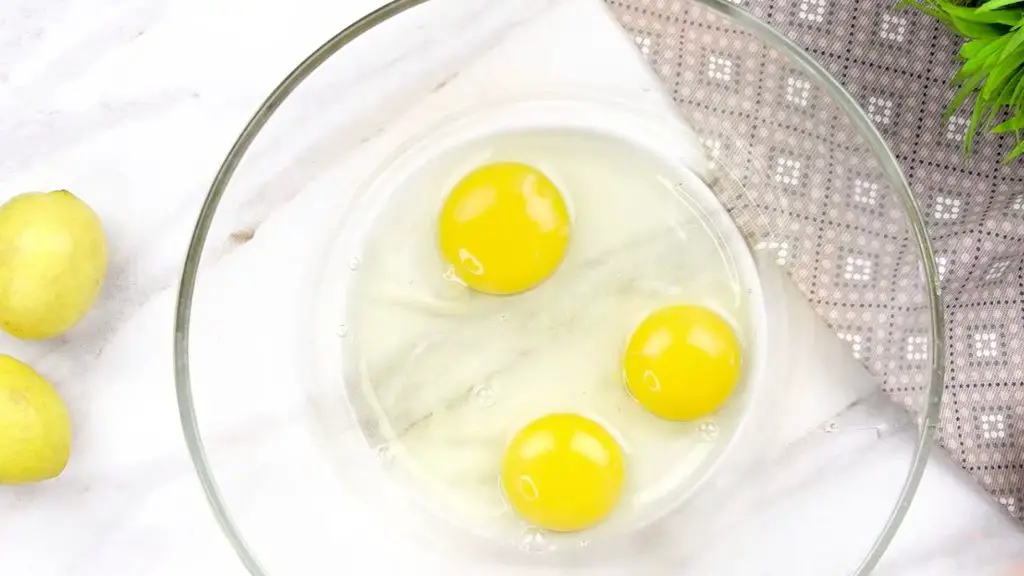
Then add three-quarters of a cup plus 1 tablespoon of granulated sugar, which is 160 grams, and beat the eggs and sugar with an electric mixer for about 4 to 5 minutes.
Keep mixing until the color turns much paler and the mixture looks thick, fluffy, and full of air. You should be able to see quite a big difference from when you started, so this is one part of the recipe I would not rush.
Top Tip: Give the eggs and sugar the full few minutes here. This is one of the things that helps the finished cake come out light and fluffy rather than dense.
Step 2: Add the vanilla, orange, and yogurt
Next, add 1 teaspoon of vanilla extract and give it a quick mix into the egg mixture.
Then, add the finely grated zest of 1 orange. Try to grate only the bright orange part of the peel because the white part underneath can taste bitter.
Then, add half a cup of regular plain unsweetened yogurt, which is 125 grams. Mix again until the yogurt has blended into the egg mixture and the batter looks smooth and creamy.
Step 3: Add the oil
Next, add half a cup plus 1½ teaspoons of mild olive oil, which is 125 milliliters, to the yogurt mixture.
Then, mix on a low speed until the oil is fully blended in and the batter looks smooth again. You only need to mix until it comes together, so there is no need to keep the mixer running for ages here.
Step 4: Sift in the flour and baking powder
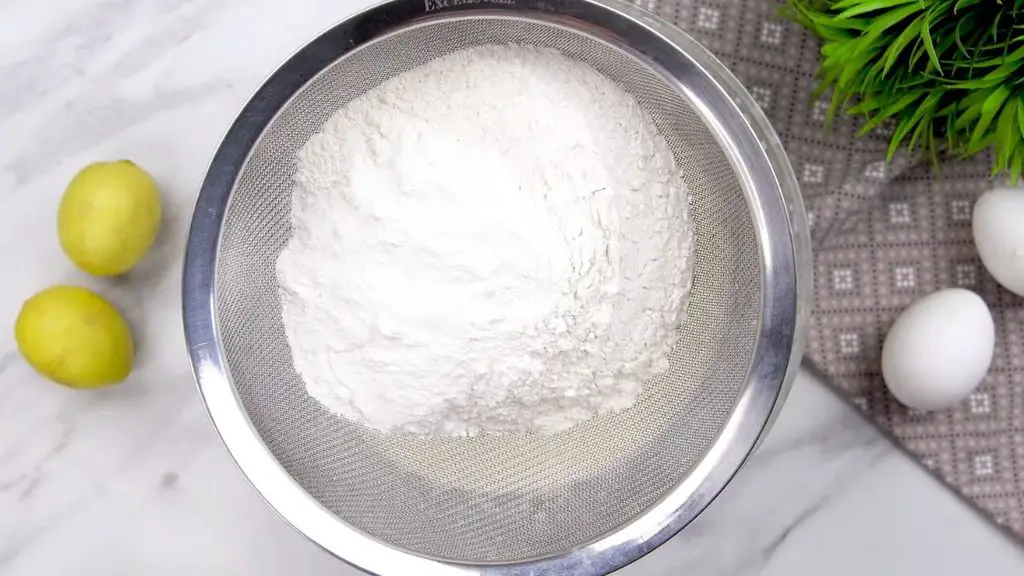
Next, take a sieve and add one and three-quarters cups of all-purpose flour, which is 210 grams, along with 4 teaspoons of baking powder, which is 16 grams.
Then, sift the flour and baking powder into the bowl. Sifting helps get rid of any lumps in the flour and keeps the dry ingredients nice and light before you mix them into the batter.
Add one-eighth of a teaspoon of salt, and gently fold the dry ingredients into the batter with a spatula until you no longer see any dry flour.
I also like to give the batter a really quick mix with the electric mixer on the lowest speed for just a few seconds at the end. This makes sure there are no stubborn bits of flour hiding at the bottom, but stop as soon as the batter looks smooth.
Top Tip: Once the flour goes in, keep the mixing short. Mixing for much longer than you need can make the cake heavier and less tender.
Step 5: Prepare the cake pan
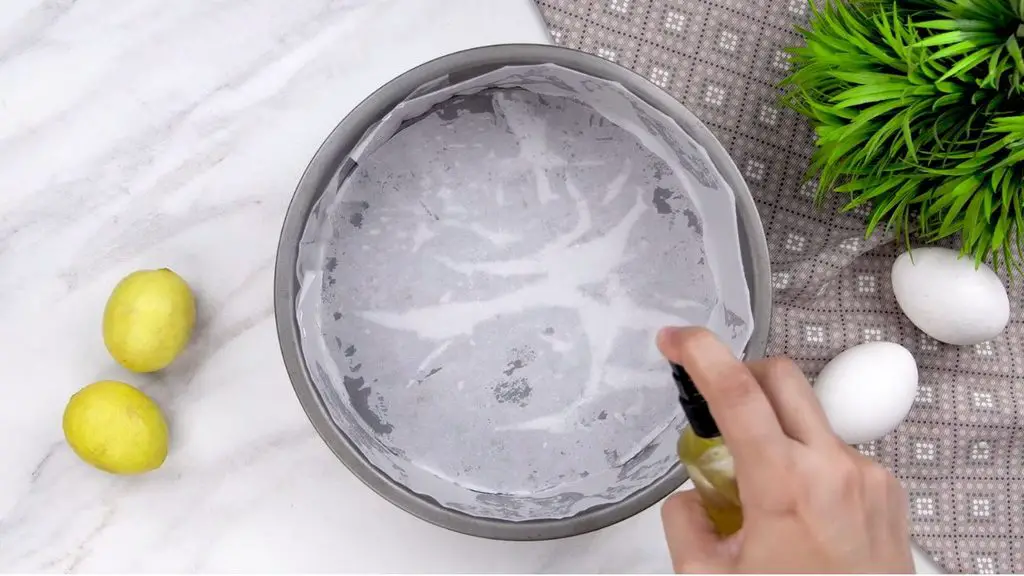
Next, take a 7-inch round cake pan and lightly brush the bottom with a little butter or oil, making sure you cover the whole base so the parchment paper has something to stick to.
Then, place a round piece of parchment paper on the bottom and gently press it down so it sits nice and flat.
I also like to put a long strip of parchment paper around the inside of the pan because this cake is soft and can be a little delicate when you take it out. Press the parchment gently against the sides so it stays in place all the way around.
Then, lightly grease the parchment paper too, including the paper around the sides of the pan, so the cake does not stick when you take it out later.
Step 6: Add the batter
Next, pour the cake batter into the prepared pan, and use a spatula to scrape around the mixing bowl so you get all that lovely batter into the pan instead of leaving a good spoonful stuck to the sides.
Gently smooth the top so the batter sits fairly level in the pan.
Then, give the pan a couple of light taps on the counter. This helps get rid of any bigger air bubbles that may be sitting inside the batter.
Step 7: Bake the yogurt cake
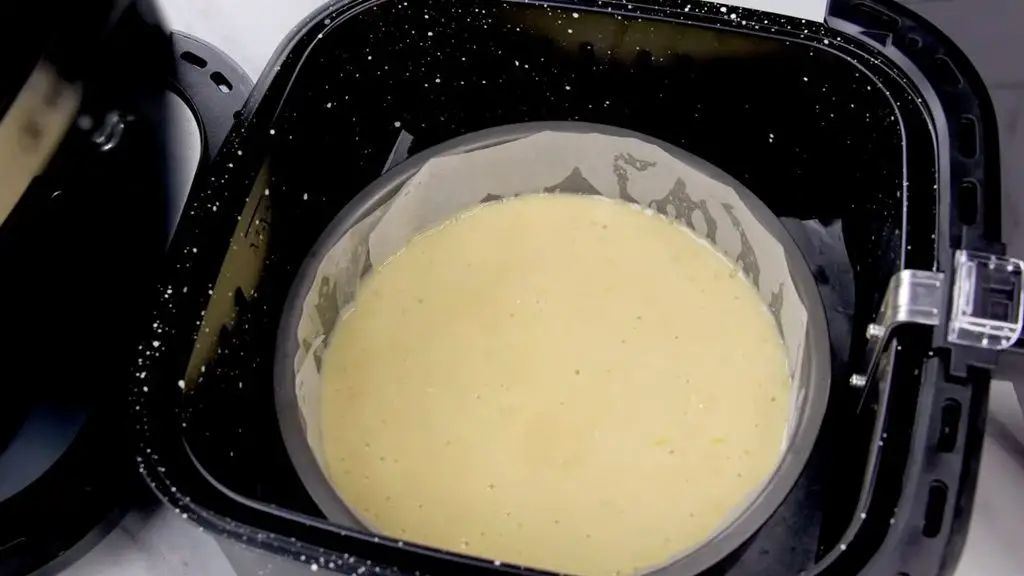
Preheat your air fryer to 350°F (180°C) for about 5 minutes.
Carefully place the cake pan into your air fryer basket, making sure it is sitting flat before you start baking.
Bake the yogurt cake at 320°F (160°C) for about 40 minutes. I recommend starting to check it at around 35 minutes because air fryers can be surprisingly different from one model to another.
The cake is ready when your kitchen smells absolutely amazing, the top looks nicely golden with a few little cracks, and a skewer pushed into the middle comes out clean or with just a few soft crumbs.
If you still see wet batter on the skewer, put the cake back in the air fryer for another 3 to 5 minutes and check the middle again.
Top Tip: Do not decide the cake is done just because the top looks brown. Air fryers heat very strongly from above, so the top can look finished while the middle still needs a few more minutes.
Note: If the top is getting darker than you want before the middle is cooked, you can carefully cover the top with a small piece of foil. Make sure it is secured around the pan so the air fryer fan cannot blow it around.
Step 8: Let it rest and cool
Once the cake is baked, take the pan out of the air fryer and leave the cake in the pan for about 15 minutes.
That short rest gives the cake time to settle a little before you take it out, which is especially helpful because it is still very soft while it is hot.
After 15 minutes, carefully remove the cake from the pan, peel away the parchment paper, and place it on a wire rack to cool.
And look how beautiful this yogurt cake came out! The top is lovely and golden with a few little cracks here and there, and honestly, that is exactly how I like a homemade cake to look.
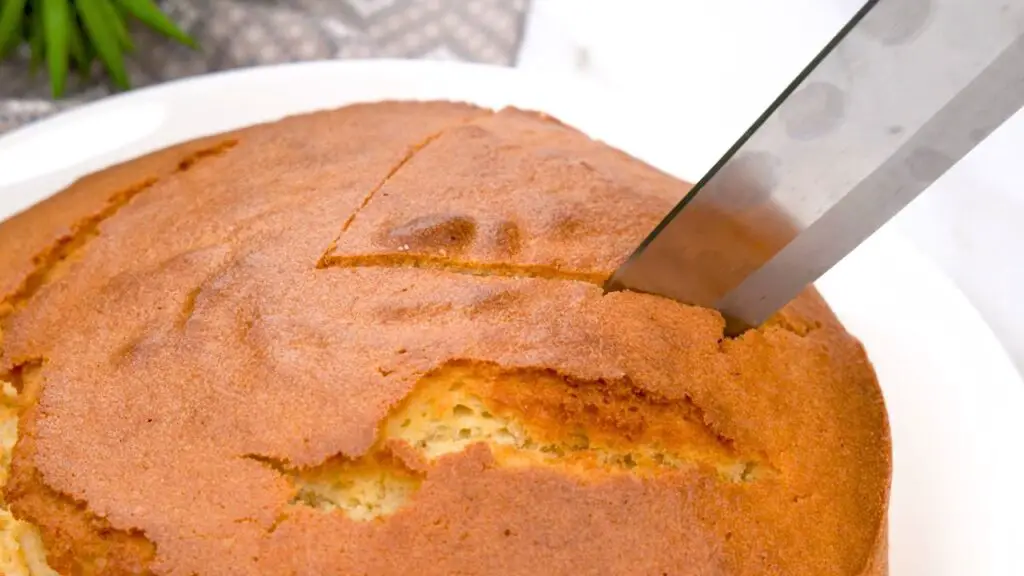
Once you cut into it, the middle is so soft and fluffy, with that tender texture that makes you want to go back for another slice before the first one is even gone. I also love that it still feels like the same simple homemade cake I remember from the oven, only now the air fryer does such a brilliant job with it.
Related Recipe: If you like baking in your air fryer, then you should definitely try this air fryer Greek yogurt cake too. It is light, creamy, made with just three simple ingredients, and has no flour or added sugar.

Easy Air Fryer Yogurt Cake Recipe
Let me show you one of the easiest cakes I make in my air fryer! This yogurt cake turns out light, fluffy, golden, and so delicious that it is hard to believe it started as such a simple old oven recipe.
8
servings10
minutes40
minutes340
kcal50
minutesIngredients
1¾ cups 1¾ cups (210 g) all-purpose flour
½ cup ½ cup (125 g) plain unsweetened yogurt
½ cup ½ cup (125 ml) mild olive oil
¾ cup ¾ cup (160 g) granulated sugar
3 large 3 large eggs
4 teaspoons 4 teaspoons (16 g) baking powder
1 teaspoon 1 teaspoon (5 ml) vanilla extract
1 zest 1 zest (about 6 g) 1 medium orange
⅛ teaspoon ⅛ teaspoon (about 0.75 g) salt
Directions
- Crack 3 large eggs into a mixing bowl.
- Add ¾ cup granulated sugar and beat with an electric mixer for 4-5 minutes until pale and fluffy.
- Mix in 1 teaspoon vanilla extract and the finely grated zest of 1 orange.
- Add ½ cup plain unsweetened yogurt and mix on slow speed until smooth.
- Add ½ cup mild olive oil and mix until fully blended.
- Sift 1¾ cups all-purpose flour and 4 teaspoons baking powder into the bowl.
- Add ⅛ teaspoon salt and gently fold the dry ingredients into the batter.
- Prepare a 7- or 8-inch round cake pan with parchment paper and lightly grease it.
- Pour the batter into the prepared pan and smooth the top.
- Bake in the air fryer at 160°C (320°F) for about 40 minutes, until a skewer comes out clean.
- Allow the cake to cool slightly before removing it from the pan.
Recipe Video
Notes
- Use regular plain yogurt: Use regular plain unsweetened yogurt, not Greek yogurt. Greek yogurt is much thicker and can make the batter heavier, so I would stick with the yogurt this recipe was built around.
- Watch the cake center: Air fryers brown cakes quickly on top, while the middle can still need more time. Start checking around 35 minutes, and if the top is already dark enough, cover it securely and keep baking until a skewer comes out clean or with a few soft crumbs.
- Choose the right pan: A 7-inch round pan works well for this amount of batter, but make sure it fits with some space around the sides for hot air to move. Smaller air fryer cake pans generally bake more evenly than large, deep pans
- Do not overmix the batter: Once you add the flour, fold it in gently until you no longer see any dry flour. If you use the electric mixer at the end, keep it on the lowest speed for only a few seconds, because too much mixing can make the cake heavier.
Nutrition Facts
- Total number of serves: 8
- Calories: 340kcal
- Fat: 17g
- Carbohydrates: 42g
- Protein: 6g
Tips for baking cake in an air fryer
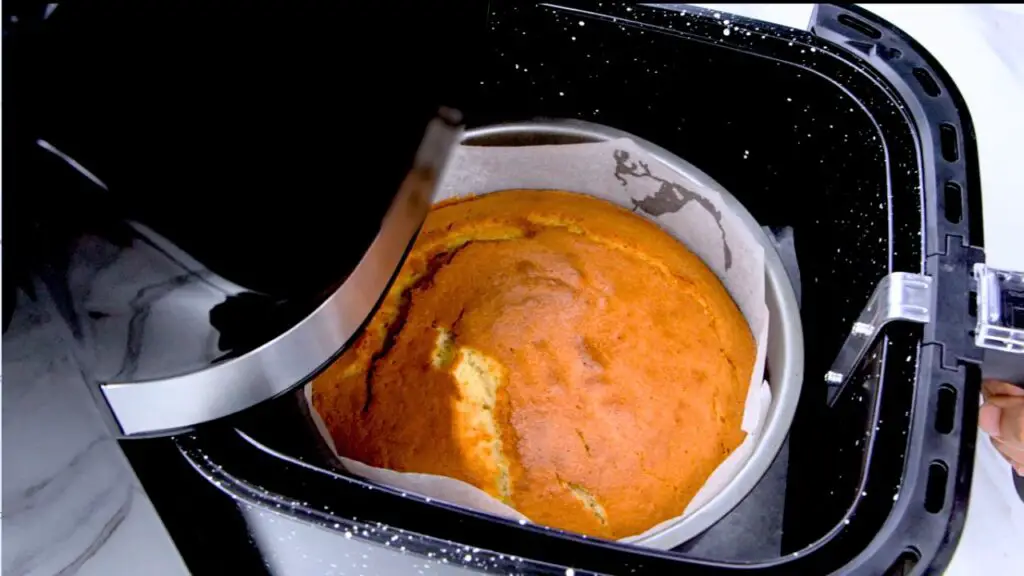
Air fryer baking is a little different from oven baking, and the biggest difference is how close the cake sits to that strong heating element on top.
Here are the things that make the biggest difference with this recipe:
- Use a 7-inch pan if possible. A much smaller pan makes the batter deeper and can leave the center undercooked.
- Do not increase the temperature to make the cake cook faster. The outside will brown before the middle has enough time to bake.
- Start checking at about 35 minutes, but do not be surprised if yours needs the full 40 minutes or a few minutes more.
- Check the center with a long skewer rather than judging it by the color on top.
- If your air fryer only heats from the top, keep an especially close eye on the middle because deep cakes can take longer to cook through.
Why is my air fryer cake raw inside?
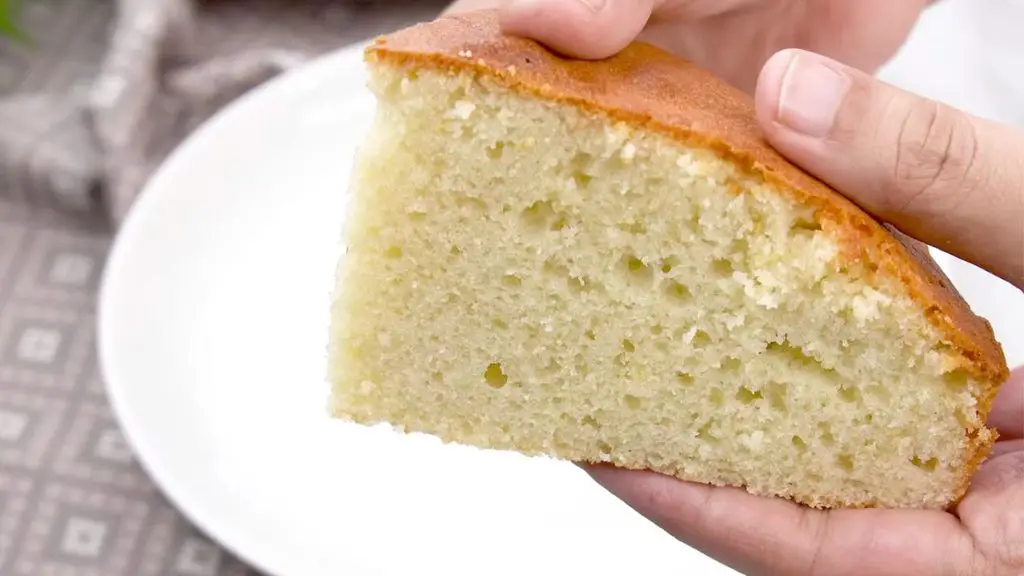
If your cake looks beautiful on top but is still wet in the middle, it usually means the outside cooked faster than the center.
This can happen when the temperature is too high, the cake pan is too small and deep, or your particular air fryer has a very strong top heating element.
Keep the temperature at 320°F (160°C) and give the cake more time rather than turning up the heat.
If the top is already brown enough, cover it securely with foil and continue baking until a skewer comes out clean or with only a few soft crumbs.
Why did my yogurt cake turn out dense?
The first thing I would look at is the egg and sugar mixture.
You want to beat them for several minutes until they become pale, thick, and fluffy. If you stop too early, you miss out on some of the air that helps this cake rise nicely.
The other big one is overmixing after the flour is added. Fold the flour in gently, then only use the mixer for a few seconds if you need it.
Also check your baking powder. This recipe uses 4 teaspoons (16 grams), and it needs to be fresh baking powder, not baking soda.
Easy yogurt cake swaps
You really do not need to change much here, but there are a few simple swaps that work nicely.
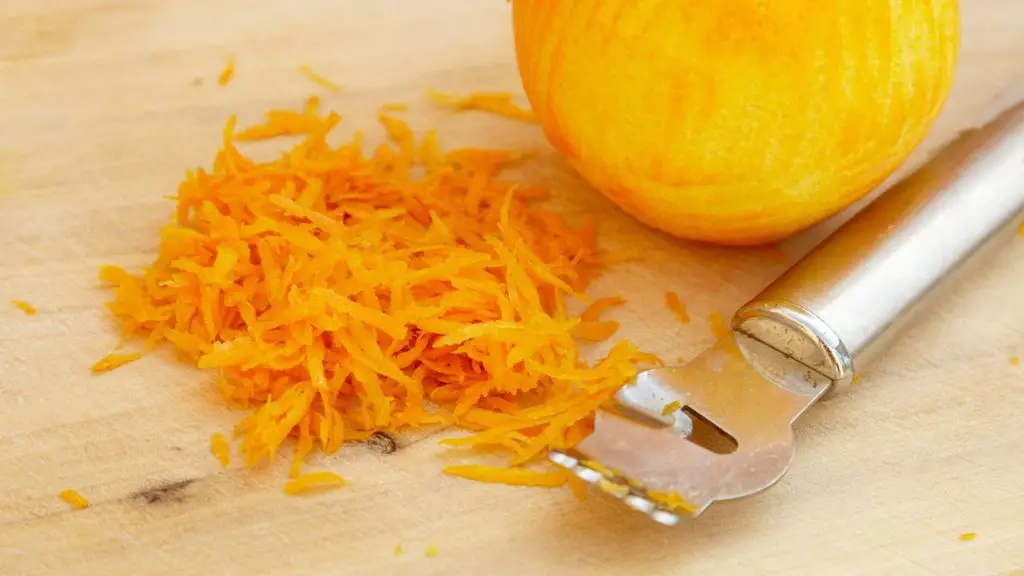
Lemon instead of orange
Swap the orange zest for the finely grated zest of 1 lemon. It gives the cake a brighter, slightly sharper citrus flavor and works really well with the yogurt.
Sunflower or vegetable oil
If you do not have mild olive oil, use sunflower oil or another neutral vegetable oil in the same amount.
Vanilla only
If you do not have fresh citrus, you can leave out the zest and make a simple vanilla yogurt cake instead. I would still keep the full teaspoon of vanilla extract.
I would avoid throwing lots of heavy chocolate chips, fruit, or other mix-ins into this particular recipe because they can change the way the middle cooks in the air fryer.
How to store yogurt cake
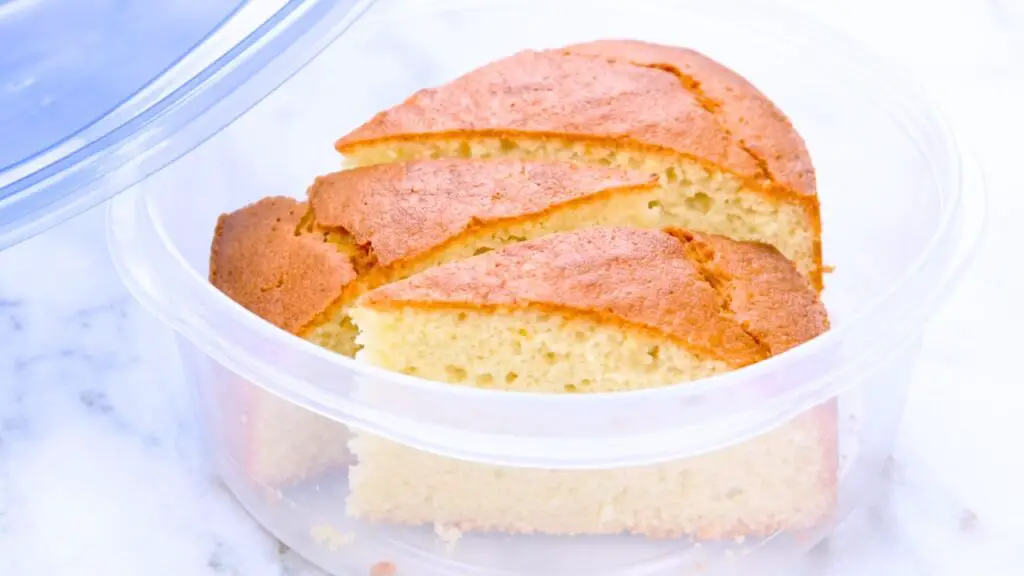
Keep the completely cooled cake in an airtight container at room temperature for about 2 days.
For longer storage, keep it in the refrigerator for up to 4 to 5 days. I prefer letting a refrigerated slice sit at room temperature for a little while before eating because the cake becomes softer again as it loses that refrigerator chill.
You can also freeze individual slices. Wrap them well and freeze for up to about 2 months, then let them thaw at room temperature when you want one.
But honestly… a warm-ish slice on its own is pretty hard to beat. How can you not?!
More air fryer cake recipes
If this air fryer yogurt cake has you in a baking mood, have a look at some of my other easy cake recipes below… there are plenty more soft, simple homemade cakes to try.
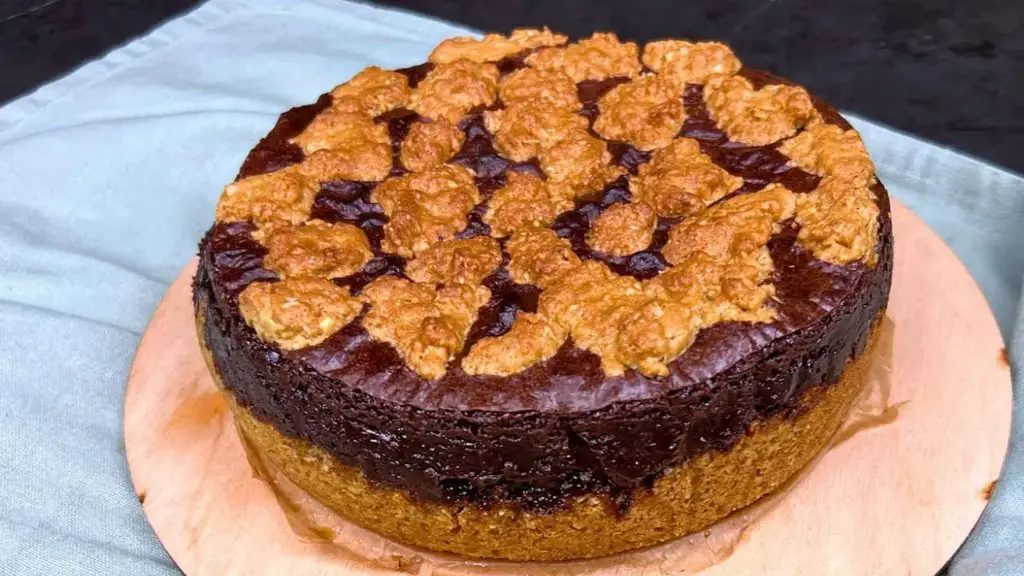
- Air Fryer Baked Oats That Taste Better Than Brownies – These chocolatey baked oats come out soft, rich, and almost brownie-like. They are an easy air fryer treat when you want something warm and satisfying.
- 20 Minute Air Fryer Cheesecake – This creamy cheesecake cooks right in the air fryer in just 20 minutes. It is a quick and simple way to make a homemade cheesecake without using the oven.
- Air Fryer Baked Oats Recipe – Soft and fluffy baked oats are easy to prepare in the air fryer and make a delicious breakfast, snack, or simple sweet treat.
And if you make this air fryer yogurt cake, please leave me a comment below or ask me any questions about the recipe. You can also leave a question in the YouTube video comments, and I will try to reply to all of them!