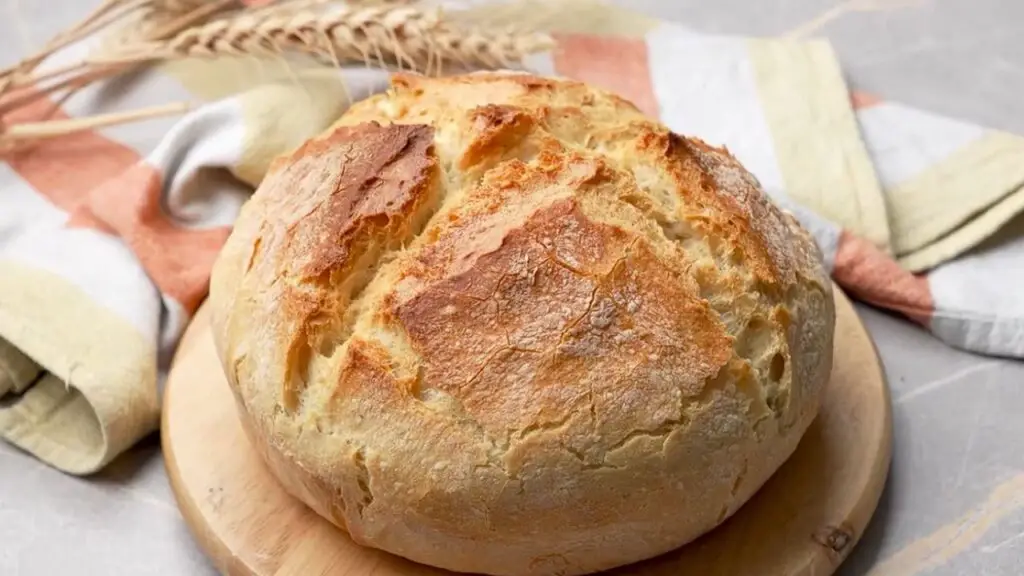
I make this easy, crusty bread recipe twice a week because it is so simple yet turns out amazing every time. With just 5 ingredients and minimal hands-on time, you will get a bakery-quality loaf baking at home with a crispy crust and soft interior.
Check out my crusty bread recipe video below to see exactly how I make that perfect crispy crust! Like and subscribe to my channel for more easy bread recipes.
What Makes This Homemade Crusty Bread Recipe Special
I love this crusty bread recipe because it’s practically foolproof. The pot traps steam while baking, which is what gives you that awesome crust. You don’t need fancy equipment or bread-making skills.
The first time I made this, my kitchen smelled so good that my neighbor Lisa came over to see what I was baking. She couldn’t believe it wasn’t from a bakery when I gave her a piece!
Ingredients for Easy Crusty Bread Recipe
Here is everything you need to make this simple but delicious crusty bread recipe.
Basic Dough Ingredients
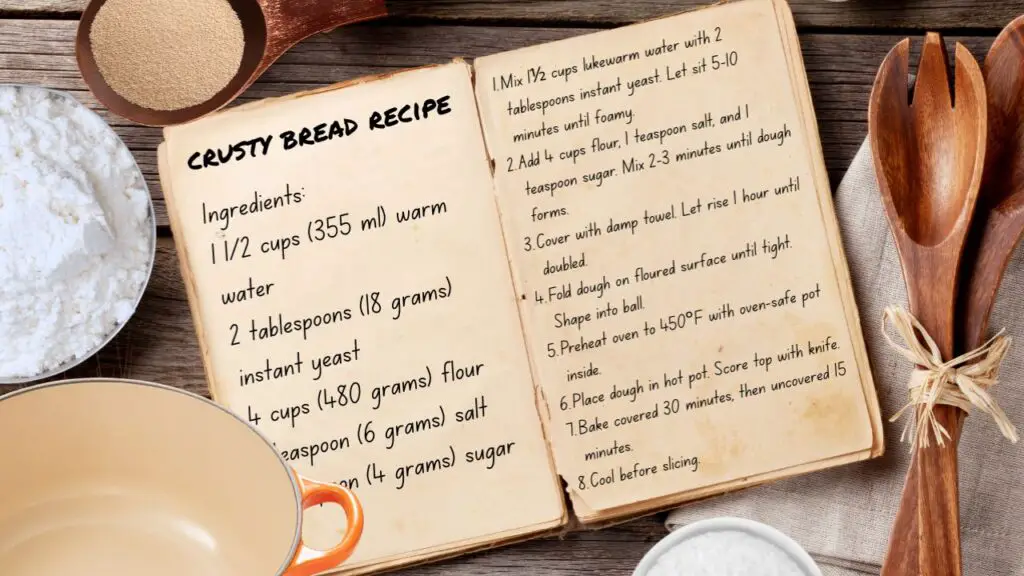
- 1 1/2 cups (355 ml) lukewarm water
- 2 tablespoons (18 grams) instant dry yeast
- 4 cups (480 grams) all-purpose flour
- 1 teaspoon (6 grams) salt
- 1 teaspoon (4 grams) sugar
Essential Equipment for Homemade Bread
These are the basic tools you will need to create your crusty bread at home.
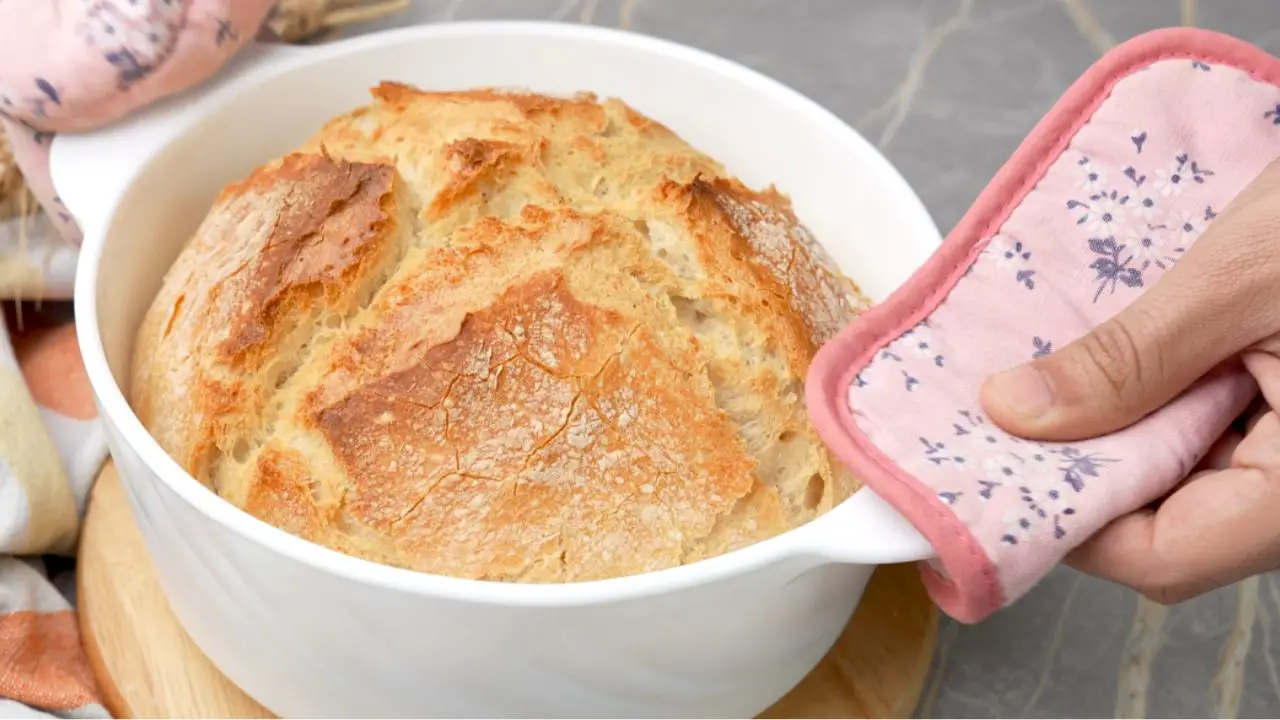
A good enameled cast iron pot creates beautiful results with this recipe. This pot below has convenient handles and traps steam nicely for crusty bread.

TAP ON IMAGE TO VIEW PRICE

- Large mixing bowl
- Wooden spoon
- Kitchen towel
- Sharp knife
- Round oven-safe pot with lid (Dutch oven or similar)
- Oven mitts
- Cooling rack
Making the Crusty Bread Dough
The dough comes together quickly and needs minimal handling. This part takes about 10 minutes of active work, then you will let the yeast do its magic.
Step 1: Add the lukewarm water to your mixing bowl. The water should feel warm but not hot to the touch, about the temperature of a baby bath.
Step 2: Sprinkle the yeast into the water and stir gently until dissolved. Let this mixture sit for 5-10 minutes until it becomes bubbly and foamy on top.
Top Tip: Test your yeast before committing to the full recipe by mixing a small amount with warm water and a pinch of sugar. If it does not foam within 10 minutes, buy fresh yeast rather than risking your entire loaf.
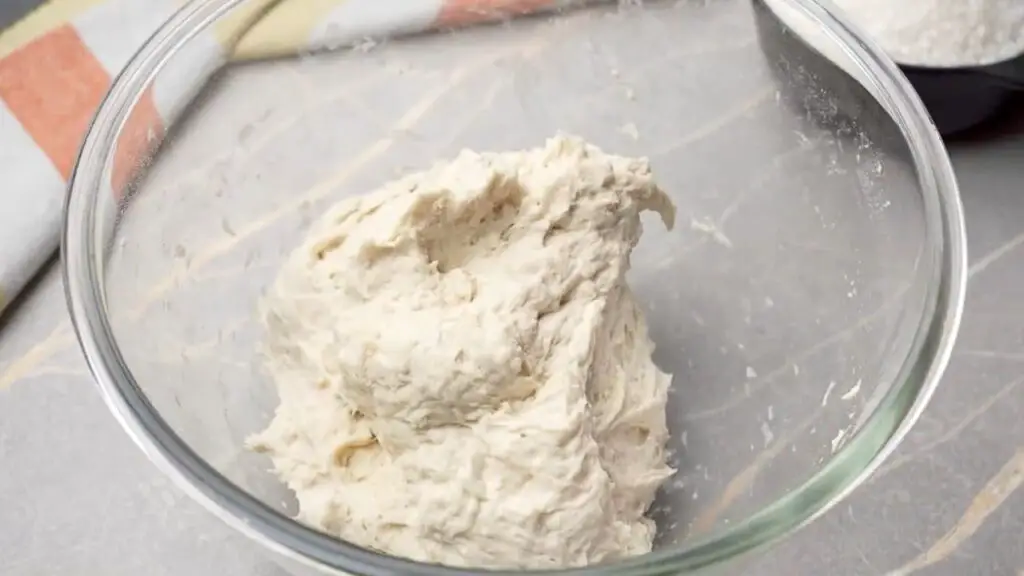
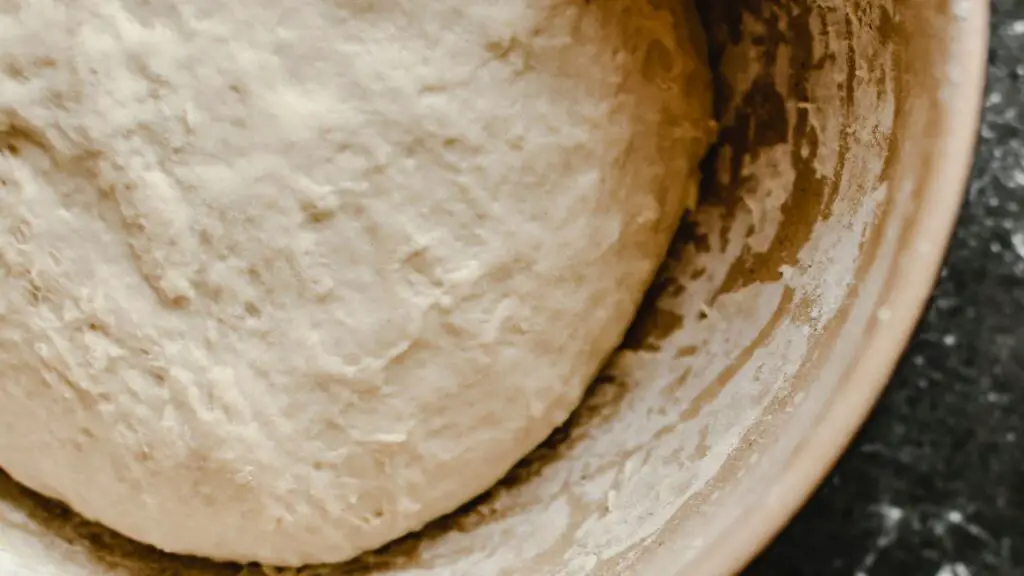
Step 3: Add the flour to the yeast mixture, then add the salt and sugar. Mix with a wooden spoon for 2-3 minutes until everything comes together and forms a rough, shaggy ball. The dough will pull away from the sides of the bowl but still feel slightly sticky.
Note: Salt can slow yeast activity if added directly, which is why we mix it with the flour instead of adding it directly to the yeast mixture.
First Rise for Homemade Bread
This waiting period is when the yeast transforms your simple mixture into what will become delicious bread.
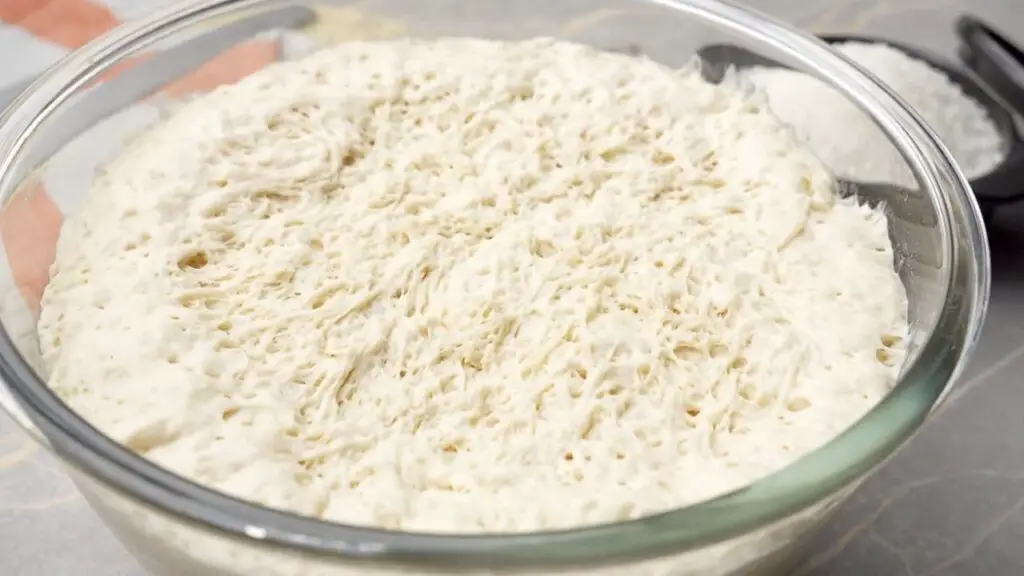
Step 4: Cover the bowl with a damp kitchen towel and leave it to rise for about an hour in a warm spot in your kitchen until the dough doubles in size.
Did You Know? Bread rises best between 75-85°F (24-29°C). In cooler kitchens, try placing your dough near (not on) a warm appliance or in an oven with just the light turned on.
Shaping Your Crusty Bread
Proper shaping gives your bread the structure it needs to rise properly and develop a beautiful crust.

Step 5: Sprinkle some flour on your kitchen table and place the dough on it. Fold the dough into itself several times, pulling each edge toward the center. Keep folding from all sides until it looks tight, then flip it over so the smooth part is on top.
Top Tip: Use a bench scraper or stiff spatula if the dough sticks to your hands. This keeps you from adding too much extra flour, which could make your bread dense.
Preheating for Perfect Crusty Bread
The secret to crusty bread is creating the right baking environment with plenty of heat and steam.
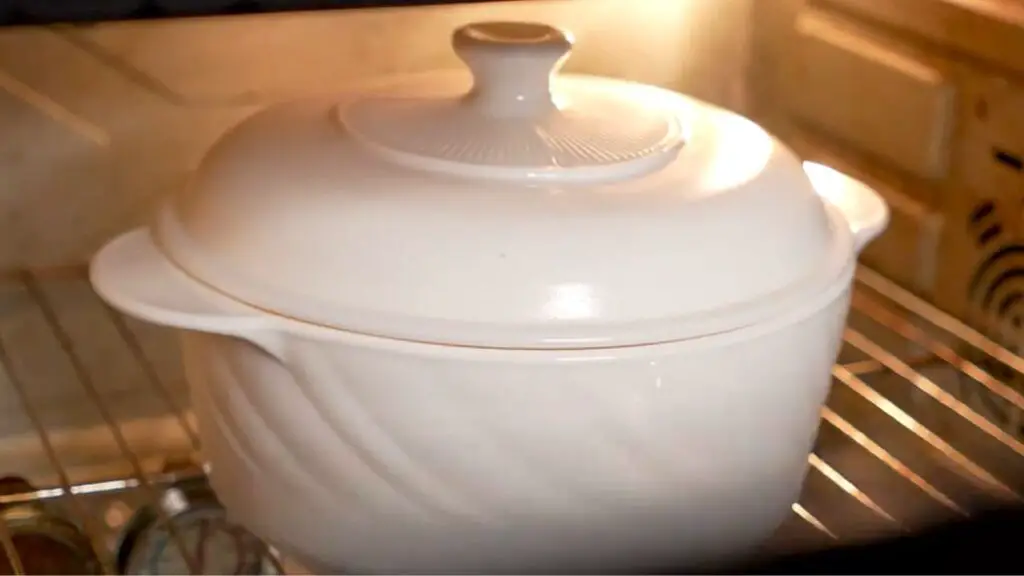
Step 6: Cover the dough ball with the kitchen towel. Take a round oven-safe pot with a lid and place it in the oven. Set your oven to 450°F (230°C) and let the pot heat up for at least 30 minutes.
Step 7: Remember to use oven mitts to avoid burning your hands when handling the hot pot.
Note: The preheated pot is crucial for proper crust development. Do not skip this step or attempt to put the bread in a cold pot.
Baking Your Homemade Bread
This two-stage baking process creates that bakery-quality crust everyone loves.

Step 8: Carefully remove the hot pot from the oven using oven mitts. Drop the dough into the hot pot and use a sharp knife to score the top with a few cuts.
Step 9: Place the lid on the pot and bake the bread for 30 minutes with the lid on.
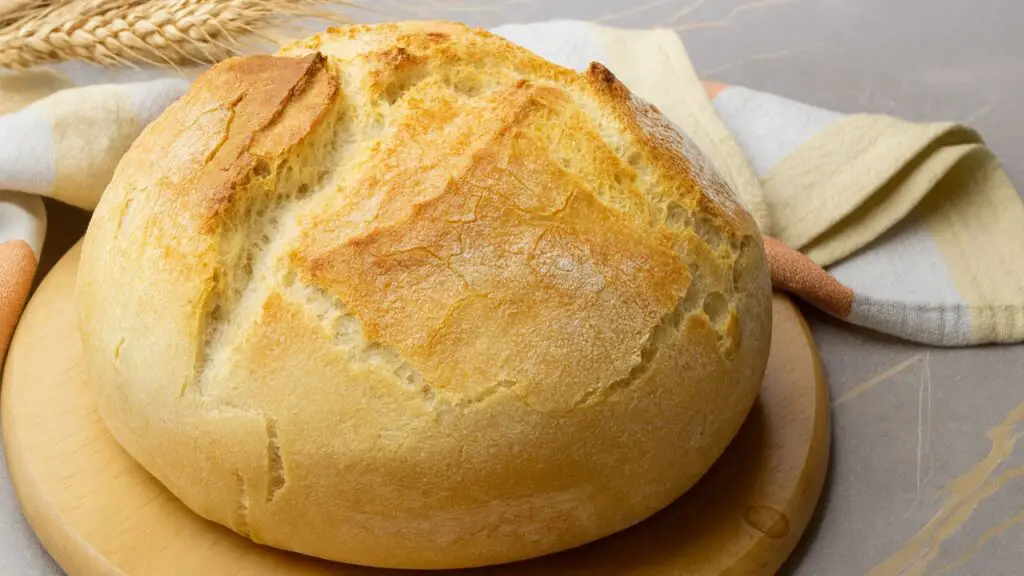
Step 10: After 30 minutes, remove the lid and bake for another 15 minutes until the crust turns a beautiful golden brown color.
Top Tip: Scoring the bread is not just decorative. It creates weak points that allow the bread to expand in a controlled way, preventing random cracks and giving a better rise.
How to Know When Your Bread is Done
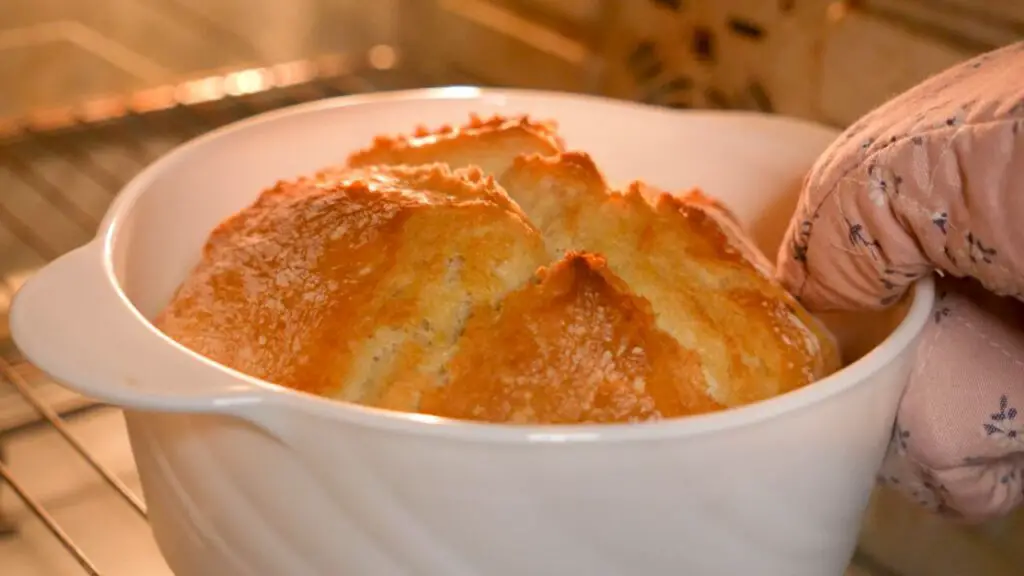
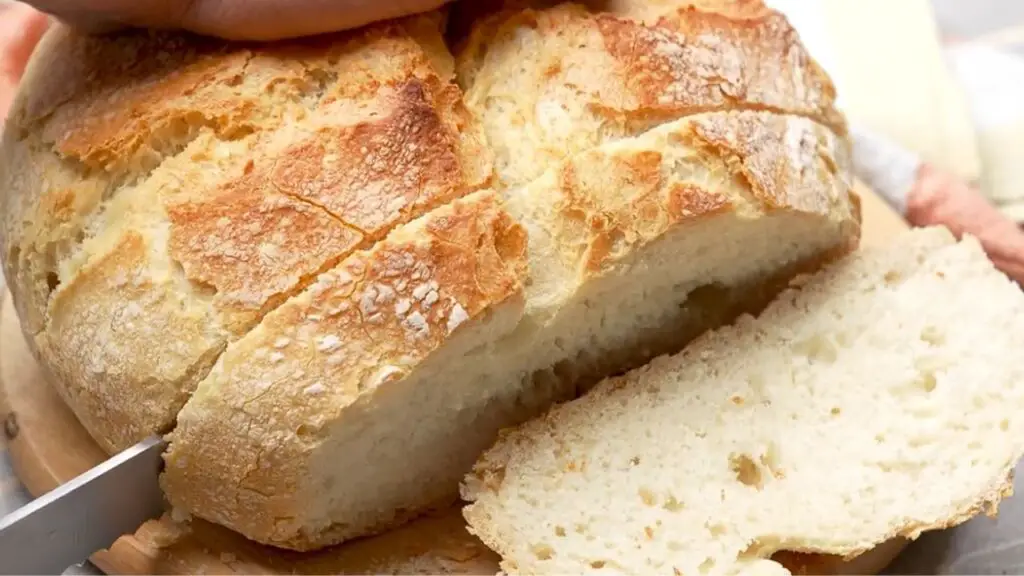
Your bread is ready when the outside turns a nice golden brown color. Tap the bottom of the loaf and listen for a hollow sound, which means it is baked through. The crust should feel firm and have an even color all around.
If you have a kitchen thermometer, you can check that the inside reaches about 205°F (96°C). I usually just check the color and sound, and it works well every time.
Proper cooling is quite an important part of the bread-making process that many people rush through.
Step 11: Remove the bread from the pot and place it on a cooling rack. Let it cool for at least 30 minutes before cutting.
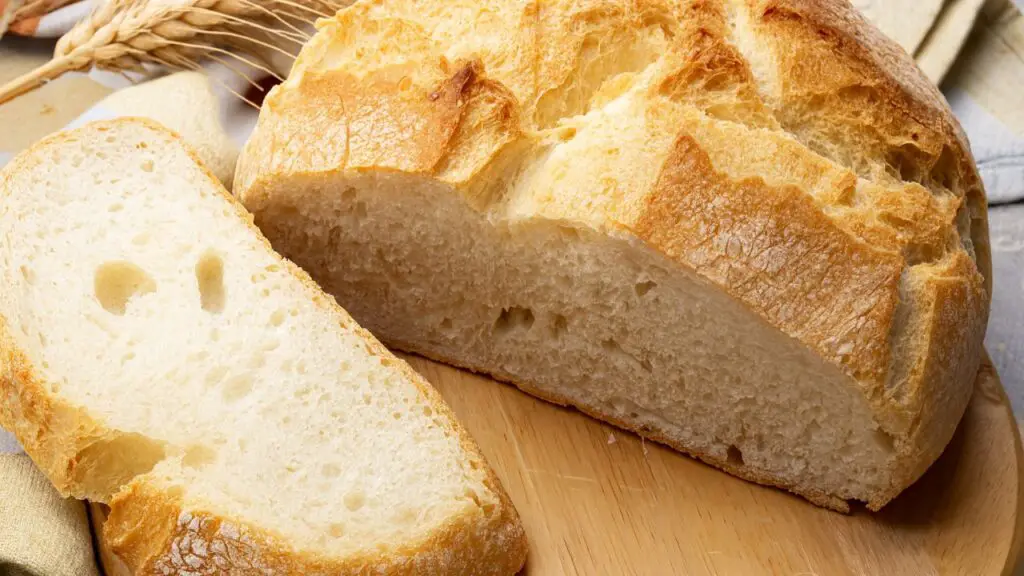
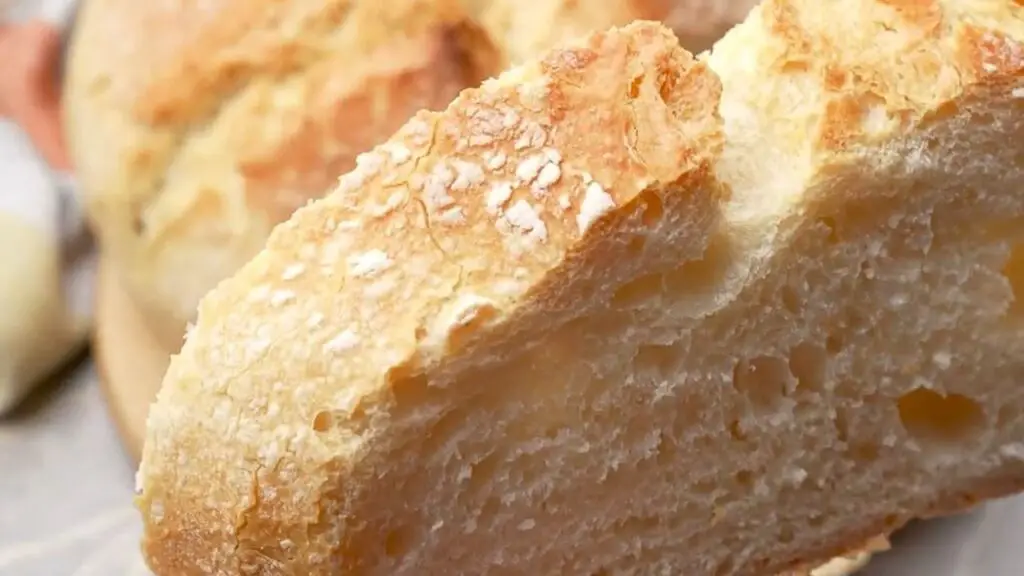
The smell of this bread is absolutely amazing. Your whole kitchen fills with this warm, comforting, fresh bread aroma that makes everyone wonder what you are baking. It has that crispy golden crust on the outside that makes a slight cracking sound when you cut into it. Inside, the bread is soft and white with little air pockets throughout.
Read Also: If you do not have a heavy pot with a lid, I also have another easy bread recipe here for making crusty no-knead bread without a Dutch oven.
The Best Easy Crusty Bread Recipe
Just 5 ingredients and you get this awesome crusty loaf that looks like you bought it somewhere fancy. The outside gets all crackly and the inside stays soft. I started making it when I couldn’t find good bread at the store, and now it’s just my regular thing.
10
servings1
hour30
minutes45
minutes182
kcal2
hours15
minutesKeep the screen of your device on
Ingredients
1 1/2 cups (355 ml) lukewarm water
2 tablespoons (18 grams) instant dry yeast
4 cups (480 grams) all-purpose flour
1 teaspoon (6 grams) salt
1 teaspoon (4 grams) sugar
Directions
- Add 1 1/2 cups of lukewarm water to a mixing bowl. Ensure the water feels warm, but not hot, to the touch.
- Sprinkle in the 2 tablespoons of instant yeast and stir gently until it dissolves and let it sit for 5-10 minutes.
- Add 4 cups of flour, 1 teaspoon of salt, and 1 teaspoon of sugar to the bowl with the yeast mixture.
- Mix the dough with a wooden spoon for 3-4 minutes until it forms a sticky, shaggy ball and becomes uniform.
- Cover the bowl with a damp towel and leave it to rise for about an hour in a warm spot until it doubles in size.
- Sprinkle flour on a table, place the dough on it, and fold the dough into itself several times until tight.
- Cover the dough ball with a towel, preheat a round oven-safe pot with a lid in an oven set to 450°F for 30 minutes.
- Drop the dough into the hot pot, score the top with a sharp knife, cover with a lid, and bake for 30 minutes.
- Remove the lid and continue baking for another 15 minutes until the bread has a golden brown crust.
- Remove bread from the oven, let it cool slightly before cutting, and enjoy the crispy crust and soft interior.
Recipe Video
Notes
- Switching up the flour: You can use regular all-purpose flour, but try swapping in a cup of whole wheat if you want it a bit nuttier. I sometimes add a little bread flour (about 1/4 cup) when I want it chewier.
- Creating better crust: Spritz your loaf with water right before scoring and putting it in the pot. This extra moisture helps create an even better crust development during the first stage of baking.
- Keeping bread fresh: Keep your bread on the counter with the cut side down or wrap it in a clean towel. Don’t put it in the fridge – that just makes it go stale faster. If you need to keep it longer, slice it up and freeze it.
- Reviving stale bread: Day-old bread can be completely refreshed. Run the loaf quickly under water (yes, really), then bake at 350°F for 5-8 minutes. The moisture turns to steam inside, making the bread taste freshly baked again.
Nutrition Facts
- Total number of serves: 10
- Calories: 182kcal
- Carbohydrates: 37g
- Protein: 6g
Storing Your Homemade Crusty Bread
Good storage methods help keep both the crust and the interior texture of your bread nice and fresh.
This bread stays fresh for 2-3 days when stored properly. To maintain the crispy crust, store it cut-side down on a cutting board or wrapped in a clean kitchen towel.
Top Tip: Never store homemade bread in the refrigerator as this actually speeds up staling. Instead, freeze sliced bread and toast pieces directly from frozen if you need to keep it longer than 3 days.
Easy Bread Variations to Try
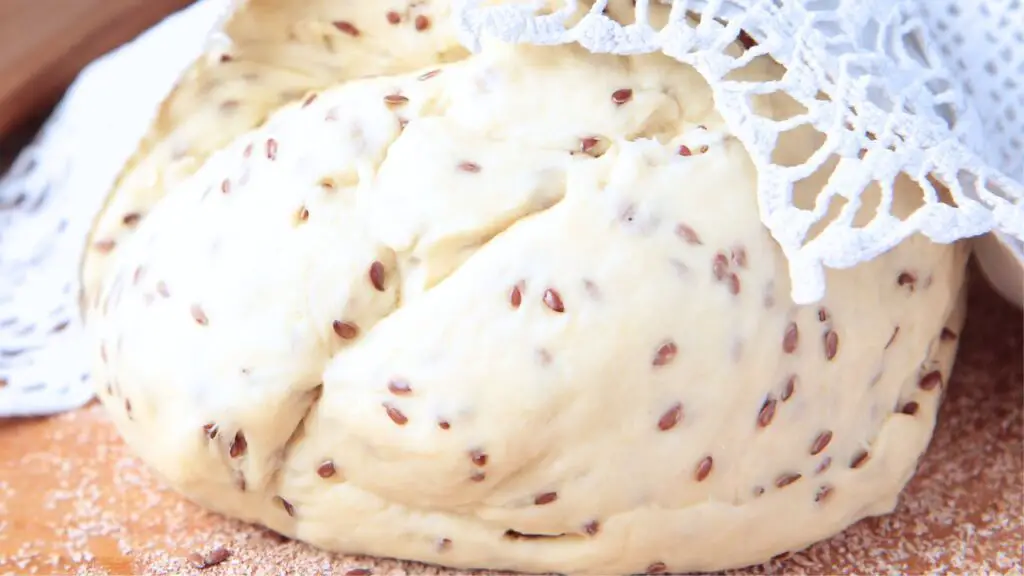
This simple basic recipe can be modified in several delicious ways I have done a few times.
- Add 1/4 cup of seeds (sunflower, sesame, flaxseeds, or pumpkin) to the dough
- Mix in 2 tablespoons of dried herbs like rosemary or thyme
- Replace 1 cup of all-purpose flour with whole wheat flour for a nuttier flavor
- Add 1/2 cup of grated hard cheese, like Parmesan, for a savory version
Troubleshooting Homemade Bread Problems
Sometimes bread doesn’t turn out right. Here’s what might have happened and how to fix it:
Bread Did Not Rise Well
If your bread turns out dense or flat, check these common causes:
- The yeast was old or inactive
- The room was too cold during the rising
- The dough did not have enough time to rise
- Too much flour was added, making the dough too dry
Crust Not Crispy Enough
For an even crispier crust:
- Make sure your pot is properly preheated
- Check that your oven temperature is accurate with an oven thermometer
- Ensure the lid creates a good seal during the first baking phase
- Let the bread cool completely on a rack, not in the pot
More Easy Bread Recipes
If you enjoyed this crusty bread, I’ve got loads more recipes just like it on my channel. I actually bake something new almost every weekend and share it all on my YouTube channel. Nothing fancy or complicated, just good bread that actually works in a normal kitchen. Come check it out when you get a chance!
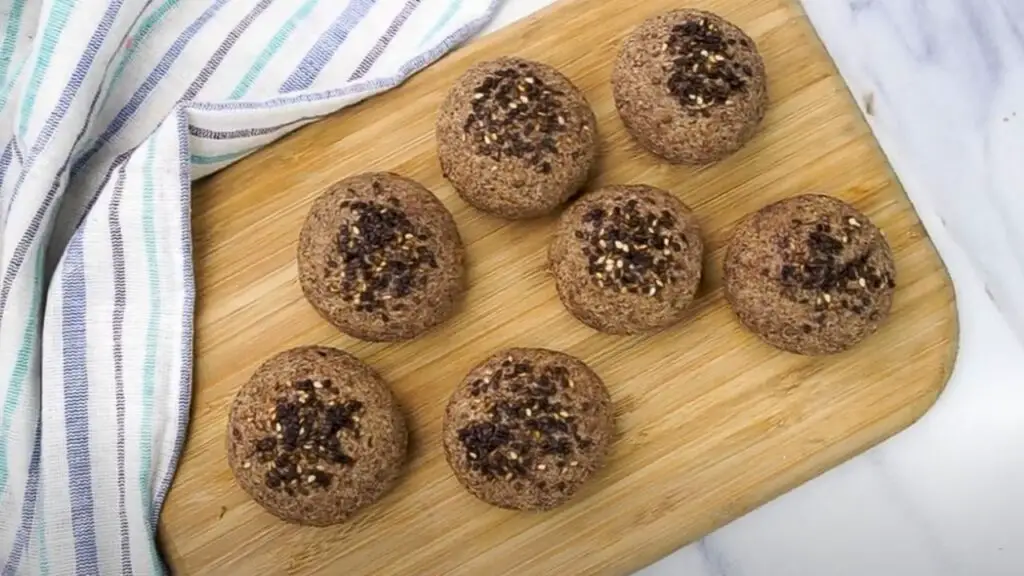
- Flourless Lentil Bread Recipe – A healthy, protein-packed bread made without flour, perfect for a wholesome and gluten-free option.
- Best Cheesy Pull Apart Garlic Bread – Soft, golden bread loaded with garlic butter and melted cheese—irresistible for sharing.
- Sweet Potato Bread Recipe – A soft and slightly sweet loaf made with real sweet potatoes, perfect for breakfast or snacking.
Did you try this crusty bread recipe? Let me know how it turned out! Have a question about the process? Drop a comment below, and I will help you troubleshoot. What is your favorite way to enjoy fresh homemade bread?