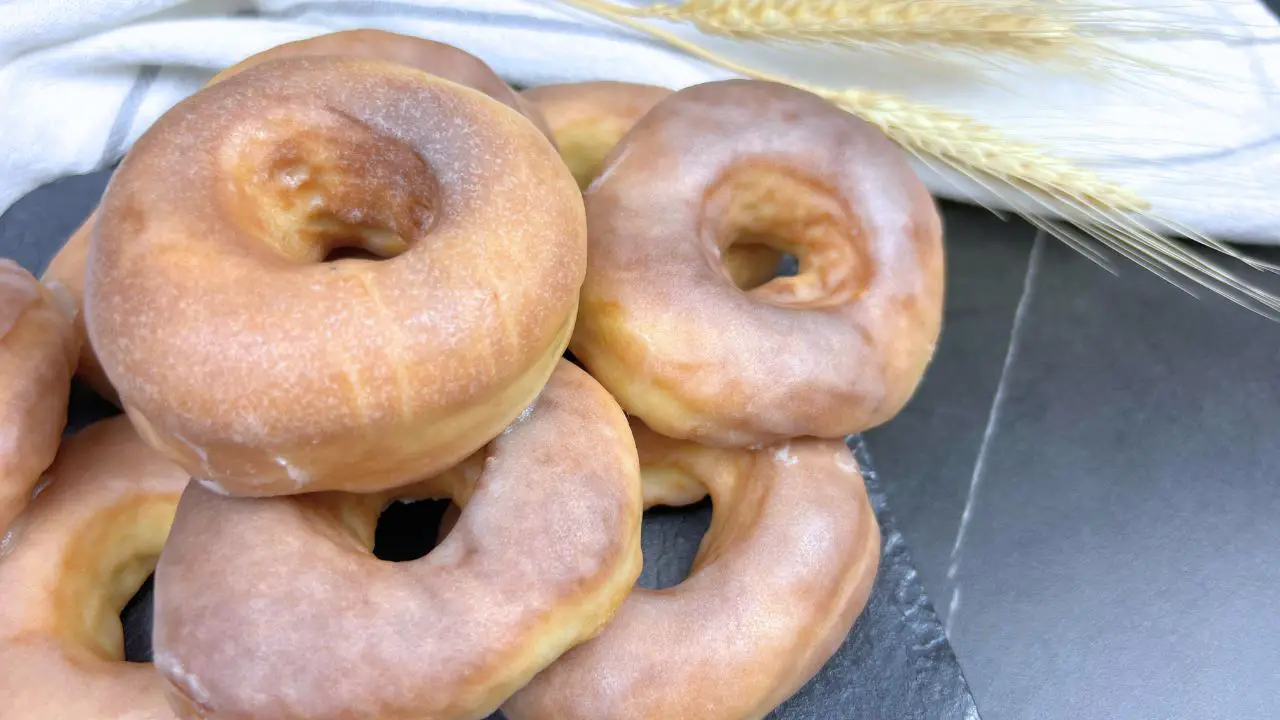
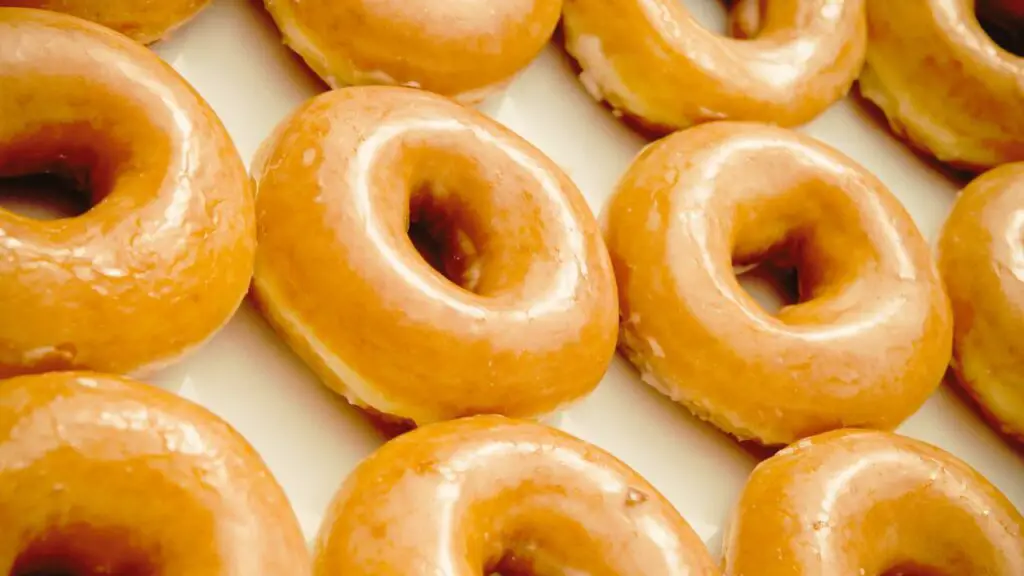
These homemade glazed air fryer donuts are incredibly soft inside with a perfect sweet glaze on top. They have that classic donut taste, but are so much easier to make at home. The glaze sets with a beautiful crackle that gives them a professional finish. Perfect with your morning coffee or as an afternoon treat!
Take a look at my full recipe video below to see these air fryer donuts in action. Don’t forget to like and subscribe for more easy air fryer baking recipes that’ll save you time in the kitchen!
Why You’ll Love This Glazed Air Fryer Donuts Recipe
I was honestly skeptical the first time I tried making donuts in my air fryer. How could hot air possibly create that perfect donut experience we all love with deep-fried donuts? But after one bite, I became a complete convert.
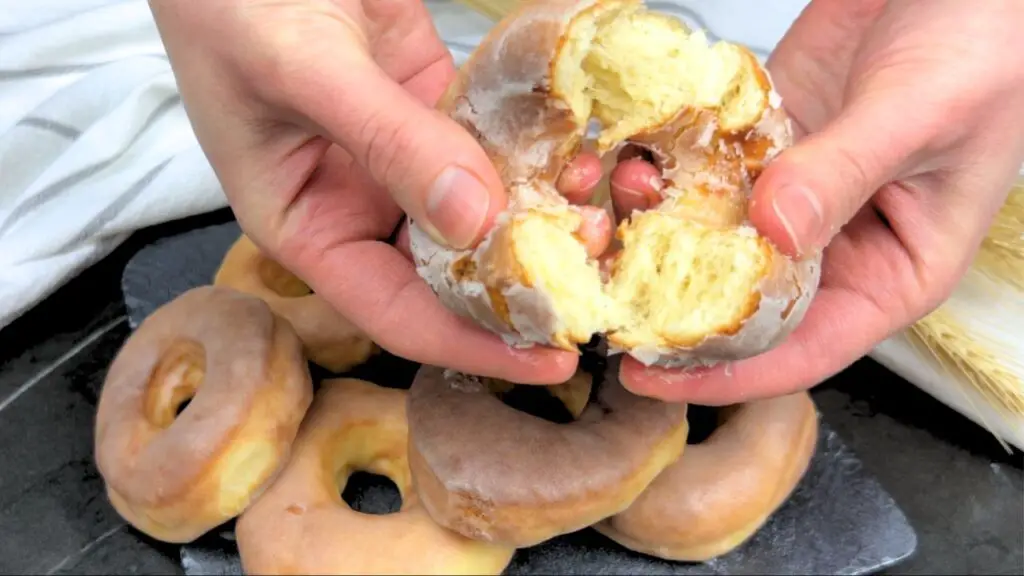
These air fryer donuts are really good. When I first made them, I just wanted to avoid the mess of deep frying. But they turned out great – they have a nice texture outside, stay soft inside, and the glaze works just like on regular donuts.
My husband, who loves deep-fried donuts, tried one and had no idea they weren’t fried the traditional way until I told him. They taste like normal donuts, just without all the oil.
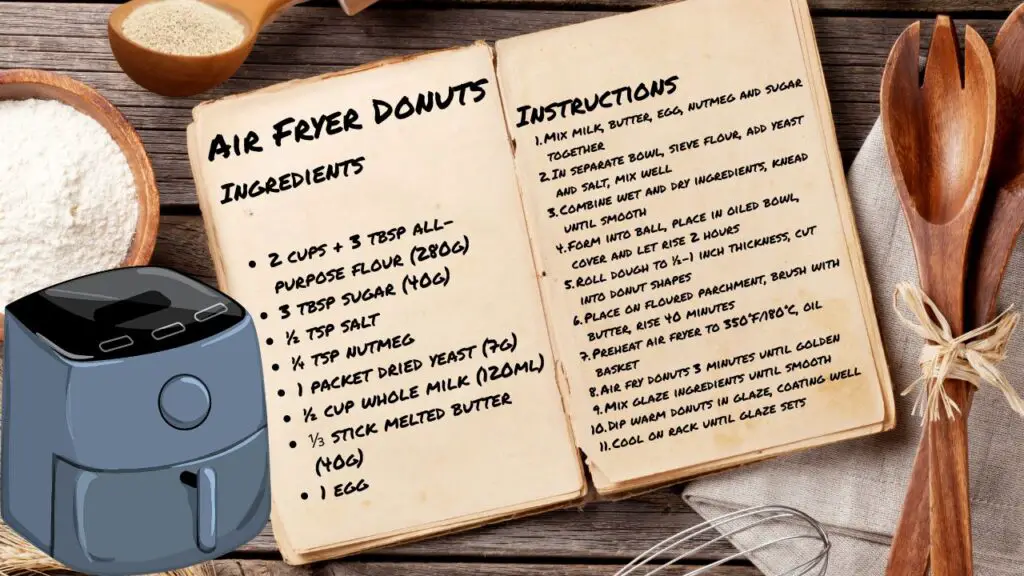
Ingredients For Air Fryer Donuts
For the Donuts:
- 2 cups + 3 tbsp all-purpose flour (280g)
- 3 tbsp sugar (40g)
- ½ tsp salt
- ¼ tsp nutmeg
- 1 packet dried yeast (7g)
- ½ cup whole milk (120ml)
- ⅓ stick melted butter (40g)
- 1 egg
- Extra melted butter for brushing
For the Glaze:

- 2 cups powdered sugar (250g)
- ⅔ stick butter (75g)
- 3-4 tbsp milk
- 1 tsp vanilla extract
Equipment Needed
Before you start with this donut recipe, make sure you have these basic tools ready:
If you’re wondering which air fryer I use for these donuts, check out the Ninja air fryer below – it’s been perfect for consistently great results every time! The even cooking and reliable temperature control make it ideal for baking treats like these homemade donuts.

TAP ON IMAGE TO VIEW PRICE
- Air fryer
- Mixing bowls (2)
- Measuring cups and spoons
- Rolling pin
- Donut cutter (or round cutters in two sizes)
- Pastry brush
- Parchment paper
- Wire cooling rack
Top Tip: No donut cutter? No problem! I use a drinking glass for the outer circle and a bottle cap for the center hole.
I did buy a proper donut cutter after using drinking glasses for ages. Nothing fancy – just a simple metal one from the baking section. Makes the whole process way faster, and the donuts look more even.

TAP ON IMAGE TO VIEW PRICE
Step-by-Step Instructions
The whole process takes about 3 hours, but most of that is just waiting for the dough to rise. The actual hands-on time is only about 30 minutes, and the cooking time is only 3 minutes.
Making the Dough
Step 1: In a jug or bowl, mix together ½ cup milk, ⅓ stick melted butter, 1 egg, ¼ teaspoon nutmeg and 3 tablespoons sugar. Give everything a good mix until well combined.
Step 2: In a separate large bowl, sift in 2 cups + 3 tablespoons flour. I use regular all-purpose flour, though bread flour works too if you want a slightly chewier texture. Sieving breaks up all the flour clumps and adds air, giving you much lighter, fluffier donuts in the end.
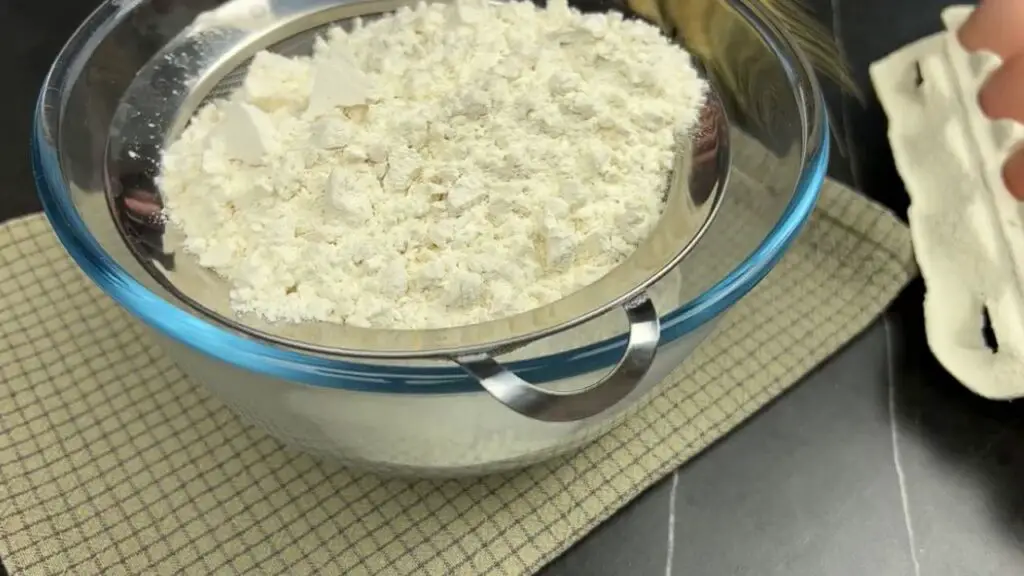
Step 3: Add 1 packet (7g) of yeast and ½ teaspoon salt to your flour mixture. Give the flour a good mix so the yeast gets spread out all through the flour. This helps make sure your donuts rise evenly.
Step 4: Pour in the wet ingredients we mixed before and start mixing everything together. The dough will look a bit sticky at first – that’s totally normal, so don’t worry or add more flour right away.
Note: If the dough seems impossibly sticky after thoroughly mixing, you can add a tablespoon of flour at a time until it becomes manageable. Don’t add too much, or your donuts will be tough!
Step 5: Once it starts to form more like a dough, I like to use my hands because it makes it so much easier to get everything mixed in. I just get my hands a little floury and start squishing and folding the dough over and over. Keep kneading until the dough feels smooth and stretchy, usually about 5 minutes of working it with your hands.
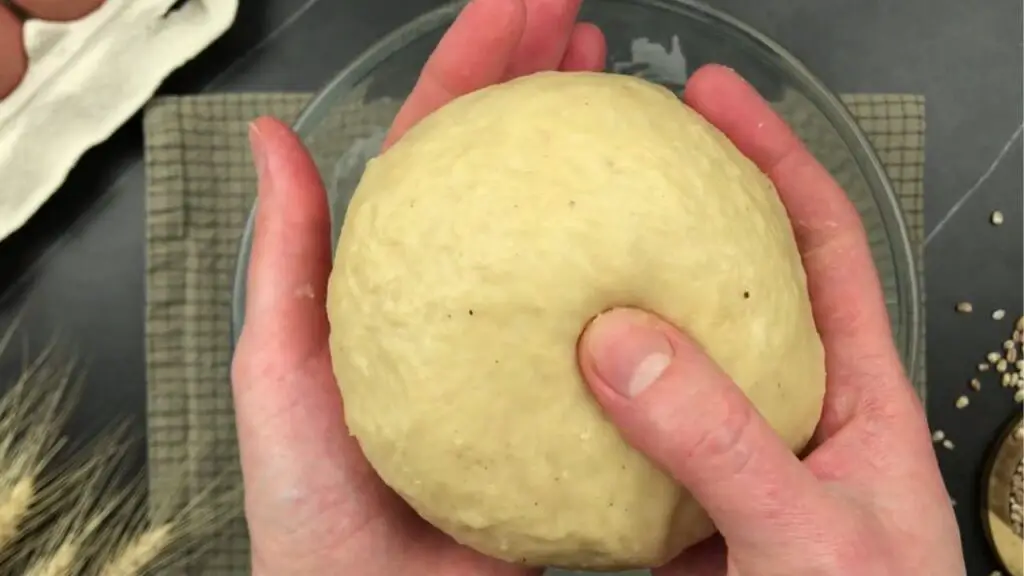
Step 6: Form the donut dough into a nice round ball shape. Take a clean bowl and rub a bit of cooking oil on the bottom of the bowl, and place the dough in the bowl. Cover the bowl with plastic wrap or a kitchen towel and leave it in a warm spot for about 2 hours. The dough needs this time to rise and double in size.
Did You Know? The temperature matters! If your kitchen is cold, try placing the covered dough near your oven (if it’s on for something else), on top of your refrigerator, or in a sunny window to help it rise faster.
Shaping the Donuts
Once the dough has doubled in size and looks all puffy and full of air, you’re ready to shape your donuts. This is where the magic starts to happen!
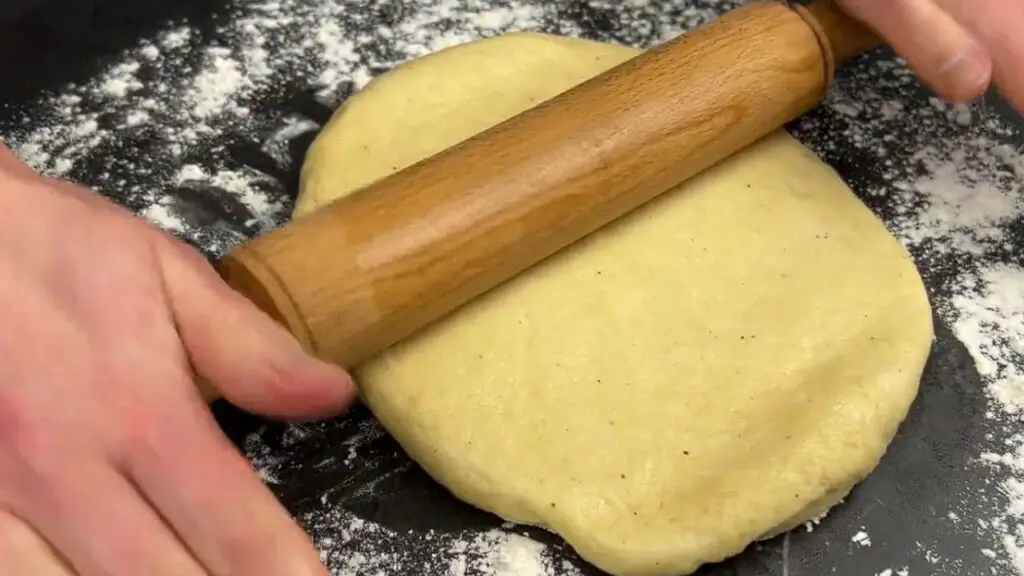
Step 7: Gently punch down the risen dough with your fist to release all those air bubbles that formed during rising. Then turn it out onto a lightly floured surface.
Step 8: Use your hands to flatten the dough a bit before using a rolling pin to roll it to between half an inch and an inch thick. This thickness is perfect for air fryer donuts – gives them enough height to rise nicely without being too doughy inside.
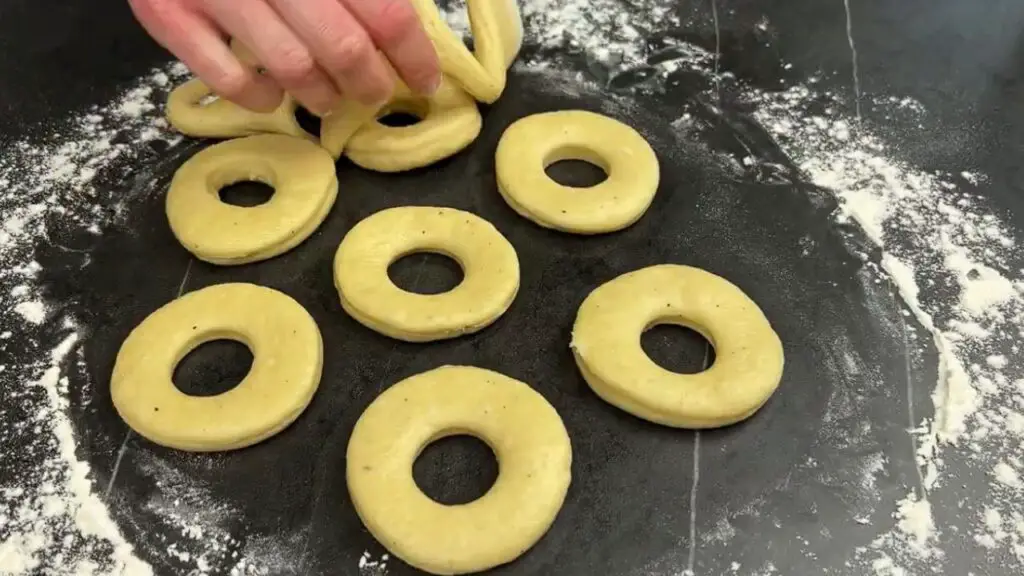
Step 9: Use a donut cutter to cut out shapes. I couldn’t find a proper cutter, so I used a drinking glass for the main circle and then made holes in the middle with a smaller cutter. Don’t throw away the donut holes – they make delicious little bite-sized treats!
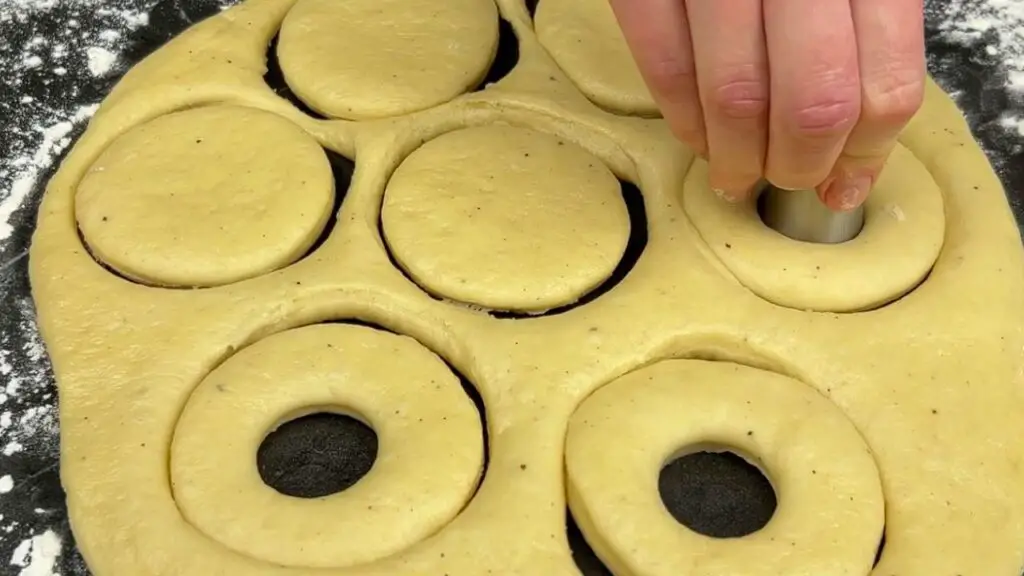
Step 10: Use the leftover dough again to make more donuts until all the dough is used up. You might need to let the dough rest for 5-10 minutes if it keeps springing back when you try to re-roll it.
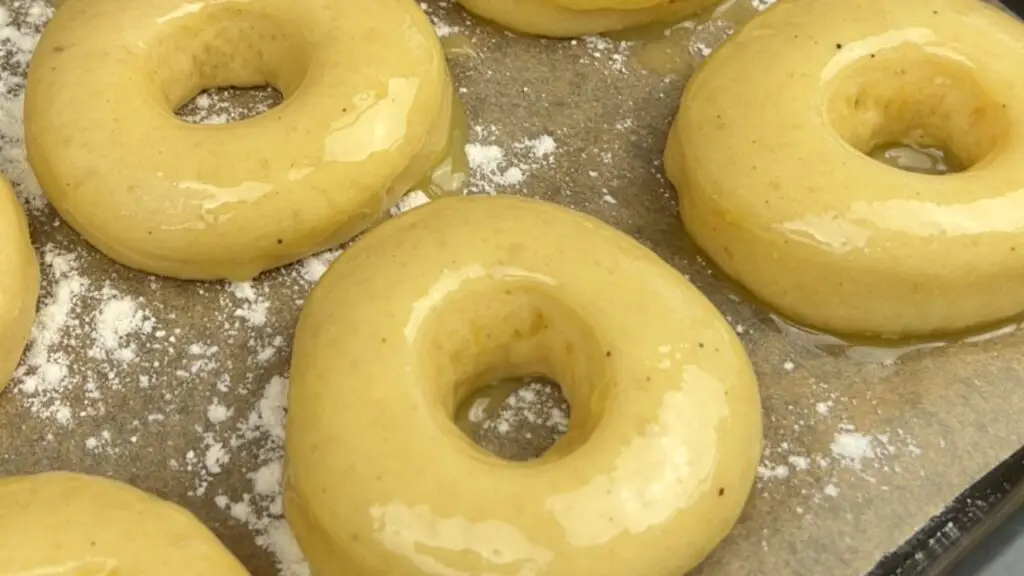
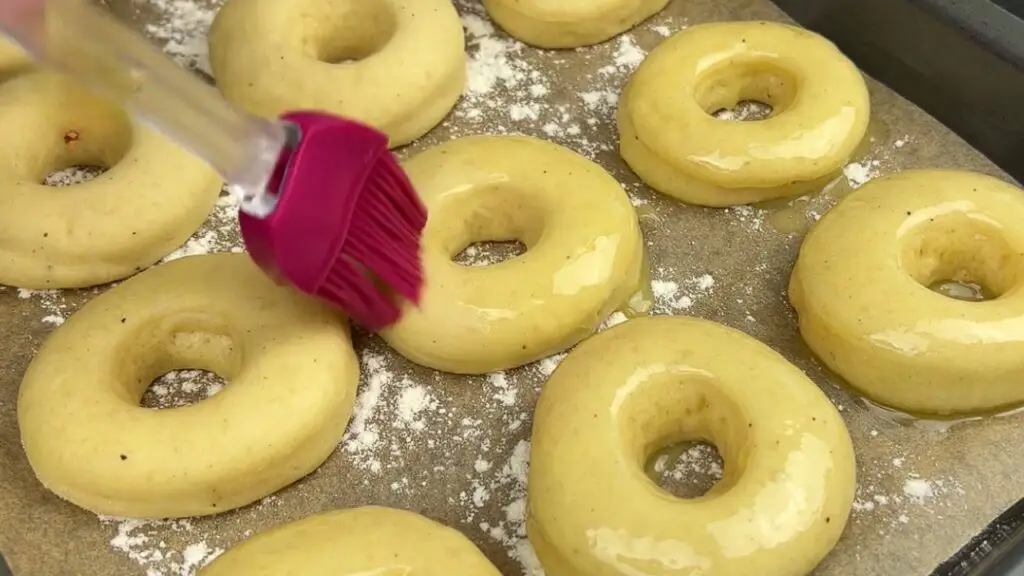
Step 11: Place all the donuts on a flour-covered parchment paper, so they can be easily removed later. Brush them with a little melted butter – this gives them a nicer color when cooking and adds flavor.
Cover loosely with a clean kitchen towel and leave them to rise for about 40 minutes in a warm spot until they look puffy again. You’ll notice they get a bit bigger and softer looking during this second rise, which is exactly what you want for that perfect donut texture.
Top Tip: Be gentle when moving the shaped donuts – they’re full of air and can deflate if handled too roughly. I use a thin spatula to help transfer them without squishing.
Air Frying the Donuts
Here comes the quick part! After all that waiting, your donuts will cook in just 3 minutes.

Step 12: Preheat your air fryer to 350°F or 180°C. It’s important to properly preheat for even cooking.
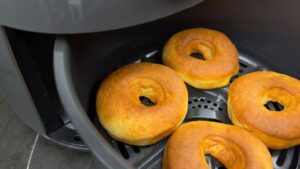
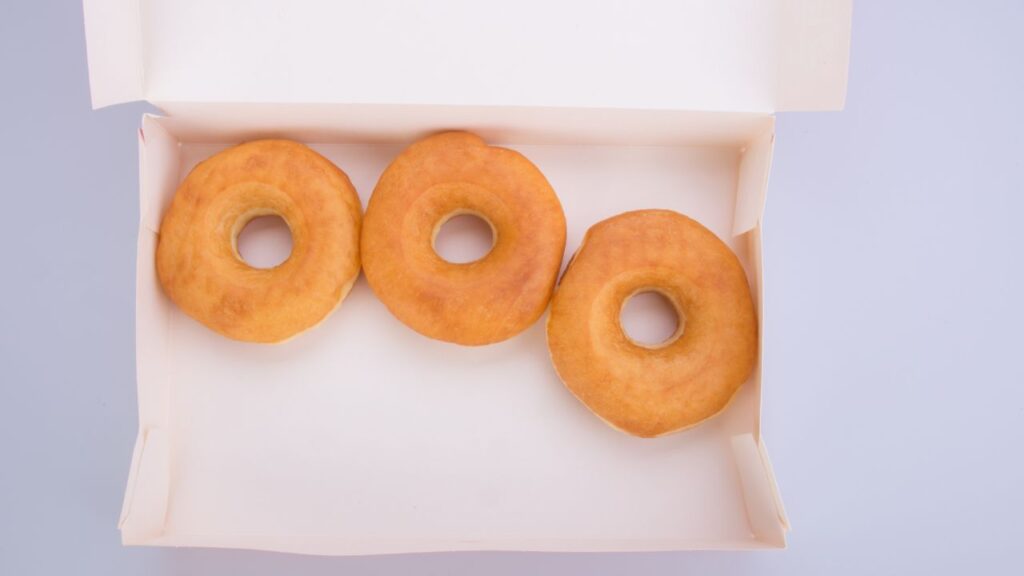
Step 13: Brush the air fryer basket with some butter or spray it with some oil. Carefully place the donuts in the air fryer basket, leaving some space between them – I can usually fit about 3 or 4 at a time, depending on their size. They need room to expand a little as they cook, so don’t crowd them.
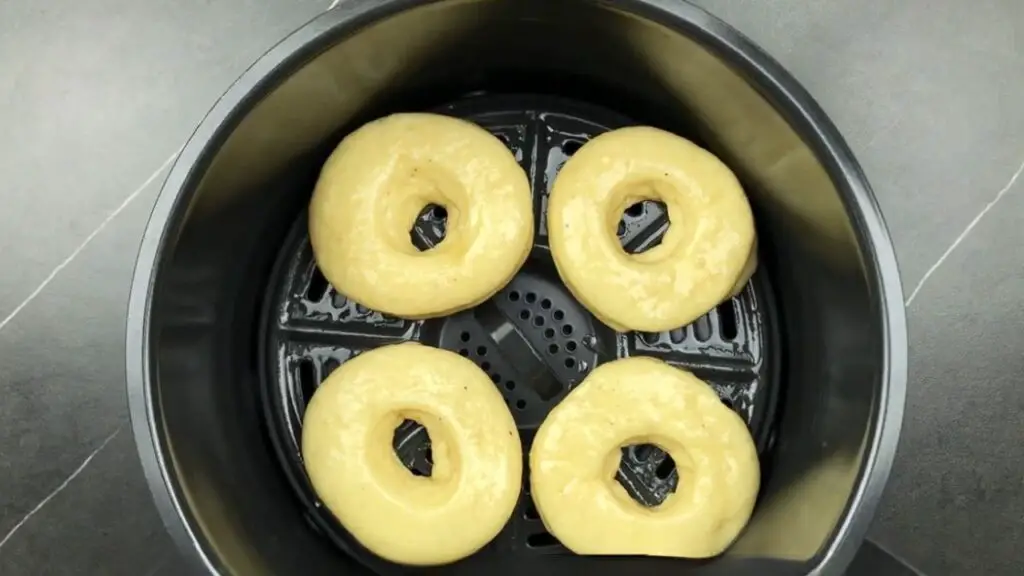
Step 14: Air fry the donuts at 350°F or 180°C for exactly 3 minutes. They cook really fast in the air fryer, so keep an eye on them. They should come out looking golden brown on the outside but still soft and fluffy on the inside.
Note: Air fryers can vary in temperature. If yours runs hot, you might want to check them after 2 minutes the first time you make these. They should be golden brown, not dark brown.
Making the Perfect Glaze
While the donuts are cooking or cooling, it’s time to prepare that delicious glaze that makes these donuts truly special.
Step 15: To make the frosting, mix together 2 cups powdered sugar, ⅔ stick melted butter, 3-4 tablespoons milk (depending on how thick you want it), and 1 teaspoon vanilla extract. Stir everything until smooth and no lumps remain.
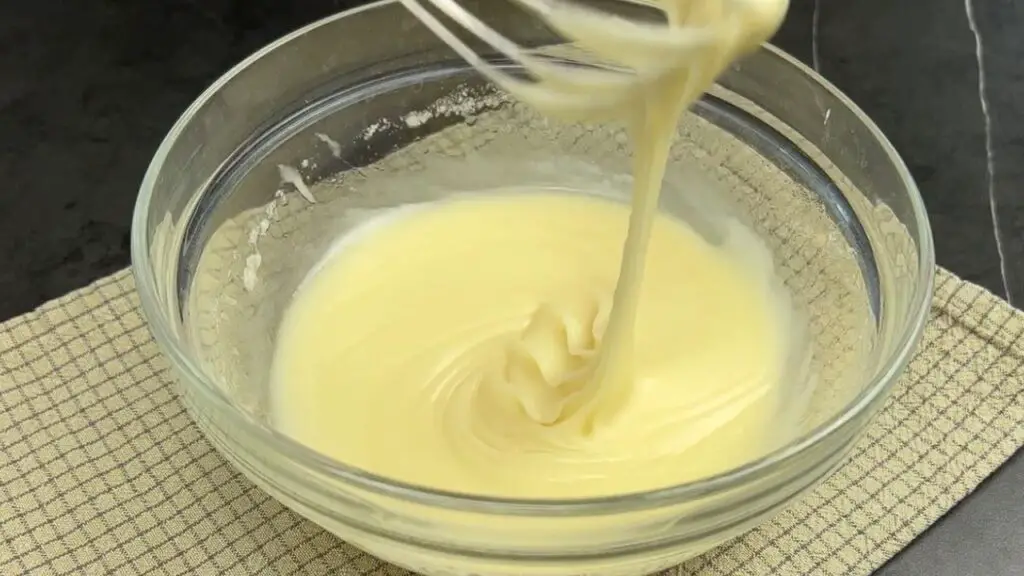
Top Tip: The perfect glaze should be thick enough to coat the back of a spoon but still runny enough to drip off slowly. If it’s too thick, add a few drops of milk. If it’s too thin, add a little more powdered sugar.
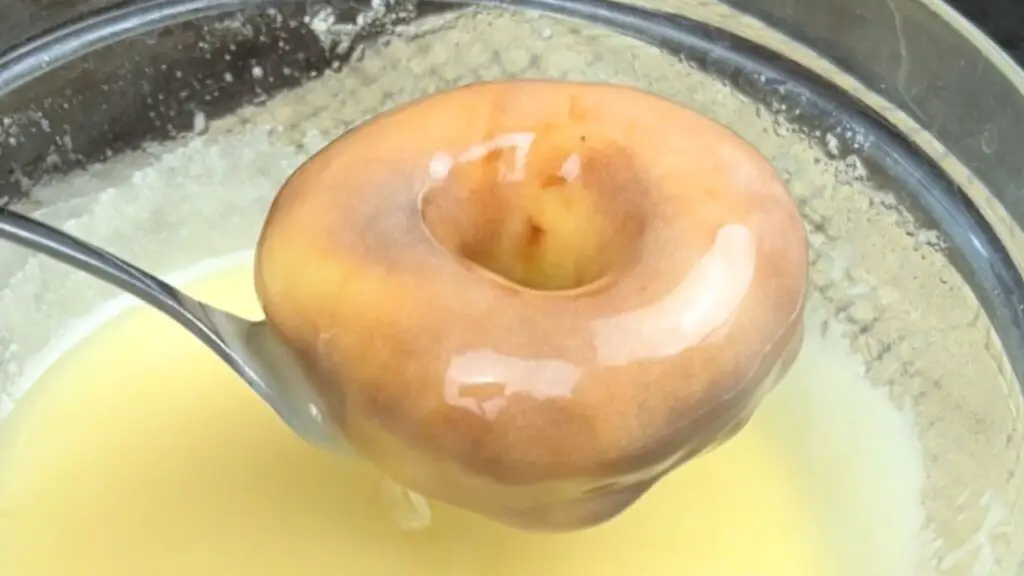
Step 16: Drop the donuts in the glaze while they are still warm (but not hot) and flip them around a few times to make sure they get nicely coated all over. I use two forks to help roll them around in the glaze without making a huge mess. This way, every bit gets that sweet, vanilla glaze on it.
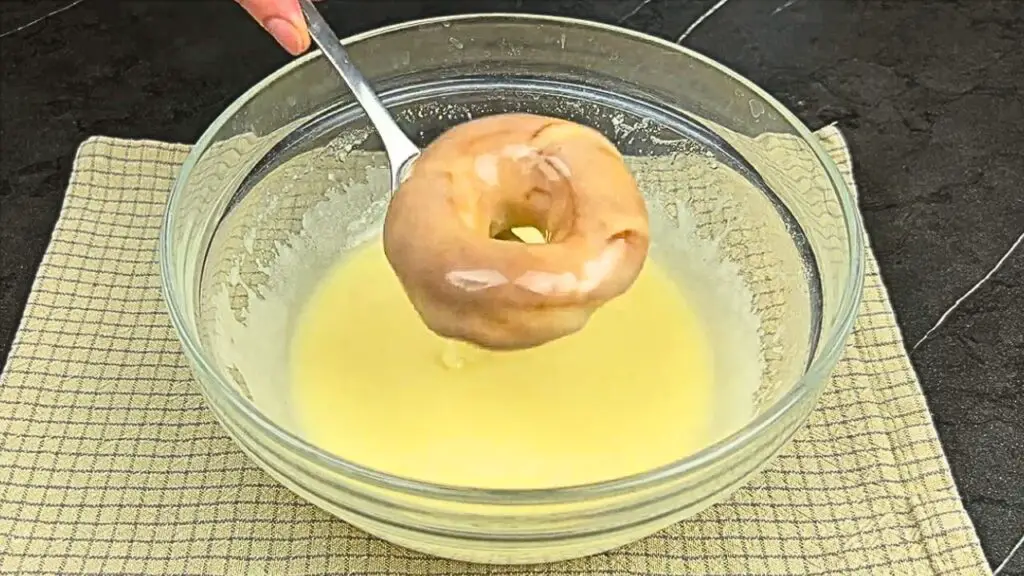
Step 17: Lift them out and let the excess drip off for a few seconds before placing them on a wire rack. The glaze will set as it cools and create that classic crackly finish.
Check Out Also: For more air fryer baking ideas, try my super-easy air fryer brownie recipe that takes just 20 minutes and gives you perfectly fudgy brownies with that classic crackly top!
Best Air Fryer Donuts Recipe
These homemade glazed air fryer donuts are incredibly soft and delicious! They cook in just 3 minutes and taste just like traditional fried donuts, but without the mess. Perfect for weekend breakfast or whenever you’re craving something sweet!
12
servings3
hours3
minutes205
kcal3
hours3
minutesKeep the screen of your device on
Ingredients for the dough
2 cups plus 3 tbsp (280g) of all-purpose flour
3 tbsp (40g) sugar
1/2 tsp (3g) salt
1/4 tsp (0.6g) nutmeg
1 piece egg
1/2 cup (120ml) whole milk
1/3 stick (40g) melted butter
1 packet (7g) dried yeast
- Ingredients for the Glaze:
2 cups (250g) powdered sugar
2/3 stick (75g) butter
3-4 tbsp (45–60ml) milk
1 tsp (5ml) vanilla extract
Directions
- Measure 1/2 cup milk and add 1/3 stick melted butter, 1 egg, 1/4 teaspoon nutmeg, and 3 tablespoons sugar, mixing well.
- Sieve 2 cups + 3 tablespoons flour into a separate bowl, adding 1 packet of yeast and 1/2 teaspoon salt, mixing to combine.
- Pour wet ingredients into the flour mixture and mix together until dough forms, kneading until smooth and stretchy, about 5 minutes.
- Place dough in an oiled bowl, cover, and leave to rise in a warm spot for about 2 hours, until doubled in size.
- Punch down the risen dough, roll out on a floured surface to 1/2 to 1 inch thickness, and cut into donut shapes.
- Place donuts on floured parchment paper, brush with melted butter, and allow to rise for about 40 minutes.
- Preheat air fryer to 350°F, brush basket with butter, and air fry donuts for 3 minutes until golden brown.
- Mix 2 cups powdered sugar, 2/3 stick melted butter, 3-4 tablespoons milk, and 1 teaspoon vanilla extract for the glaze.
- Dip warm donuts in glaze, ensuring even coating, and place on a wire rack to set with a crackly glaze.
Equipment
 Ninja Air FryerCheck it out on Amazon here
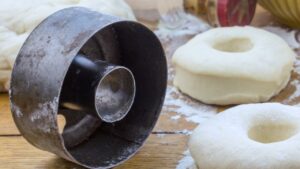 Donut CutterCheck it out on Amazon here
Recipe Video
Notes
- Try adding flavor to the dough: Mix in 1 teaspoon of vanilla or ½ teaspoon of cinnamon into the dough for extra flavor. Most recipes miss this easy upgrade.
- Make holes smaller than you think: Cut donut holes slightly smaller than you want the final size to be. They expand more than you’d expect during the second rise and cooking.
- Save the holes too: Don’t throw away the donut holes! They make perfect little bite-sized treats and only need about 2 minutes in the air fryer.
- Don’t skip cooling before glazing: Let donuts cool for 5 minutes after air frying. Too hot and the glaze just melts off, too cold and it won’t stick properly.
- Double-dip for extra glaze: For a thicker glaze coating like Krispy Kreme, let the first layer set for 5 minutes, then dip the donuts again for a second coating.
Nutrition Facts
- Total number of serves: 12
- Calories: 205kcal
- Fat: 7.5g
- Carbohydrates: 30g
- Protein: 2.5g
Helpful Tips for Perfect Air Fryer Donuts
These small tricks make a big difference:
- Get the milk temperature right: Make sure your milk feels warm, like bath water. If it’s too hot, it’ll kill the yeast. Too cold and the yeast won’t wake up.
- Don’t rush the rising: I know it’s tempting to speed things up, but those two rising times really matter for soft donuts. Let the dough do its thing.
- Roll them thicker: Don’t make the dough too thin. These need to be a bit thicker than regular fried donuts because the air fryer doesn’t puff them up as much.
- Set a timer: Just stick to the 3-minute cooking time. The air fryer is pretty reliable, so you don’t need to keep checking them like you would with frying.
- Dip them while they’re still warm: The donuts should be warm but not hot when you glaze them. This helps the glaze stick better.
Variations to Try
Once you’ve mastered the basic recipe, try these delicious variations:
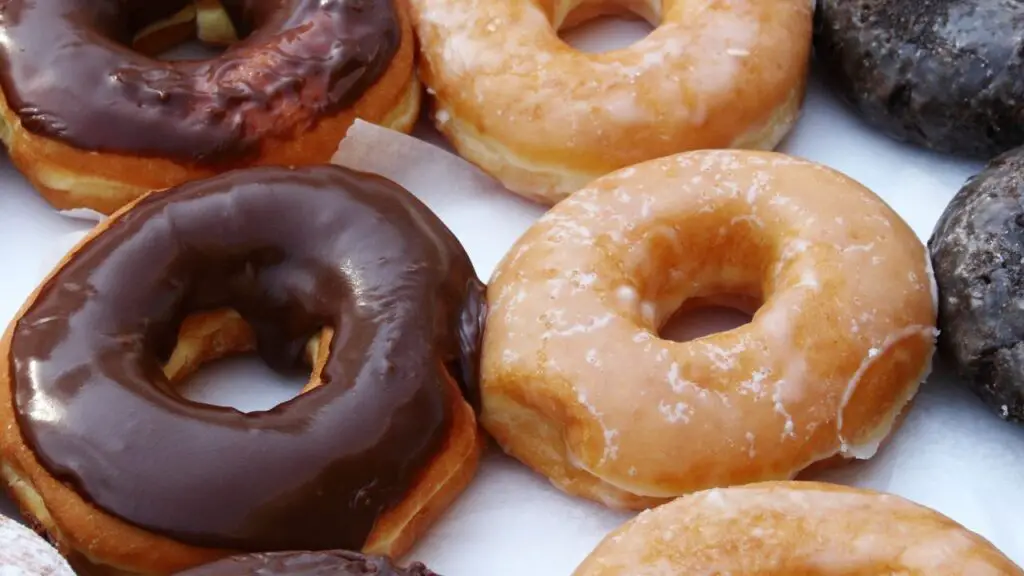
- Cinnamon Sugar: Instead of glazing, brush with butter and roll in a mixture of cinnamon and sugar while still warm.
- Chocolate Glaze: Add 2 tablespoons of cocoa powder to the glaze mixture.
- Sprinkled: Top the glazed donuts with colorful sprinkles before the glaze sets.
- Filled: Don’t cut out the center holes. After cooking, use a piping bag to fill with jam, custard, or Nutella.
Storing and Donuts Reheating
These donuts are best enjoyed fresh, but if you have leftovers:
- Storage: Keep in an airtight container at room temperature for up to 2 days.
- Refreshing: To enjoy later, microwave for 10-15 seconds to soften them back up.
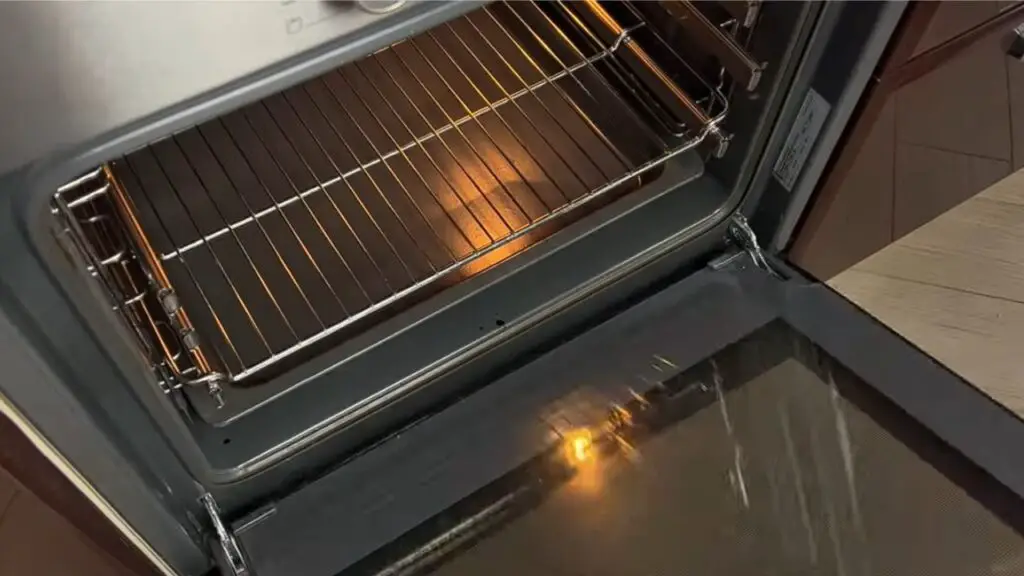
Baking Donuts in the Oven
If you don’t have an air fryer, you can still make these delicious donuts in a regular oven.
Preheat your oven to 350°F (180°C) and place the risen donuts on a parchment-lined baking sheet. Brush them lightly with melted butter and bake for 12-15 minutes until golden brown.
They won’t have quite the same texture as air-fried or deep-fried donuts, but they’ll still be tasty! Just watch them carefully so they don’t dry out.
Once baked, let them cool slightly before glazing as directed in the main recipe.
More Air Fryer Baking Recipes You’ll Love
If you like baking in your air fryer, then check out also these air fryer baking recipes below.
- Best Air Fryer Brownies in Just 20 Minutes!
Rich, fudgy, and perfectly cooked right in your air fryer — these brownies are a chocolate lover’s dream and come together super fast! - Air Fryer Chocolate Chip Cookies
Crispy on the edges, soft and gooey in the center — these classic chocolate chip cookies are unbelievably good and bake up beautifully in the air fryer. - Air Fryer Baked Oats Recipe
Enjoy a quick, healthy breakfast with these golden, crisp-topped baked oats — soft, fluffy, and packed with flavor!