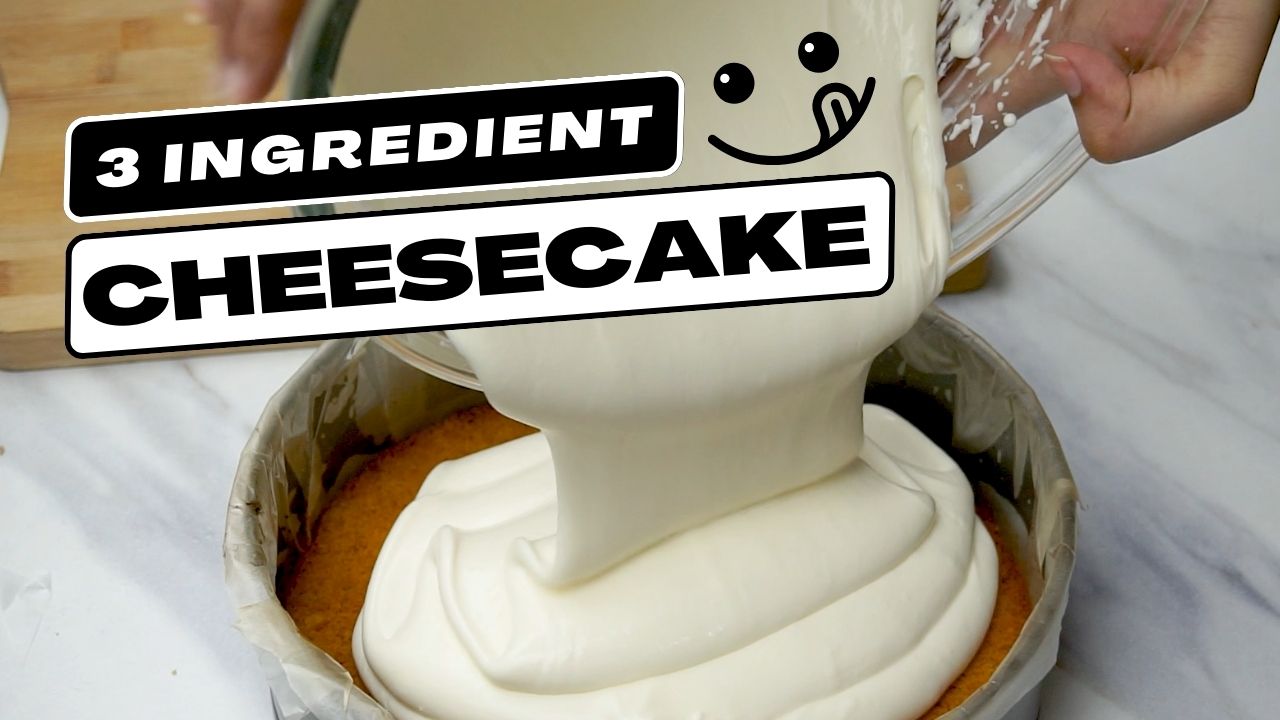
Hey there, fellow bakers and cheesecake lovers! Are you ready to try out my insanely delicious and easy 3 ingredient cheesecake with condensed milk? Yes, you read that right – only three! And the best part? You can choose to bake it or keep it as a no-bake dessert by simply chilling it and letting it set in the fridge. No fancy ingredients, no complicated steps, just pure cheesecake goodness.
Come join me on Facebook here for easy recipes, cozy bakes, and little kitchen tips from my kitchen to yours.
Trust me; this easy cheesecake recipe will make you look like a baking pro in no time. So, grab your aprons, and let’s get started!
You Only Need 3 Ingredients To Make This Cheesecake
Who knew that making a perfect cheesecake could be so easy-peasy-lemon-squeezy? With just THREE ingredients, no lemons tho, you can whip up a mouth-watering cheesecake that will have your taste buds dancing with joy!
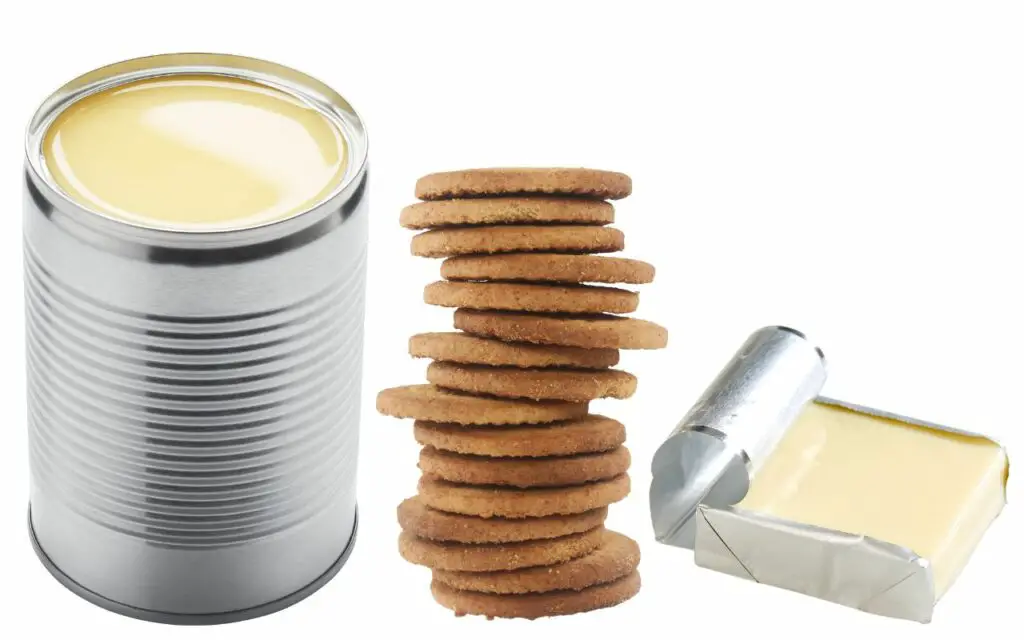
All you need is a pack of plain biscuits like Digestive biscuits, Arnott’s Granita, or Wheatable biscuits, and a can of sweetened condensed milk and cream cheese. Yup, that’s it! With these 3 ingredients, you’ll be the talk of the town, impressing your friends and family with your culinary skills.
And yes, condensed milk is a must-have for this easy cheesecake recipe because it has a naturally sweet and creamy flavor that pairs perfectly with the tangy taste of cream cheese. Plus, since it’s already sweetened, you don’t have to add any extra sugar to the recipe.
Condensed milk is one of my secret weapons in my baking arsenal! It’s so easy to use – I just crack open a can and mix it in with the cream cheese; plus, it is great for replacing butter for making the base, but sure, you can use butter instead if you like, but then it will be 4 ingredient cheesecake tho.
So let’s get cracking, grab those three ingredients, and let’s make some magic happen in the kitchen!
Top Tip: Don’t worry if you don’t have Wheatable biscuits in your pantry; you can still make an amazing cheesecake base with other ingredients. Graham crackers, Arnott’s Granita biscuits, digestive biscuits, shortbread cookies, or even Oreos are great alternatives. Just make sure to crush them finely, so they create a sturdy base that can hold up your delicious cheesecake. Experiment with different biscuits to find your favorite flavor combination!
How To Make This 3 Ingredient Cheesecake
Step 1: Preheat your oven to 360°F (180°C) and line a 20cm round baking pan with baking paper or tin liner. Grease it up so your cheesecake doesn’t stick!
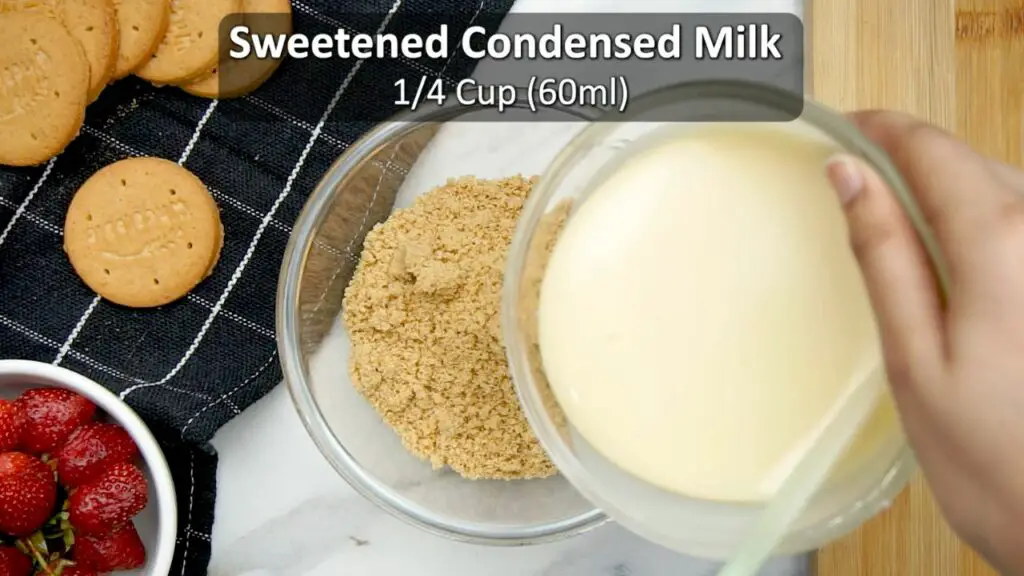
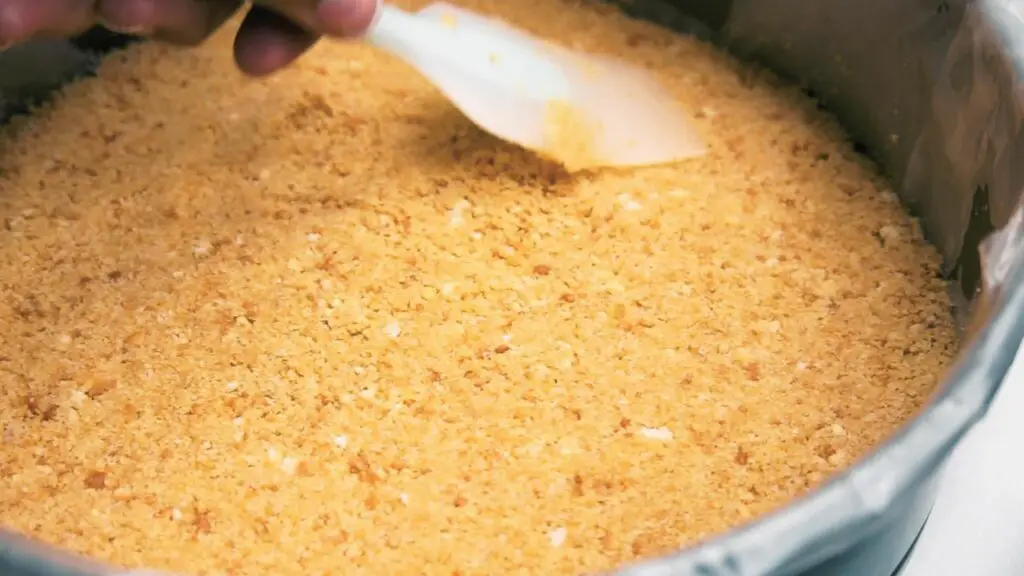
Step 2: Time to crush those biscuits! Grab your food processor and pulse the pack of biscuits until they’re finely crushed. Then, transfer the crumbs into a large bowl and mix in 1/4 cup of sweetened condensed milk. Keep stirring until the mixture is combined.
Step 3: Pour the biscuit mixture into your prepared 9-in (23 cm) springform pan and use a flat-bottomed glass or spatula to press the crumbs firmly and evenly across the base. Bake it in the oven for 10 minutes until it’s golden brown. Once done, set it aside to cool.
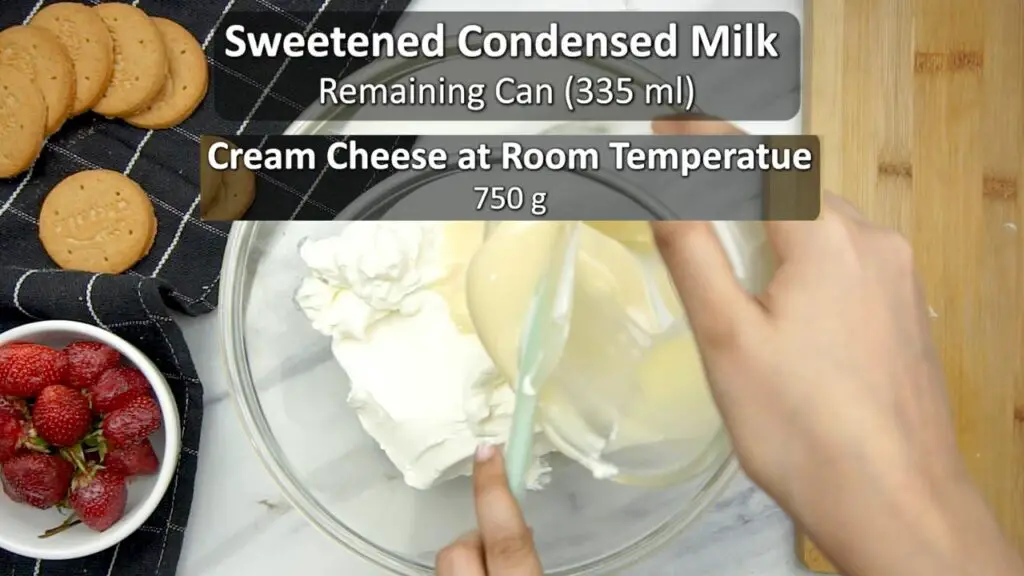
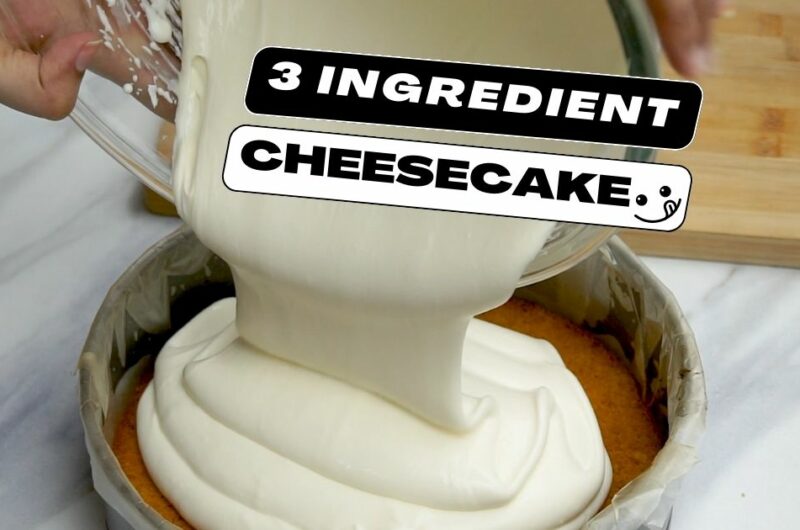
Step 4: Now, let’s make the creamy filling! In another bowl, grab your electric mixer and blend the room-temperature cream cheese and remaining sweetened condensed milk until it’s silky smooth with a mousse-like consistency. Yum!
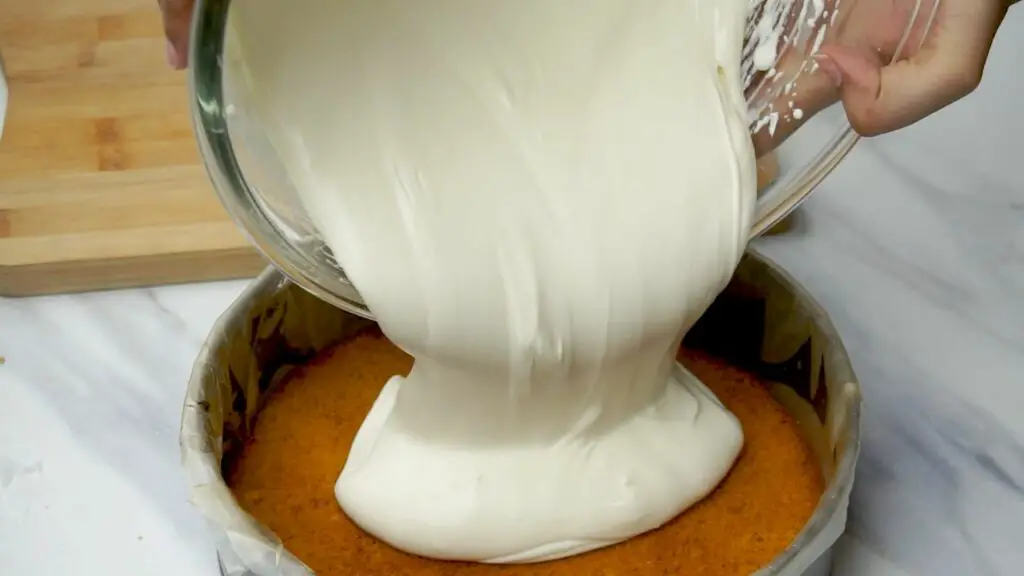
Step 5: Pour the cream cheese mixture over the biscuit base and bake at 360°F (180°C) for 40 minutes, or until the cheesecake is firm to the touch but still wobbles slightly in the center.
Step 6: Turn off the oven and leave the cheesecake inside with the door slightly open until it cools completely. This step is crucial to prevent cracking, so don’t skip it!
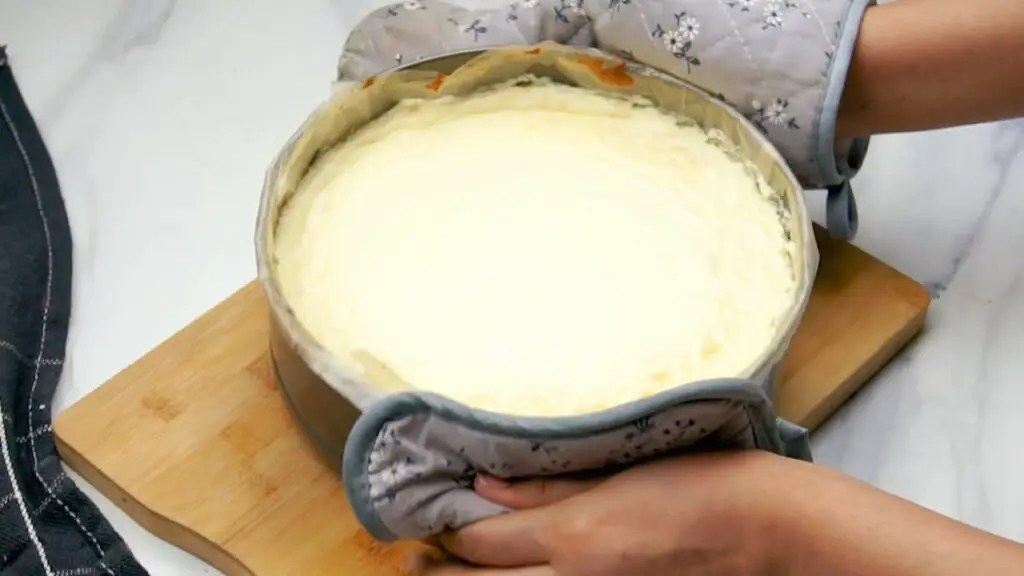
Step 7: Although I usually skip this step as I like my cheesecake straight out of the oven, I recommend refrigerating your cheesecake for 5-6 hours or overnight so it would be more solid, easier to cut, and more presentable. But let’s be honest; if you can’t wait that long, go ahead and dig in!
Top Tip: Springform pans are the go-to choice for making cheesecakes! The latch on the side allows you to effortlessly release the sides and bottom of the pan, ensuring perfect presentation every time.

TAP ON IMAGE TO VIEW PRICE
Make a No-Bake Version Of This Cheesecake
This cheesecake recipe is super flexible, you don’t need to bake it at all if you don’t want, and you can make a no-bake version of this cheesecake instead.
To make a no-bake cheesecake with condensed milk, simply prepare the biscuit base as directed, but instead of baking it, place it in the fridge to set for at least 30 minutes. While the base is setting, you can mix together the cream cheese and sweetened condensed milk using an electric mixer until the mixture is light and fluffy.
Then, pour the filling over the chilled base and smooth out the top. Place the cheesecake in the fridge to chill for at least 5-6 hours or overnight.
Once the cheesecake has been set, you can serve it as is or add some fresh fruit, whipped cream, or a drizzle of caramel sauce to make it extra special.
Read Also: Easy 3 Ingredient Banana Bread Recipe – (NO Cake Mix!)
Easy Cheesecake Recipe With Condensed Milk
Looking for a delicious and easy cheesecake recipe that won’t have you slaving away in the kitchen for hours? Look no further! With just three simple ingredients, this cheesecake is a breeze to whip up. Plus, you have the option to bake it or keep it no-bake by simply popping it in the fridge. Get ready to impress your taste buds and guests with this quick and tasty dessert!d
10
servings15
minutes50
minutes360
kcal1
hour5
minutesIngredients
250 g pack of plain Wheatable biscuits (or Arnott’s Granita biscuits, Graham crackers, or Digestive biscuits)
14 0 z (395g) can of sweetened condensed milk
24 oz (700g) room temperature cream cheese (Philadelphia or Organic Valley cream cheese or other)
Direction to make the cheesecake base
- Preheat your fan-assisted oven to 360°F (180°C). Line a round baking pan with baking paper and grease it.
- Pulse the biscuits in a food processor until finely crushed. Transfer to a large bowl and add 1/4 cup of sweetened condensed milk. Mix until thoroughly combined.
- Pour the biscuit mixture into the prepared 9-in (23 cm) springform pan and use a flat-bottomed glass to press the crumbs firmly and evenly across the base.
- Bake the cheesecake base for 10 minutes until lightly golden, then set the pie shell aside to cool.
- To make the cheesecake filling
- In another bowl, use a hand-held electric mixer to combine the room-temperature cream cheese and remaining sweetened condensed milk until silky smooth with a mousse-like consistency.
- Pour the cream cheese mixture over the biscuit base and bake at 360°F (180°C) for 40 minutes, or until the cheesecake is firm to the touch but still wobbles slightly in the center.
- Switch off the oven and leave the cheesecake inside with the door slightly open until it cools completely. This helps prevent cracking.
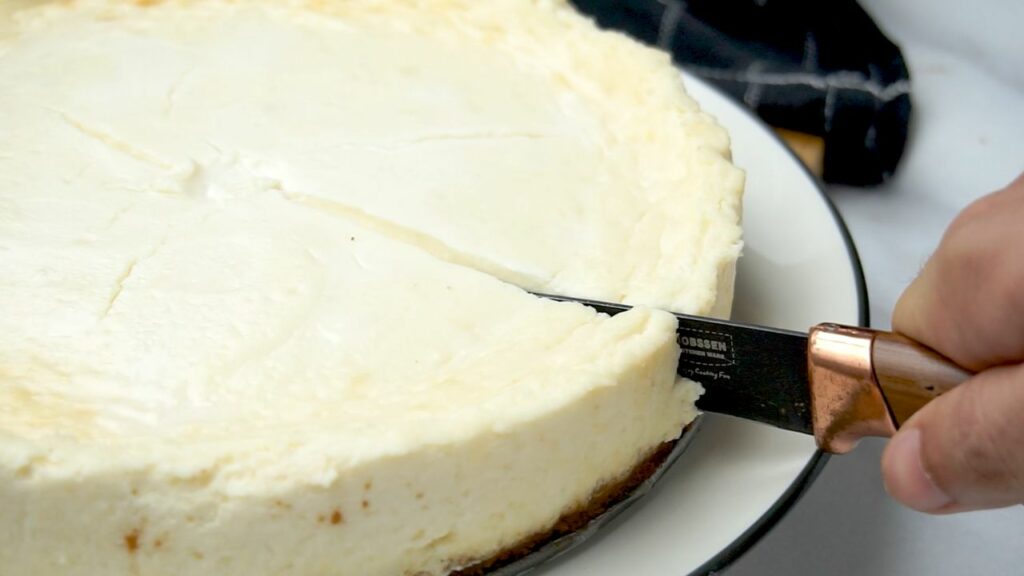
- Refrigerate for 5-6 hours or overnight before serving, but you can eat it straight away if you can’t wait, which I usually do :).
Recipe Video
Notes
- Room-temperature cream cheese is key! Make sure you take it out of the fridge at least an hour before you start baking. This will help it blend smoothly with the sweetened condensed milk.
- I like using a springform pan with a removable bottom, as it makes it easier to remove the cheesecake from the pan and serve it without damaging the crust or filling.
- If you don’t have Wheatable biscuits or Arnott’s Granita biscuits on hand, you can use Graham crackers, digestive biscuits, shortbread cookies, or even Oreos. The important thing is to make sure they are finely crushed so that they create a sturdy base for your delicious cheesecake.
How To Store This Cheesecake
To store this 3 ingredient cheesecake with condensed milk, you should first make sure it has completely cooled down to room temperature. Once cooled, cover the cheesecake with plastic wrap or aluminum foil and place it in the refrigerator. This cheesecake will keep well in the refrigerator for up to 5 days.
If you have any leftover cheesecake that you don’t think you’ll be able to eat within 5 days, you can freeze it. To freeze, wrap the cheesecake tightly in plastic wrap and then again in aluminum foil. Make sure the cheesecake is completely covered to prevent freezer burn. The cheesecake can be stored in the freezer for up to 2 months.
When you’re ready to serve the cheesecake, remove it from the refrigerator or freezer and let it come to room temperature for about 30 minutes before slicing and serving.
FAQs
Here are some frequently asked questions about the 3-ingredient condensed milk cheesecake recipe to help you troubleshoot any issues you may encounter while making this delicious dessert.
Can I use low-fat cream cheese instead of full-fat cream cheese?
I don’t recommend using low-fat cream cheese for this recipe. The high-fat content in full-fat cream cheese is necessary for achieving the perfect texture and flavor of cheesecake. Using low-fat cream cheese can result in a runny or grainy cheesecake.
Can I use evaporated milk instead of condensed milk?
No, evaporated milk and condensed milk are two different products and cannot be used interchangeably in this recipe. Sweetened condensed milk is about 50 percent sugar, while evaporated milk has no added sugar. Using evaporated milk instead of condensed milk would result in a very different flavor and consistency in the cheesecake.
Can I use a store-bought crust?
Yes, you can use the ready-made crust. A pre-made Graham cracker crust is a great way to save time and make this easy cheesecake recipe even faster. All you need to do is whip up the filling.
Can I eat this cheesecake without baking it first?
Absolutely! This recipe is the same as no-bake cheesecake, which means that you don’t need to turn on your oven. Simply mix the ingredients, chill the cheesecake in the fridge overnight, and voila! You have a creamy and delicious dessert. Just make sure to allow enough time for the cheesecake to chill and set properly before serving.
What baking dish can I use if I don’t have a springform pan?
No springform pan? No problem! You can still make this creamy and delicious cheesecake with condensed milk using an 8-inch or 9-inch pie dish or casserole dish. You can also use a baking pan with a removable bottom. Just make sure to line the pan with parchment paper to make it easier to remove the cheesecake later.
How many servings does the recipe yield?
The number of servings for the 3-ingredient condensed milk cheesecake recipe typically ranges from 8 to 10 slices. However, the exact number of servings will depend on how big or small the slices are cut.
My cheesecake is runny, will it set?
A slightly runny cheesecake center is normal, and it is not raw. It will firm up as it cools. Cheesecakes made with just cream cheese and condensed milk will have a larger soft spot and jiggle more. Allow it to cool at room temperature and refrigerate for at least 4 hours to set properly.
Read Also: How To Store Condensed Milk After Opening (Methods & Tips).
In Conclusion
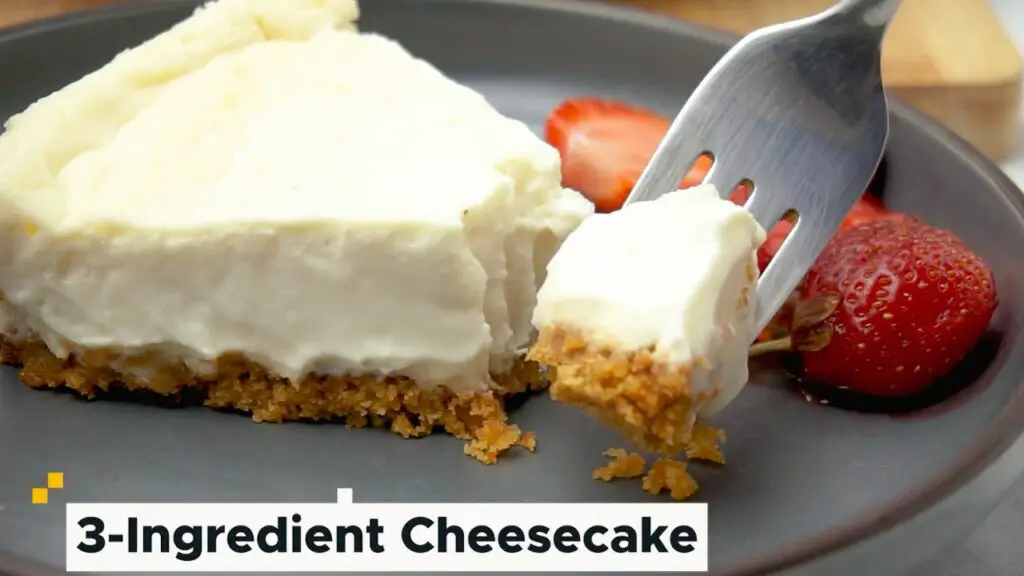
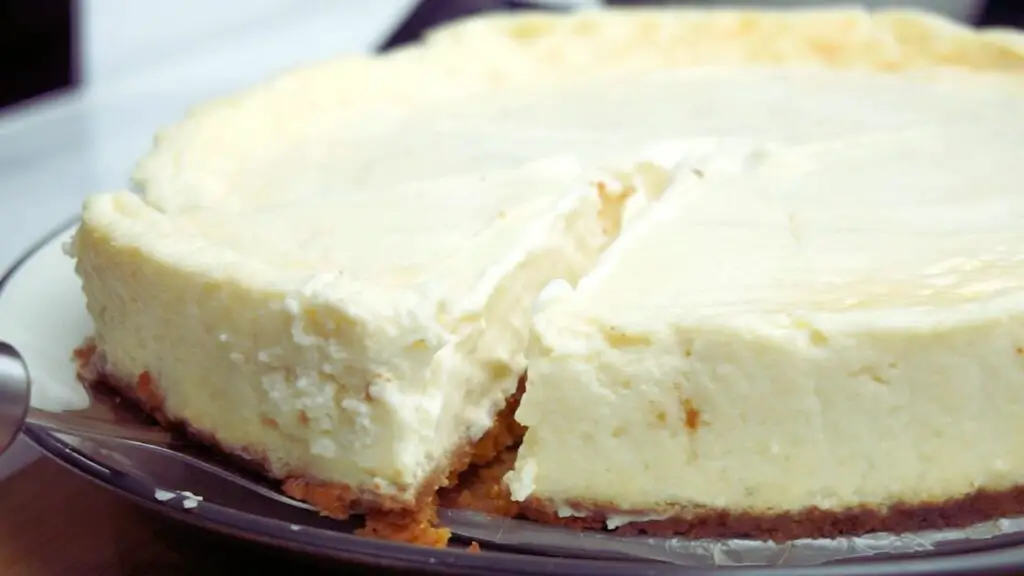
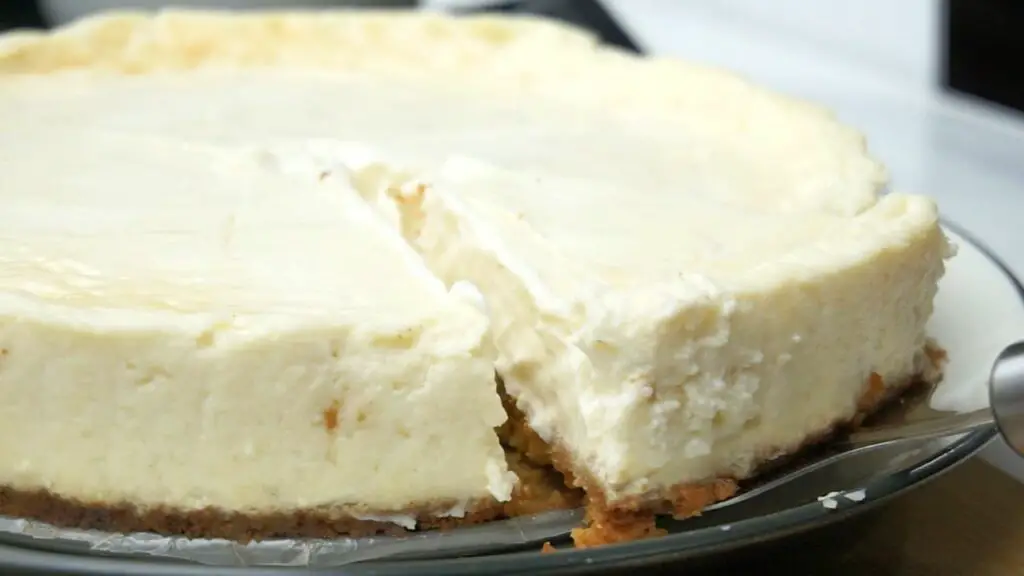
And there you have it! A delicious 3 ingredient, easy cheesecake recipe with condensed milk that is sure to impress anyone. With an easy press-in crust that is filled with rich cream cheese and condensed milk filling, this cheesecake is fast to make and perfect for any occasion.
Whether you choose to bake it or make it no-bake, you can’t go wrong with this simple yet scrumptious recipe. So go ahead, give it a try, and let me know in the comments below how it turns out!