Mastering Chitterlings: A Guide to Cleaning and Cooking Without the Smell.
Come join me on Facebook here for easy recipes, cozy bakes, and little kitchen tips from my kitchen to yours.
Chitterlings, also known as chitlins, are the small intestines of farm animals, mainly pigs and hogs, which are considered a delicacy among many southern families and have a rich cultural history.
Although very tasty once cleaned and cooked, uncooked chitlins have a distinct odor to them because they were filled with waste material or, to put it bluntly, filled with feces. The smell is often so strong that it can spread through your house and even make your hands smell for days.
But don’t worry; you don’t have to give up on the tasty treat, as there are some effective ways to clean and cook chitterlings without the smell.
Store-bought chitterlings are already cleaned a few times and are rid of feces, but if you check carefully, you could still find black and brown bits stuck on them. So, you will have to clean them two or three times more to get rid of waste and bacteria.
Cleaning them thoroughly will ensure minimal odor. I will cover the most effective method to clean and cook chitterlings without the overwhelming smell. Let’s begin!
Do You Have To Clean Pre-Cleaned Chitterlings?
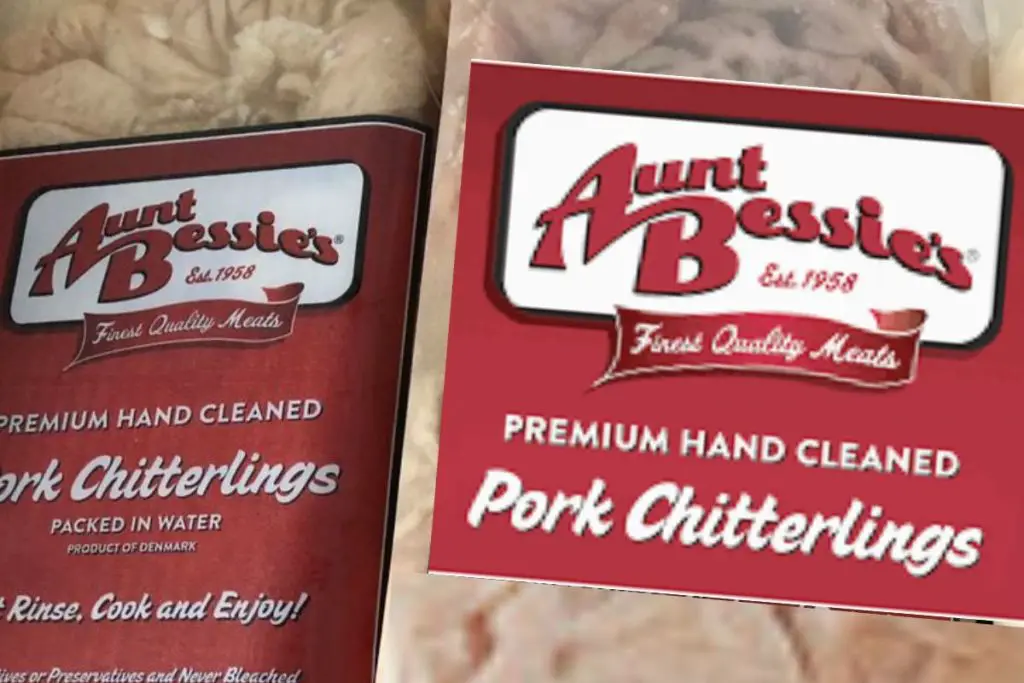
You will see that some store-bought brands like Uncle Lou’s, Queenella, or Aunt Bessie’s Pork Chitterlings will say they have been triple-cleaned or hand cleaned on the packaging. That very well may be true, but more often than not, the smell is still strong, and they are not just quite clean enough for cooking yet.
In my experience, the red bucket chitterlings are the least cleaned and require the most work.
Uncooked and poorly cleaned chitlins not only have a strong odor, but they also may contain bacteria like E. coli. For your satisfaction, you should clean them a few times yourselves and remove any remaining dark spots and the inner lining, or the fat membrane, of the small intestines.
Let me take you through this process step-by-step.
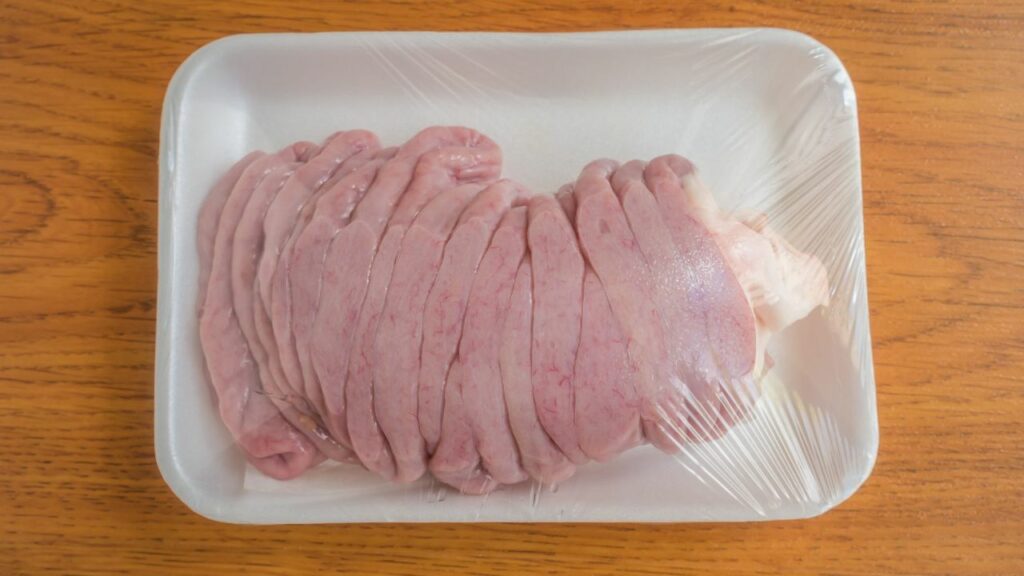
But before you begin cleaning, thaw the frozen chitlins in the refrigerator overnight so that they are ready to be cleaned the following day.
Top Tip: always buy double the amount of chitterlings you plan to cook. They will shrink a lot as they cook, and you will also lose a lot during the cleaning process. This way, you’ll be sure to have enough for your meal.
How To Clean Chitterlings And Eliminate The Smell?
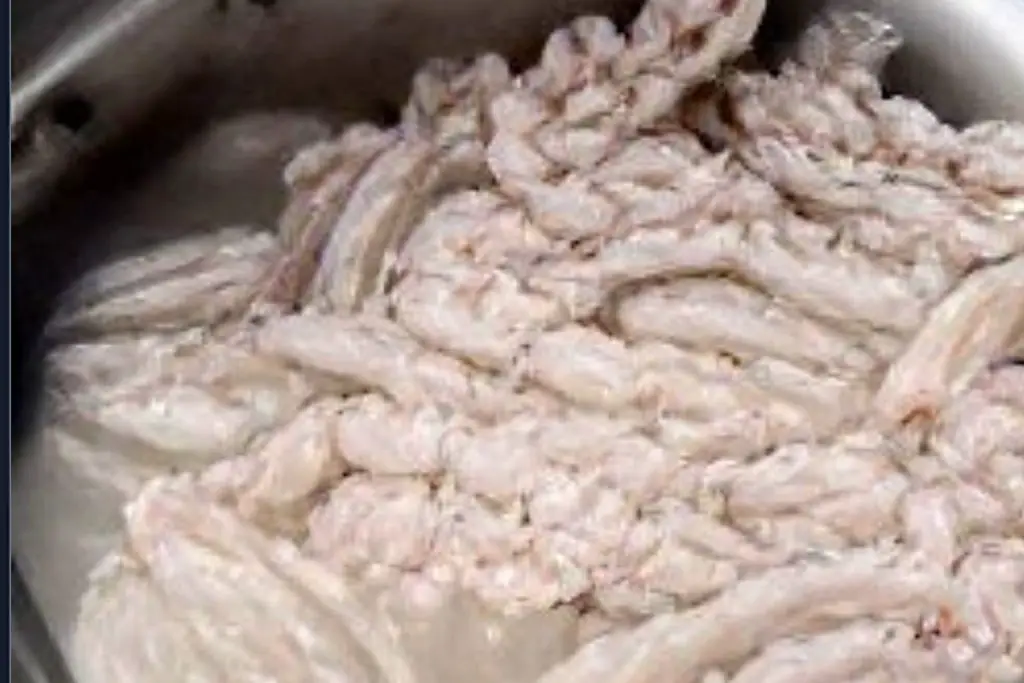
The first thing you need to do is dump the raw unfrozen chitterlings into a clean kitchen sink or bucket filled with cold water. I suggest always using cold water because hot water will make the smell more prominent.
With some of the brands that you buy, the intestines are not cut all the way through, and they form a pouch. You need to turn it inside out and rinse the inner membrane a few times as well because that is the part through which the waste passes.
After thoroughly washing the chitterlings, collect them in your sink again and fill the sink with fresh cold water. Then, follow the steps listed below to separate the outer and inner parts of the chitterlings.
Note: The Centers for Disease Control and Prevention (CDC) advocates boiling chitlins for five minutes before thoroughly cleaning them. This is to sanitize them from the germs and bacteria that may be present in the intestines. If that is a concern for you, then certainly boil them first. However, I skip this step as I find them easier to clean if not boiled beforehand [1].
1. Cut Open The Intestine
Some chitterlings will come only partially cut, so take a pair of kitchen scissors and fully cut open the intestines.
2. Separate The Inner Membrane
One side of the chitterlings will be smooth, and the other will be rough and textured. The smooth part is the inner lining or the membrane of the intestine through which the waste of the pig passes.
Look at the edges and see the skin, which can be pulled apart and peeled off. Start from the edges, as you will not find it in the center. Pull at the skin and carefully peel it away from the outer part of the intestine.
In the video below, you can see really well how to remove the membrane that lines the chitterling, as well as some other good cleaning tips.
Once you get the hang of it and know what you are doing, it is very easy to separate the inner lining, and it will take only about 30–45 minutes for a five-pound bag of chitterlings.
3. Discard the Lining
Make sure that you get all the inner lining and excess fat off the chitlins. Keep a garbage bag ready to discard it into. The garbage bag should be double or triple-layered so that the smell and liquid from the discarded linings do not leak out.
4. Pick Off Any Remaining Waste Bits
Now that you have peeled off and discarded the inner membrane of the chitlins, there should not be any waste left on the chitlins that you will cook with. But just to be safe, you should carefully inspect each chitlins piece from front and back and pluck away any black spots or pieces of fat membrane if you see any.
5. Wash The Chitterlings With Baking Soda
Baking soda (Sodium bicarbonate) is known for removing odors from many things, such as carpets, shoes, refrigerators, etc. This is because strong smells are acidic, and baking soda effectively neutralizes stubborn acidic odors and smells, so it is a perfect naturally occurring substance to eliminate the smell of chitterlings.
Follow the steps below to wash chitterlings with baking soda.
- Fill your sink with cold water again and add a few tablespoons of baking soda.
- Empty the clean chitterlings into this water and let them sit for a few minutes.
- After two minutes, take each chitterling, run it in and out of the water a few times, and rinse it thoroughly.
- Run your hand over it to squeeze the excess water out.
- Keep the clean chitterlings in a bowl.
6. Rinse The Chitterlings With Clean Water at Least Twice
Once you have taken all the chitterlings out of the baking soda water, you will see that the water is dirty. This means you have cleaned much of the impurities out of the chitterlings. Now, clean them a couple of times more with clean water.
Drain the sink and fill it with clean cold water again. Dump the chitterlings in the water and wash them once again. When you have taken out the chitterlings after rinsing them, you will see that the water is much cleaner than last time.
Repeat this process and wash the chitlins with clean water for one last time.
This brings us to the end of the cleaning process. You will see how clean the chitlins look, and they will smell a lot less or hardly at all than when you started.
You can also refrigerate them for later use. Frozen chitterlings have to be thawed before cooking.
Let’s move on to the cooking part of the chitterlings!
Important! Cleaning chitterlings can be a smelly and messy task, so thoroughly wash your sink, chopping boards, pots, buckets, scissors, and other kitchen utensils after completing the task. To eliminate all the bacteria, mix one tablespoon of liquid chlorine bleach per gallon of water and use the solution to clean your kitchen. If you don’t like using chlorine, use this homemade antibacterial dish soap instead.
How To Cook Chitterlings Without The Smell?
Most of the smell will be removed from the chitterlings in the cleaning process. You can ensure there is no more chitlins smell by adding certain ingredients such as cilantro, onions, and apple cider vinegar.
Cilantro is very effective in masking the odor of chitlins. Some people use apple cider vinegar or regular vinegar during the cleaning process to remove odors, but you can also use it in the cooking process. And finally, onions are used to reduce the smell as well as add flavor to it.
Cooking chitterlings is kind of like making broth. Read the instructions below for a simple chitterlings recipe:
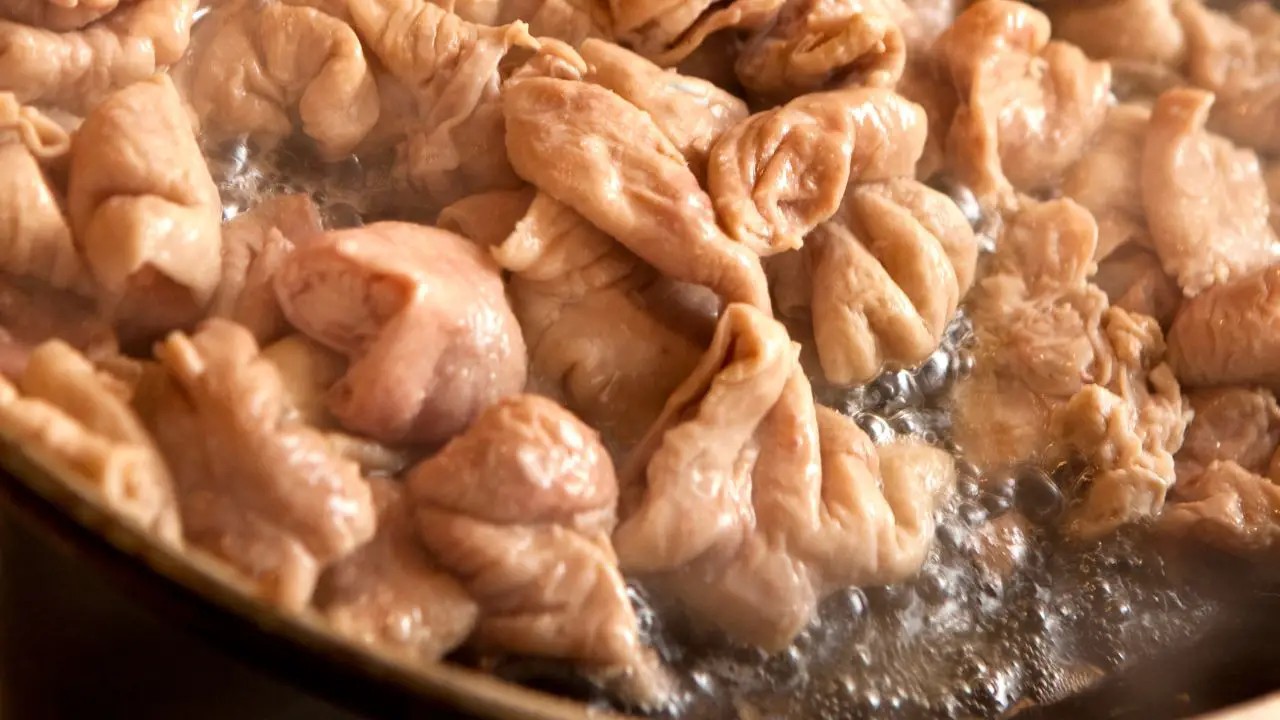
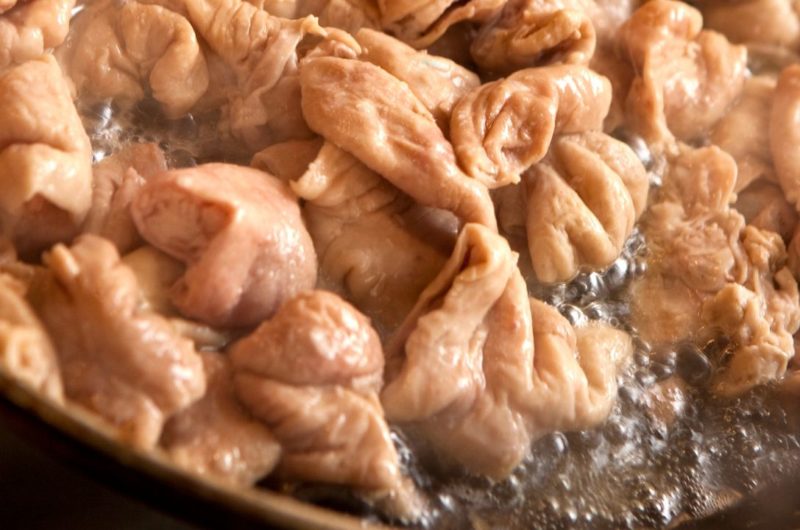
- Take a large, deep pot and put the chitterlings in it. Pour enough water into the pot to submerge the chitterlings.
- Cook chitlins for about fifteen minutes on medium heat and bring them to a full boil.
- Remove the lid and add fresh cilantro and diced onions to the pot. You can also add the veggies of your choice, such as celery, bell peppers, potatoes, etc.
- Now, bring down the heat and let it simmer.
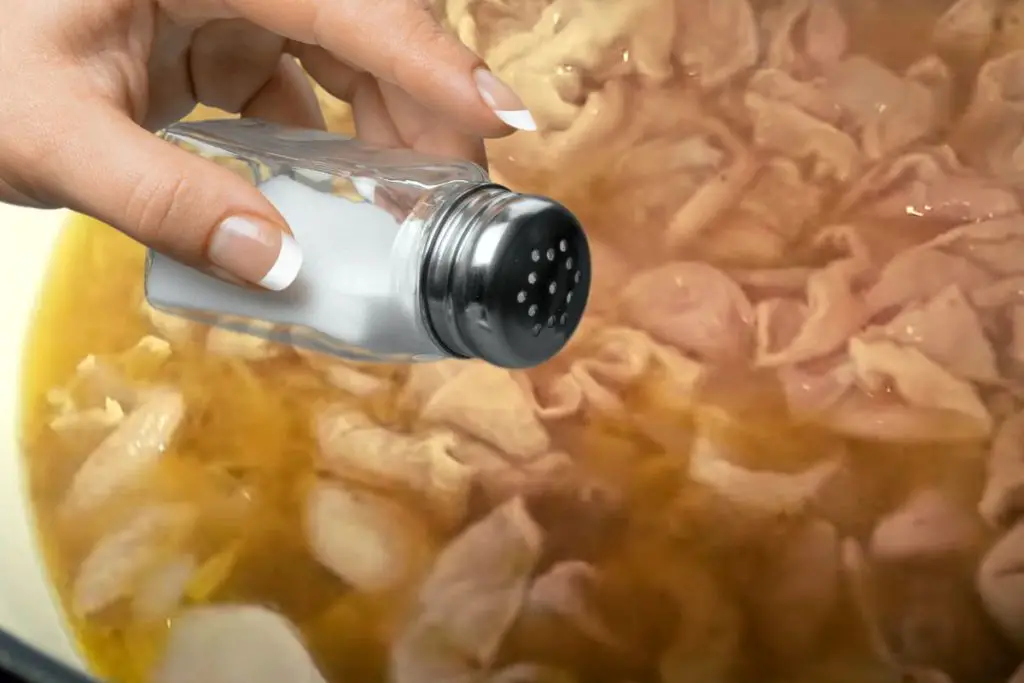
- After about an hour, add the seasoning of your choice. You can add garlic powder, onion powder, red pepper flakes, seasoning salt, vinegar, lemon juice, and chopped jalapenos.
- Let it simmer for two more hours. You will see that the chitterlings have shrunk a lot and are ready to be served.
- Pork chitterlings taste best when served with hot sauce, cornbread, coleslaw, and collard greens or simply served over rice. You can add any other side dish of your choice as well.
Read Also: Can You Partially Cook A Brisket And Finish Later?
How To Clean And Cook Chitterlings Without The Smell?
Chitterlings, or “chitlins” as they are commonly known, are a beloved soul food delicacy. However, their pungent smell during the cleaning and cooking process can be overwhelming for some. In this recipe below, we’ll show you how to clean and cook chitterlings without the unpleasant smell, so you can enjoy this traditional dish without any discomfort.
8
servings1
hour3
hours15
minutes460
kcal4
hours15
minutesIngredients
4 pounds of chitterlings (My favorites are Aunt Bessie’s chitterlings)
2 tablespoons of baking soda to eliminate the smell
1 bunch of cilantro, chopped
4 onions, diced
2 stalks of celery, diced
1 tablespoon of garlic powder
1 tablespoon of onion powder
1 teaspoon of red pepper flakes
1 l arge bay leaf
1 tablespoon of seasoning salt
1/4 cup of apple cider vinegar
2 tablespoons of lemon juice
1-2 jalapeno, chopped
Directions
- To clean chitterlings and eliminate the smell:
- Thaw the frozen chitterlings in the refrigerator overnight so that they are ready to be cleaned the following day.
- Dump the raw unfrozen chitterlings into a clean kitchen sink or bucket filled with cold water. Use cold water because hot water will make the smell more prominent.
- Rinse the chitterlings and turn them inside out, if needed. Wash the inner membrane a few times as well.
- Collect the chitterlings in the sink again and fill them with fresh cold water.
- Cut open the intestines that are not already cut all the way through.
- Separate the inner membrane from the outer part of the chitterlings. Pull the skin from the edges and peel it away from the outer part of the intestine. Discard the inner lining and excess fat into a double or triple-layered garbage bag.
- Carefully inspect each chitterlings piece from front and back and pluck away any black spots or pieces of fat membrane if you see any.
- Rinse the chitterlings with cold water, fill your sink with cold water again, and add a few tablespoons of baking soda. Use two tablespoons of baking soda for every 4 lbs. of chitterlings.
- After a few minutes in water with baking soda, take each chitterlings, run it in and out of the water a few times, and rinse it thoroughly.
- Put the clean chitterlings in a clean bowl.
- How to cook chitterlings:
- Take a large, deep pot and put the chitterlings in it. Pour enough water into the pot to submerge the chitterlings.
- Cook the chitterlings for about fifteen minutes on medium heat and bring them to a full boil.
- Remove the lid and add the chopped cilantro and diced onions to the pot.
- Now, bring down the heat and let it simmer.
- After about an hour, add the garlic powder, onion powder, red pepper flakes, bay leaf, seasoning salt, apple cider vinegar, lemon juice, and chopped jalapeno.
- Let it simmer for two more hours. You will see that the chitterlings have shrunk a lot and are ready to be served.
Notes
- Clean and cook in a well-ventilated area: When cleaning and cooking chitterlings, it’s important to have good ventilation to avoid the smell lingering in your home. You can open windows or use a fan to circulate air while cooking.
- Parboiling: Before cooking, it’s a good idea to parboil the chitterlings for 15-20 minutes to remove any remaining impurities further.
- Serving: Chitterlings are typically served with hot sauce, cornbread, coleslaw, and collard greens or simply served over rice. Don’t forget to enjoy this delicacy with your favorite sides!
How To Serve Chitterlings?
Stewing chitterlings like the above is a traditional way to cook them, which can serve as their main cooking method, but I got you two tasty ways to serve stewed chitterlings.
Once the chitterlings have finished simmering, you can serve them as an entree along with cooked greens, rice, or cornbread. For a soupy dish, include some of the cooking liquid when removing the intestines and spoon them over a big bowl of noodles. You can also add chopped pickles or a vinegar-rich salsa for a Southern twist on tacos.
1. Crispy “Chitlins”
If you prefer a crispier texture, take the chitterlings from the stew pot to the saute pan. Remove them from the broth, pat them dry, and season with salt, pepper, and your favorite spices. Heat some vegetable oil in a pan and add the chitterlings, sauteing them until brown and crispy.
2. Deep-Fried Delicacy
For tender and flavorful fried chitterlings, don’t skip the stewing step. After stewing, cut the chitterlings into bite-sized pieces, dip them in beaten egg, and dredge them in bread crumbs. Heat up vegetable or peanut oil in a deep-frying pan, and once it reaches 370 degrees Fahrenheit, add the chitterlings. Fry until golden brown, and enjoy!
Frequently Asked Questions
How do you know when chitterlings are done?
After 3 hours of cooking, chitterlings should be tender and easy to chew. But, before you take a bite and potentially burn your tongue, just gently pull them apart. If they tear apart easily, then they are ready to be served! This simple and effective method ensures that your chitterlings are perfectly cooked and ready to be enjoyed.
How do you know when chitterlings are clean?
To know when chitterlings are clean, you need to inspect them thoroughly to ensure that there is no visible debris, dirt, or fecal matter left. You can also smell them to make sure there is no foul odor. A good indicator is to see if the water used for cleaning them remains clear after multiple washes. Properly cleaned chitterlings will have a lighter color and a neutral smell, indicating that they are ready for cooking.
How long to cook chitterlings?
The cooking time for chitterlings can vary depending on the recipe and the desired tenderness. However, a general guideline for cooking chitterlings is to simmer them for at least 3 hours. Some recipes may require a longer cooking time of 4-6 hours to achieve maximum tenderness. Following the specific recipe instructions is important to ensure that the chitterlings are cooked thoroughly and safely.
Conclusion
Chitterlings are a southern delicacy with a rich cultural history. However, they need to be properly cleaned before cooking. If you have never done that before, then this process can be time-consuming, but it is essential to ensure that there is no unpleasant smell and that the chitlins are safe to eat.
In my opinion, Aunt Bessie’s chitterlings are the best and cleanest chitterlings available on the market. The red bucket chitterlings are probably the smelliest and may still contain pig waste, but they are generally a lot cheaper.
Apple cider vinegar, cilantro, and onions are great for cooking and reducing the smell of Chitterlings. These ingredients can be used to create a dish that is not only flavorful but also reduces the pungent smell of the chitterlings.
References:
- [1] Preparing Chitlins Safely. Retrieved from: https://www.cdc.gov/foodsafety/communication/chitlins.html