I discovered this sweet potato bread recipe last year when looking for ways to make soft bread machine sweet potato bread. Adding sweet potato to bread dough creates an incredibly soft, fluffy texture that stays fresh longer than standard bread machine recipes.
Come join me on Facebook here for easy recipes, cozy bakes, and little kitchen tips from my kitchen to yours.
Watch my video below for a simple, step-by-step recipe for creating this delicious Sweet Potato Bread. If you enjoy it, don’t forget to like and subscribe for more easy and tasty bread maker recipes!
Why Sweet Potato Makes Better Bread
Sweet potatoes work wonderfully in bread dough for several key reasons.

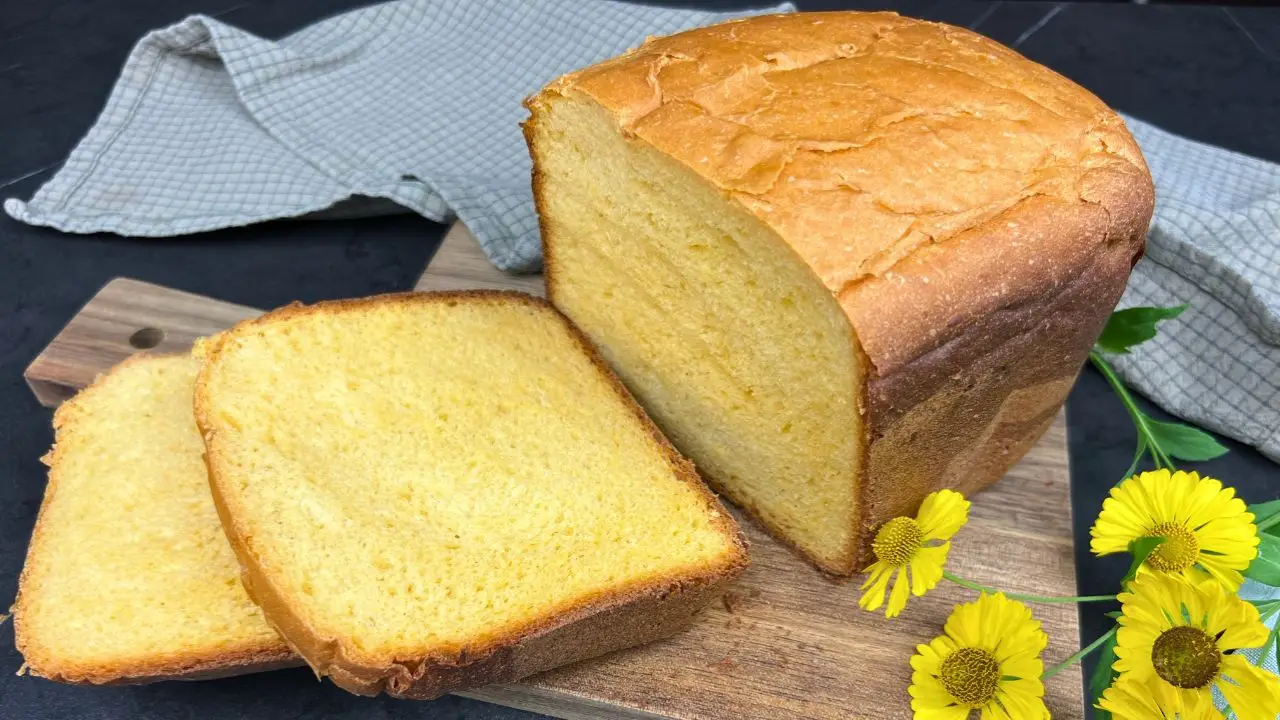
Sweet potatoes make bread amazingly soft and fluffy. They add just the right amount of moisture without turning the dough soggy, and they have natural sugars that help the yeast do its job better, giving you a nicely risen loaf.
The best part? This sweet potato bread stays soft for days. My regular homemade bread gets dry and crumbly by the next day, but this one stays fresh for 3-4 days on the counter. My kids actually ask for this instead of store-bought bread now – they can really tell the difference!
What You’ll Need for This Recipe
Before getting started, gather these ingredients and equipment:
Ingredients For This Bread Machine Sweet Potato Bread
- 1 medium sweet potato (enough to yield 1/2 cup mashed)
- 1/2 cup (120ml) lukewarm milk
- 1 medium egg
- 3 tablespoons (45g) sugar
- 1/4 teaspoon (2g) salt
- 2 1/3 cups (350g) bread flour
- 1 teaspoon (4g) instant dry yeast (sometimes called bread machine yeast)
- 2 tablespoons (28g) unsalted butter, room temperature
Top Tip: Use orange-fleshed Beauregard or Garnet sweet potatoes for this bread machine recipe – they have the perfect moisture and sweetness level for soft, fluffy bread!
Equipment
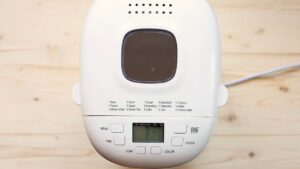
The star of this soft sweet potato bread is your bread machine. I made this using my Amazon Basics Bread Maker, and it handled the dough perfectly despite being a budget-friendly machine.

TAP ON IMAGE TO VIEW PRICE
- Bread machine
- Measuring cups and spoons
- Medium pot for boiling sweet potato
- Potato masher or fork
- Kitchen knife and cutting board
- Wire cooling rack
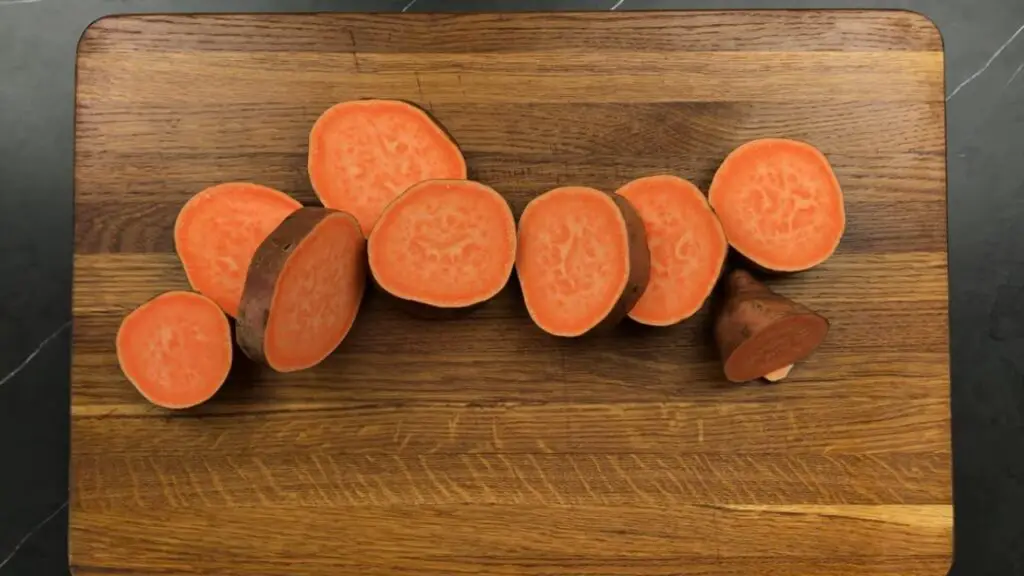
Preparing the Sweet Potato
Sweet potatoes need a bit of prep before going into your bread dough.

- Step 1: Wash the sweet potato and cut it into 1-inch chunks.
- Step 2: Place chunks in a pot and cover with water.
- Step 3: Bring to a boil, then reduce to medium heat.
- Step 4: Simmer for 15-20 minutes until fork-tender.
- Step 5: Drain thoroughly and let cool slightly.
- Step 6: Remove the skin if not already peeled.
- Step 7: Mash until completely smooth.
- Step 8: Measure exactly 1/2 cup (130g).
- Step 9: Allow to cool completely before using.
Top Tip: If you’re short on time, you can microwave a whole sweet potato instead. Pierce it several times with a fork and microwave for 5-7 minutes until soft.
I learned about the importance of cooling the sweet potato completely after a disappointing first attempt of this bread recipe. I was in a hurry and added warm sweet potato to my dough, which affected the yeast activity. The bread didn’t rise properly and was denser than it should have been.
Making the Bread Dough
Now that your sweet potato is prepared, it’s time to add ingredients to your bread machine.

- Step 1: Pour the lukewarm milk into the bread machine pan.
- Step 2: Add the egg.
- Step 3: Add sugar and salt.
- Step 4: Add bread flour.
- Step 5: Make a small well in the center of the flour and add the yeast.
- Step 6: Add the cooled mashed sweet potato on top.
- Step 7: Place the bread pan in your machine.
- Step 8: Select the “Sweet Bread” setting (or “Basic”/”White Bread” if unavailable).

- Step 9: Choose “Light” for the crust color if your machine has this option.
- Step 10: Select the 2-pound loaf size if required.
- Step 11: Start the bread machine.
Note: Different bread machines may have specific loading orders. Check your manual if you’re unsure about the recommended sequence for your model.
The Important Butter Step
This small technique makes a noticeable difference in your bread’s texture.
- Step 1: After about 10 minutes of mixing, when the dough has formed, add the 2 tablespoons of softened butter.
- Step 2: Allow the bread machine to continue its cycle.

Adding butter later helps the dough develop better. I found this out by accident when I forgot to add butter at the start. When I added it later, after the dough had been mixing for about 10 minutes, the bread came out softer.
I think it’s because the dough gets to form properly before the butter goes in. Now I always wait a bit before adding the butter, and my bread turns out so much better – soft and doesn’t crumble when you cut it.
The Baking Process
Your bread machine will now handle the entire process from kneading to baking.
The machine kneads the dough thoroughly, allows it to rise in a controlled environment, often punches down the dough for a second rise, and finally bakes the bread to perfection.
The whole process takes about 3-4 hours from start to finish, depending on what bread machine you have. Your machine will beep or signal when it’s done, but honestly, you’ll probably notice the amazing bread smell filling your kitchen before you even hear the beep!
Did You Know? The “Sweet Bread” setting includes a longer rising time specifically designed for doughs containing added sugars, which can slow yeast activity.
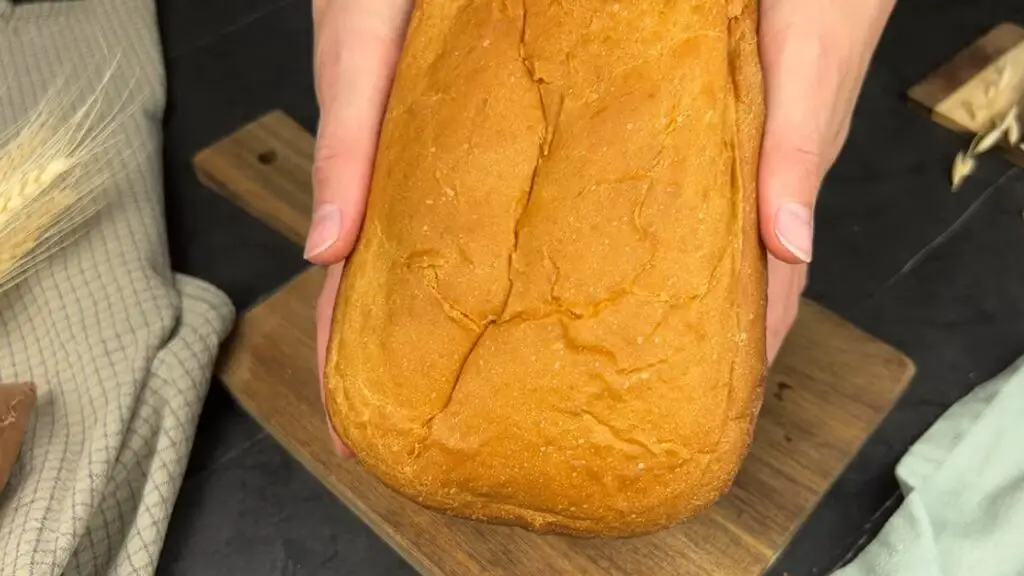
After Baking
When the bread cycle completes, follow these steps:

- Step 1: Unplug the bread machine.
- Step 2: Using oven mitts, remove the bread pan.
- Step 3: Turn the pan upside down and gently shake to release the bread.
- Step 4: Place on a wire cooling rack.
- Step 5: Allow to cool for at least 20 minutes before slicing.
You really need to let the bread cool for a bit before cutting into it. I know it’s hard to resist when it’s fresh and smelling so good, but if you slice it too soon, it gets kind of sticky and gummy inside. I’ve definitely ruined a few loaves by being impatient! Giving it those 20 minutes to cool makes a big difference.
Related Recipe: If you enjoyed this sweet potato bread machine recipe, you might also like this easy bread machine sweet almond bread recipe here!
Foolproof Bread Machine Sweet Potato Bread – Step-by-Step Guide
Adding sweet potato to bread machine dough makes it super soft and fluffy. It helps keep the bread moist too, so it doesn’t dry out as quickly as regular homemade bread machine recipes.
12
servings30
minutes3
hours155
kcal3
hours30
minutesKeep the screen of your device on
Ingredients
1/2 cup (120ml) milk
1 piece egg
3 Tbsp (45g) sugar
1/4 tsp (2g) salt
2+1/3 cups (350g) bread flour
1/2 cup (130g) steamed sweet potato
1 tsp (4g) instant yeast (sometimes called bread machine yeast)
2 Tbsp (28g) softened unsalted butter
Directions
- Cut a small sweet potato into chunks and boil them for about 15 to 20 minutes until tender.
- Drain and peel the sweet potato, mash it thoroughly, and measure half a cup. Leave it to cool.
- Add lukewarm milk to the bread pan, then add the egg, sugar, and salt.
- Add bread flour to the bread pan, followed by the instant dry yeast and mashed sweet potato.
- Place the bread pan in the bread machine and select the sweet bread setting or basic/white bread if unavailable.
- Let the bread maker mix the ingredients until a dough has formed, which will take about 10 minutes.
- Add room-temperature unsalted butter and allow the bread maker to continue the cycle.
- Once baking is complete, carefully remove the bread pan and take the bread out.
- Enjoy your soft and fluffy sweet potato bread as a delightful breakfast or snack.
Equipment
 Basics Programmable Bread MakerCheck it out on Amazon here
Recipe Video
Notes
- Use Bread Flour for Best Results – For truly fluffy and soft bread machine bread, always use bread flour instead of all-purpose flour.
- Check Dough Consistency Early On – After the first 10 minutes of kneading, check the dough. This small adjustment ensures you get the perfect soft bread recipe for bread machine results.
- For a Richer Flavor, Try Brown Sugar – Swapping white sugar for brown sugar in this easy sweet potato bread recipe adds a slight caramelized depth to the flavor.
- Improve Texture by Using the Dough Cycle – If your bread machine sweet potato bread sometimes turns out denser than expected, try using the “Dough” setting first. Then, let the dough rise an extra 30 minutes before baking.
Nutrition Facts
- Total number of serves: 12
- Calories: 155kcal
- Fat: 2g
- Carbohydrates: 29g
- Protein: 4g
Storing Your Bread
This soft sweet potato bread in a bread machine stays fresh longer than regular homemade bread, but proper storage helps maintain its quality.
Once completely cooled, store in a bread bag or wrap in paper. Keep at room temperature for up to 4 days. For longer storage, slice and freeze with parchment paper between slices for easy separation.

In my house, this bread rarely lasts more than two days – my kids ask it for their lunch sandwiches, and it disappears quickly!
Troubleshooting Common Issues
If your bread doesn’t rise properly, check these common issues:
- Expired yeast
- Milk that was too hot
- Sweet potato that wasn’t fully cooled

If your bread is too dense, you might have:
- Used too much flour
- Had lumps in your mashed sweet potato
- Issues with your bread machine’s kneading paddle
For problems with dark crust:
- Use the “Light Crust” setting next time
- Try a different program like “Basic” instead of “Sweet”
Variations to Try
The basic sweet potato bread recipe is really good on its own, but I’ve tried a few different versions that turned out great too.
Cinnamon Sweet Potato Bread
Add 1 teaspoon of ground cinnamon along with the flour. The warm spice complements the sweet potato beautifully.

Sweet Potato Nut Bread
Add 1/3 cup of chopped walnuts or pecans when your machine beeps for add-ins. The contrast between soft bread and crunchy nuts creates an interesting texture.

Serving Suggestions
This versatile bread works well in many different ways:

- Toast for breakfast with butter and honey
- Use for sandwiches – pairs especially well with turkey or chicken
- Serve alongside soups or stews
- Make French toast for a special breakfast
- Simply enjoy a slice with some mashed avocado
For a special weekend breakfast, I sometimes use this bread for French toast. The subtle sweetness from the sweet potato means you need less syrup, and it develops a beautiful golden crust when cooked.
My husband, who normally isn’t enthusiastic about homemade bread, specifically requests this recipe. He says the texture is better than any other bread machine recipe I’ve tried.
Why This Bread Recipe Works
The moisture from the sweet potato creates a softer crumb texture. The natural sugars help feed the yeast, creating a better rise. The starch helps retain moisture, keeping the bread fresh longer.
I’ve experimented with various amounts of sweet potato in this recipe, and 1/2 cup provides the perfect balance – enough to improve texture and freshness without overwhelming the bread’s versatility.
Final Thoughts
Bread machine baking should be simple and fun, and this soft bread machine recipe delivers on both counts. The extra step of preparing the sweet potato is worth the effort for the improved texture and flavor.

The first time I made this bread, I was surprised by how much difference a simple sweet potato could make. Now, it’s a staple in our home, and I make it at least twice a month.
Try this easy sweet potato bread recipe the next time you want something special from your bread machine. The soft, tender crumb and subtle sweetness make it perfect for both everyday sandwiches and special occasions.
More Sweet Potato Recipes to Try
If you love sweet potatoes, here are more delicious recipes you might enjoy!

- Sweet Potato Oat Muffins – A healthy, naturally sweet muffin recipe, great for breakfast or snacking.
- Healthy Sweet Potato Brownies – A rich and fudgy brownie recipe using sweet potatoes for natural sweetness and moisture.
- Simple Sweet Potato Tortillas – Soft, flexible tortillas made with just a few ingredients, perfect for wraps and tacos.
If you like this sweet potato bread, you’ll probably enjoy cooking and baking with sweet potatoes in these other recipes above too – sweet potato adds really nice flavor and a nice texture. Give it a try and let me know in the comments below.
Thanks for the recipe! I just made it and gobbled up 3 slices right away haha I love how fluffy it is!
Three slices right away sounds exactly like me with this bread. I’m really glad you liked how fluffy it turned out. It disappears fast in my kitchen too. 🙂