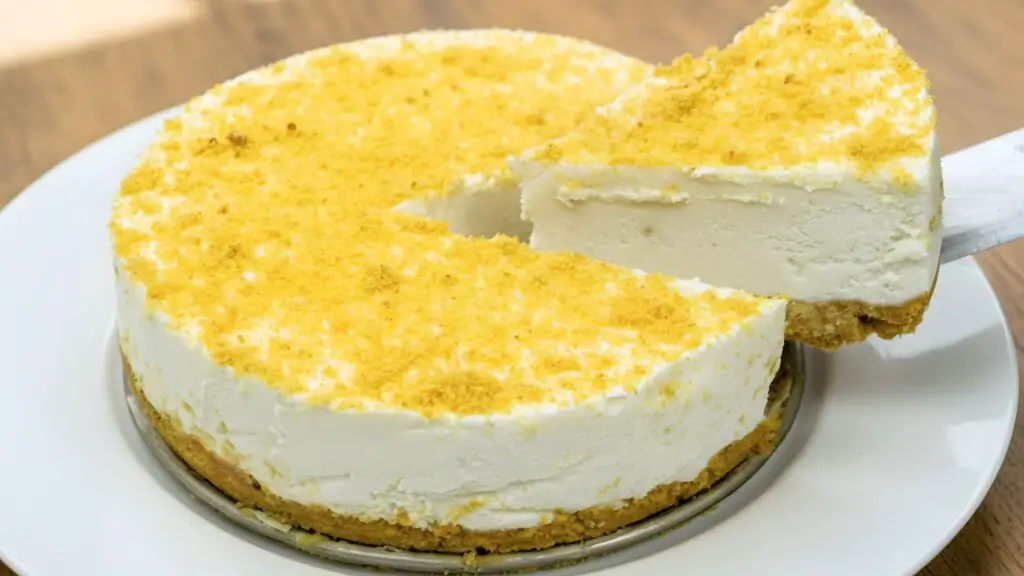
Let me show you how to make this super simple no-bake cheesecake with a creamy vanilla filling and a buttery cookie crust. It always comes out great, and it tastes like you bought it from a bakery.
Check out the video below for my Super Easy No-Bake Cheesecake so you can see exactly how I make it. If you enjoy it, give it a like and subscribe to my YouTube channel for more easy dessert recipes and no-bake sweets.
Why you will love this easy no-bake cheesecake
Cheesecake can feel like a project. This one does not. You mix a few things, press a quick crust, then the fridge does the heavy lifting.
It is also a great make-ahead dessert. For me, that is a win every single time… especially if you are hosting.
Texture plus flavor
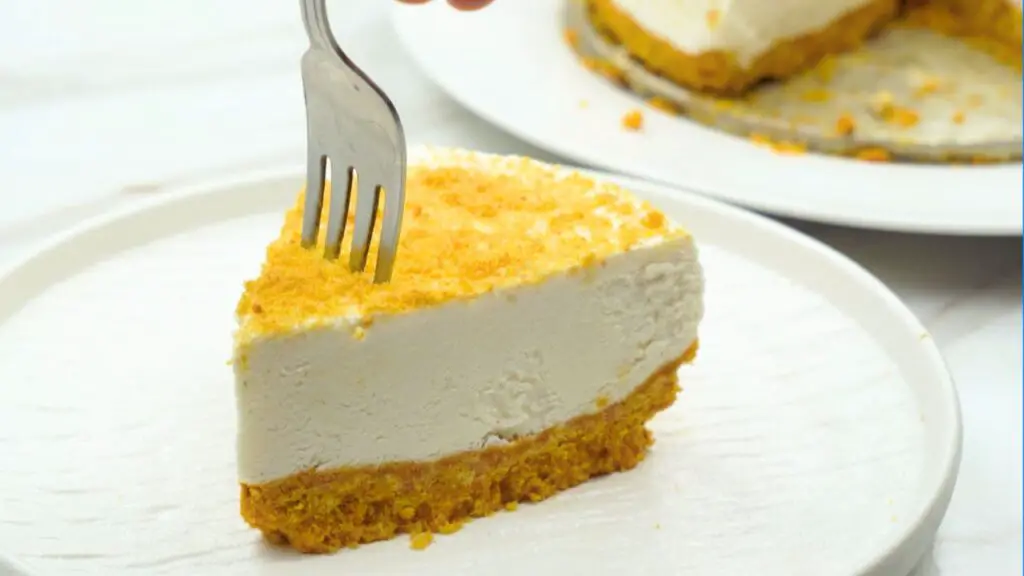
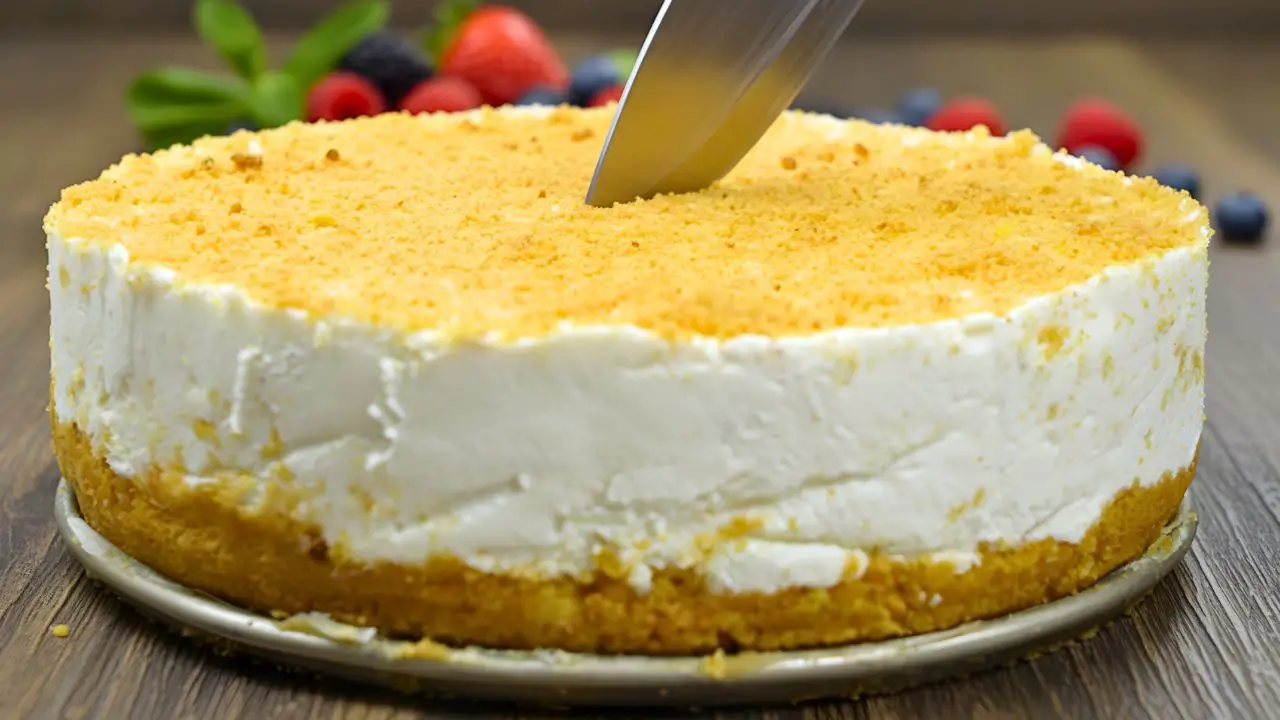
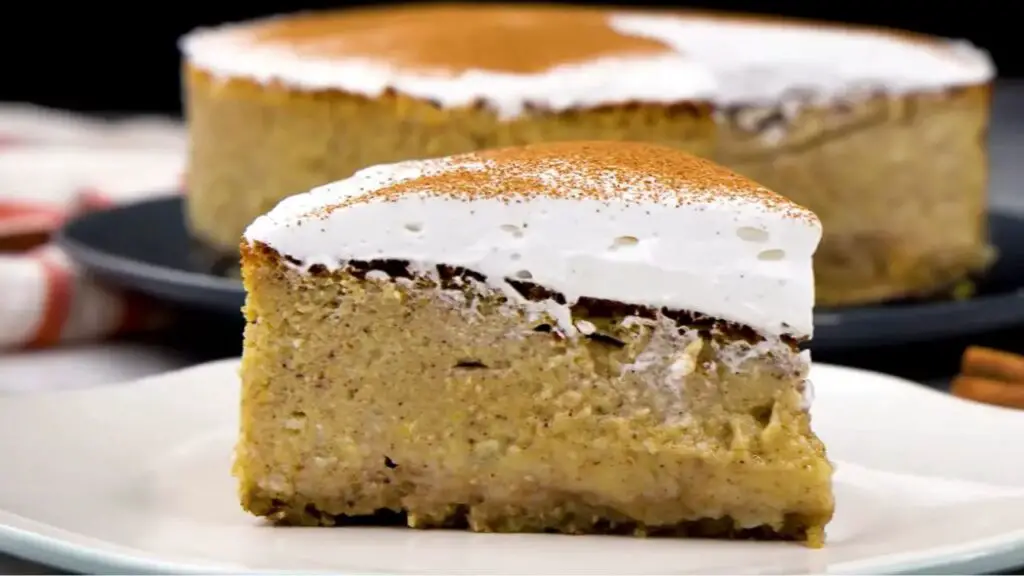
The filling is smooth and creamy, with a soft vanilla flavor and a rich sweetness from the white chocolate. It feels light when you eat it, but it still holds its shape once it chills, which is so satisfying.
The crust adds that buttery crunch underneath, and it balances the creamy filling perfectly. How can you not?!
Did You Know: White chocolate helps the no-bake cheesecake set because it firms as it cools, which is why this recipe can work without gelatin.
Ingredients to make this no-bake cheesecake
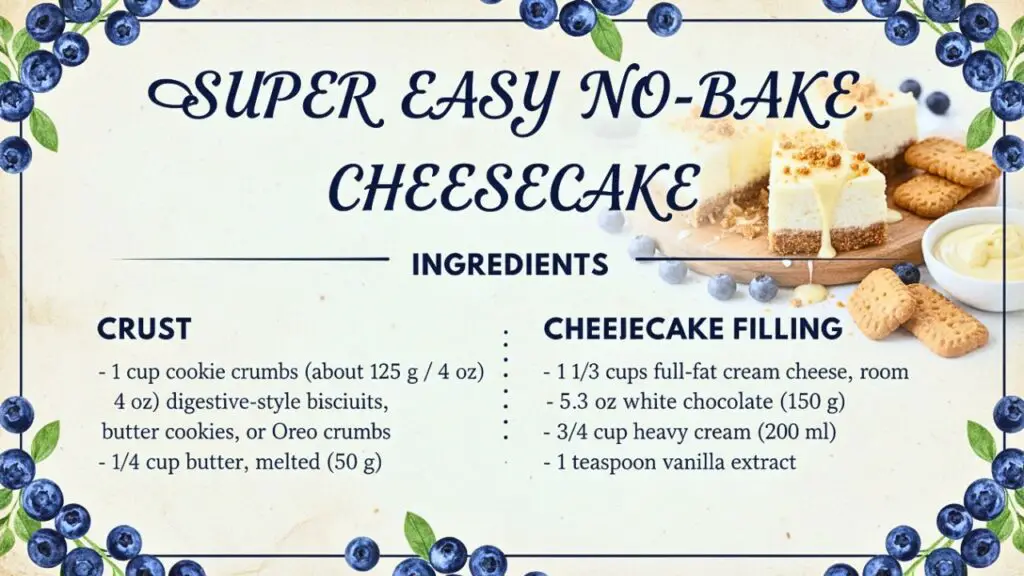
Crust
- 1 cup of cookie crumbs (125 grams), made from digestive biscuits, graham crackers, Biscoff cookies, or Oreos
- 1/4 cup of butter, melted (50 grams)
Cheesecake filling
- 1 1/3 cups of full-fat cream cheese, room temperature (300 grams)
- 5.3 ounces of white chocolate (150 grams)
- 3/4 cup of heavy cream (200 milliliters)
- 1 teaspoon of vanilla extract
Equipment you will need
- 7-inch springform pan
- parchment paper
- 2 mixing bowls
- hand mixer or stand mixer
- spatula
- food processor, or a plastic bag, and a sturdy cup
- small saucepan and a heat-safe bowl for a water bath
Instructions for this no-bake cheesecake recipe
Step 1: Make the cookie crumbs
Crush your cookies until you have 1 cup of cookie crumbs (125 grams). You want a fine, sandy texture with no big chunks. That is what helps the crust press in evenly.
If you are using a plastic bag, seal it well and crush it with the back of a cup. If you are using a food processor, it usually takes about 30 to 60 seconds.
Top Tip: If you are using a plastic bag, press out the air before you seal it. The crumbs crush faster, and the bag is less likely to pop.
Step 2: Mix the crust
Pour 1/4 cup of melted butter (50 grams) over the crumbs. Mix until it looks like wet sand. When you squeeze a little in your hand, it should clump together instead of falling apart.
Note: If the crust still looks dry and crumbly, mix a little longer. The butter sometimes hides at the bottom.
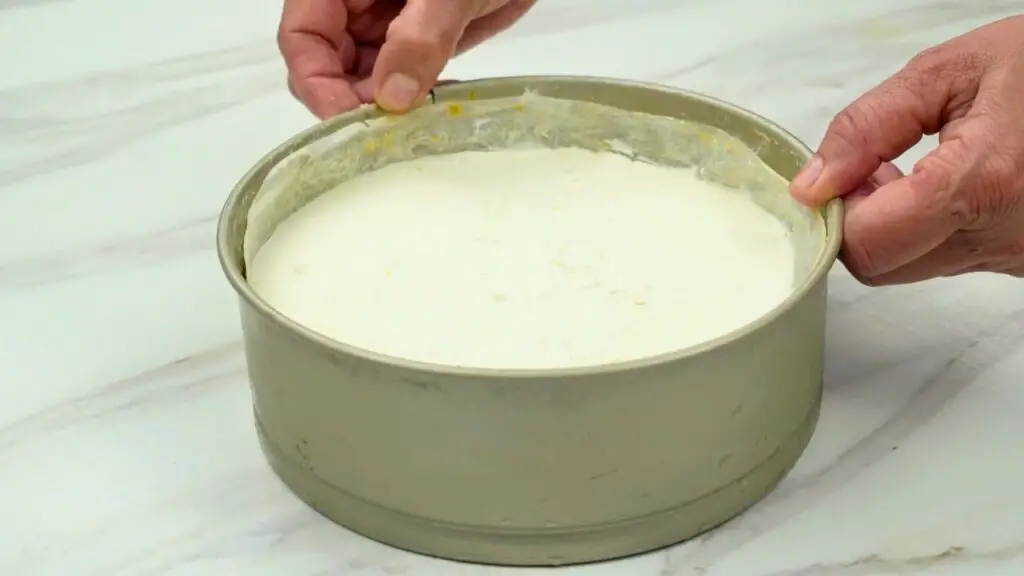
Step 3: Prep the pan, then press the crust
Lightly brush the inside of the springform pan with a little butter. Press parchment paper onto the bottom so it lies flat.
If you like extra neat edges, add a strip of parchment around the sides too. I do this a lot, and it makes unmolding feel so much easier.
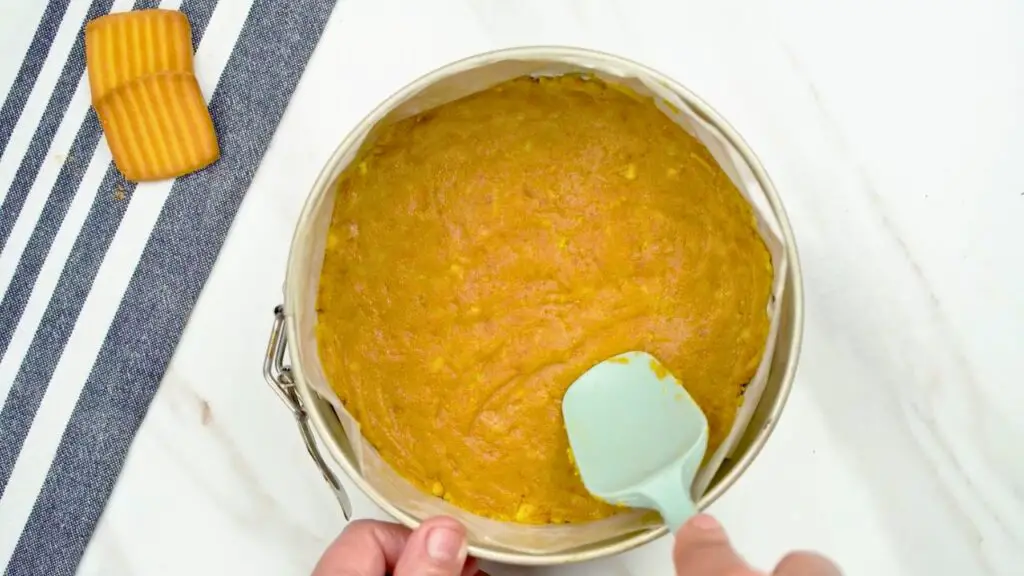
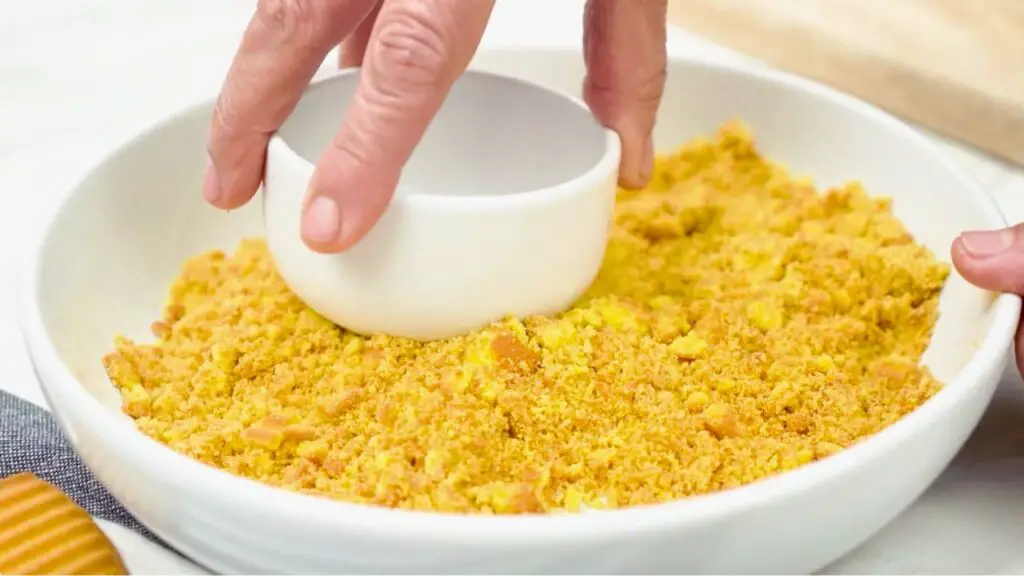
Scoop the crust mixture into the pan. Spread it out, then press it down firmly into an even layer. The bottom of a cup works really well. Set it in the fridge while you make the filling.
Top Tip: Press the crust firmly, especially around the edges. A tight crust helps you get clean slices later instead of crumbly edges.
Step 4: Melt the white chocolate
Melt 5.3 ounces of white chocolate (150 grams) over a gentle water bath. Stir until it is glossy and completely smooth.
Let it cool for a few minutes. It should feel warm, not hot, before you mix it into the cream cheese.

Top Tip: Keep the water at a gentle simmer, not a hard boil. White chocolate can overheat fast, and that is when it can turn grainy.
Step 5: Mix the cream cheese base
In a bowl, mix 1 1/3 cups of full-fat cream cheese (300 grams) with 1 teaspoon of vanilla extract until it looks smooth and creamy. Scrape the sides and bottom of the bowl so everything mixes evenly.
Top Tip: Room temperature cream cheese matters here. If it is cold, it can stay lumpy no matter how long you mix.
Step 6: Whip the cream
In a separate bowl, whip 3/4 cup of heavy cream (200 milliliters) to medium peaks. It should look thick and hold its shape, but the tip should still fold over when you lift the beaters. This usually takes about 2 to 3 minutes with an electric mixer.
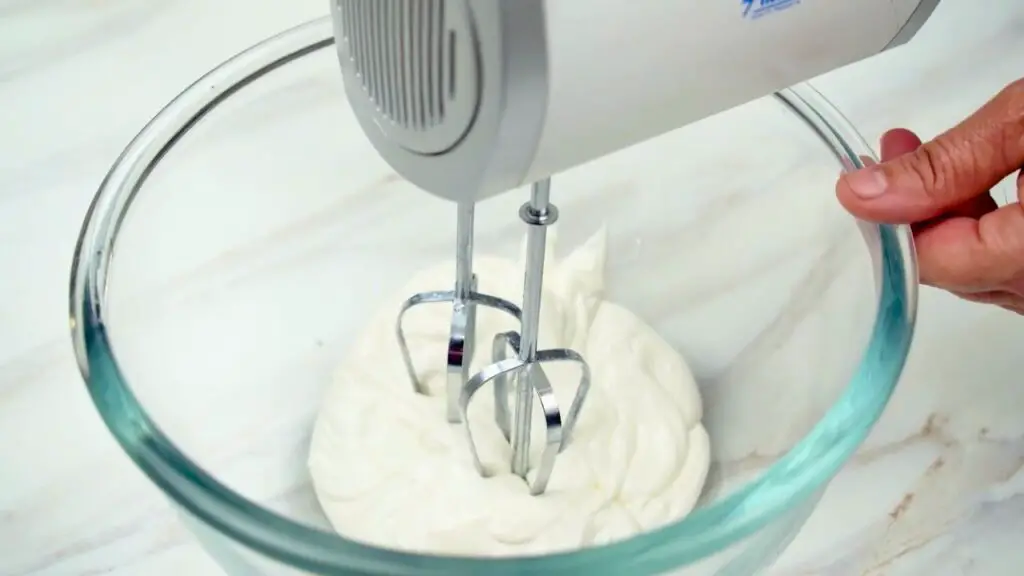
Top Tip: Stop at medium peaks. If you whip it too stiff, it can be harder to fold in smoothly, and the filling can turn a little grainy.
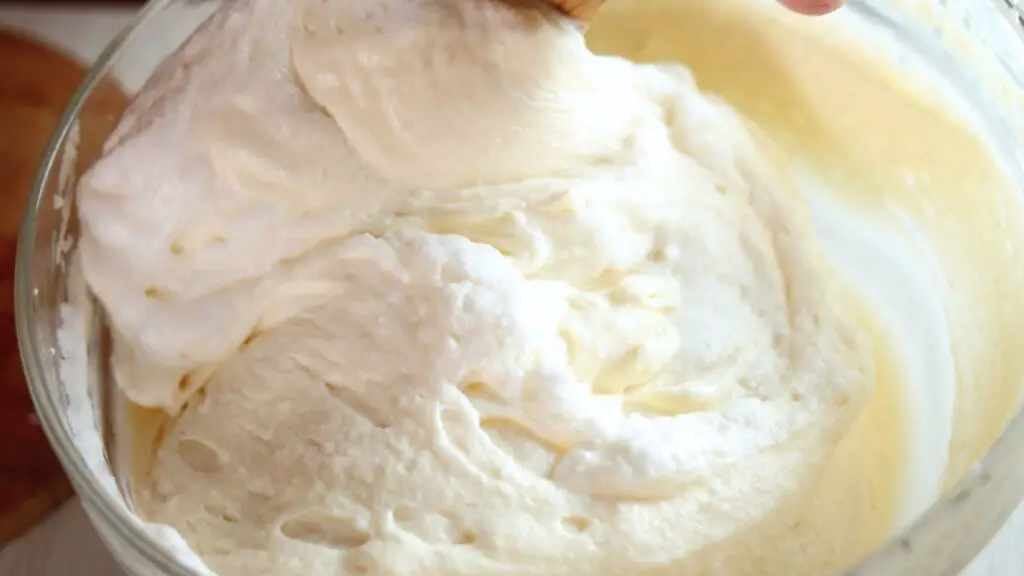
Step 7: Combine the filling
Pour the melted white chocolate into the cream cheese mixture and mix until smooth.
Now, scoop all of the cream cheese mixture into the whipped cream bowl. Fold gently with a spatula until the filling looks smooth and fluffy with no streaks. Go slow. You want to keep that light texture.
Top Tip: Fold, do not stir. Lift from the bottom and turn the bowl as you go. Stop as soon as the streaks disappear so the filling stays fluffy.
Step 8: Fill the pan, then chill
Scoop the cheesecake filling into the pan over the crust. Smooth the top with a spatula or the back of a spoon.
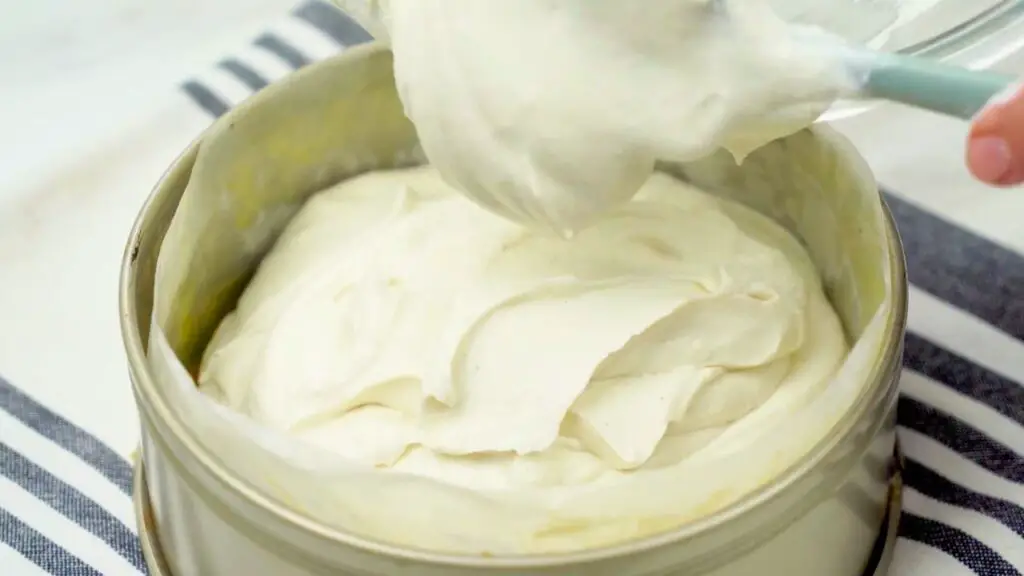
Tap the pan lightly on the counter a few times. This helps air bubbles rise so the top looks smoother.
Refrigerate for at least 6 hours, or overnight if you can. It is ready when the edges feel firm, and the center looks set. A little jiggle is fine, but it should not look loose.
Top Tip: For the cleanest slices, chill it overnight, then wipe your knife between cuts. It makes each slice look bakery neat.
Decorating ideas
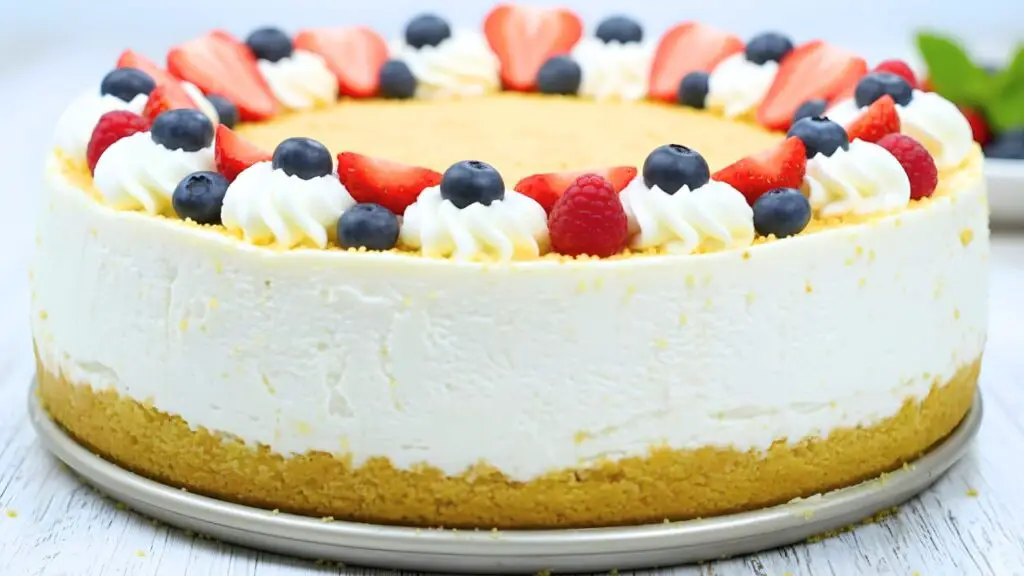
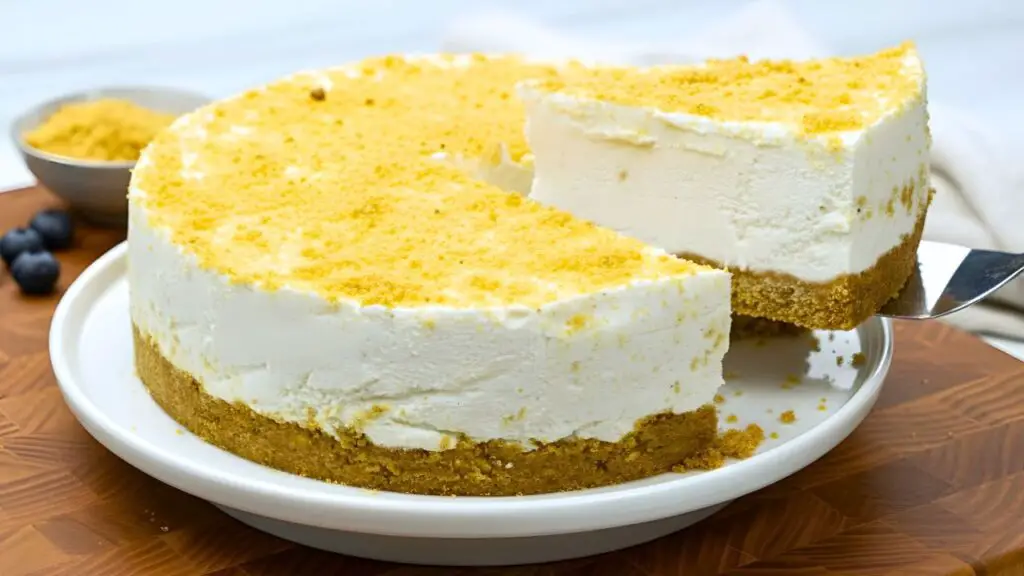
I love keeping it simple. Sprinkle cookie crumbs on top and call it done.
If you want a little extra… try fresh fruit, piped whipped cream around the edge, or shaved white chocolate over the top. All of these look bakery pretty without much effort.
Related Recipe: If you like this easy no-bake cheesecake recipe, you should also check out my other super simple cheesecake recipe here that uses just three ingredients.
Super Easy No-Bake Cheesecake
A rich and creamy no-bake cheesecake with a silky vanilla filling on a crisp, buttery cookie crust, chilled for a smooth, sliceable finish.
4
servings30
minutes40
minutes300
kcal1
hour10
minutesKeep the screen of your device on
Ingredients
1 cup (125 g) cookie crumbs made from digestive biscuits, graham crackers, Biscoff cookies, or Oreos
1/4 cup (50 g) butter, melted
1 1/3 cups (300 g) full-fat cream cheese
3/4 cup (150 g) white chocolate
3/4 cup (200 ml) heavy cream
1 teaspoon (5ml) vanilla extract
Directions
- Crush 125 grams of cookies into fine crumbs using a food processor or by hand with a plastic bag and cup.
- Mix 50 grams of melted butter with the cookie crumbs until they resemble wet sand.
- Lightly brush a 7-inch springform pan with butter and line with parchment paper.
- Press the cookie crumb mixture into the pan to form an even crust layer.
- Melt 150 grams of white chocolate using a water bath until smooth and glossy.
- Mix cream cheese and vanilla extract until smooth using an electric mixer.
- Whip the heavy cream in a separate bowl until it holds its shape, about 2 to 3 minutes.
- Fold the cream cheese mixture into the whipped cream gently to keep it light and smooth.
- Spread cheesecake filling over the crust, smooth the top, and tap to release air bubbles.
- Refrigerate the cheesecake for at least 6 hours or overnight until firm.
- Remove from the pan carefully and decorate with your choice of toppings.
Recipe Video
Notes
- Fix grainy white chocolate: Melt the white chocolate slowly over a gentle water bath and stir until it turns glossy. Let it cool until it feels warm, not hot, before you mix it in, because hot white chocolate can turn the filling grainy.
- Avoid lumpy cream cheese: Let the cream cheese sit out until it feels soft when you press it, then mix it until it looks totally smooth before you add anything else. Cold cream cheese clumps up fast, and those little lumps are hard to fix later.
- Keep the crust crisp: Chill the crust before you add the filling so it firms up and holds together better. Give it at least 10 minutes in the fridge, longer if you have time.
- Quick topping ideas: Spoon on a simple fruit sauce like blueberry, strawberry, or raspberry for an easy bakery look. You can also top each slice right before serving so the crust stays crisp.
- How long it can sit out: Keep this cheesecake cold, and put it back in the fridge within about 2 hours at room temperature. If you are serving it at a party, set out a few slices at a time and keep the rest chilled.
- Storage and freezing tips: Chill the cheesecake until it fully sets, then store it covered in the fridge. If you freeze it, wrap it well, and thaw it overnight in the fridge for the best texture.
Nutrition Facts
- Total number of serves: 8
- Calories: 430kcal
- Fat: 34.6g
- Carbohydrates: 24.8g
- Protein: 5.6g
Troubleshooting, if something looks off
- If the cheesecake filling has lumps, the cream cheese was probably too cold. Next time, let it sit out longer before mixing.
- If the filling looks grainy, the white chocolate was likely too hot when it went in. Let it cool until it is warm, not hot.
- If the cheesecake still feels soft after chilling, it usually just needs more time. Give it another 1 to 2 hours in the fridge, then check again.
Storage
Keep the cheesecake covered in the fridge for up to 3 days.
You can freeze it for up to 1 month. Thaw it in the fridge until it is creamy again, then slice and serve.
More delicious cheesecake recipes
If you enjoyed this no-bake cheesecake, you will probably love more cheesecake recipes too… especially the easy, make-ahead kind.
More cheesecake recipes to try:
- Low-Carb Pumpkin Cheesecake with Cottage Cheese – A creamy, lightly spiced pumpkin cheesecake made with cottage cheese for extra protein and fewer carbs. It’s smooth, cozy, and perfect for a lighter fall dessert.
- Cheesecake with Cottage Cheese and Shortbread Crust – This cheesecake has a rich, creamy filling balanced by a buttery shortbread crust. The cottage cheese adds a subtle tang and a wonderfully silky texture.
- Easy Air Fryer Cheesecake – A quick and fuss-free cheesecake made right in the air fryer. It comes out creamy, smooth, and perfectly set without needing a water bath or long baking time.
If you make this super easy no-bake cheesecake recipe, leave a comment or ask a question about this no-bake cheesecake in the comments below or in the YouTube video comments. I will try to respond to all of them.