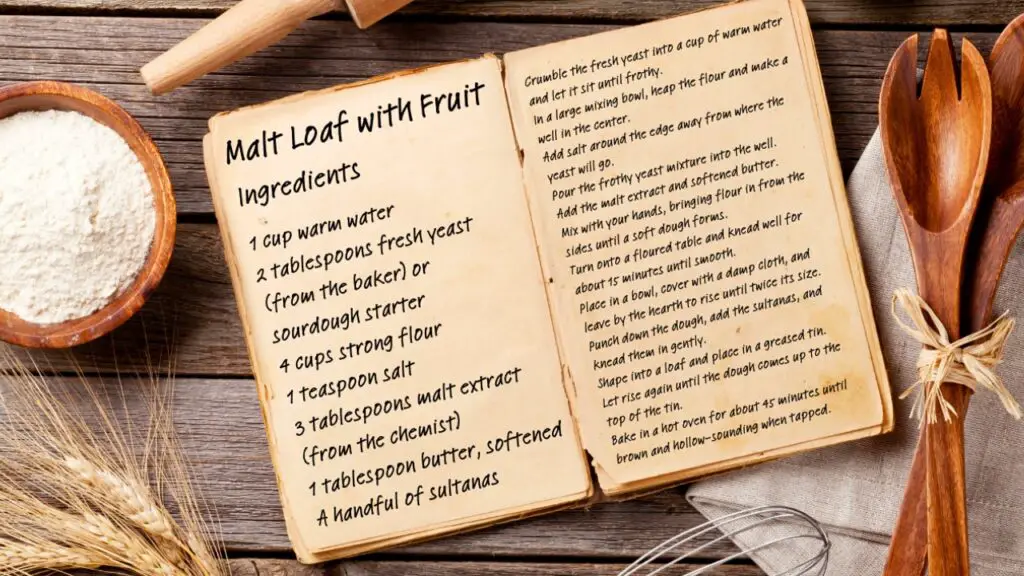
Have you ever found an old recipe and wondered if it would work in modern appliances? That is exactly what happened to me. I discovered my grandmother’s fruity malt loaf recipe and decided to try it in my bread maker. I was skeptical at first—those sticky, dense British tea loaves seemed too complicated for a machine to handle. But after a few tweaks, I created something even my grandmother would approve of.
Watch my video below for a simple, step-by-step recipe for creating this delicious malt loaf recipe for bread machine. If you enjoy it, don’t forget to like and subscribe for more easy and tasty bread maker recipes!
What Makes This Malt Loaf Recipe Special
This is not your average bread recipe. Malt loaf has a unique history in British baking that gives it a special place at tea time.
The malt extract creates a depth of flavor you simply cannot get from sugar alone, and the texture sits somewhere between bread and cake—dense, sticky, and utterly satisfying.
The deep malty flavor, studded with juicy sultanas, takes me right back to childhood teatimes. What I love most is how this recipe transforms a bread maker from a one-trick sandwich loaf machine into something that produces a truly special treat. Let me show you exactly how I make it.
I find store-bought versions never quite capture the homemade magic. After testing this recipe countless times, I have perfected the ratios for bread machines, giving you that authentic malt loaf experience without the traditional hassle.
But, what surprised me most was how the bread maker actually improved the texture, creating a perfectly even crumb that stays moist for days.
Ingredients
The heart of any great recipe is quality ingredients. For this easy malt loaf recipe, finding real malt extract makes all the difference in achieving that distinctive flavor.
- 1 teaspoon (3g) bread machine yeast
- 4 cups (500g) white bread flour or all-purpose flour
- 1 1/2 teaspoons (7g) sugar
- 1/2 teaspoon (3g) salt
- 3 tablespoons (60g) malt extract
- 1 1/3 cups (320ml) lukewarm water
- 1 cup (150g) sultanas (golden raisins)
I spent weeks tweaking these proportions. Too much malt makes the bread collapse; too little and you miss that signature flavor. This balance gives you a perfectly structured loaf with all the traditional taste.
Understanding The Key Ingredients
Not all ingredients in baking are created equal. Let me share what I have learned about selecting the right components for the perfect homemade malt loaf.
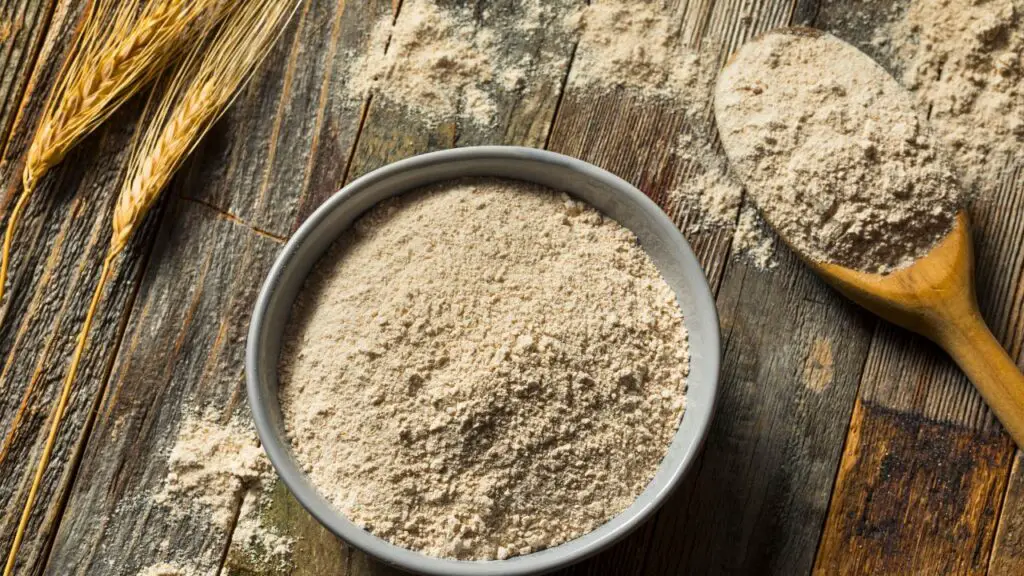
Malt Extract
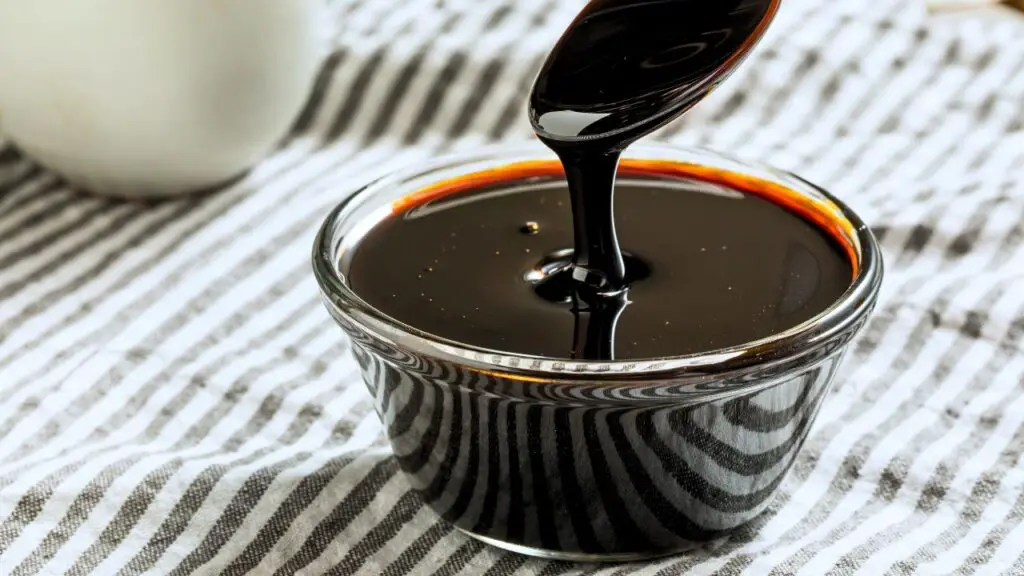
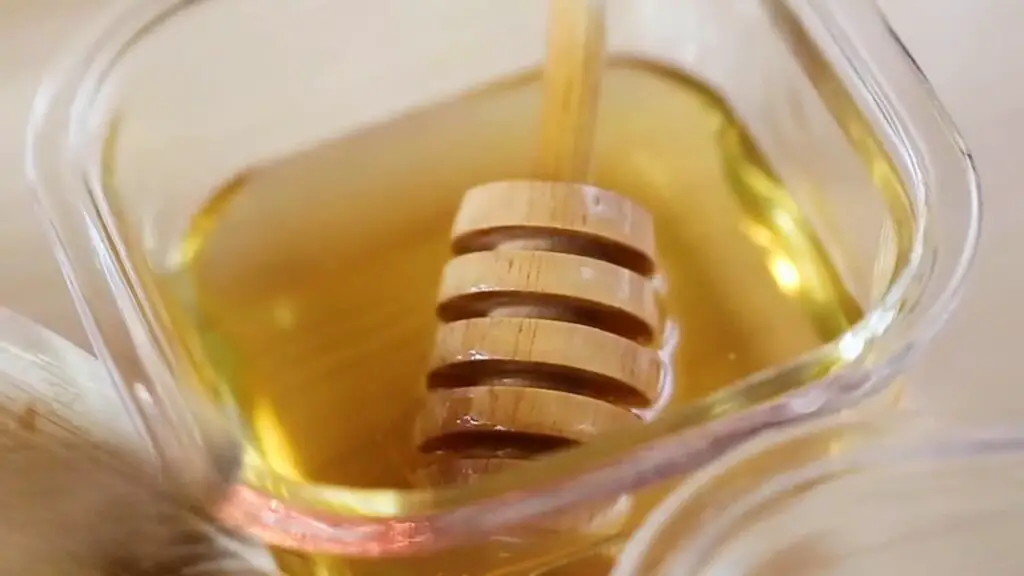
The star of this recipe deserves special attention. Malt extract comes in two main forms: dried and liquid. For this recipe, I use the sticky liquid version which adds both sweetness and that distinctive malty flavor.

TAP ON IMAGE TO VIEW PRICE
I find it in health food stores or the baking section of well-stocked supermarkets. If you cannot find liquid malt extract, you can substitute it with 2 tablespoons of molasses mixed with 1 tablespoon of honey—not exactly the same, but it gets you close.
Sultanas vs. Raisins
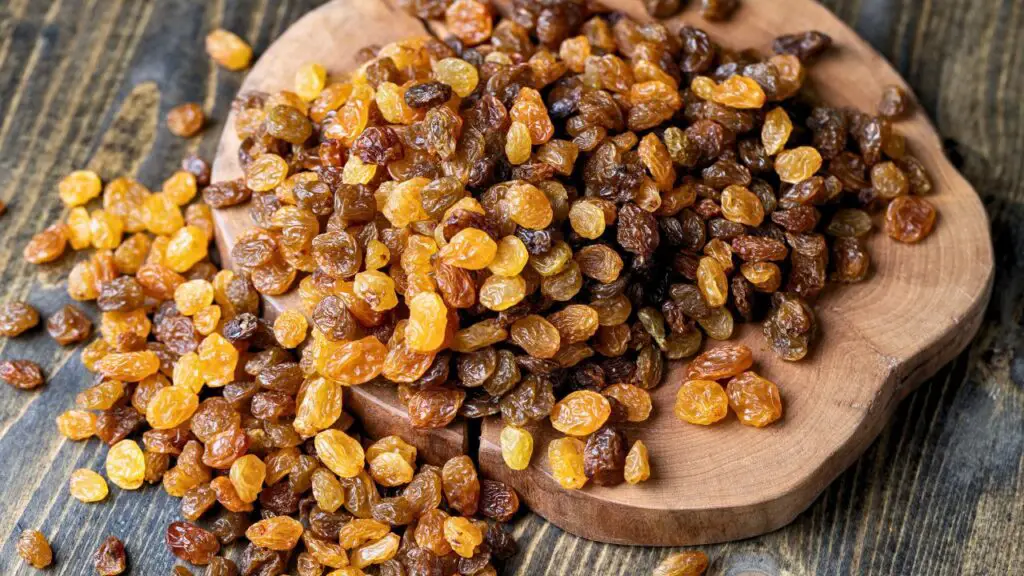
I prefer sultanas (golden raisins) for their more delicate flavor and juicier texture. Regular dark raisins work too, but they have a stronger flavor that sometimes competes with the malt.
Whatever you choose, make sure they are plump and moist. I once used some ancient raisins from the back of my pantry, and they absorbed so much moisture from the dough that my loaf turned out dry.
The Right Flour
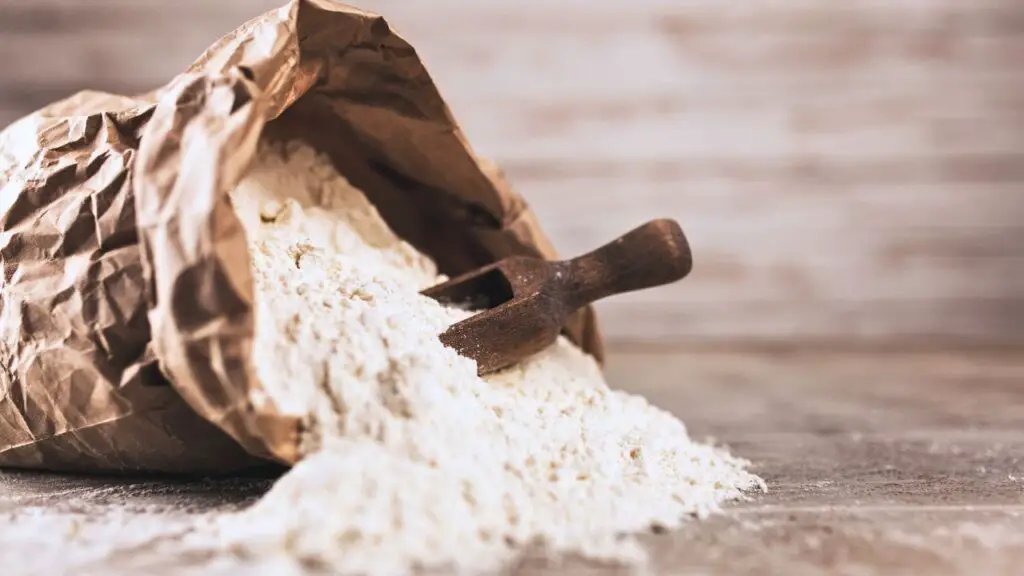
Strong bread flour gives this loaf its structure. The higher protein content helps support the weight of the fruit and the moisture from the malt extract. All-purpose flour works in a pinch, but I find the texture is not quite as good—more cakey and less chewy than a traditional malt loaf should be.
Equipment Needed
One of the joys of this recipe is its simplicity. You do not need a kitchen full of gadgets—just the basics will do.
I use the Amazon Basics Bread Maker below for this recipe – it is not fancy but has handled this malt loaf perfectly every time.

TAP ON IMAGE TO VIEW PRICE
- Bread maker (any standard model works fine)
- Measuring cups and spoons
- Wire cooling rack
- Sharp serrated knife for slicing
I used to think bread makers were one-trick ponies until I converted this old recipe. Now my machine earns its counter space many times over. The bread maker I use is nothing fancy—just a basic model I picked up on Amazon.
The important thing is finding one with a sweet bread setting or, at minimum, a basic white bread setting that runs a full cycle.
Making This Malt Loaf Recipe For Bread Machine
Let me walk you through exactly how I make this easy malt loaf. After some trials and a few failures, I have nailed down the process to ensure success every time.
Step 1: Preparing the Bread Maker
Before starting, make sure the bread pan is clean. If your machine’s manual recommends a specific order for ingredients, follow that for the best results.
Step 2: Adding Lukewarm Water
Pour 1 1/3 cups of lukewarm water into the bread pan. The water should be slightly warm to the touch, around body temperature.
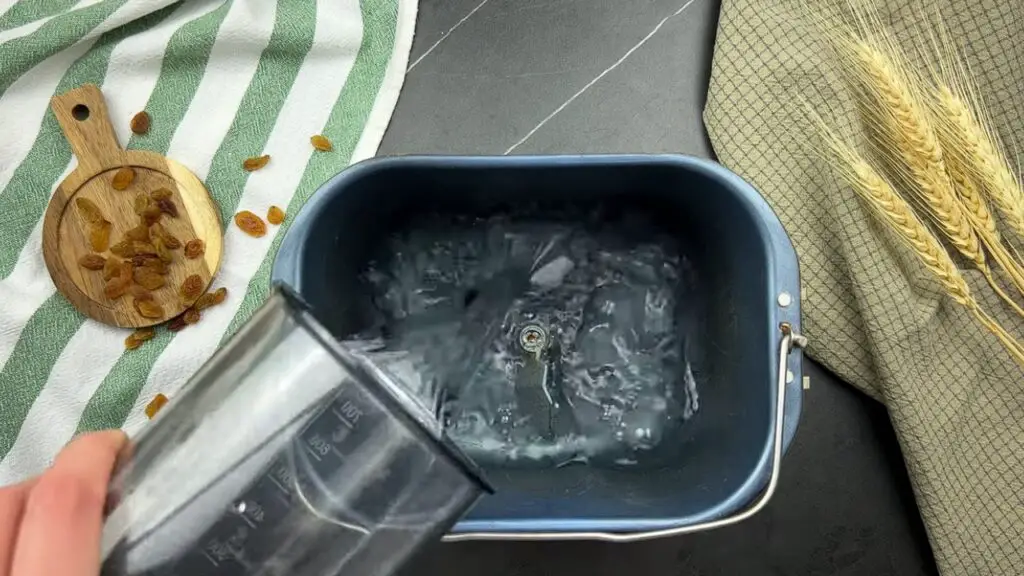
Note: Avoid using hot water, as it can kill the yeast, preventing the loaf from rising properly.
Step 3: Adding Sugar and Salt
Add 1 1/2 teaspoons of sugar to one side of the pan and 1/2 teaspoon of salt to the other. Keeping them separate at this stage ensures the salt doesn’t interfere with yeast activation.
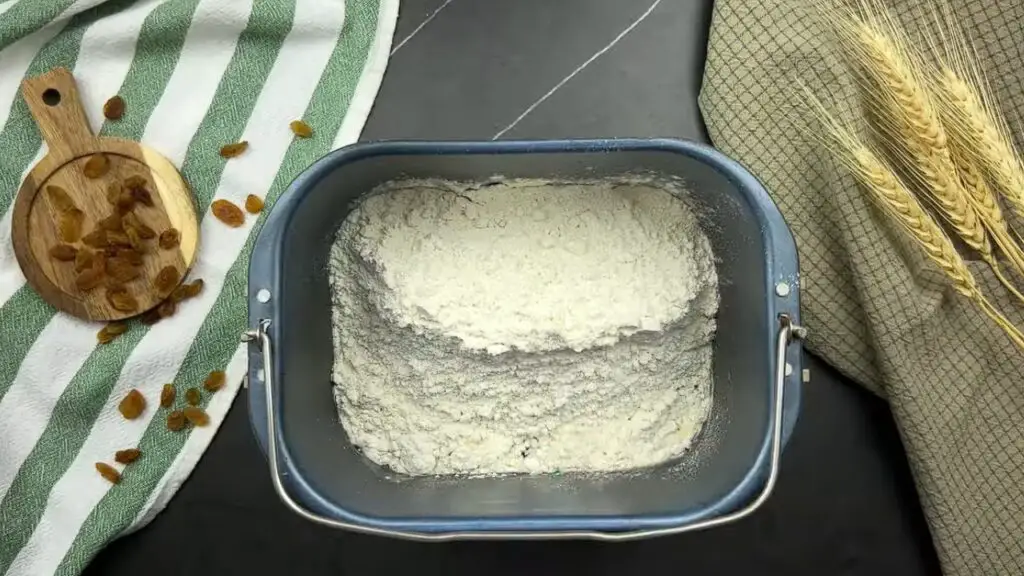
Step 4: Adding the Flour
Measure 4 cups of white bread flour and pour it over the liquid ingredients. The flour should completely cover the water, creating a barrier between the yeast and the liquid to prevent premature activation.
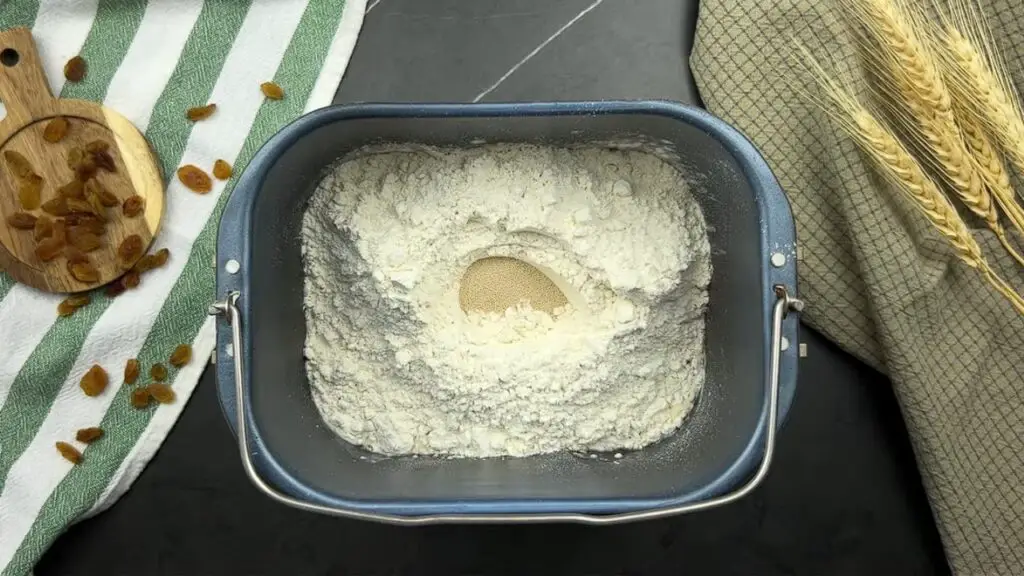
Step 5: Adding the Yeast
Make a small well in the center of the flour and add 1 teaspoon of yeast. This way the yeast will stay dry until the mixing process begins, helping to maintain proper activation timing.
Step 6: Adding the Malt Extract
Spoon 3 tablespoons of malt extract into the bread pan.
Tip: Since malt extract is sticky, dipping the spoon in hot water first will help it slide off more easily.
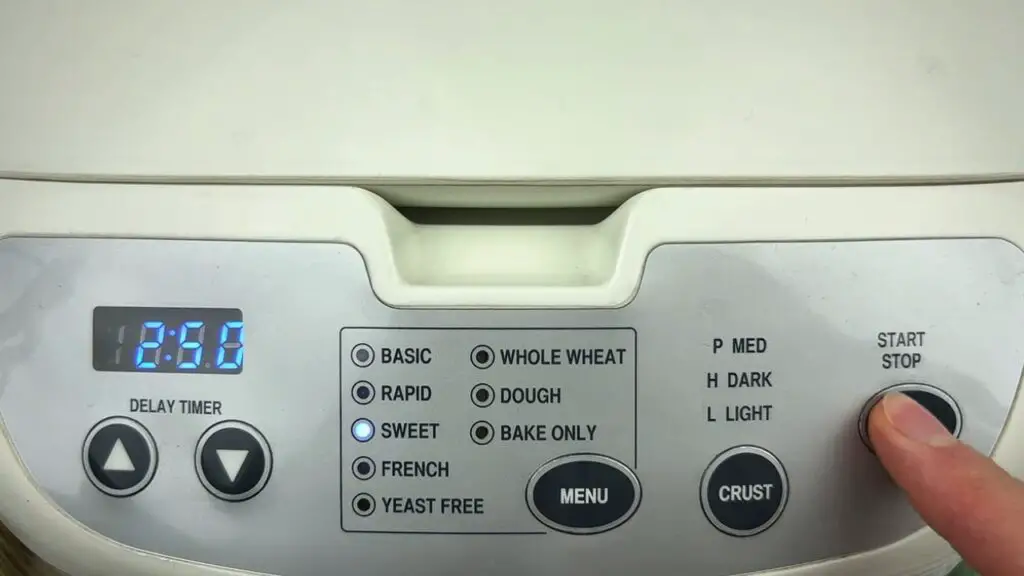
Step 7: Setting Up the Bread Maker
Place the bread pan into the machine and make sure it’s securely locked in place. Select the sweet bread or basic white bread setting.
If your machine has a crust option, choose medium—a light crust won’t bring out enough depth, while a dark crust may cause the fruit to burn.
Step 8: Starting the Mixing Cycle
Start the machine and let it begin the mixing process.
Step 9: Adding the Sultanas
After 5-10 minutes, once the dough has formed, add 1 cup of sultanas through the fruit dispenser or directly into the dough.
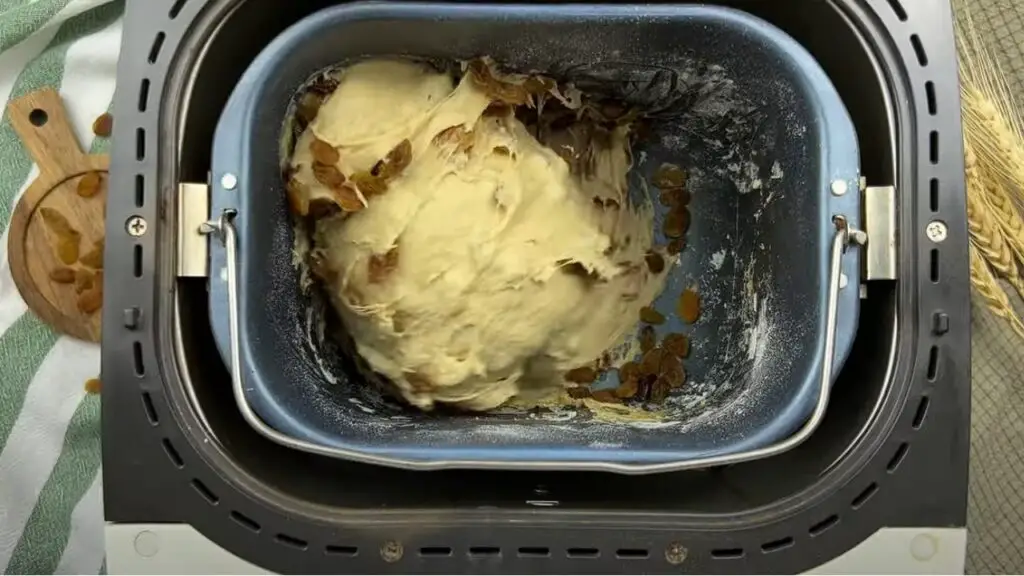
Note: Adding sultanas later prevents them from getting crushed in the early mixing stages.
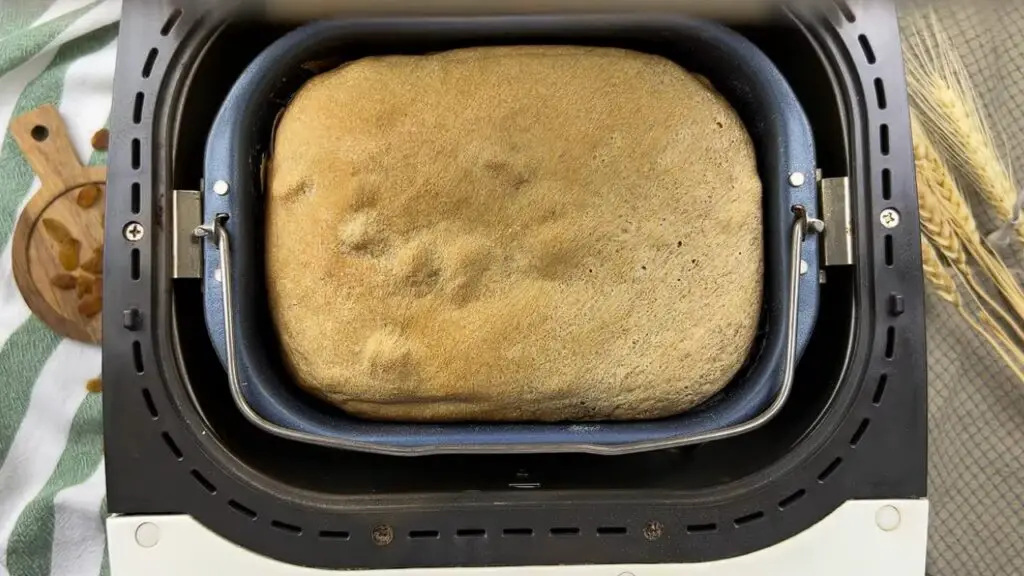
Step 10: Baking and Aroma Time
Close the lid and allow the bread machine to complete the cycle. Soon, your kitchen will fill with the rich, malty aroma of fresh bread.
Step 11: Removing the Loaf
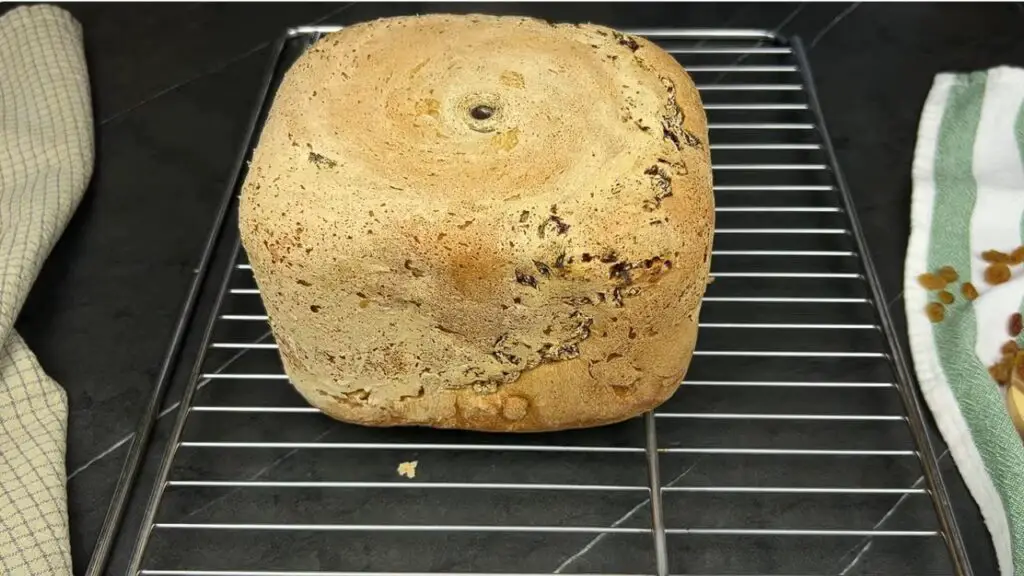
Once the baking cycle is finished, carefully remove the bread pan using oven mitts—it will be hot!
Step 12: Cooling the Bread
Turn the malt loaf out onto a wire rack. If it sticks, run a spatula around the edges and give the pan a firm shake. Let the loaf cool for a bit before slicing.

Top Tip: Brush the top of your finished malt loaf with a tablespoon of warmed malt extract for an extra sticky, shiny crust.
And that’s it! Enjoy a perfectly soft, slightly sticky malt loaf, great for buttering or enjoying as is. Happy baking!
If you love this fruity malt loaf recipe, try my Bread Machine Honey Oat Bread next! It’s beginner-friendly, with a touch of sweetness from honey and a great oat texture.
Perfect Malt Loaf Recipe For Your Bread Maker
This old-fashioned malt loaf recipe is soft, rich, and packed with a malty sweetness. Let the bread maker do the work for an effortless, delicious loaf!
12
servings10
minutes3
hours200
kcal3
hours10
minutesKeep the screen of your device on
Ingredients
1 teaspoon (3g) bread machine yeast
4 cups (500g) white bread flour or all-purpose flour
1 1/2 teaspoons (7g) sugar
1/2 teaspoon (3g) salt
3 tablespoons (60g) malt extract/Barley Malt Syrup
1 1/3 cups (320ml) water
1 cup (150g) sultanas or raisins
Directions
- Add 1 and 1/3 cups of lukewarm water to the bread pan, ensuring the water is not hot.
- Add 1 and 1/2 teaspoons of sugar and 1/2 teaspoon of salt to the bread pan.
- Add 4 cups of flour to the bread pan, make a well in the center, and add 1 teaspoon of yeast.
- Add 3 tablespoons of malt extract to the bread pan for a distinct moist texture and flavor.
- Place the bread pan in the bread maker and select the sweet bread or basic white bread setting.
- Once ingredients are mixed, add 1 cup of sultanas around 5-10 minutes into the mixing cycle.
- Close the lid and let the bread maker knead and bake the malt loaf until completion.
- Remove the bread pan and gently shake to release the loaf onto a wire rack.
- Slice while still warm for an experience of rich, sweet malt flavor with juicy sultanas.
Recipe Video
Notes
- For the best results, use lukewarm water to activate the yeast properly in this malt loaf recipe for a breadmaker.
- Soaking sultanas before adding them prevents dryness during baking, ensuring a moist bread maker fruit loaf recipe.
- Brushing with malt extract after baking gives your homemade malt loaf a glossy finish and extra flavor.
- If your malt loaf sticks to the bread pan, line the bottom with a small strip of parchment paper before adding ingredients.
- For an even more authentic flavor, soak your sultanas in strong black tea for 30 minutes before adding to the dough.
Nutrition Facts
- Total number of serves: 12
- Calories: 200kcal
- Fat: 2g
- Carbohydrates: 42g
- Protein: 6g
How to Store Your Malt Loaf
This malt loaf stays fresh for up to 5 days when stored properly. Once completely cooled, wrap it tightly in wax paper or parchment paper first, then in foil or place in an airtight container.
For longer storage, slice the entire loaf once cool, place parchment paper between slices, and freeze in a freezer bag for up to 3 months. Individual slices can be thawed at room temperature or toasted straight from frozen.
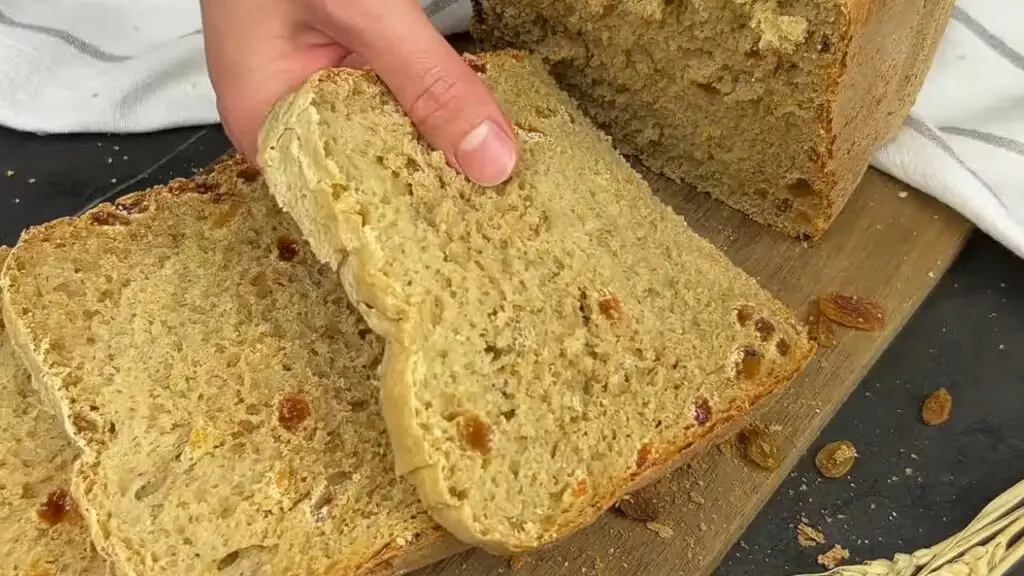
What to Expect
Let me tell you exactly what you are working toward so you know when you have nailed this old-fashioned malt loaf recipe.
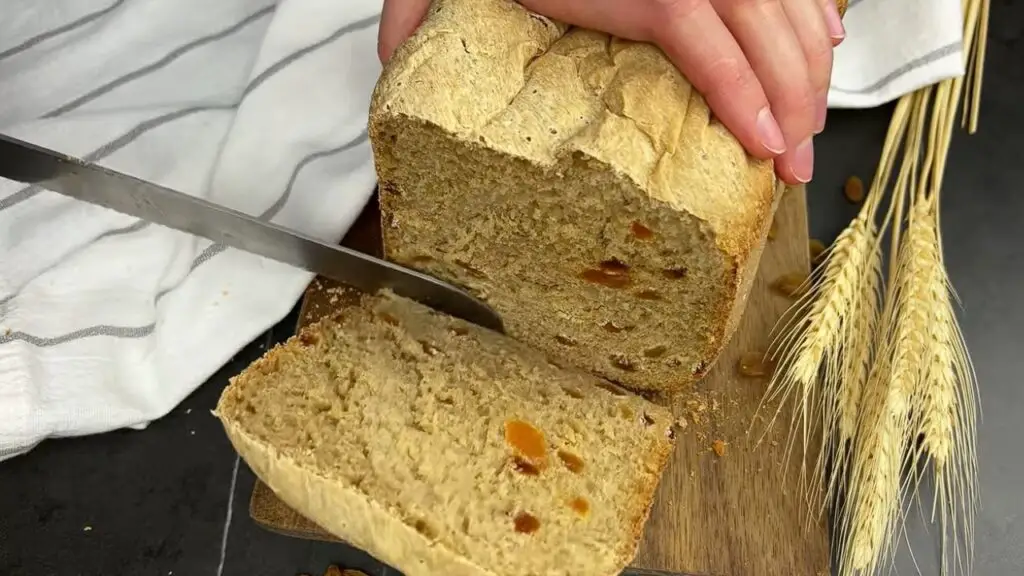
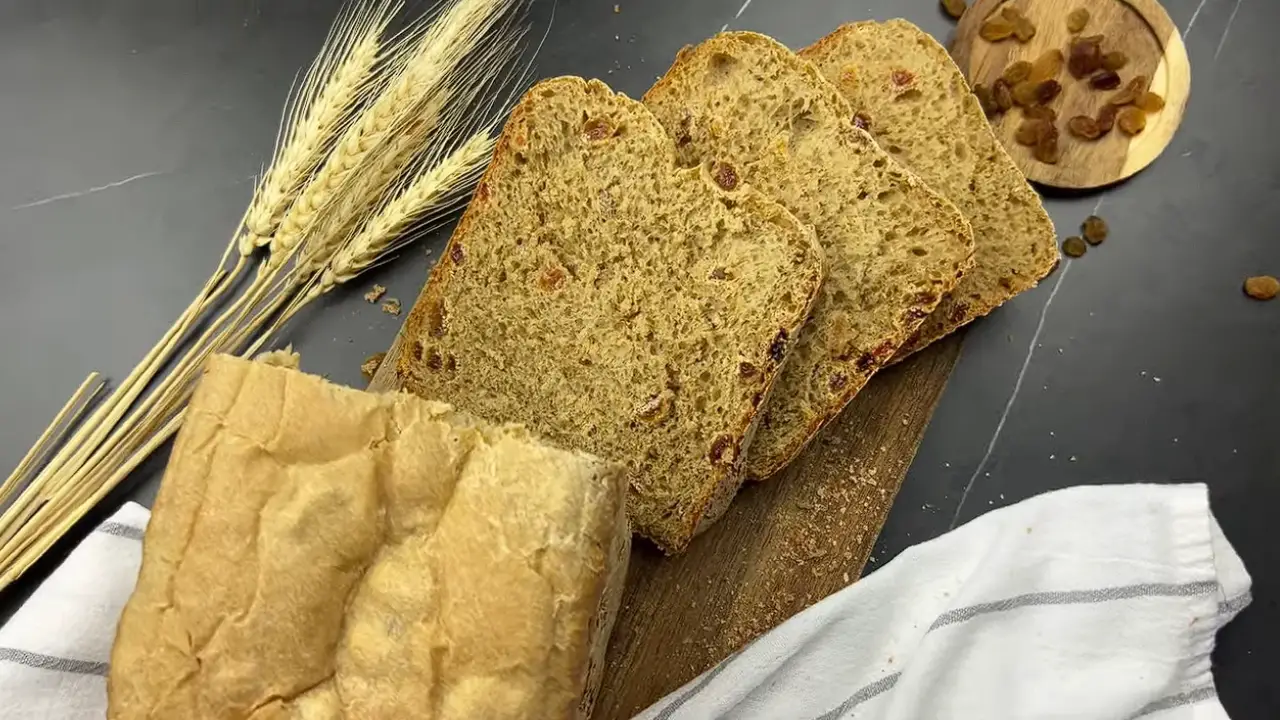
This bread has a dense, moist texture with a rich malt flavor that reminds me of caramel. It is nothing like regular sandwich bread—much more substantial and satisfying.
The sultanas add juicy sweet bursts throughout each slice, creating little pockets of flavor that make every bite interesting.
I love cutting it while still warm and watching butter melt into it. There is something almost hypnotic about seeing the butter disappear into the soft crumb.
It has become my favorite afternoon treat with a cup of tea. Even my kids ask for seconds, which rarely happens with fruit breads in our house.
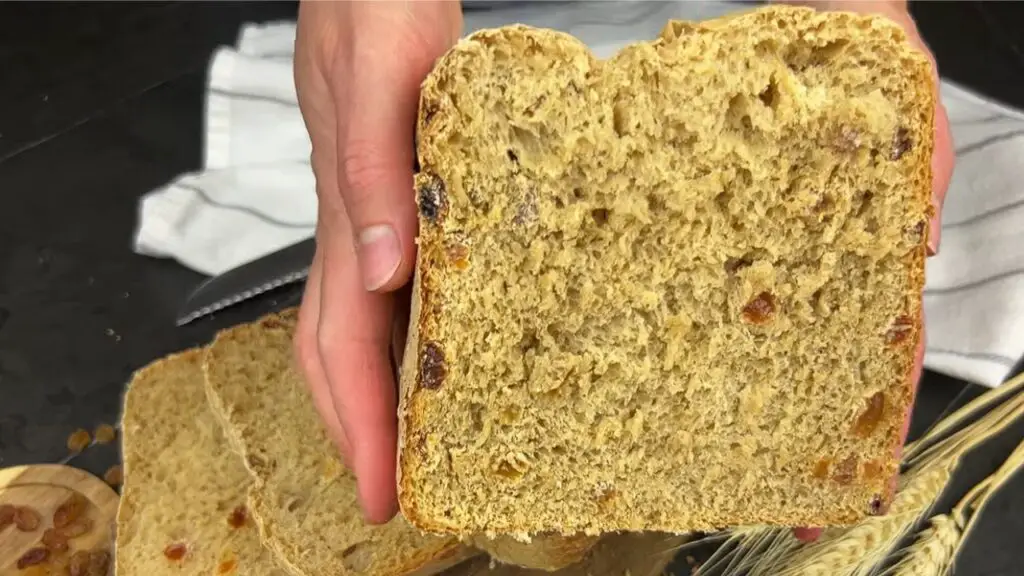
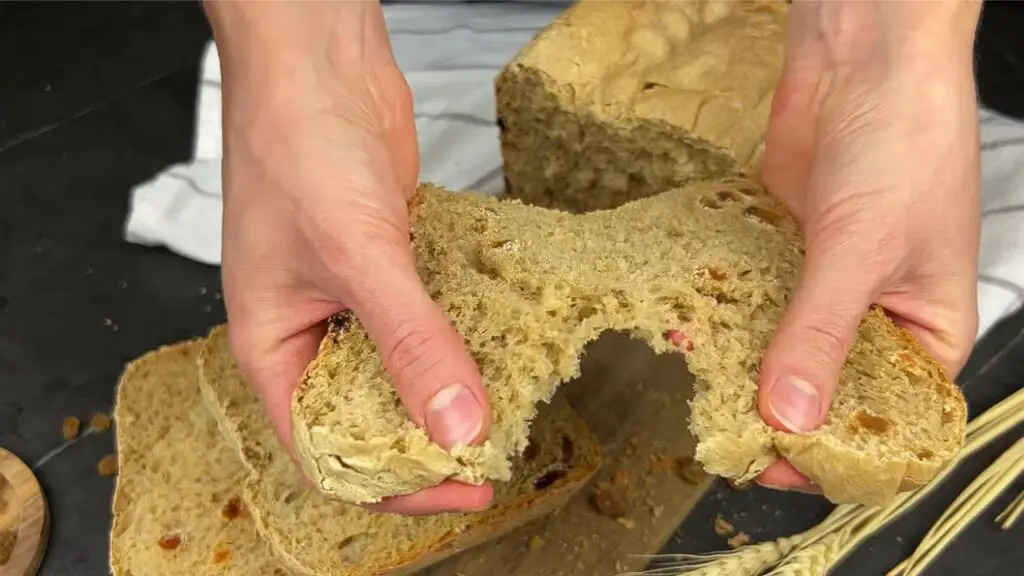
The crust gets a beautiful deep color from the malt, but stays soft rather than crusty. Inside, the crumb should be even and moist but not doughy. If you pull a piece apart, it should stretch slightly before breaking—that is the sign of perfectly developed gluten.
Tips and Tricks for This Malt Loaf Recipe
Over many batches, I have discovered some secrets that make the difference between a good malt loaf and a great one.
- Make sure your yeast is fresh. I once used old yeast and ended up with a dense brick instead of bread. Now I always check the expiration date and store opened yeast in the refrigerator.
- The water temperature matters more than you might think. I use water that feels just warm to the touch, not hot. Too hot kills the yeast; too cold slows everything down.
- Measure the malt extract with a lightly oiled spoon. This sticky ingredient is a pain to work with otherwise. I spray my measuring spoon with a touch of cooking spray first, and the malt slides right off.
- For extra rich flavor, try replacing one tablespoon of water with a tablespoon of strong black tea. This was actually how my grandmother made her malt loaf recipe for a breadmaker, and it adds a subtle depth.
- This bread freezes beautifully. I slice the whole loaf once cooled and freeze portions separated by parchment paper. This way I can take out just what I need for breakfast or an afternoon snack.
- If your bread maker runs hot (mine does), select a lighter crust setting to prevent the sultanas on the outside from burning.
I learned most of these tips through trial and error—like the time I added the malt extract without measuring properly and ended up with a collapsed center. Each mistake taught me something valuable about the process.
Check out more bread machine tips and tricks here.
Substitutions and Variations
No pantry ingredients? No problem. Here are the adaptations I have tested that work well for this bread maker fruit loaf recipe.
Flour Options
If you do not have bread flour in your pantry, use all-purpose flour instead. The loaf will be slightly less chewy, but still delicious.
For a nuttier flavor, try substituting 1/2 cup of the white flour with whole wheat flour. I did this accidentally once when I ran out of white flour, and now I sometimes do it on purpose!
For a more traditional British flavor, you can also replace 1/4 cup of the strong white flour with wholemeal (whole wheat) flour. This gives a slightly nuttier background note that works beautifully with the malt.
Fruit Variations
While sultanas are traditional, you can experiment with other dried fruits:
- Chopped dried apricots add a tangy sweetness that cuts through the malt beautifully
- Dried cranberries provide a nice tartness that balances the sweet malt
- A mixture of raisins and chopped dates works wonderfully for a deeper fruit flavor
- Mixed peel (candied citrus peel) gives a traditional Christmas flavor—I add about 2 tablespoons along with the sultanas
My personal favorite variation uses a mix of black raisins and finely chopped dried apricots. The color contrast looks beautiful when sliced, and the flavors complement each other perfectly.
Sweetener Alternatives
If you cannot find malt extract, there are alternatives, though the flavor will be different:
- 3 tablespoons of molasses will give a similar darkness and stickiness
- 2 tablespoons of honey mixed with 1 tablespoon of dark brown sugar works well
- 3 tablespoons of maple syrup creates a different but equally delicious loaf
I once made an emergency substitution with molasses when I ran out of malt extract, and while different, it was still delicious—more like a gingerbread-flavored fruit loaf.
Baking This Malt Loaf in a Conventional Oven
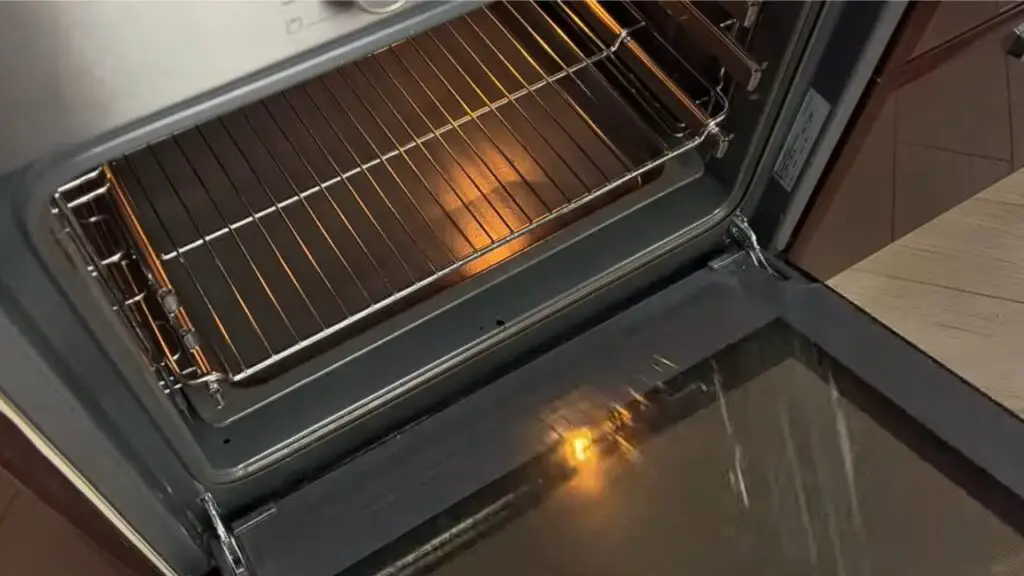
If you don’t have a bread maker, you can still enjoy this fruity malt loaf.
- Mix all ingredients (except sultanas) in a large bowl until combined, then knead for 10 minutes until smooth and elastic.
- Add sultanas and knead gently to incorporate. Place dough in a greased loaf tin, cover with oiled plastic wrap, and let rise for 1-1.5 hours until doubled in size.
- Bake at 350°F (180°C) for 35-40 minutes until golden and hollow-sounding when tapped underneath.
Serving Suggestions
Here are my favorite ways to enjoy this malt bread. The traditional British way to serve malt loaf is simply spread with a thin layer of salted butter. The contrast between the sweet, sticky bread and the savory butter is absolutely perfect. This is still my favorite way to eat it.
For breakfast, try toasting a slice lightly and topping with a smear of cream cheese. The slight tanginess works beautifully with the sweet malt flavor. My children love this combination.
For a more substantial snack, I sometimes add a slice of sharp cheddar cheese on top of buttered malt loaf. The sweet-savory combination might sound odd, but it is surprisingly delicious.
More Bread Maker Recipes to Try
If you enjoyed this easy bread machine malt loaf recipe, here are some other easy bread maker recipes that I think you’ll love!
Want something extra soft? Try this Fluffiest Sweet Potato Bread—it’s light, tender, and full of flavor.
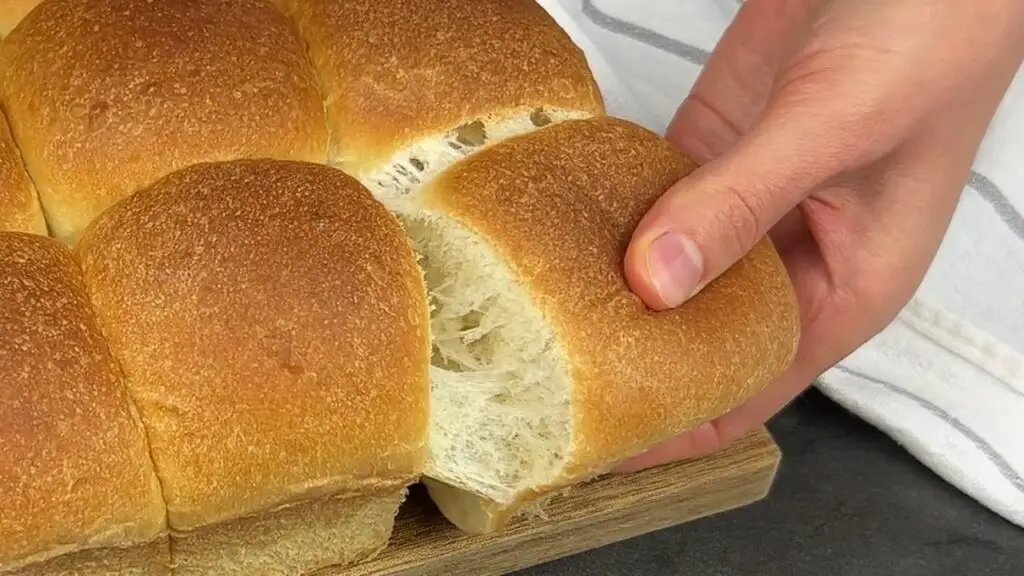
And for the ultimate side dish, these Big Soft Fluffy Bread Machine Dinner Rolls are perfect for any meal. Soft, pillowy, and buttery, they’ll quickly become a family favorite!
For a deliciously moist and sweet treat, check out this Bread Machine Banana Bread Recipe. It’s an easy, foolproof way to make banana bread with minimal effort!
Enjoy this delicious breadmaker malt loaf recipe! I hope it brings as much joy to your kitchen as it has to mine.