This insanely delicious and creamy No Bake Oreo Dessert is a breeze to make with just a few simple ingredients, and no oven needed, and trust me, it is so much better than Oreo cheesecake. Let me show you how easy it is to make this delicious Oreo dessert.
Watch my video below for a simple, step-by-step recipe for creating this delicious No Bake Oreo Dessert. If you enjoy it, don’t forget to like and subscribe for more easy and tasty no-bake dessert recipes!
Why This No-Bake Oreo Dessert Is Better Than Cheesecake
- No-Bake Oreo Dessert is the way to go. Cheesecake is great, but it takes forever. Bake it, let it cool, then wait hours for it to chill? No thanks. Sometimes, you just want dessert now.
- This dessert is quick and easy. No oven, no fuss—just mix, layer, chill, and dig in. It’s ridiculously simple, and you’ll be eating in no time.
- It’s extra creamy and packed with Oreo goodness. Honestly, it tastes just as good (if not better) than cheesecake, but with way less effort.
- You only need a few ingredients. No long grocery lists, no complicated steps. Just a handful of basics, and you’re all set.
- No baking, no stress. No cracked cheesecake, no water baths, no waiting. Just a rich, dreamy Oreo treat you can whip up in minutes.
What You’ll Need
This 4-ingredient Oreo dessert is as simple as it gets. No fancy ingredients, no tricky steps.—just four basic things you probably already have in your kitchen.
Here’s what you need:
- Oreo cookies – 20-25 pieces
- Melted butter – 6 tablespoons (85g)
- Sweetened Condensed milk – 6 tablespoons (100g)
- Heavy cream – 3/4 cup (180ml)

TAP ON IMAGE TO VIEW PRICE
Step-by-Step: How to Make This No-Bake Oreo Dessert
This Oreo Delight recipe comes together in no time and tastes incredible. No waiting around, no complicated techniques—just a few easy steps, and you’ve got a smooth, chocolatey treat that melts in your mouth. Let’s jump right in!
Step 1: Make the Oreo Crust
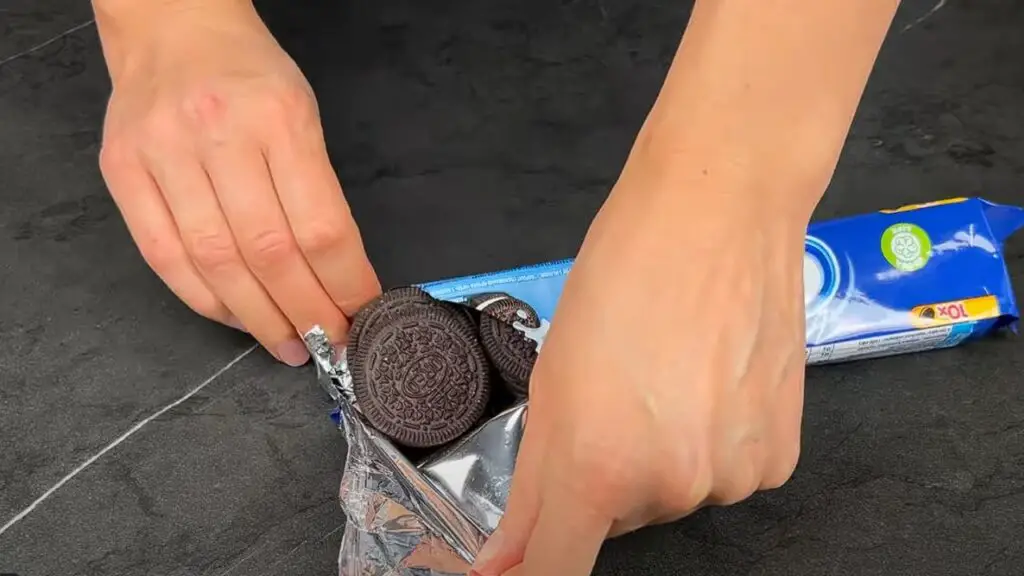
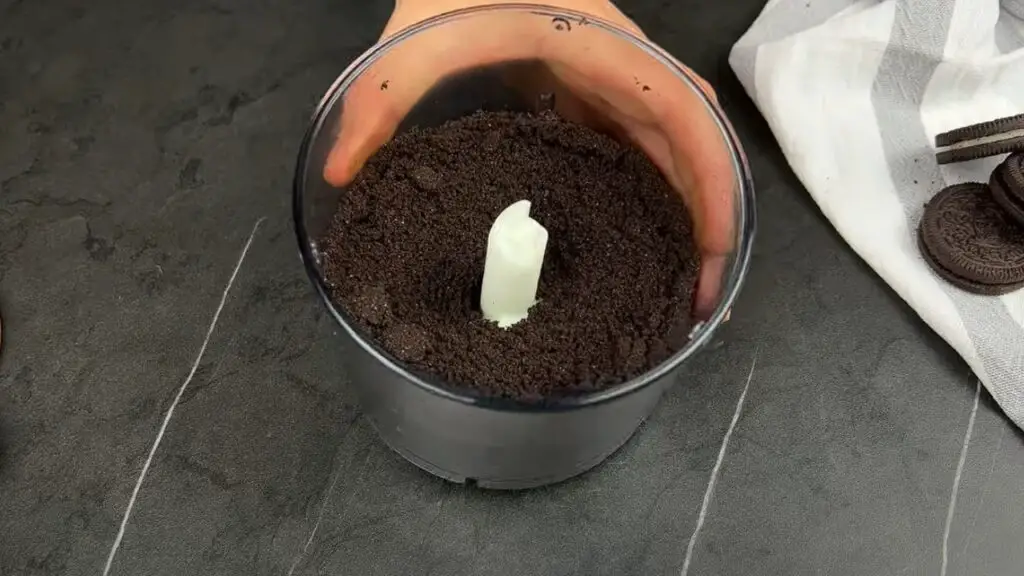
Grab those Oreos and twist them apart. Scrape out the cream and set it aside (don’t eat it yet, we need it!). Toss the cookies into a food processor and blend until you’ve got fine crumbs.
Tip: No food processor? No problem! Just throw the cookies in a zip-top bag and crush them with a rolling pin.
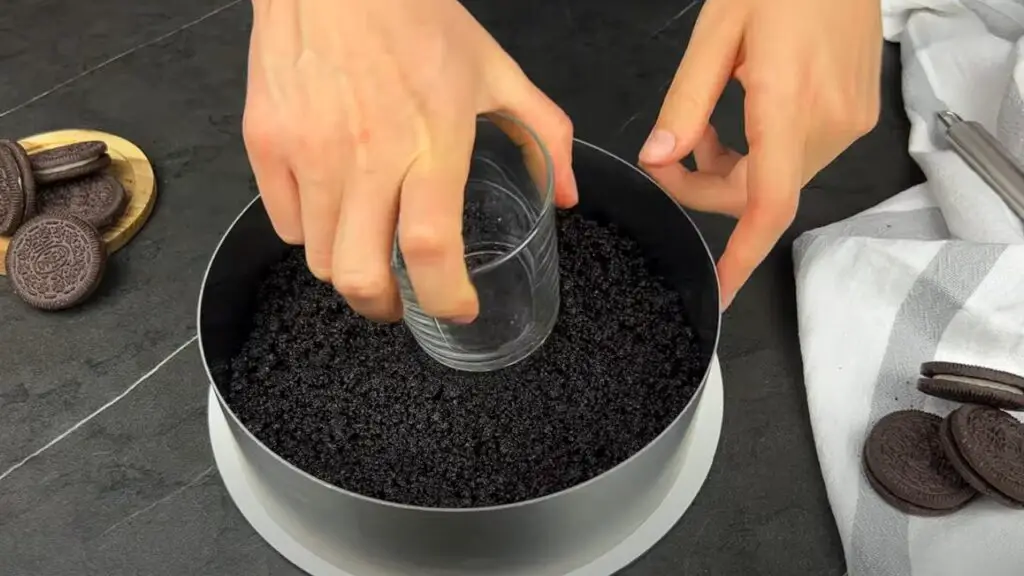
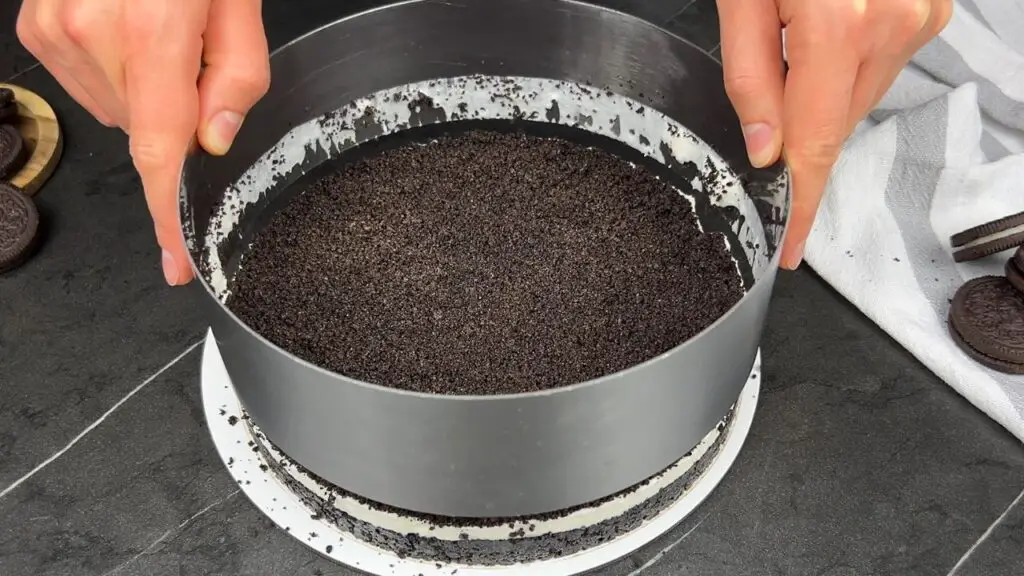
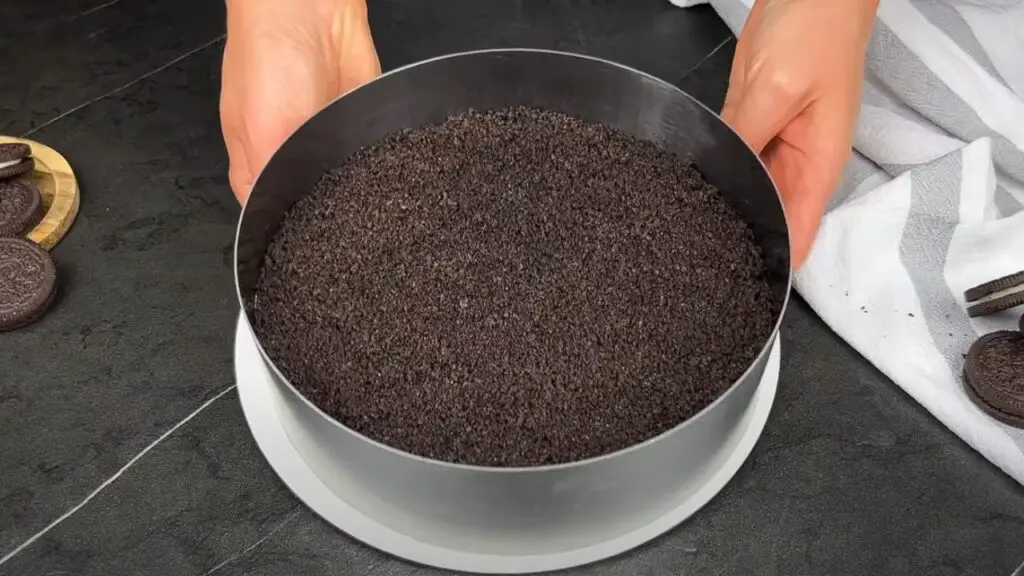
Step 2: Mix and Press the Crust
In another bowl, add melted butter and mix it into your Oreo crumbs until everything’s nice and coated. Now, press it into your pan and pack it down tight. You want a firm, crunchy base that holds up when you slice into it!
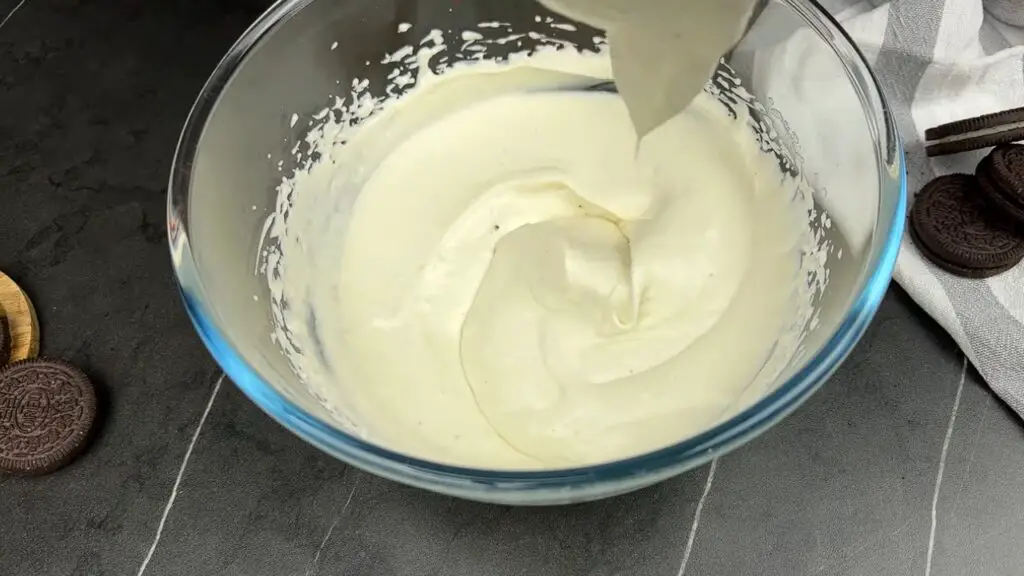
Step 3: Whip Up the Filling
Now for the good stuff! Take that Oreo cream you saved and mix it with the condensed milk until it’s smooth.
Next, pour in the heavy cream and whip it up with a mixer until it’s light, fluffy, and absolutely dreamy. This is where the magic happens—just look at that texture!
Tip: Chill your mixing bowl and beaters for 10 minutes before whipping the cream. It makes it fluff up faster!
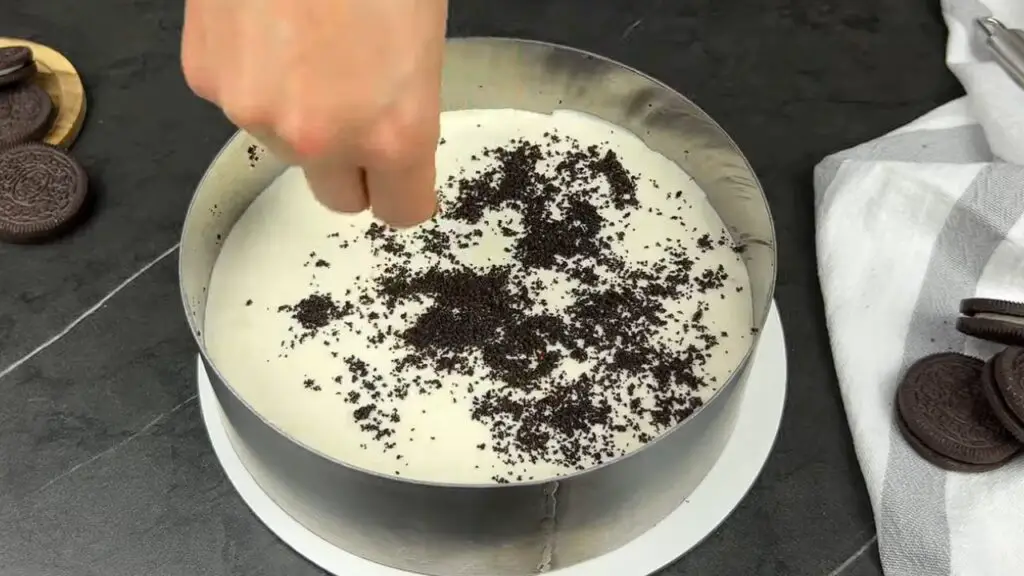
Step 4: Put It All Together
Take that creamy filling and spread it over your crust. Smooth it out nice and even—trust me, you want every bite to be just as good as the last.
Crush up a few more Oreos and sprinkle them on top because, honestly, can you ever have too many? Pop it in the fridge and let it chill for about 30 minutes.
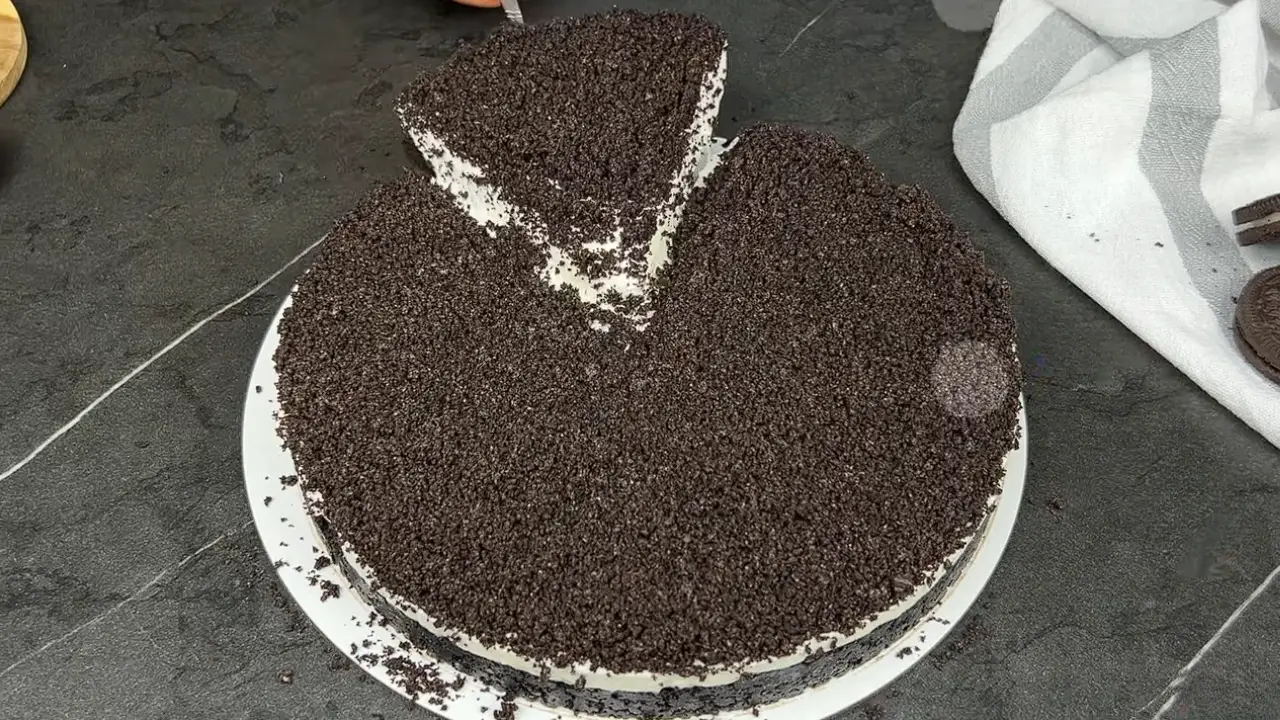
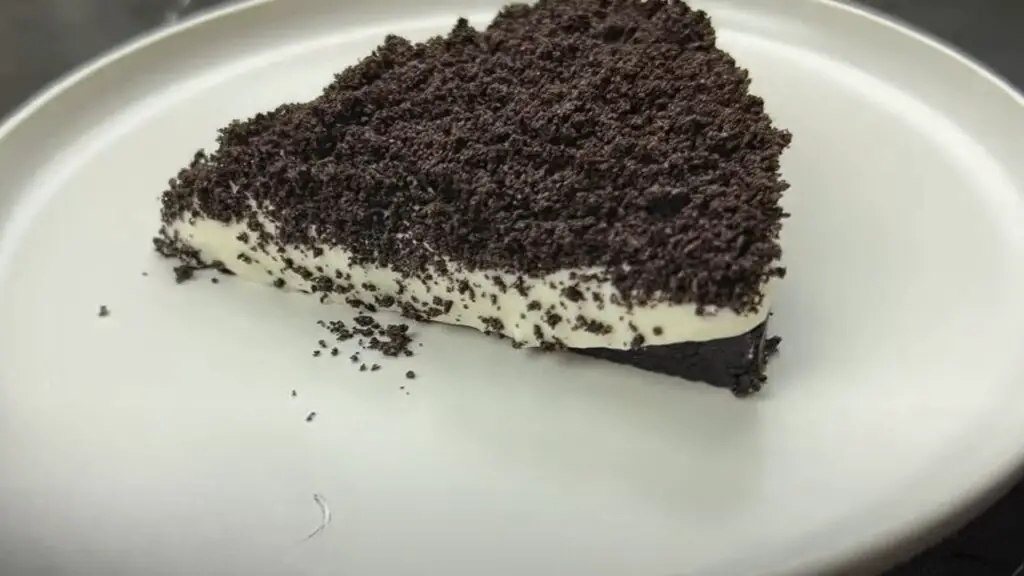
Step 5: Time to Dig In!
Alright, it’s ready! Slice it up and take that first bite. It’s rich, smooth, and packed with Oreo flavor. If you love Oreos, this is the dessert for you.
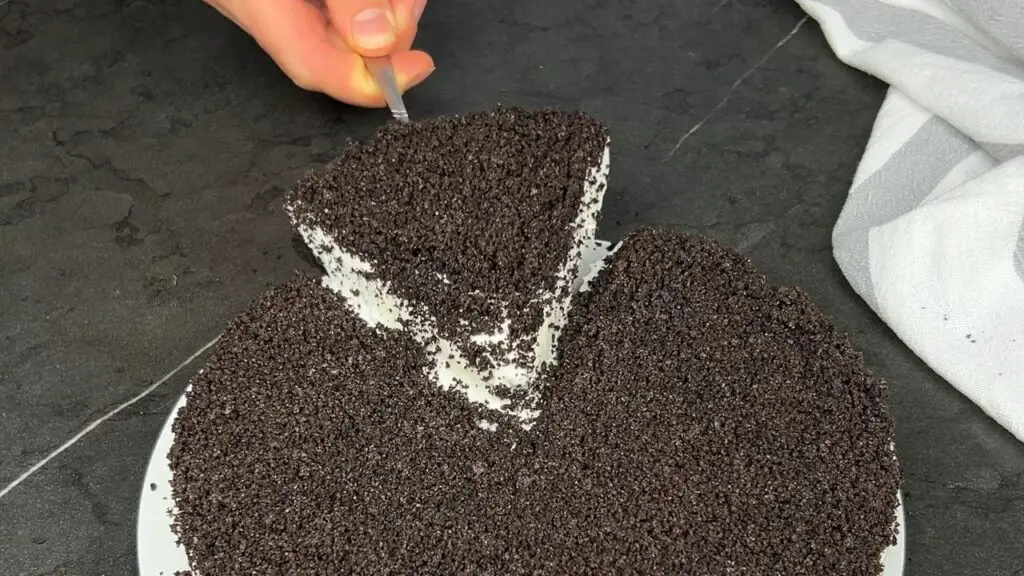
So good, so easy—who even needs cheesecake?
Check This Out: Love Oreos? Try this easy 3-Ingredient Oreo Ice Cream—so simple, so good!
This Oreo Dessert Is Creamier Than Cheesecake – No Bake
Sometimes, you just need a dessert that’s quick, easy, and totally irresistible. That’s where this no-bake Oreo dessert comes in! It’s rich, creamy, and packed with Oreo goodness—all without touching the oven.
8
servings20
minutes5
hours32
minutesKeep the screen of your device on
Ingredients
20-25 pieces Oreo cookies
6 tablespoons (85g) melted butter
1/3 cup (100g) condensed milk
3/4 cup (180ml) heavy cream
Directions
- Separate the cream filling from the Oreo cookies and place them in a mixing bowl, setting the cookie parts aside.
- Blend the Oreo cookie halves until they become fine crumbs.
- Pour the Oreo crumbs into a mixing bowl and add the melted butter, mixing until the crumbs stick together.
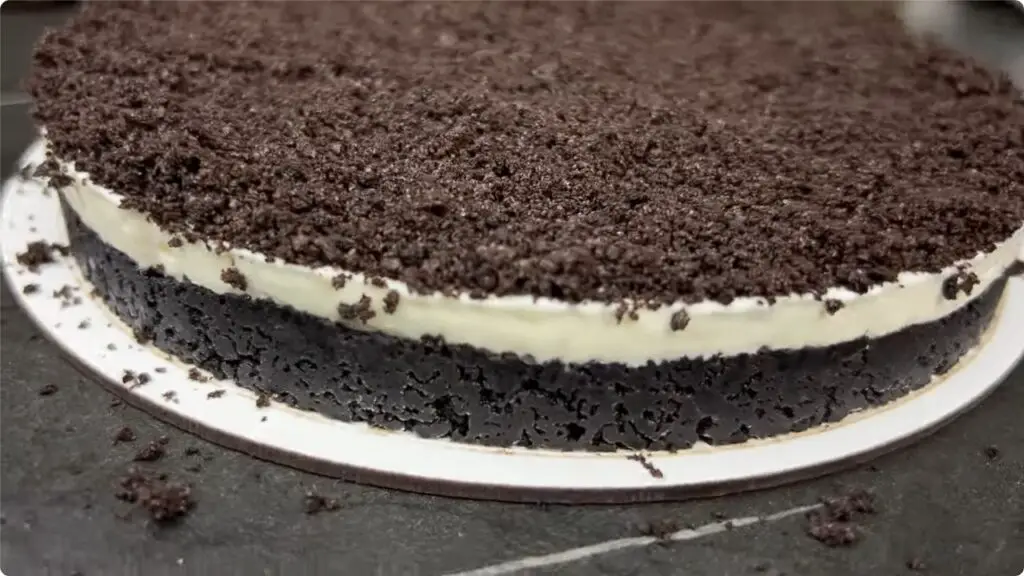
- Press the crumb mixture into the bottom of a medium-sized springform pan to create a base.
- Mix the separated cream filling with condensed milk until smooth, then whip in heavy cream until fluffy.
- Spread the cream mixture over the Oreo base and ensure it is evenly distributed.
- Top with more crushed Oreo pieces and refrigerate for 30 minutes to set.
Recipe Video
Notes
- Use Double-Stuf Oreos. More filling means extra creaminess in your no-bake Oreo dessert—and who doesn’t want that? Regular Oreos work, but Double-Stuf takes it up a notch.
- Chill it longer for clean slices. If you have the patience, let it set for at least 2 hours. The extra time helps firm up the layers, so your Oreo Delight recipe looks as good as it tastes.
- Whip the cream just right. Overmixing heavy cream can make it grainy instead of smooth. Stop as soon as stiff peaks form for the fluffiest, dreamiest texture in your 4-ingredient Oreo dessert.
- Swap out the heavy cream. No heavy cream? Use whipped topping instead. It’s a shortcut that still keeps your no-bake Oreo recipe light, fluffy, and delicious.
Nutrition Facts
- Total number of serves: 8
- Calories: 332kcal
- Fat: 23g
- Carbohydrates: 28g
- Protein: 3g
Fun Variations to Try
Want to switch things up? Try mixing in some chocolate chips for extra crunch, or swirl in a little peanut butter to give this Oreo recipe no-bake dessert a rich, nutty twist.
Feeling fancy? Drizzle caramel over the top before serving—because more gooey sweetness is always a good idea!
Best Occasions to Serve This Dessert
This Oreo cake with condensed milk is perfect for literally any occasion. Got a birthday party coming up? Everyone will go crazy for this creamy, chocolatey treat.
Need something quick for a potluck? It’s easy to make ahead and always a hit. Or maybe you just want a late-night sweet fix—no judgment, this one’s made for those cravings!
How to Store and Make Ahead
Want to make this Oreo dessert ahead of time? No problem! Just prepare it as usual, cover it tightly, and pop it in the fridge. It actually tastes even better after a few hours when the flavors have had time to blend.
Got leftovers? (If that even happens!) Store them in an airtight container in the fridge for up to 3 days. For a firmer texture, you can also freeze it—just let it sit at room temperature for a few minutes before digging in.
More No-Bake Desserts to Try
If you love this no-bake Oreo dessert recipe, you have to check out these other easy no-bake treats! No oven, no stress—just pure dessert magic.
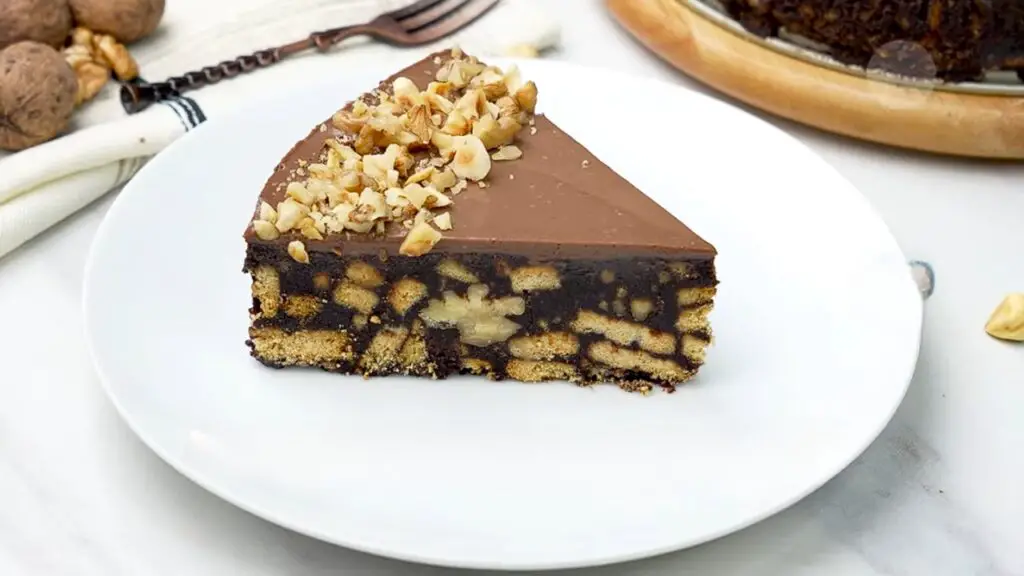
- The Easiest No-Bake Chocolate Biscuit Cake – If you’re a chocolate lover, this one’s for you. It’s rich, fudgy, and ridiculously easy to make!
- The Creamiest No-Bake Lemon Pie with Just 4 Ingredients! – This pie is smooth, tangy, and melts in your mouth. It’s the perfect refreshing treat for warm days!
- No-Bake Chocolate Peanut Butter Rice Krispie Treats – Crunchy, chocolatey, and packed with peanut butter, these bars are next-level good. Trust me, you’ll want to make a second batch.
- ‘Lazy’ No-Bake Chocolate Cake Using Just Three Ingredients – This is the ultimate “too easy to be real” dessert. Three ingredients, no oven, and pure chocolatey goodness!
Give them a try and see which one you love the most! Each recipe has its own unique flavor and texture, so whether you’re craving something rich and chocolatey or light and refreshing, there’s a no-bake dessert here for you.
Let me know which one becomes your new go-to treat! Jen.