I was talking to my friend Nadee from Sri Lanka and asked her if she had any good bread recipes. She sent me this awesome Roast Paan recipe (Thati Paan). It’s an easy recipe, but the way it’s baked is what makes it so good – it’s crispy on the outside and soft on the inside.
Come join me on Facebook here for easy recipes, cozy bakes, and little kitchen tips from my kitchen to yours.
Here’s the step-by-step guide for the roast paan bread recipe that Nadee gave me. Let me know your thoughts on this simple homemade flatbread in the comments!
Craft a Crunchy Roast Paan at Home Using Everyday Ingredients!
The best part of this Sri Lankan bread recipe is that you only need the same basic ingredients you’d use for regular white bread, yet it yields an entirely different result. All you need are things you probably already have in your pantry.
1. All-Purpose Flour: You need all-purpose flour to get the perfect consistency for this bread. It has a moderately high protein content, making it much easier for the gluten to develop and yield a fluffier and softer bread that is airy enough.
2. Dry Yeast: While it is best practice to use recently bought instant dry yeast to ensure your bread will rise, you should still activate it beforehand to guarantee it is good to go and prevent a bread disaster.
3. Granulated Sugar: This recipe calls for regular white sugar, nothing fancy. However, you can also use brown sugar if you’d like your bread to be slightly more moist and have a deeper, richer flavor. It will also help the yeast activate faster since it has more sugars and nutrients.
4. Coconut Oil: Unlike other thati paan recipes, the one Nadee shared with me requires no butter. Technically, you can use any oil you prefer or have at hand. However, coconut oil is the traditional Sri Lankan choice and my suggested option since it is healthy, vegan, and adds a subtle coconut flavor that is just delightful.
Easy Step-By-Step Guide For This Sri Lankan Bread Recipe
1. Activate the Yeast and Prepare the Flour

In a clean and dry bowl, pour the three tablespoons of yeast and two tablespoons of granulated sugar, then mix with four tablespoons of lukewarm water. Remember that the water must be lukewarm and not hot—it has to be tolerable to the touch, or you risk killing the yeast.
Once done, give all three ingredients a gentle mix with the help of a whisk or a fork until they integrate, then cover with a lid, towel, or plate and set aside for ten minutes to let the yeast activate.
While the yeast mixture sits, pour the all-purpose flour and salt into a separate bowl and mix gently until well combined.
2. Knead the Dough
After 10 minutes, the yeast mixture should be frothy, bubbly, and have a greyish flaxen color. If the texture or appearance hasn’t changed, then there’s probably something wrong with the yeast—head over to the video to get a visual guide on how it should look.
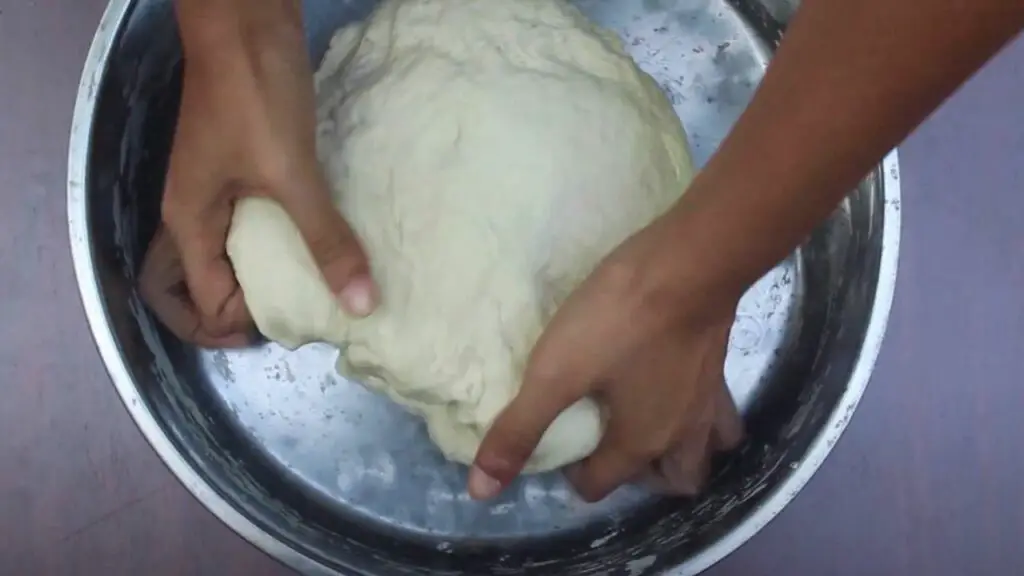
Add the yeast mixture to the flour, gently combining them with a wooden spoon, then gradually add 1 2/3 cups of water until the mixture turns into a firm, dense, yet somewhat pliable dough.
3. Incorporate Coconut Oil and Prepare the First Rise
Remove the dough from the bowl to knead it more comfortably, then gradually incorporate the tablespoon of coconut oil.
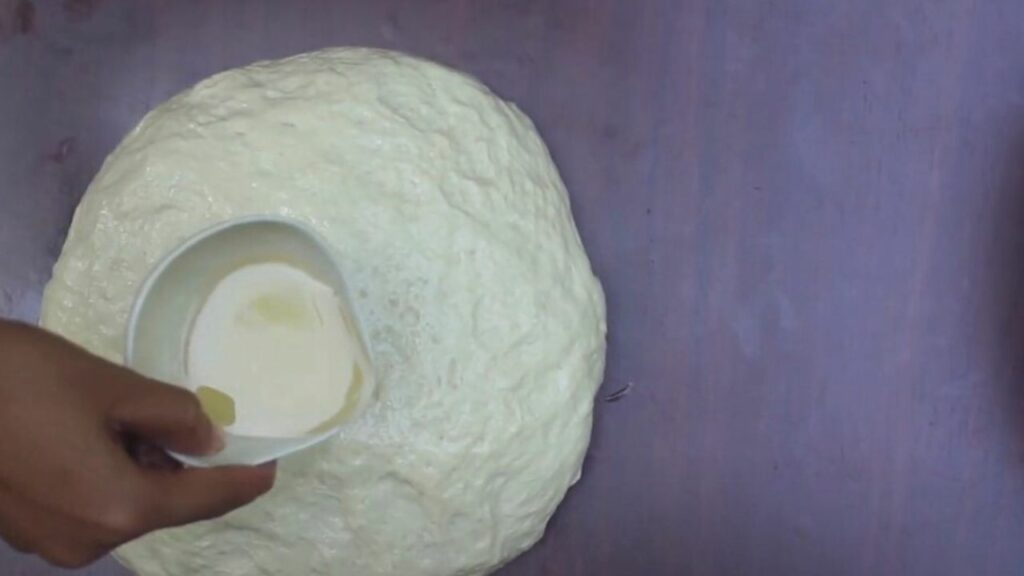
The best way to do so is to pour a tiny bit of the oil into the surface of the dough, spread it gently with your hands, then knead and fold to spread it to the rest of the dough. Repeat until it all is incorporated.
Once done, roll the dough into a ball, set it inside the bowl, and cover it with plastic wrap or a kitchen towel. Let it rest for at least one hour or until the dough rises and doubles in size.
4. Stretch, Cut, and Shape the Dough for the Second Rise
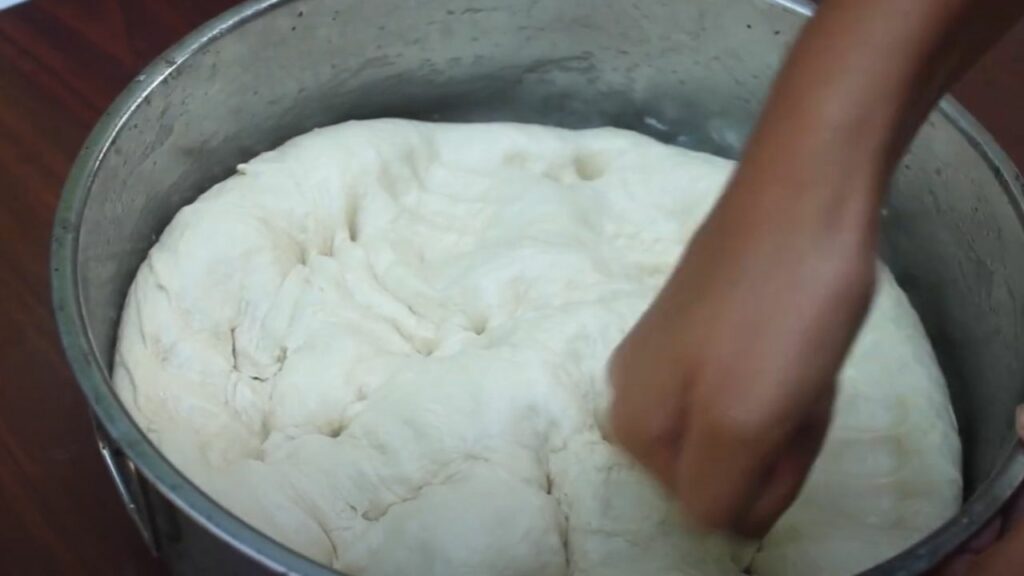
After the first rise ends and the dough has doubled in size, remove the cover and gently press it down to release the trapped air. Then, move it to the table or your kneading station.
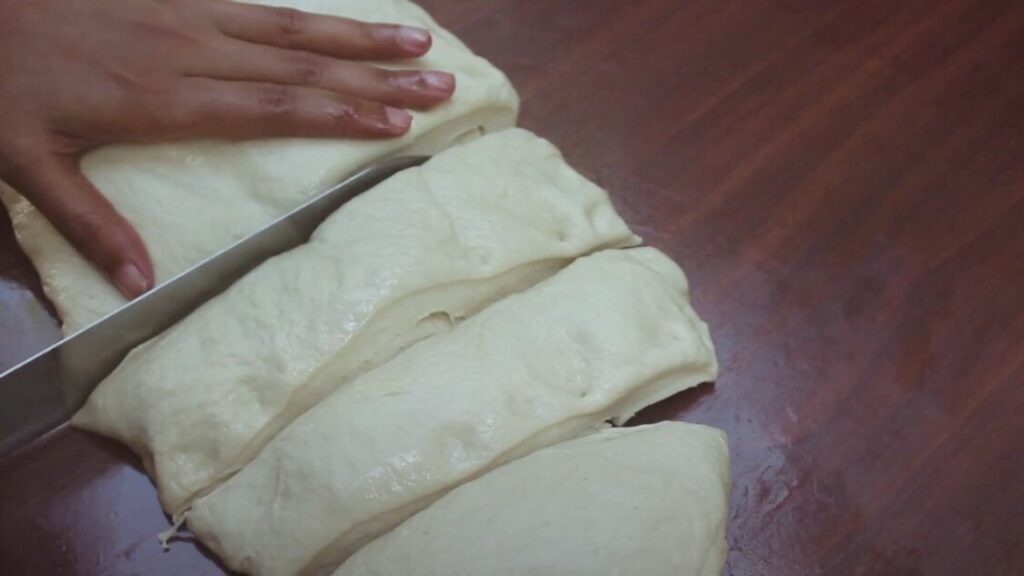
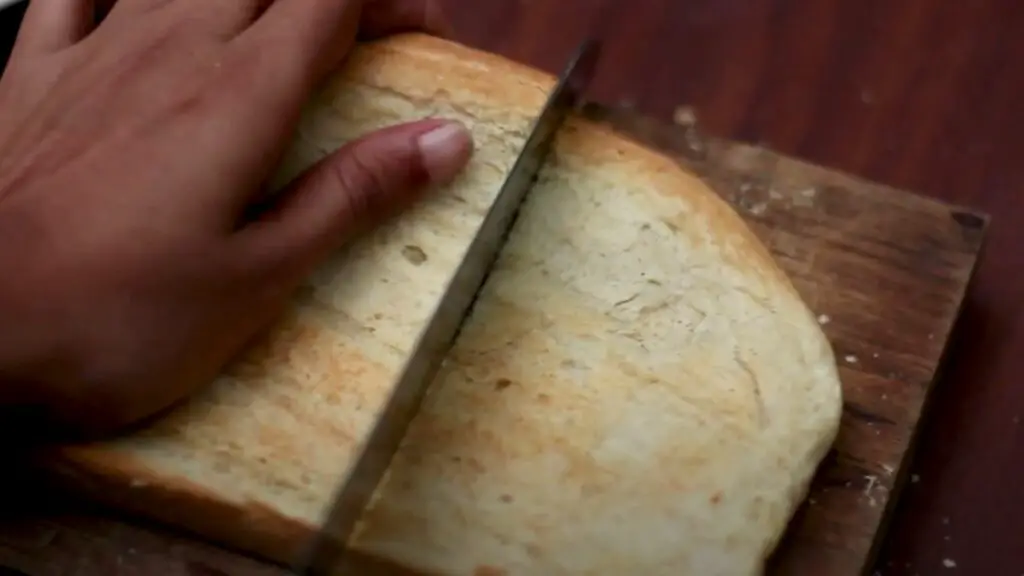
Now, shape the dough into a long, cylindrical log with an even size and thickness. Then, grab a knife and cut the log into multiple slices of the same size.
After you’re done, grab each dough slice and gently shape it into a ball by rolling it with your hands, then set them all into a baking tray with some space left between them so they can rise without crashing into each other.

Cover them with plastic wrap or a kitchen towel, and let them rest for ten to twenty minutes.
Don’t forget to head over to the video if you need some extra help visualizing this process—Nadee shows how easy it is!
5. Shape the Paan
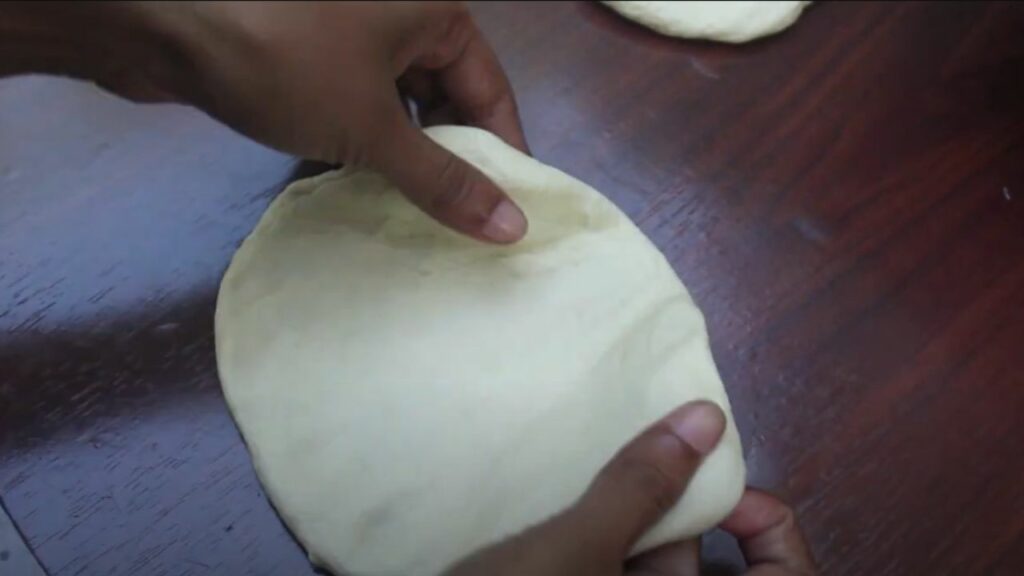
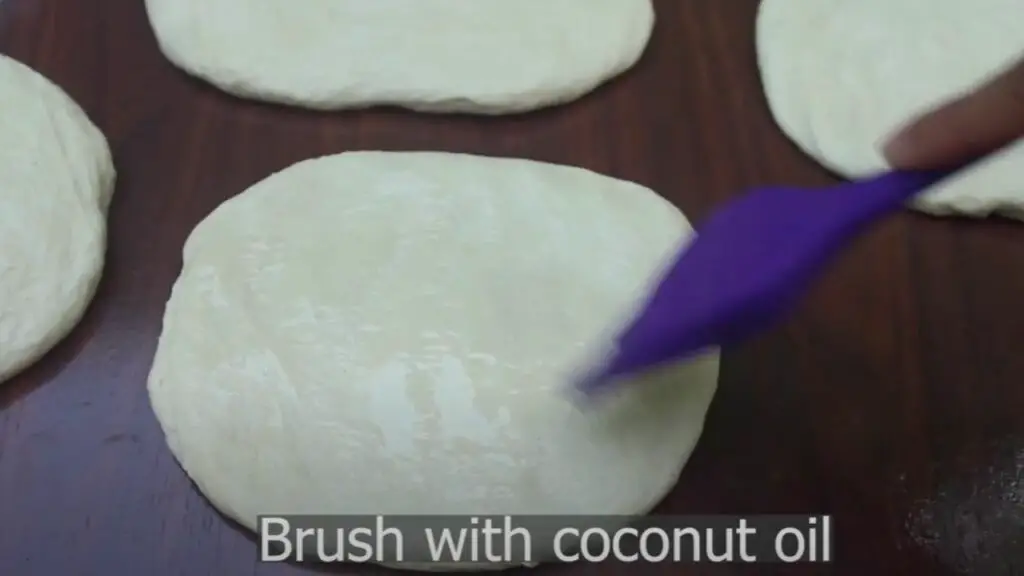
After finishing the second rise, remove each dough ball from the bowl and gently press them down into a flat, oval shape. The ideal width of the flatbreads should be equivalent to the loaf pan you will use to cook them.
Once done, use a pastry brush to cover the surface of the flatbreads with coconut oil and turn your bread pan sideways so that its side lies on the table and the opening faces. Then, at the bottom, place one piece of parchment paper.
Again, it sounds much harder than it actually is, so don’t hesitate to check the video if you have any doubts.
6. Stack the Flatbreads and Prepare the Third Rise
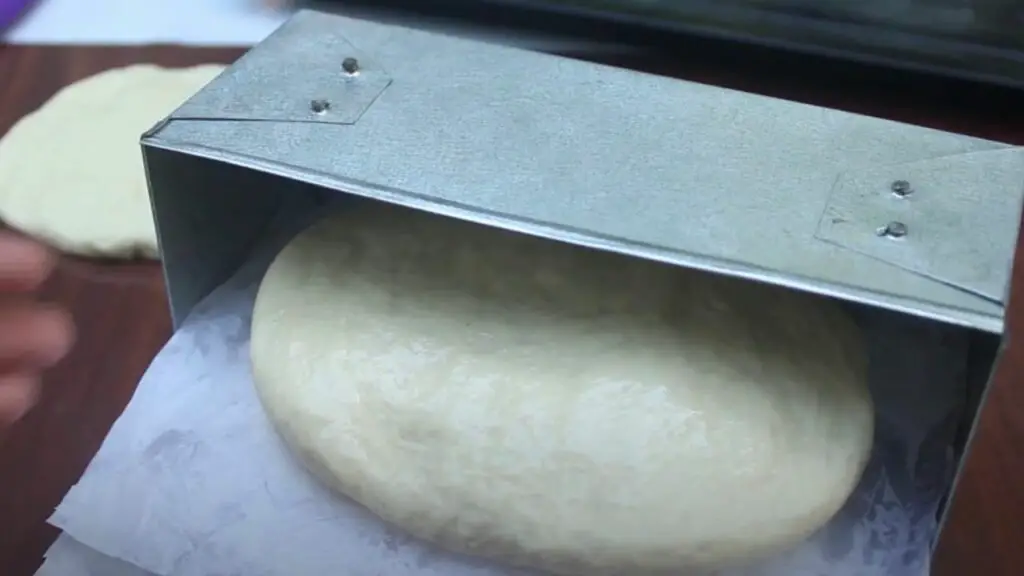
Now, after you have set your pan on its side as you can see in the picture, you start stacking the dough flatbreads on top of each other. Be sure to place a sheet of parchment paper in between each piece to ensure they won’t stick to each other.
Afterward, cover the pan with plastic wrap and let the bread pieces rest for 10 to 20 minutes for the third and final rise.
7. Bake for 20 Minutes
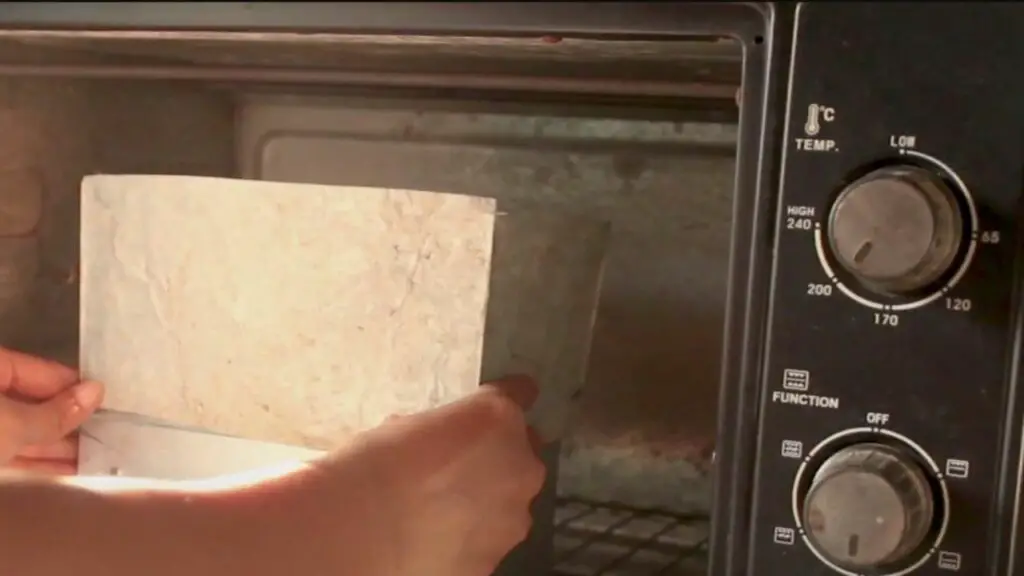
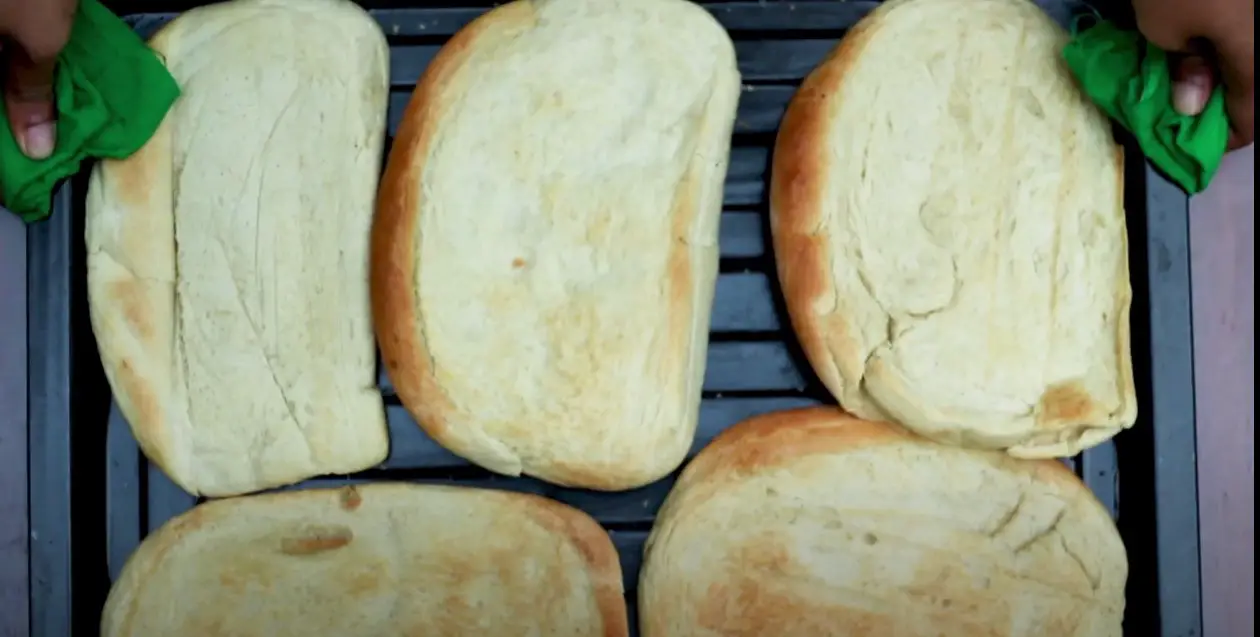
Place the bread pan in a preheated oven set to 392°F (200°C) and cook for 20 minutes. Once done, remove the flatbreads from the pan and separate each piece after removing the parchment paper sheets, leaving the slices to rest in a cooling rack.
8. Roast in the Oven
Put the bread slices on the baking tray and send them back to the oven, set at the same temperature as before.
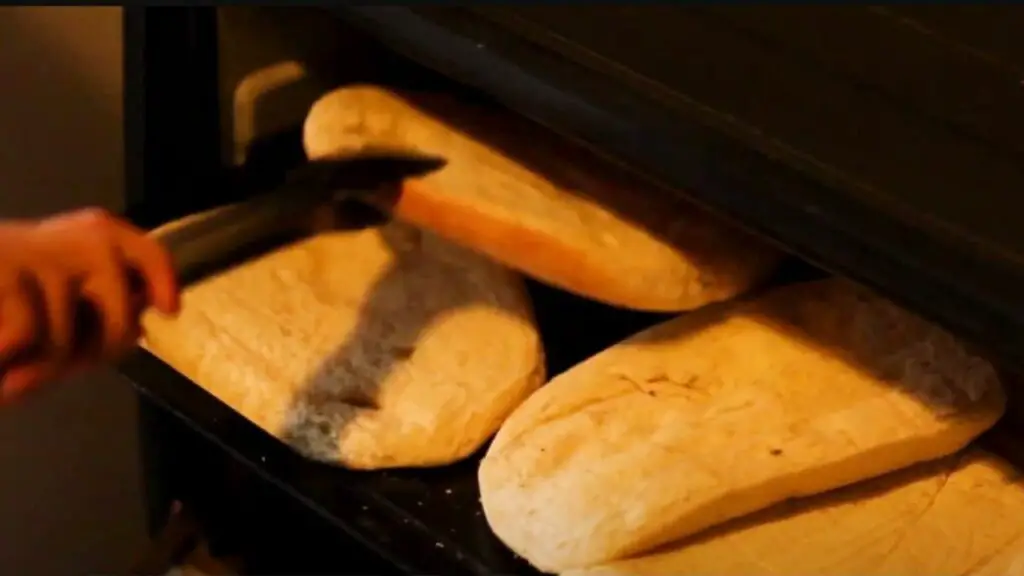
Roast the bread slices in the oven for approximately five minutes or until you see them turn crispy and a lovely shade of golden brown. Then, turn them around and cook the other side for five more minutes.
After they’re done, take them out, set them on a cooling rack, and get ready to enjoy!
Substitutions, Ideas, And Advice
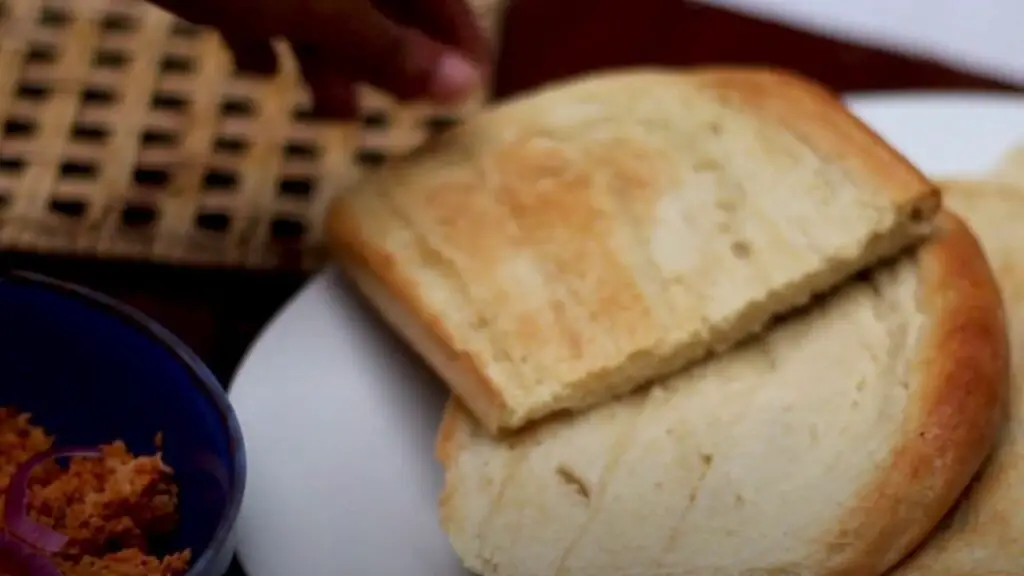
1. Enjoy alone or as a side: This roast paan recipe is perfect for curry, coconut sambol, or any dish you’d like. You can also enjoy it straight out of the oven with just butter.
2. Whole wheat thati paan: Since whole wheat has more bran and germ, it may make it harder for gluten to develop. To prevent the bread from being too dense, use whole wheat flour if you’d like, but ensure that at least 40% of your total flour is all-purpose.
3. Use butter if you’d like: While Nadee’s original roast paan recipe calls for coconut oil, you can use butter if you’d like to add that delicious dairy flavor. You can replace them on a 1:1 ratio, but be sure to melt the butter beforehand and add it after it has cooled down to a lukewarm temperature.
4. Weight the dough: If you’d like each piece of this Sri Lankan bread recipe to come out perfectly, you can weigh the dough balls before you shape them into the oval disks you’ll put in the oven. This will ensure they keep the same size and thickness.

Crispy Golden Delight – Traditional Roast Paan Recipe
This Roast Paan recipe transforms simple ingredients into a delightful, crispy bread that’s a cornerstone of Sri Lankan cuisine. Perfect as a side for your favorite dishes or simply enjoyed fresh from the oven, this bread brings a taste of Sri Lanka to your table.
9
servings30
minutes35
minutes190
kcal2
hours15
minutesIngredients
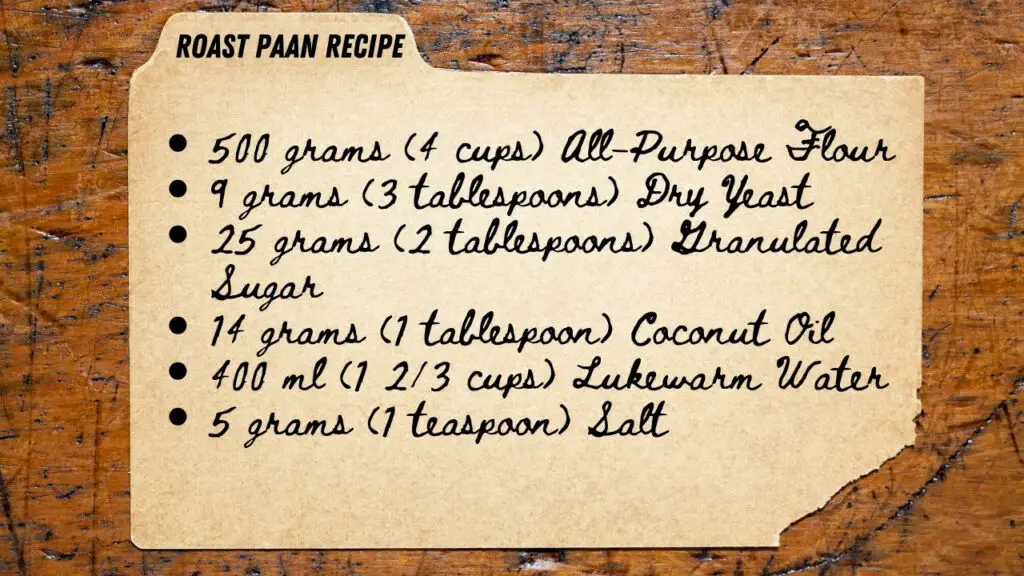
4 cups (500 grams) All-Purpose Flour
3 tablespoons (9 grams) Dry Yeast
2 tablespoons (25 grams) Granulated Sugar
1 tablespoon (14 grams) Coconut Oil
1 2/3 cups (400 ml) Water (lukewarm)
1 teaspoon (5 grams) Salt
Directions
- Activate the Yeast: In a clean bowl, combine 3 tablespoons (9 grams) of dry yeast and 2 tablespoons (25 grams) of granulated sugar with 4 tablespoons of lukewarm water. Mix gently with a whisk or fork, then cover and set aside for 10 minutes, allowing the yeast to activate.
- Prepare the Flour: In a separate bowl, mix 4 cups (500 grams) of all-purpose flour with 1 teaspoon (5 grams) of salt until well combined.
- Knead the Dough: Check if the yeast mixture is frothy and bubbly. If so, add it to the flour mixture, stirring with a wooden spoon. Gradually add 1 2/3 cups (400 ml) of lukewarm water, and knead until a firm, dense, yet pliable dough forms.
- Incorporate Coconut Oil: Transfer the dough onto a clean surface. Gradually knead in 1 tablespoon (14 grams) of coconut oil until fully incorporated. Form the dough into a ball, return to the bowl, cover, and let rise for 1 hour or until doubled in size.
- Shape and Second Rise: After the dough has risen, deflate it gently and shape it into a long log. Cut into even slices, then form each slice into a ball. Arrange these on a baking tray, spaced apart, cover, and let rise for another 10-20 minutes.
- Shape the Paan: Flatten each dough ball into an oval shape, brush each with coconut oil, and prepare a loaf pan with parchment paper on its side.
- Stack and Third Rise: Stack the ovals in the prepared loaf pan with parchment paper between each. Cover and allow to rise for 10-20 minutes.
- Bake: Preheat the oven to 392°F (200°C). Bake the bread stack for 20 minutes. Then, separate the slices, place them flat on a baking tray, and return to the oven to roast for 5 minutes on each side or until golden brown and crispy.
- Cool and Enjoy: Once roasted, place the slices on a cooling rack. Serve warm with butter, curry, or coconut sambol.
Recipe Video
Notes
- Yeast Activation: Make sure the water used to activate the yeast is lukewarm—not too hot, not too cold. This ensures the yeast becomes active without being killed by excessive heat, which is crucial for the dough to rise properly.
- The First Rise: Patience during the first rise is key. Ensure the dough is placed in a warm, draft-free area to help it double in size. This is essential for developing the bread’s structure and texture.
- Experiment with Flavors: Feel free to add herbs or spices to the dough for a different twist. Curry leaves, cumin seeds, or even a pinch of turmeric can add unique flavors that complement the bread’s natural taste.
- Butter for Flavor and Shine: Brushing melted butter on both sides of the dough before the final baking not only adds flavor but also gives the bread a tempting shine and golden color. This step can be a game-changer in enhancing the taste and visual appeal of the bread.
- Storage and Reheating: Roast Paan can stay fresh for up to three days when stored in an airtight container. For that just-baked taste and texture, reheat them in a preheated oven for about 10 minutes before serving. This makes the Roast Paan just as delicious as when it first came out of the oven
- Additional Notes: This recipe’s success heavily depends on the yeast activation process and the dough’s rise times, which can vary. Ensure the yeast is fresh and active for best results, and allow the dough plenty of time to rise to achieve the optimal texture.
Summary
This roast paan recipe was an absolute revelation to me, I must say! It’s the ultimate blend of crispy, golden, and tender – a real homage to the beloved Sri Lankan kitchen arts. And here’s the kicker: it’s unexpectedly easy to whip up. Brace yourself for this irresistible, fragrant journey, and give this distinctive bread recipe a go.
If the crispy yet tender textures of this Sri Lankan bread leave you craving more, prepare for another culinary delight. You’ll adore the rich, crumbly experience waiting in my next adventure: This Sri Lankan Love Cake Is My New Bake Love – You’ve Got to Try This! Join me as we continue to explore the wonders of Sri Lankan baking, one recipe at a time.
Can you roast a pan to make toast? Thanks.