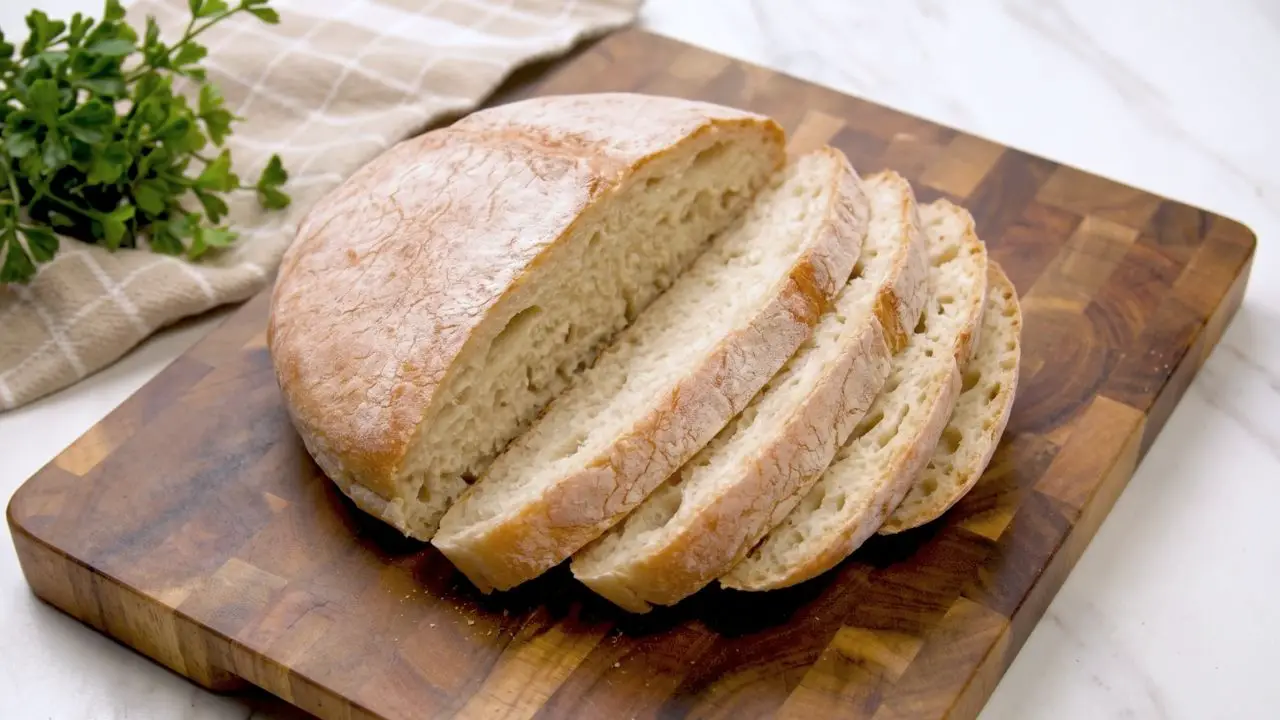
This air fryer bread is really simple. You only need 4 ingredients, the dough is easy to handle, and most of the time is just waiting for it to rest and rise. The finished loaf comes out golden on the outside with a soft, fluffy middle, and that fresh bread smell filling the kitchen is pretty hard to beat.
Come join me on Facebook here for easy recipes, cozy bakes, and little kitchen tips from my kitchen to yours.
Check out my 4-ingredient no-knead air fryer bread video below and see exactly how I make this simple little loaf from start to finish. Give the video a like and subscribe to my YouTube channel for more easy air fryer recipes and simple homemade bread ideas.
Why you’ll love this air fryer bread
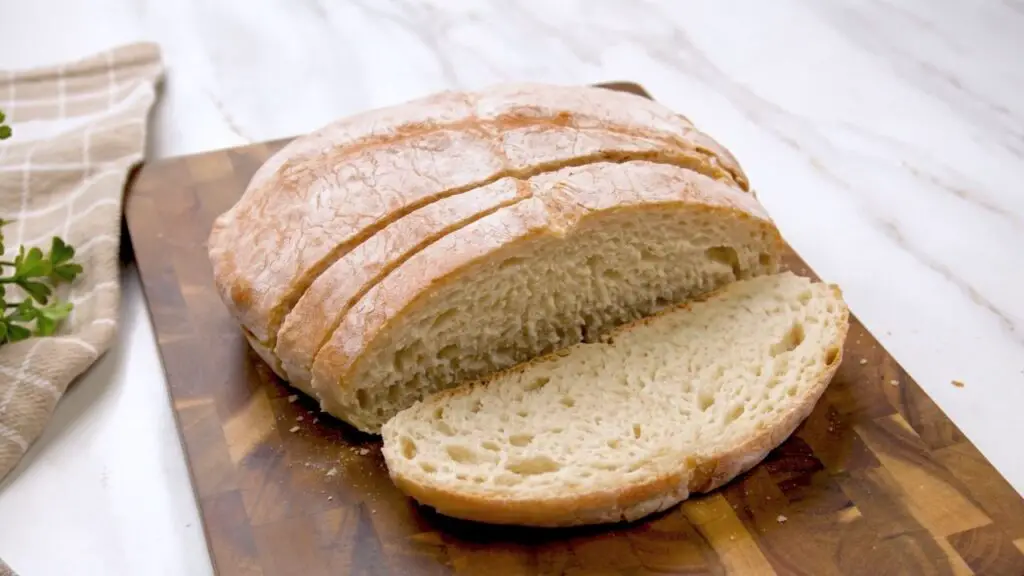
This is a nice little bread recipe when you want to make one loaf without turning on the full-size oven. The ingredients are basic, there’s no mixer involved, and you don’t need any special bread-making equipment.
You do still work with the dough a little, but only briefly. After the first rest, you stretch and fold it from all four sides, which takes about a minute. After that, most of the work is simply giving the dough enough time to rise.
I also like the size of this loaf for an air fryer. It’s small enough to fit comfortably, but still gives you enough bread for several good slices.
Texture + flavor
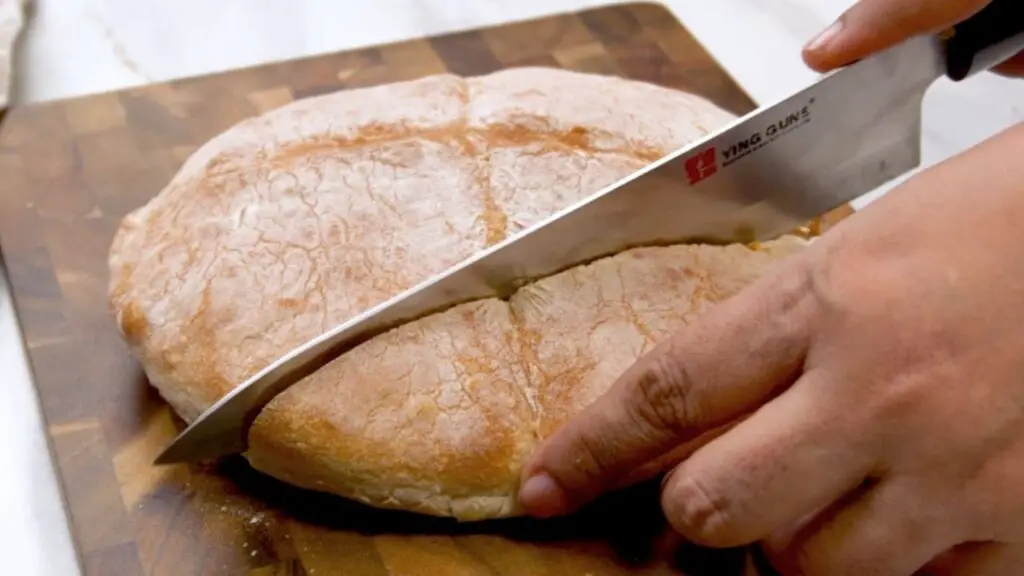
The outside gets nicely golden with a light crispness around the crust, while the middle stays soft and fluffy. It has that simple homemade bread flavor that works with just about anything.
I love it warm with butter, but it’s also really good toasted, served with eggs, or used for a small sandwich. It’s so easy to make that I honestly hardly ever buy bread anymore.
4-ingredient air fryer bread ingredients
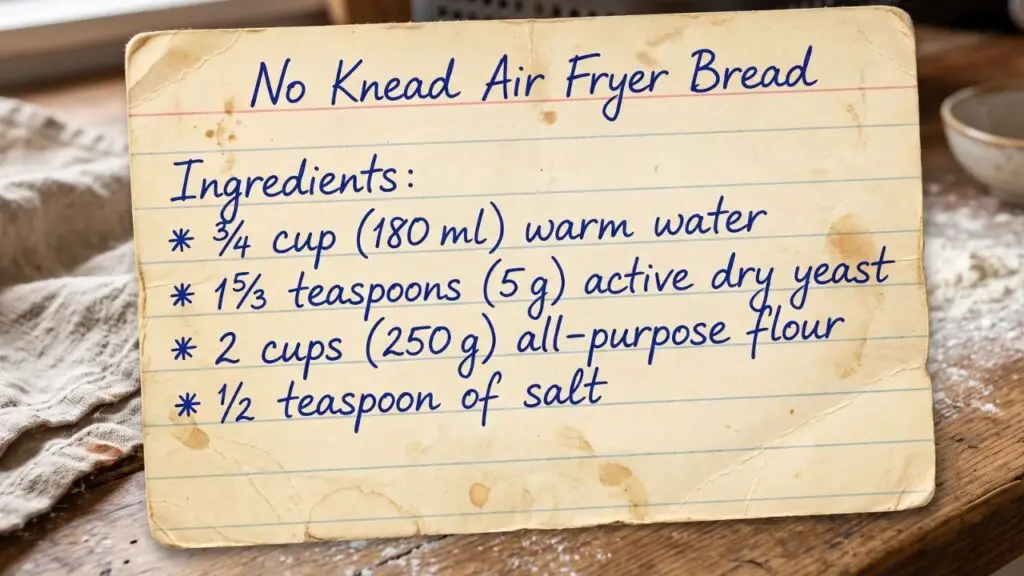
- ¾ cup (180 ml) lukewarm water
- 1⅔ teaspoons (5 g) active dry yeast
- 2 cups (250 g) all-purpose flour
- 1/2 teaspoon (about 3 g) salt
Equipment
- Air fryer or halogen air fryer like I am using in the video
- 2 mixing bowls
- Fine-mesh sieve
- Spatula
- Clean kitchen towel
- Air fryer liner or parchment paper
- Sharp knife or razor blade
- Measuring cups and spoons or a kitchen scale
How to make no-knead bread in the air fryer
Step 1: Start the yeast
To make this no-knead bread, start by pouring three-quarters of a cup, or 180 milliliters, of lukewarm water into a mixing bowl. Add one and two-thirds teaspoons, or 5 grams, of active dry yeast and give it a quick stir until the yeast has dissolved.
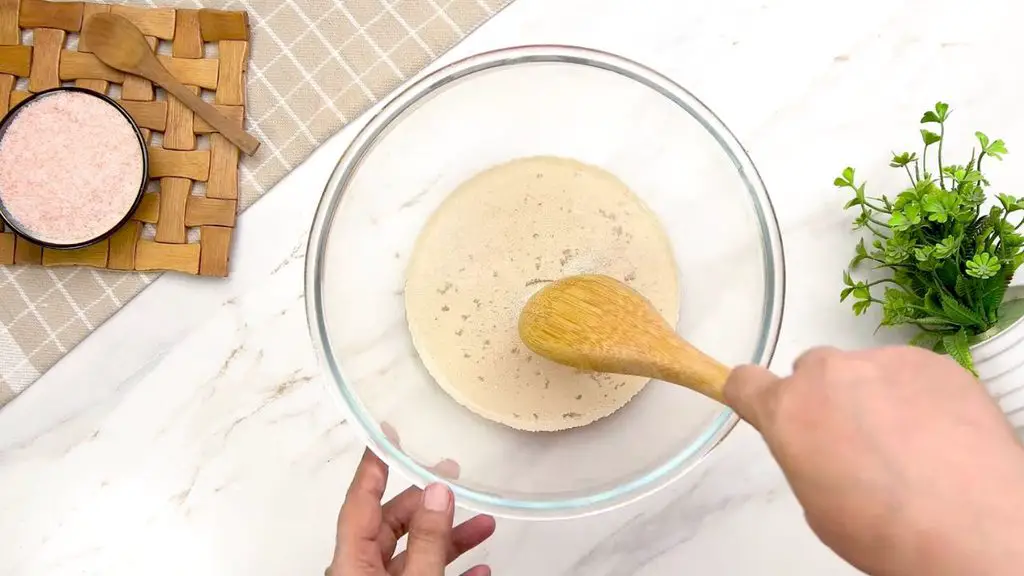
Let it sit for about 5 to 10 minutes so the yeast has a chance to activate before you add the flour. You may see a little foam starting to form on top, which is a good sign that the yeast is working.
Top Tip: The water should feel comfortably warm, not hot. If it feels hot to your hand, let it cool a little before adding the yeast.
Step 2: Sift the flour
Now, take a separate mixing bowl and place a sieve over the top. Sift in 2 cups, or 250 grams, of all-purpose flour so there are no lumps and the flour stays nice and light.
Add about half a teaspoon of salt and give it a quick mix so the salt is spread evenly through the flour.
Step 3: Mix the dough
Next, add the flour mixture to the bowl with the yeast water and start mixing it with a spatula. Keep stirring and scraping around the sides of the bowl until all the flour has been worked in and there are no dry patches left.
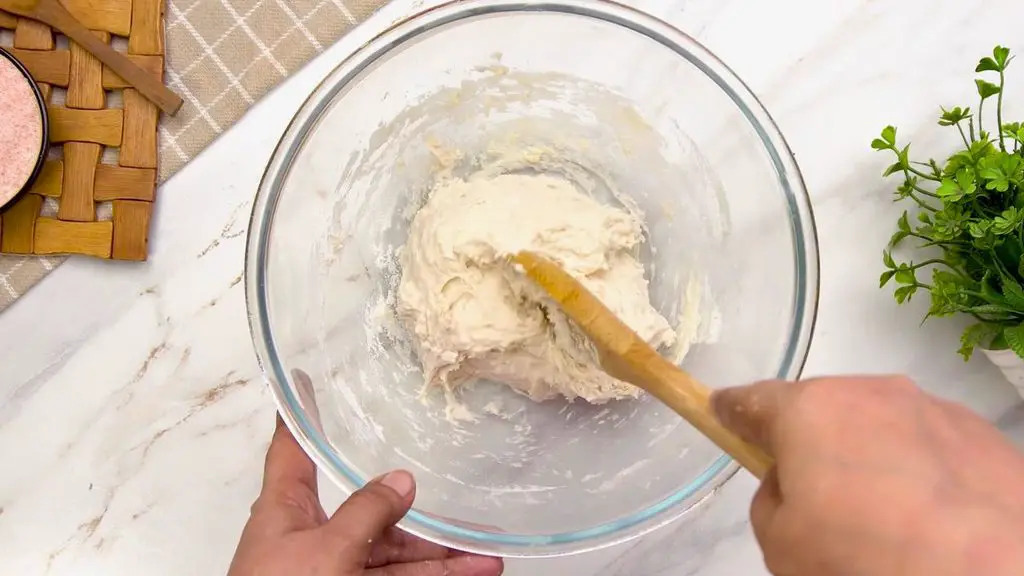
The dough will look rough and sticky at this point, and that’s fine. It doesn’t need to look smooth yet.
Step 4: Let the dough rest
Cover the bowl with a damp kitchen towel and let the dough rest for 30 minutes. It may rise a little while it sits, and the rest also makes the dough easier to stretch and fold afterward.
You don’t need to touch it during this part. Just give it the full 30 minutes.
Step 5: Stretch and fold
Wet your hands so the dough doesn’t stick, then stretch and fold the dough from all four sides. Since we’re not kneading it, these quick folds do the work for us.
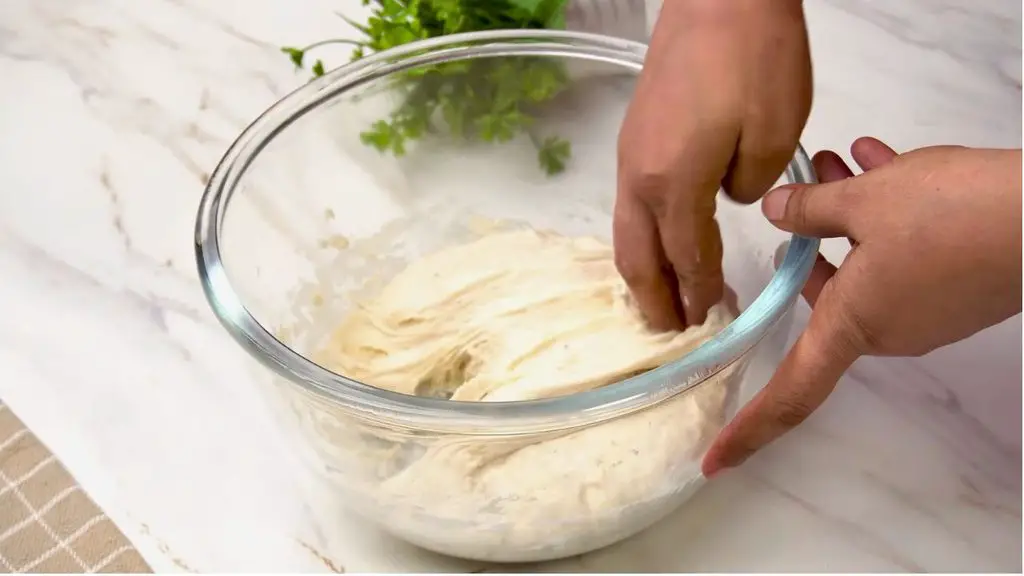
One round is enough here, so you only need to spend about a minute doing it.
Step 6: Let the dough rise
Cover the bowl again with the damp kitchen towel and leave the dough to rise for about 1 to 1½ hours. Give it enough time to get noticeably bigger and nice and puffy before you move on.
How long it takes can depend on the temperature of your kitchen, so don’t worry if yours needs a little longer.
Note: Go by how the dough looks rather than watching the clock too closely. You want it clearly risen and puffy.
Step 7: Fold and shape
Once the dough has risen, lightly flour your work surface so it doesn’t stick. Wet your hands again, gently fold the dough over itself a few times, then transfer it onto the floured surface.
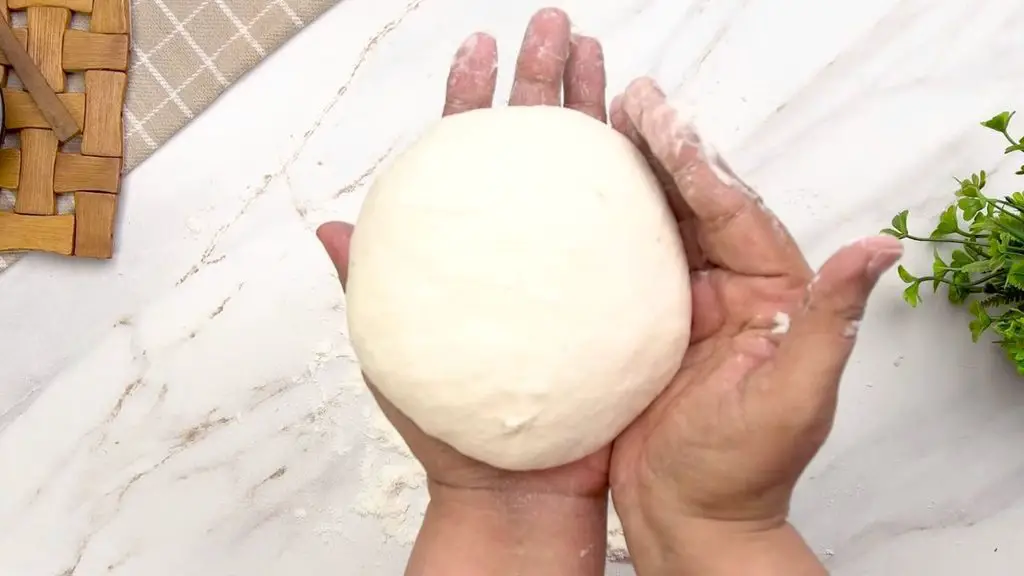
Fold the edges in toward the middle and gather the dough into a rough round ball. Then use your hands to shape it into a nice round loaf, just like you can see me doing in the video. Keep turning it as you shape it and tuck the edges underneath until it looks smooth and holds its shape.
Step 8: Let it rise again
Next, place the dough onto an air fryer liner, like the one I’m using here. If you don’t have one, parchment paper works just fine too.
Cover the dough with a clean kitchen towel and let it rest for another 30 minutes to rise and puff up.
Step 9: Flour and score the top
Sprinkle a little flour over the top of the dough to give the loaf that nice rustic look. Then use a sharp knife or razor blade to score the top so the bread has room to open up as it bakes.
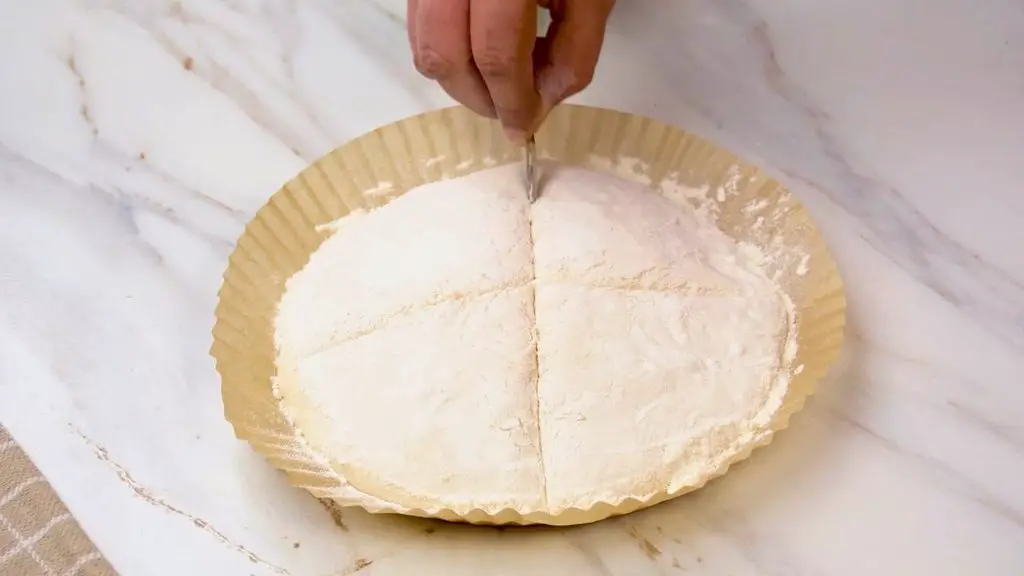
You don’t need to do anything fancy here. One clean cut across the top works perfectly well.
Top Tip: Make the cut with one confident motion rather than sawing back and forth through the dough.
Step 10: Preheat the air fryer
Preheat your air fryer to 430°F (220°C) for about 5 minutes so it’s properly hot before the bread goes in.
If your air fryer doesn’t go quite that high, use the highest temperature it has for the preheat.
Step 11: Air fry the bread
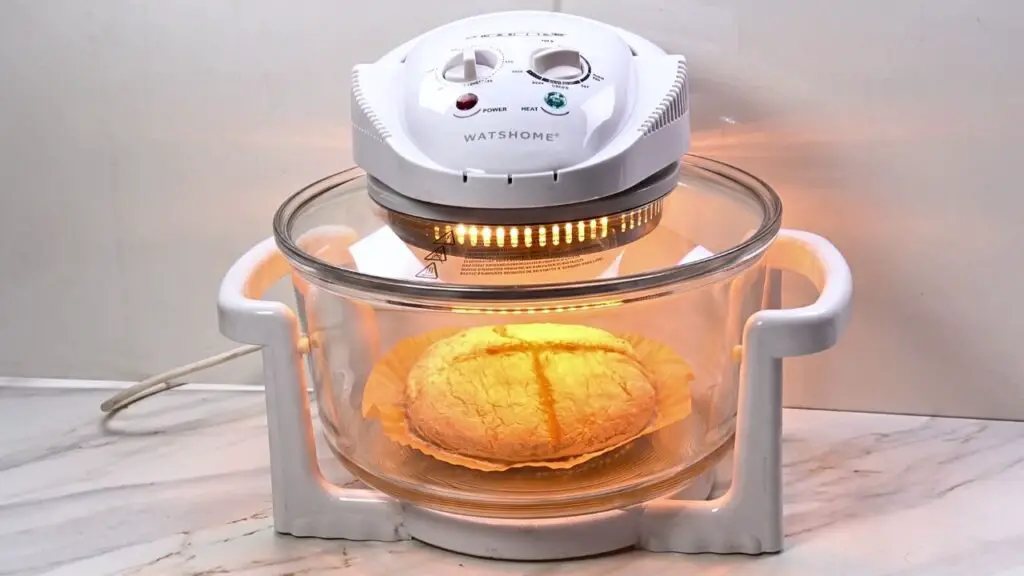
If you’re using a glass bowl air fryer like mine, place the bread into the glass bowl and carefully set the heating element back on top.
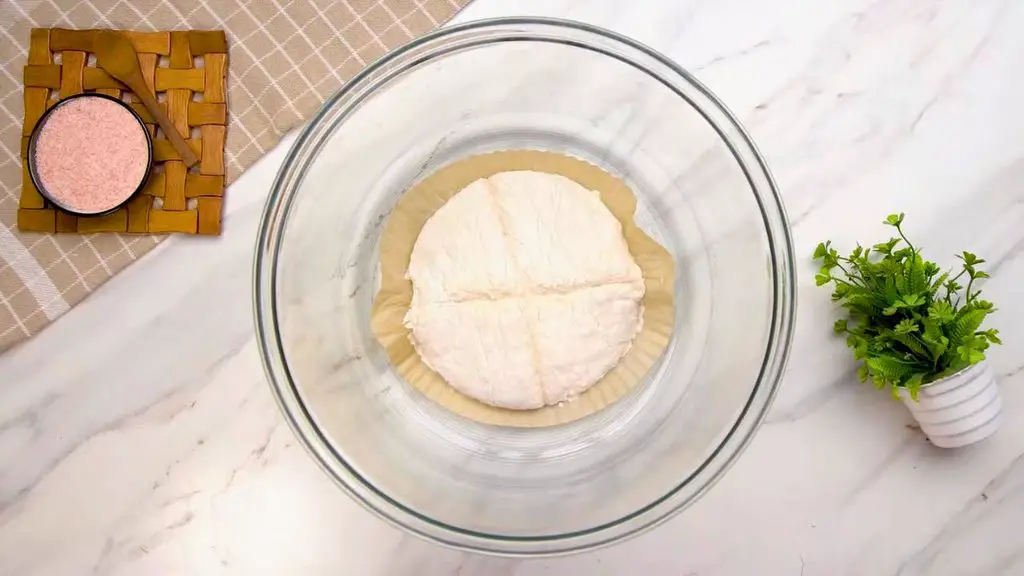
Air fry the bread at 390°F (200°C) for about 25 to 30 minutes. Start checking it at around 25 minutes. The top should be beautifully golden brown, and your kitchen should smell absolutely amazing.
If the bottom still looks pale once the top is done, carefully flip the bread and air fry it for another 5 to 10 minutes.
Step 12: Let it cool
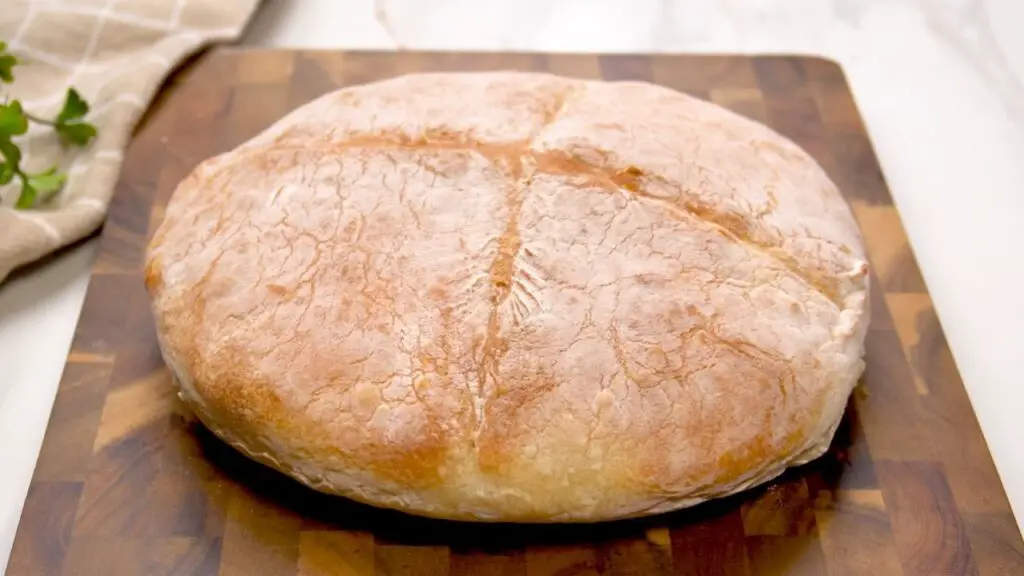
Once this air fryer bread is done, take it out and let it cool completely before slicing. I know it’s tempting to cut into fresh bread straight away, but the middle finishes setting as it cools.
Once it has cooled, slice it and have a look at that soft, fluffy inside. So satisfying.
Baking bread in an air fryer
Baking bread in an air fryer works really well for smaller loaves like this one. The air fryer heats up quickly, and because the loaf isn’t huge, the hot air can move around it nicely while it bakes.
The main thing to keep an eye on is the top because air fryers heat very strongly from above. If you already know your air fryer browns food quickly, start checking the loaf a few minutes earlier.
Also make sure there is enough space above the dough before baking. It will rise more once the heat hits it, so you don’t want the top getting too close to the heating element.
Related Recipe: Let me also show you how to make this air fryer whole wheat bread here. This small loaf is easy, cozy, and so good warm from the air fryer.

Easy Air Fryer No-Knead Bread
This 4-ingredient no-knead air fryer bread is simple, fun to make, and comes out with a golden crust and soft middle. I love how such a basic little dough turns into a really good homemade loaf.
6
servings15
minutes25
minutes150
kcal90
min2
hours10
minutesIngredients
3/4 cup 3/4 cup (180 ml) warm water
1 2/3 teaspoons 1 2/3 teaspoons (5 g) active dry yeast
2 cups 2 cups (250 g) all-purpose flour
1/2 teaspoon 1/2 teaspoon (3 g) salt
Directions
- Pour 3/4 cup of lukewarm water into a mixing bowl.
- Add 1 2/3 teaspoons of active dry yeast, stir until dissolved, and leave for 5 minutes.
- Sift 2 cups of all-purpose flour into a separate bowl; add 1/2 teaspoon of salt and mix.
- Combine yeast mixture with flour; stir with a spatula until no dry patches remain.
- Cover the dough with a damp towel and let it rest for 30 minutes.
- Wet hands and fold the dough from all four sides toward the middle.
- Cover and let the dough rise for 1 to 1.5 hours, until puffy.
- Lightly flour the work surface and fold the dough into a round ball.
- Shape the dough into a smooth ball, cover, and let rise for 30 minutes.
- Sprinkle flour on the dough, score with a knife, and preheat the air fryer to 220°C (430°F).
- Place dough in the air fryer; air fry at 200°C (390°F) for 25 minutes.
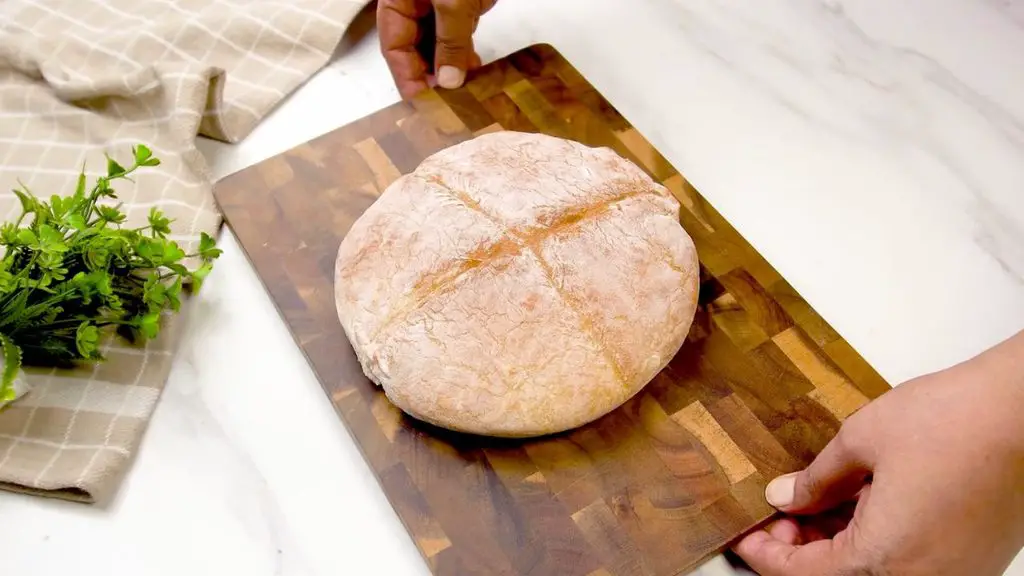
- Bread is ready when golden brown and smells amazing.
Recipe Video
Notes
- Use lukewarm water only: The water should be just lukewarm, not hot. Water that is too hot can stop the yeast from working properly.
- Watch the top closely: Start checking the bread around 25 minutes because air fryers can brown the top quickly. If the top is done but the bottom still looks pale, carefully flip the loaf and cook it for another 5 to 10 minutes.
- Store and reheat easily: Keep the cooled bread wrapped or in a sealed container at room temperature for about 2 days. For longer storage, slice and freeze it, then reheat individual slices in a toaster or air fryer.
Nutrition Facts
- Total number of serves: 6
- Calories: 150kcal
- Fat: 1g
- Carbohydrates: 32g
- Protein: 5g
Common air fryer bread problems
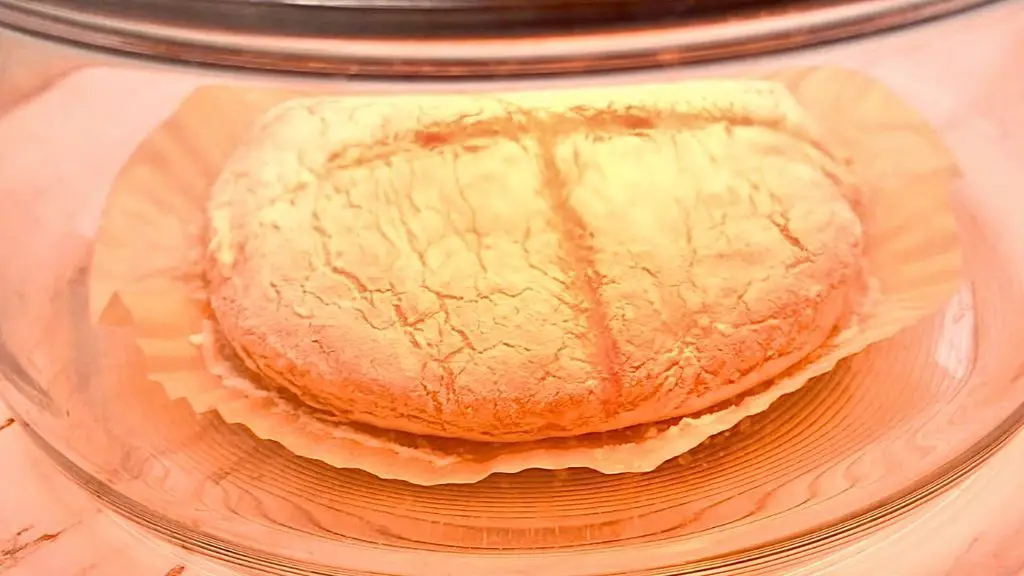
Why didn’t my bread rise?
The first thing to check is your yeast. If it is old or expired, the dough may barely rise at all.
Also make sure the water wasn’t too hot when you added the yeast. Lukewarm water is what you want. A cool kitchen can also slow the rise, so sometimes the dough simply needs a little more time.
Why is my dough so sticky?
This dough is supposed to be sticky, so don’t keep adding more flour just to make it feel dry.
Wet hands make the stretching and folding much easier, and a light dusting of flour on the work surface is enough when it’s time to shape the loaf.
Top Tip: Too much extra flour can make the bread heavier, so only use what you need for handling and shaping.
Why did the top brown too quickly?
Some air fryers cook more strongly from the top than others. If yours runs hot, start checking the bread before the full cooking time is up.
If the crust already has enough color but the bread still needs more time, lower the temperature slightly and keep cooking.
Why is the bottom still pale?
This is pretty common in an air fryer because most of the heat comes from above.
Once the loaf is firm enough to handle, carefully flip it and give the bottom another 5 to 10 minutes.
How to serve homemade bread
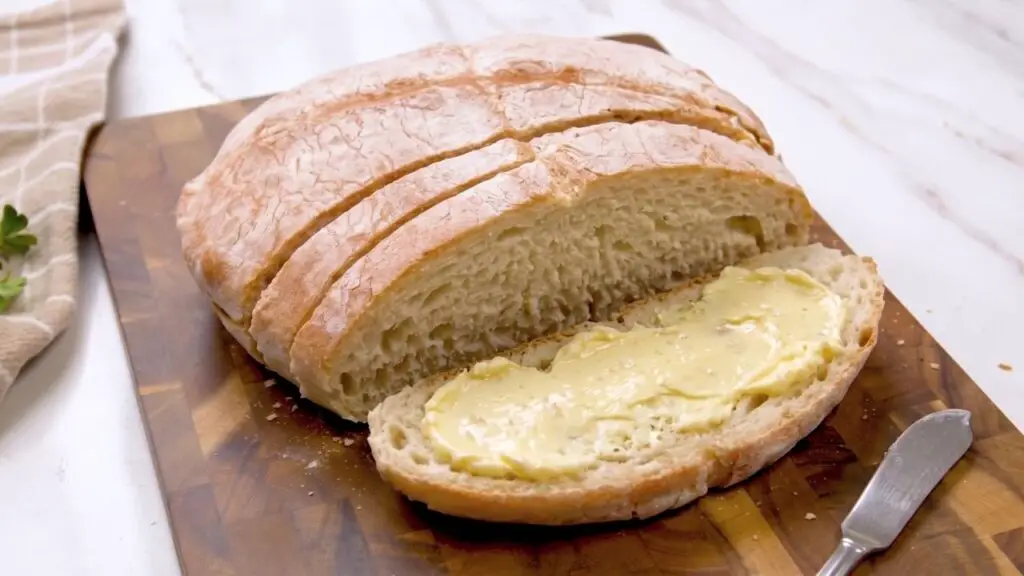
This bread is really good while it’s fresh, especially with a little homemade butter. Let’s be honest… warm bread and butter is already enough for me.
You can also toast it for breakfast, serve it with poached eggs or this yummy lentil soup, or use it for sandwiches. Because the flavor is simple, it works with both sweet and savory toppings.
How to store air fryer bread
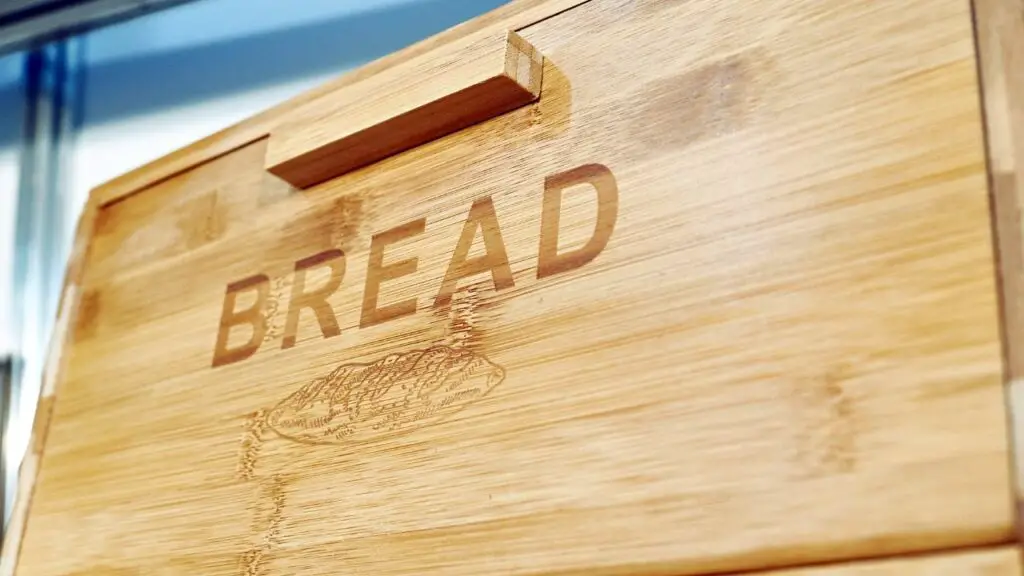
Let the loaf cool completely before you store it. Keep it wrapped in paper or in the bread box or in a sealed container at room temperature for about 2 days.
If you want to keep it longer, slice it first and freeze the slices. That way you can take out only what you need instead of defrosting the whole loaf.
How to reheat it
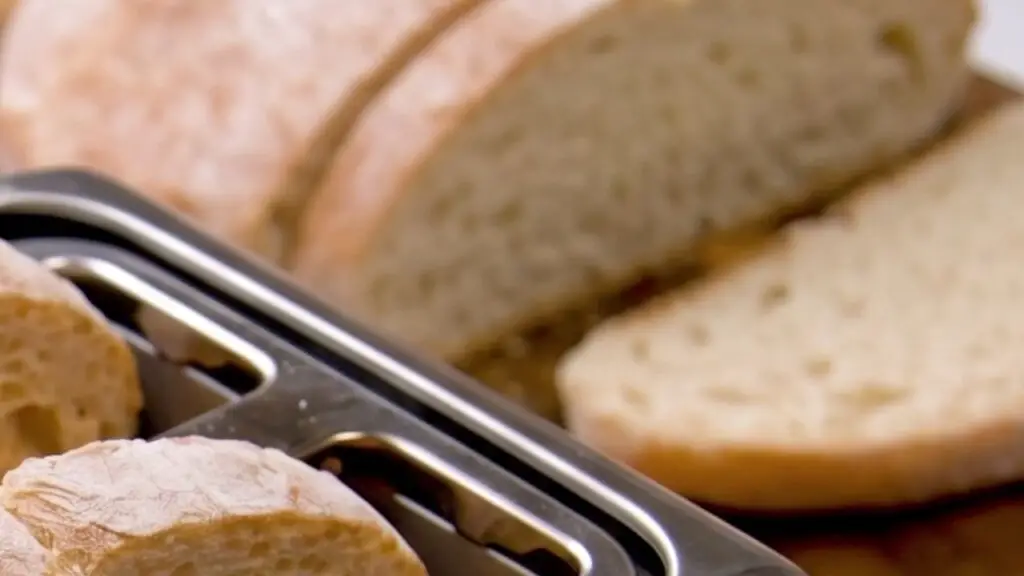
For a slice or two, I usually just pop the bread in the toaster until it’s warm and lightly crisp again. You can also reheat it in the air fryer at 350°F (175°C) for a couple of minutes if you want the outside a little crispier.
More air fryer bread recipes
If you enjoyed making this air fryer bread, have a look at some of my other air fryer recipes below too.
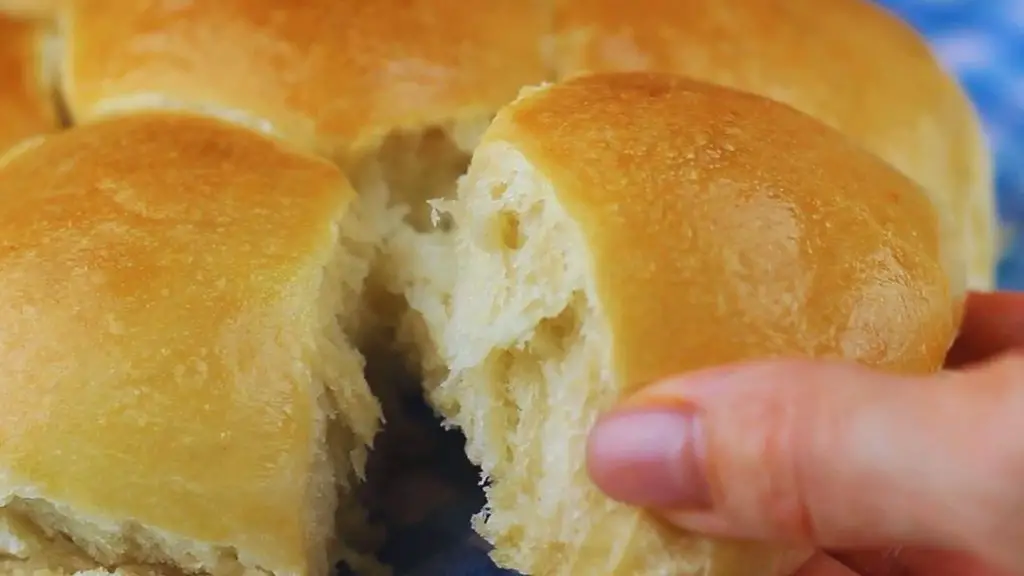
- Air Fryer Bread Rolls (Moist, Tender and Easy To Make) – These homemade air fryer bread rolls come out soft, tender, and beautifully golden. They are an easy option when you want fresh bread without turning on the oven.
- Easy Cheesy Air Fryer Garlic Bread – This easy air fryer garlic bread is crispy around the edges, soft in the middle, and topped with plenty of melted cheese and garlic flavor.
- Air Fryer Cinnamon Rolls With Heavy Cream – These air fryer cinnamon rolls are soft, fluffy, and extra rich thanks to the addition of heavy cream. They make a delicious breakfast or sweet treat.
And if you have any questions about this 4-ingredient no-knead air fryer bread, or about the glass bowl air fryer I’m using, leave me a comment below or ask me in the YouTube comments. I try to reply to as many comments and questions as I can, and I’d love to hear how your bread turned out.