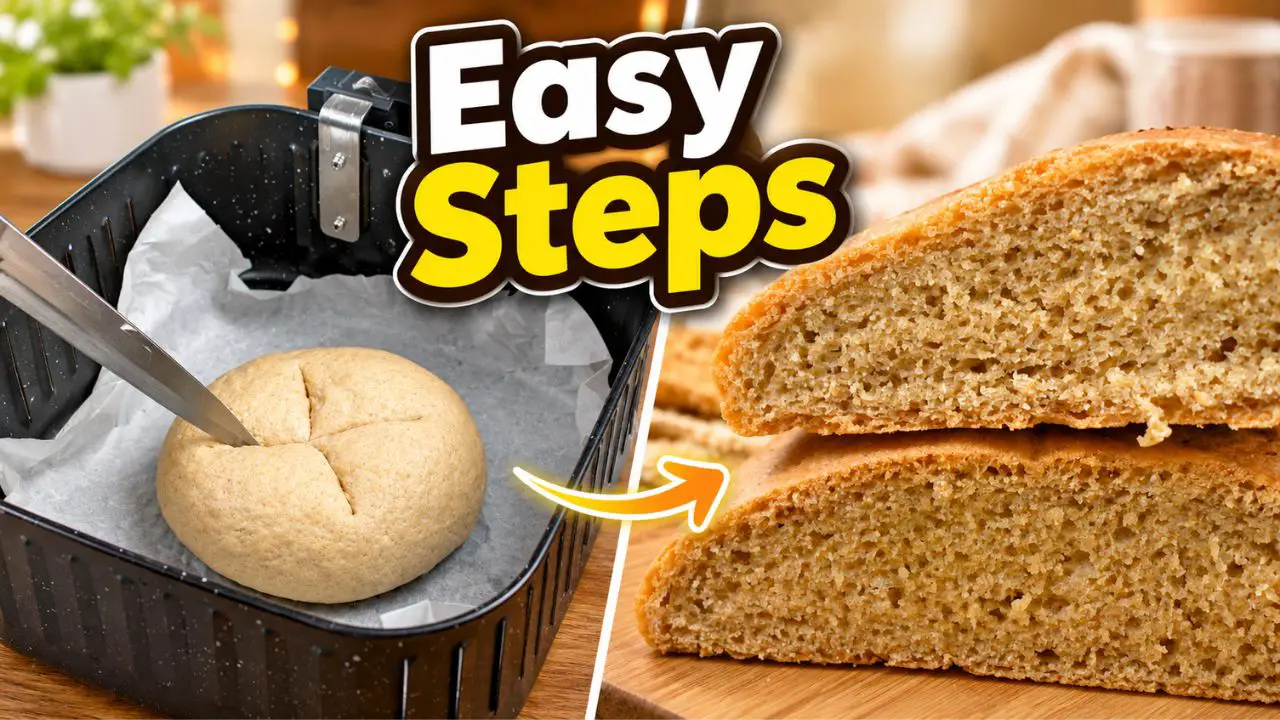
Let me show you how to make air fryer whole wheat bread, because this small loaf is easy, cozy, and so good warm from the air fryer.
Come join me on Facebook here for easy recipes, cozy bakes, and little kitchen tips from my kitchen to yours.
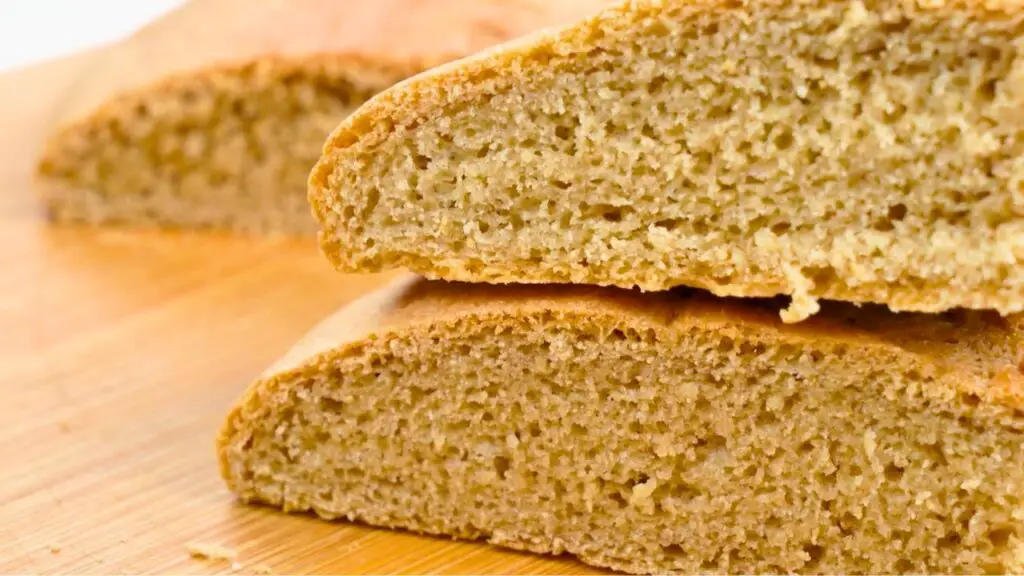
It has a lightly crisp crust, a soft middle, and that fresh bread smell that makes you want to cut a slice right away. Let’s be honest, warm bread with butter is hard to beat.
Watch my air fryer whole wheat bread recipe video below to see exactly how I shape, score, and bake this cute little loaf. If you enjoy it, like the video, and subscribe to my YouTube channel for more easy air fryer baking recipes!
Why You’ll Love This Air Fryer Bread
This recipe is great when you want fresh bread, but you do not want to turn on the oven. It makes one small loaf, which is perfect for the air fryer basket and perfect for a few fresh slices.
I also love that this bread does not need a loaf pan. You shape the dough into a round loaf, place it right in the lined air fryer basket, and let the air fryer do the work. Simple, but so satisfying.
The best part, in my opinion, is how practical it is. You get a fresh, whole wheat loaf without making a huge batch. It is the kind of bread you can make for breakfast, lunch, soup night, or just because you want fresh bread in the kitchen.
Texture + Flavor
This air fryer whole wheat bread has a mild whole wheat flavor. It is not sweet, and it is not heavy like some whole wheat breads can be.
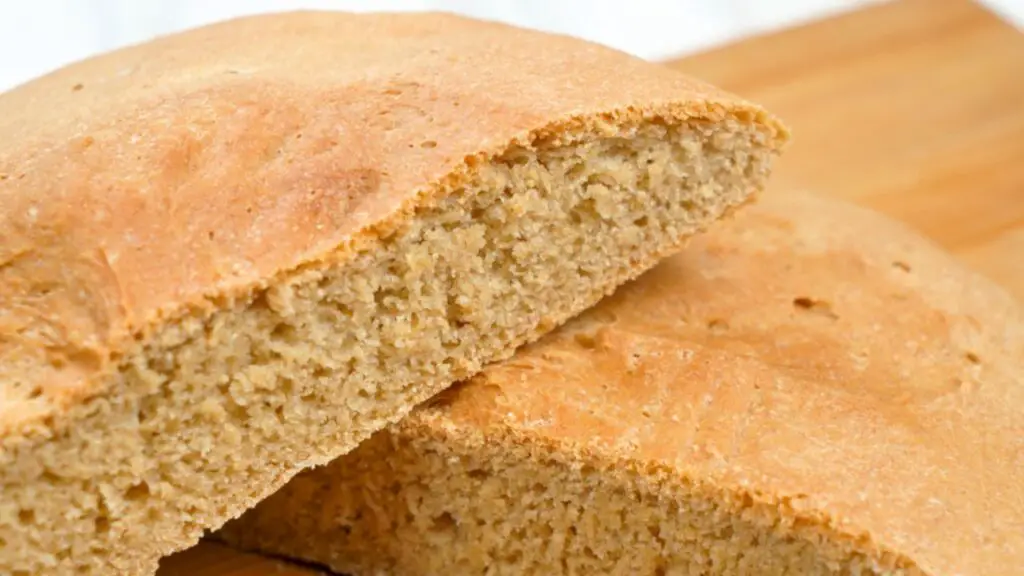
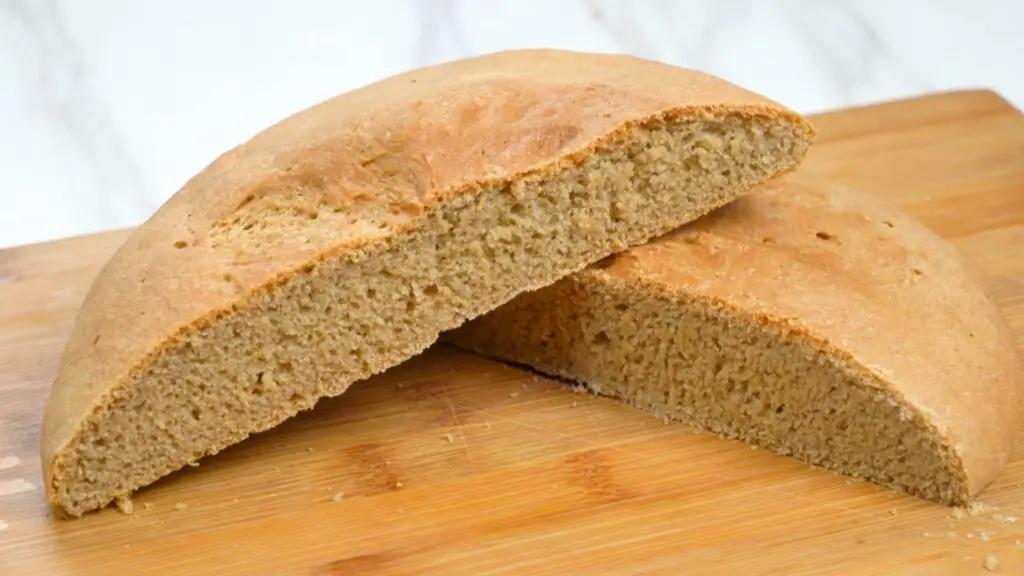
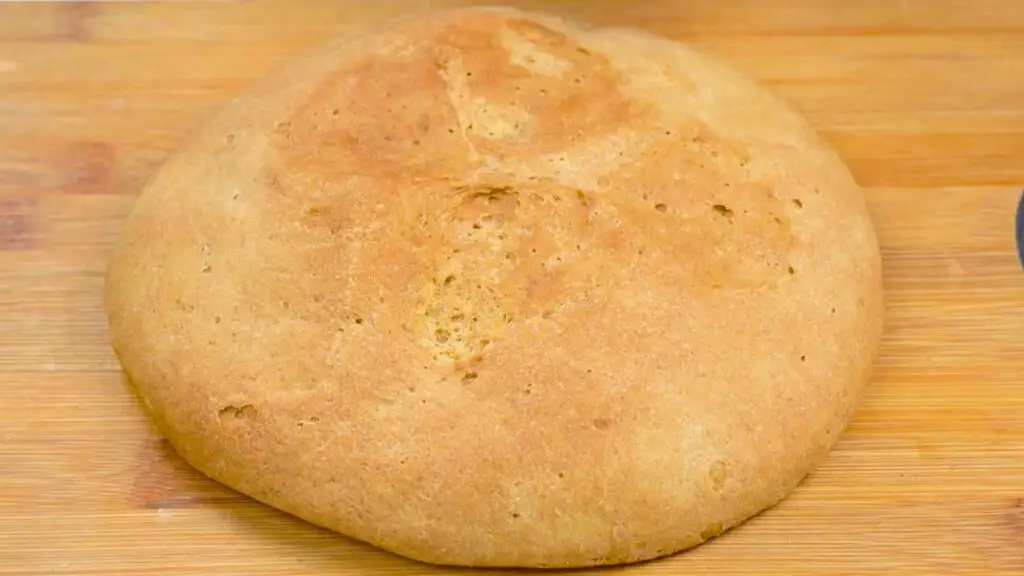
The outside has a nice crust, and the inside stays soft and tender. It is sturdy enough to slice, but still soft enough to enjoy warm with butter.
This is not meant to be a tall sandwich loaf. It is a small rustic round bread, and honestly, that is part of what makes it sooo cute.
Air Fryer Whole Wheat Bread Ingredients
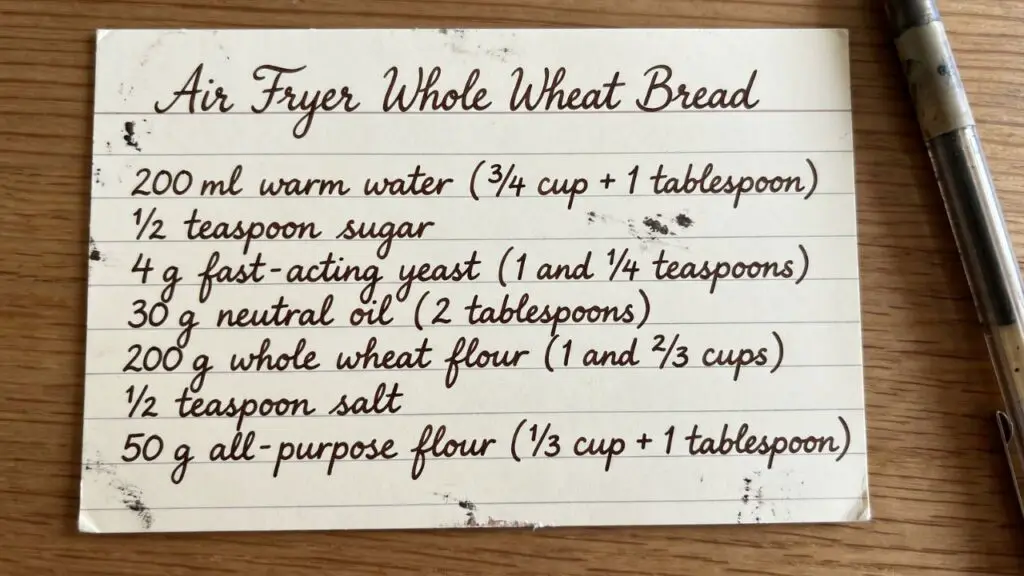
This recipe makes 1 small loaf, about 6 slices.
- 3/4 cup plus 1 tablespoon of lukewarm water, 200 milliliters
- 1/2 teaspoon of granulated sugar
- 1 1/4 teaspoons of fast-acting yeast, 4 grams
- 2 tablespoons of neutral oil, 30 grams
- 1 2/3 cups of whole wheat flour, 200 grams
- 1/2 teaspoon of salt
- 1/3 cup plus 1 tablespoon of all-purpose flour, 50 grams
- A little extra neutral oil for the bowl and for brushing the top
Use a mild oil here, like vegetable oil, canola oil, sunflower oil, or light olive oil. I would not use a strong olive oil because the flavor can stand out too much in a simple bread like this.
A Quick Note About The Flour
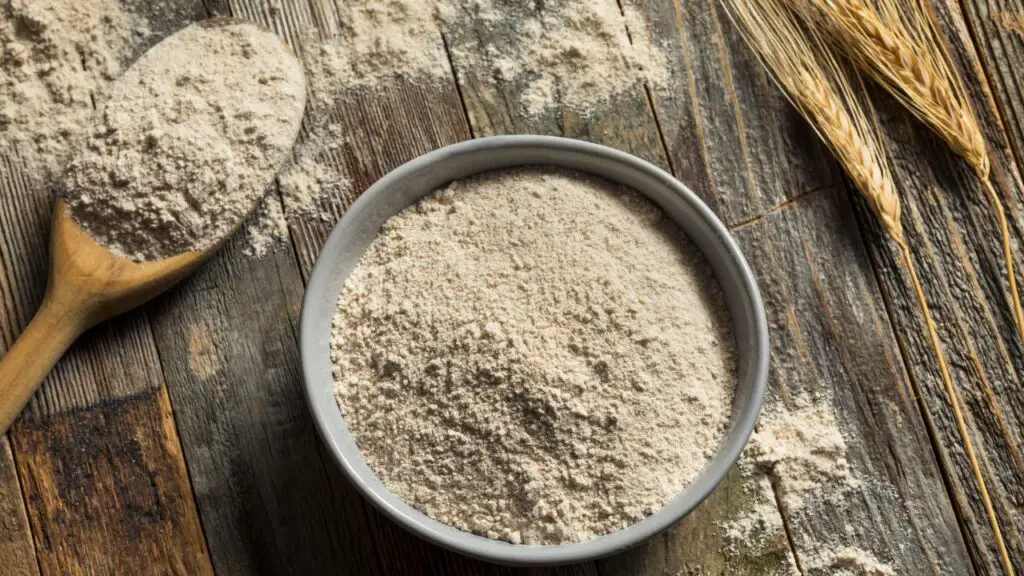
The whole wheat flour gives this bread its hearty flavor and color. The all-purpose flour helps soften the loaf a little, so it does not feel too dense.
I would keep the flour mix as written the first time you make it. Once you know how the dough feels, then you can play around with it.
Equipment You Need
- Air fryer
- Large mixing bowl
- Spoon or spatula
- Clean hands for mixing and shaping
- Plastic wrap or a clean kitchen towel
- Air fryer liner or parchment paper
- Small knife
- Pastry brush, or clean fingers for brushing oil on top
You do not need a stand mixer for this recipe. The dough is small, and I actually prefer mixing it by hand because you can feel when it starts coming together.
Instructions For This Air Fryer Whole Wheat Bread
Step 1: Start the yeast mixture
To make this easy whole wheat bread, start by adding 3/4 cup plus 1 tablespoon of lukewarm water, 200 milliliters, to a large mixing bowl.
Add 1/2 teaspoon of granulated sugar and 1 1/4 teaspoons of fast-acting yeast, 4 grams. Give it a quick mix.
Next, add 2 tablespoons of neutral oil, 30 grams, and mix again.
Top Tip: The water should feel just lukewarm, not hot. If it feels hot on your finger, let it cool for a minute before adding the yeast. Yeast likes warmth, but too much heat can ruin it.
Step 2: Add the whole wheat flour
Add 1 2/3 cups of whole wheat flour, 200 grams, a little at a time, mixing as you go.
The dough will start to look thick, sticky, and a little rough. That is normal. Do not worry about making it smooth yet.

Step 3: Add the salt and all-purpose flour
Add 1/2 teaspoon of salt and give it another quick mix.
Then add 1/3 cup plus 1 tablespoon of all-purpose flour, 50 grams, a little at a time. Mix until the dough starts to come together.
I usually switch to my hand here because it makes it easier to pull in any dry flour from the sides of the bowl. The dough should feel soft and a little sticky, but it should still hold together so you can shape it into a ball.
Note: Do not keep adding flour until the dough feels dry. A little stickiness is fine. Too much flour can make the bread heavy.
Step 4: Let the dough rise
Add a little neutral oil to the bottom of the bowl so the dough does not stick. Place the dough back into the bowl and turn it gently so it gets a light coating of oil.
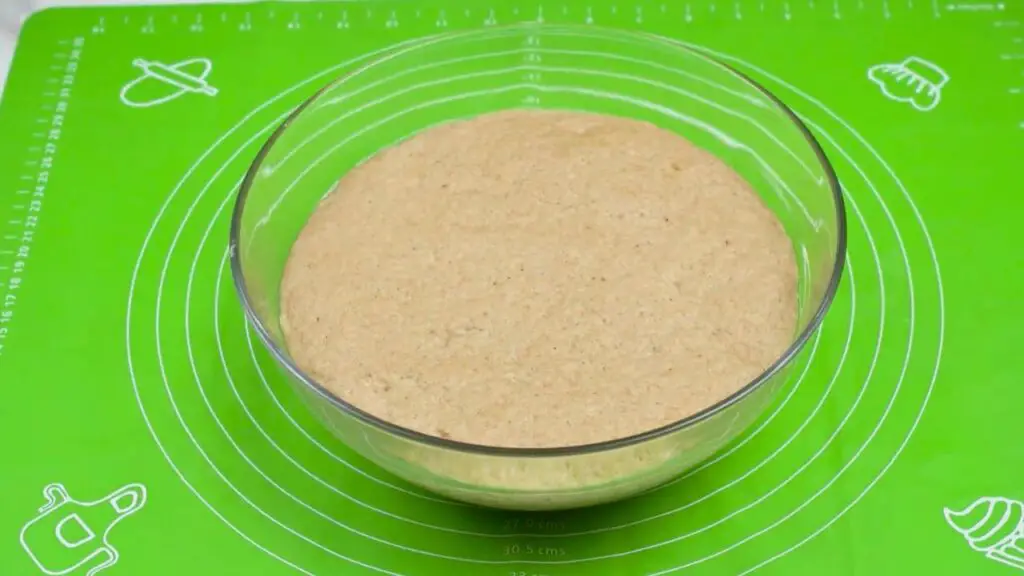
Cover the bowl with plastic wrap or a clean kitchen towel. Leave it in a warm spot for about 1 to 1 1/2 hours, or until the dough has doubled in size.
The dough should look puffy and bigger. If your kitchen is cool, it may take a little longer.
Step 5: Shape the dough
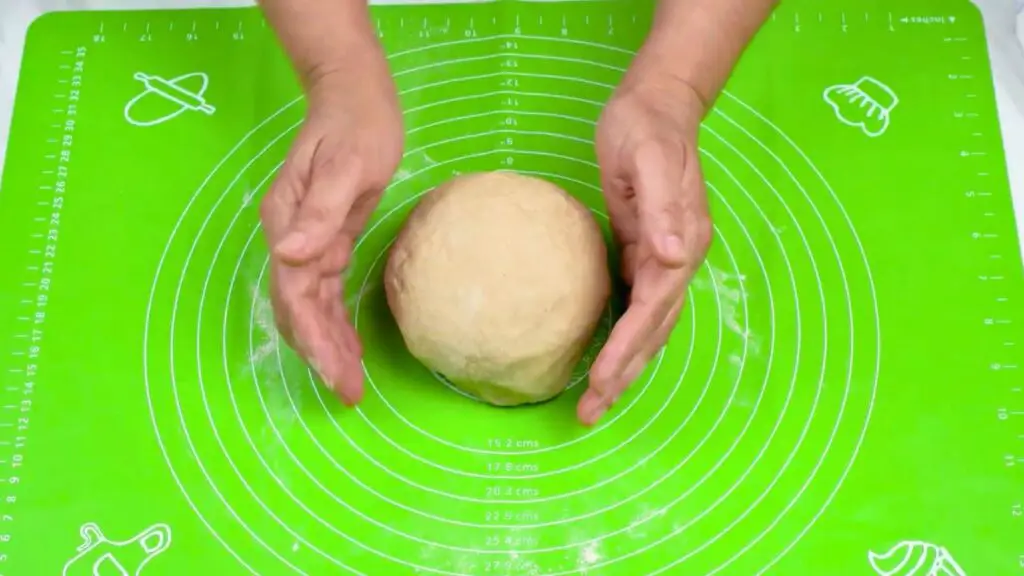
Once the dough has doubled in size, remove the plastic wrap and move the dough onto a lightly floured work surface.
Knead it gently for a short time, just until it feels smoother and easier to shape. Then shape it into a smooth ball by pulling the edges toward the center, turning it over, and rolling it gently on the counter.
Do not press all the air out of the dough. You are only shaping it into a neat round loaf.
Step 6: Prepare the air fryer basket
Line your air fryer basket with an air fryer liner, or use regular parchment paper cut to fit.
An air fryer liner is just parchment paper shaped to fit inside the basket. I like using one because it helps stop the bread from sticking and makes it easier to lift out later.
Note: Do not put loose parchment paper into an empty air fryer. The dough should sit on top of it so the paper stays in place.
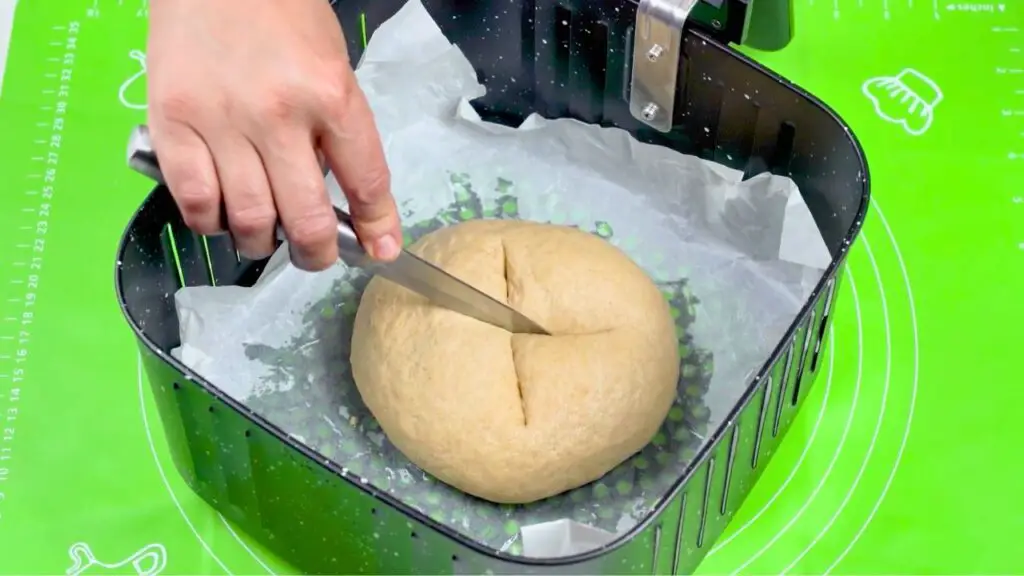
Step 7: Score the top
Place the dough in the lined air fryer basket.
Use a small knife to cut a light cross on top of the dough. Do not cut too deep. A shallow cut is enough to help the top open nicely as it bakes and gives the loaf that rustic, homemade look.
Step 8: Let it rise again
Cover the air fryer basket with plastic wrap or a clean kitchen towel. Leave the dough to rise again for about 30 minutes, until it looks a little puffier and fuller.
This second rise helps the shaped loaf bake softer. It will not double as much as the first rise, but it should look slightly bigger and more relaxed.
Top Tip: If the dough still looks tight after 30 minutes, give it another 10 minutes. The dough should look a little puffed before it goes into the air fryer.
Step 9: Brush the top
Once the dough has risen, brush the top lightly with a little neutral oil.
Be gentle so you do not press the air out of the dough. You only need a thin coating. This helps the top bake with a nicer finish.

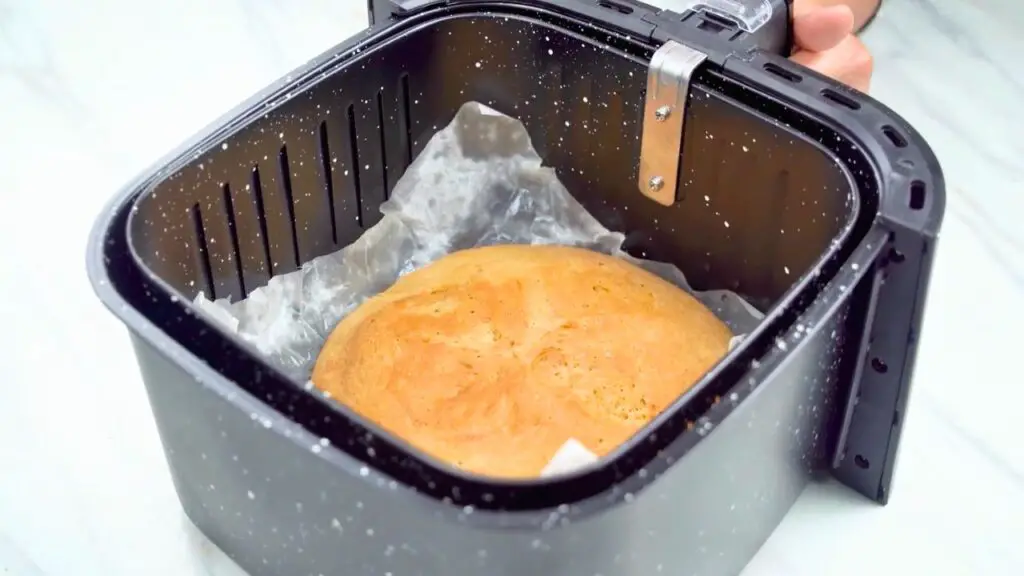
Step 10: Bake the bread
Place the air fryer basket in the air fryer and bake at 356°F, 180°C, for about 25 to 30 minutes.
Start checking at 25 minutes. The top should look set, and the loaf should feel firmer when you gently touch it.
If your air fryer does not have a bottom heating element, carefully flip the bread over and bake at 356°F, 180°C, for another 10 minutes.
The bread is done when the outside feels set, the bottom is no longer soft, and the loaf sounds a little hollow when tapped.
Top Tip: Check the bottom before taking the bread out. In many air fryers, the top colors first, so the bottom may need those extra few minutes after flipping.
How Long To Bake Bread In Air Fryer
For this small loaf, bake at 356°F, 180°C, for 25 to 30 minutes first.
Then flip the bread and bake for another 10 minutes if your air fryer heats mostly from the top. Most air fryers will need about 35 to 40 minutes total.
The exact time depends on your air fryer model and how tall your loaf is. Start checking at 25 minutes, then use the look and feel of the bread to decide.
Related Recipe: If you like baking in your air fryer, you have to try these soft and moist air fryer bread rolls next here.
Easy Air Fryer Whole Wheat Bread
This simple air fryer bread is made from scratch with basic ingredients. It bakes into a soft, golden loaf perfect for any meal.
6
servings1
hour30
minutes30
minutes165
kcal2
hoursIngredients
3/4 cup + 1 tablespoon 3/4 (200 ml) warm water
½ teaspoon ½ (2 g) sugar
1¼ teaspoon 1¼ (4 g) fast-acting yeast
2 tablespoon 2 (30 ml) neutral oil
1⅔ cup 1⅔ (200 g) whole wheat flour
½ teaspoon ½ (3 g) salt
⅓ cup + 1 tablespoon ⅓ (50 g) all-purpose flour
Directions
- Add warm water to a large mixing bowl.
- Mix in sugar and fast-acting yeast.
- Add neutral oil and mix until combined.
- Gradually add whole wheat flour while mixing.
- Mix in salt, then add all-purpose flour gradually.
- Knead the dough until smooth and form into a ball.
- Oil the bowl and let the dough rise covered for 1-1.5 hours.
- Transfer the dough to a floured surface and knead gently.
- Shape into a ball and place in the air fryer basket.
- Cut a cross on top and let it rise for 30 minutes.
- Brush lightly with oil and bake at 180°C for 25-30 minutes.
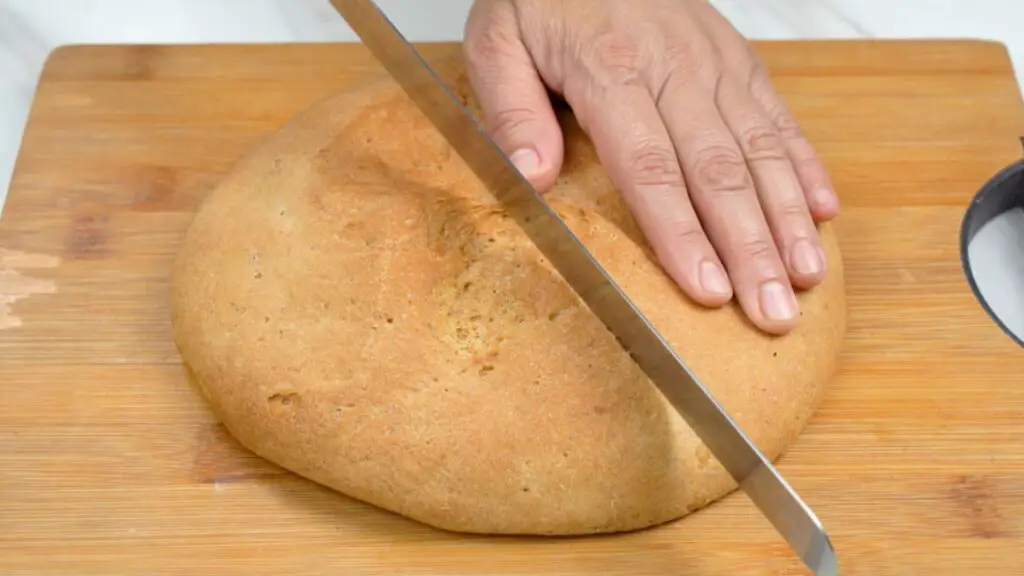
- Let cool before slicing.
Recipe Video
Notes
- Soft and airy loaf: To get the best results, make sure the dough rises fully before baking. This is key for any air fryer bread recipe from scratch to turn out soft and fluffy inside.
- Check the crust carefully: When wondering how long to bake bread in an air fryer, start checking at the minimum time. Every air fryer heats differently, and the crust should be golden and firm.
- Yeast matters: Using fast-acting yeast is important for air fryer bread recipes with yeast. It helps the dough rise quickly and evenly for a tender crumb.
- Healthy and delicious: This healthy air fryer bread is soft inside with a golden crust. Brushing a bit of oil on top before baking adds color and keeps it from drying out.
- Easy to follow: Combining whole wheat flour with a little all-purpose flour creates a tender loaf. This method is perfect for an easy whole wheat bread recipe that tastes homemade and fresh every time.
Nutrition Facts
- Total number of serves: 6
- Calories: 165kcal
- Fat: 5g
- Carbohydrates: 27g
- Protein: 5g
Serving Ideas
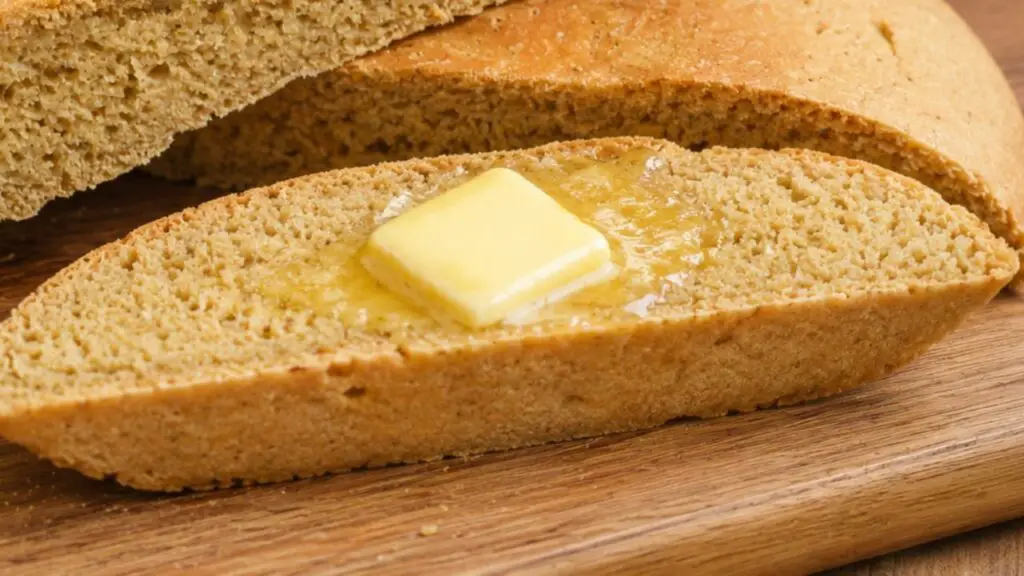
This bread is super delicious with butter while it is still warm. That is my favorite way to eat it.
It is also great with eggs, soup, salad, cheese, jam, honey, or avocado. Since it is not sweet, it works with both savory and sweet toppings.
For a simple meal, serve it with soup or eggs. For a snack, toast a slice and add butter or jam. Simple, cozy, and so good.
Storage
Let the bread cool completely before storing it.
Keep it in an airtight bag or container at room temperature for about 2 days. Since this is a small homemade loaf with no preservatives, it is best eaten fresh.
For longer storage, slice the bread and freeze the slices. That way you can take out just one or two slices when you need them.
Reheating
To warm a slice in the air fryer, heat it at 320°F, 160°C, for about 1 to 2 minutes.
You can also toast it like regular bread. It gets a little crisp on the outside again, which I’m obsessed with.
More Air Fryer Baking Recipes
If you enjoyed this air fryer whole wheat bread, check out more air fryer baking recipes below. Bread, rolls, cakes, and cookies are all so fun to make in the air fryer once you get comfortable with it.
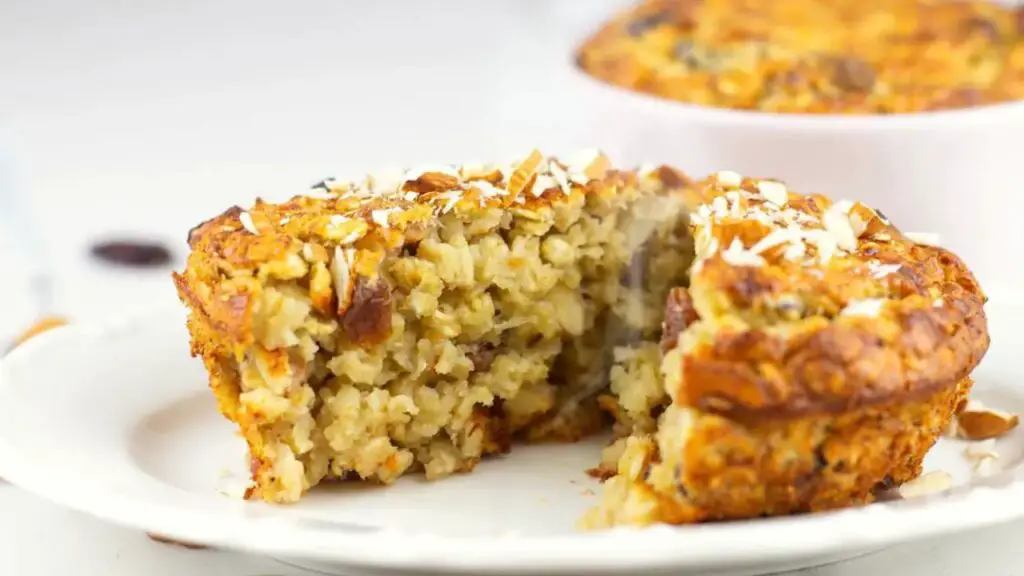
- Air Fryer Baked Oats Recipe – Soft, hearty, and customizable, these baked oats are perfect for breakfast or a snack, made quickly and easily in the air fryer.
- Crusty And Soft Air Fryer Bread Recipes – Learn how to bake both crusty and soft breads in the air fryer, achieving bakery-style results with minimal effort.
- How To Bake Air Fryer Banana Bread – This banana bread comes out moist and flavorful every time, with a tender crumb and rich banana taste, all made in the air fryer.
And please leave a comment below or in the YouTube video comments if you try this air fryer whole wheat bread, or if you have any questions about the dough, baking time, or your air fryer. I try to respond to all comments and questions.