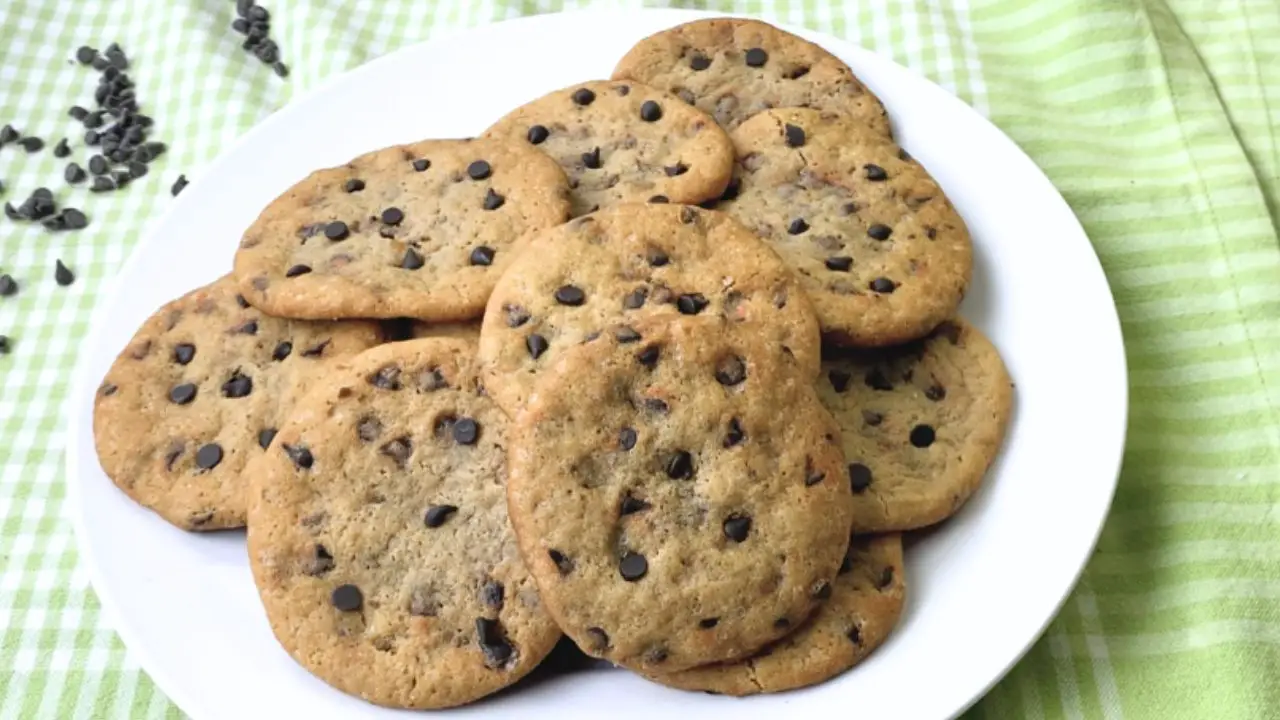
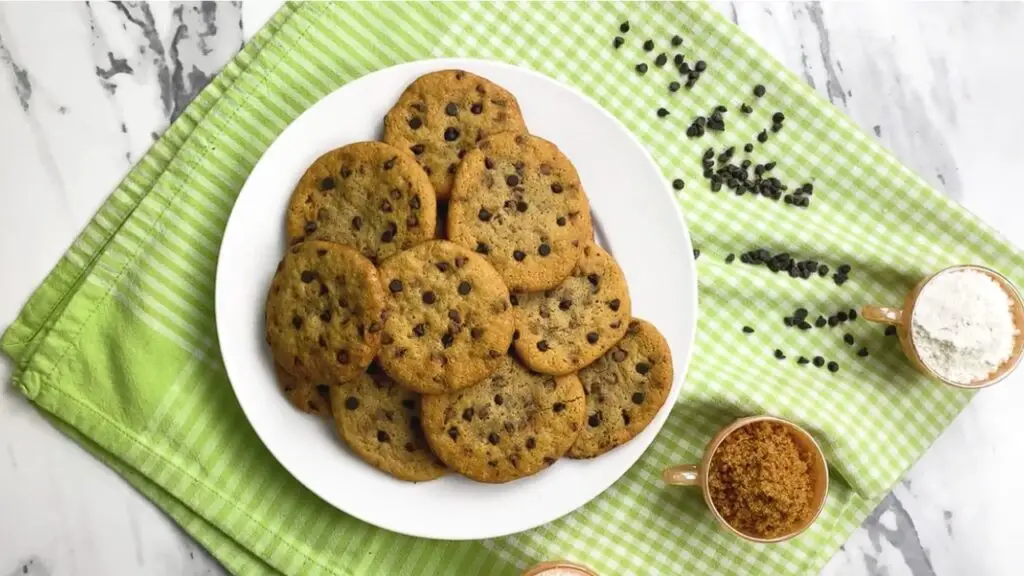
I found this easy chocolate chip cookies recipe with few ingredients that make soft and chewy bakery-style cookies. You really only need basic ingredients you probably already have at home to make the best chocolate chip cookies.
Follow along with the video below to see exactly how I make these cookies from start to finish! Hit like and subscribe if you want more simple baking recipes that actually work.
What Makes These Cookies Special
These chocolate chip cookies stand out because they deliver impressive results with minimal effort and basic pantry staples.
Most chocolate chip cookie recipes call for similar ingredients, but it’s the proportions and technique that make all the difference.

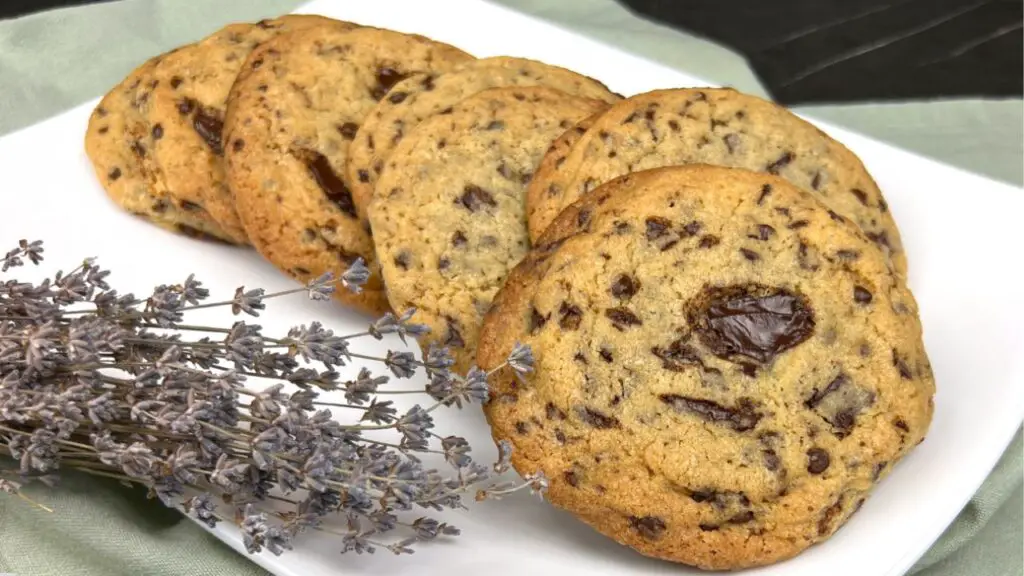
I discovered this easy chocolate chip cookie recipe when I was craving cookies but didn’t want to make a trip to the store. Working with what I had on hand, I was surprised by how perfectly they turned out—golden, crisp edges with soft, chewy centers that stayed delicious for days.
The simplicity of the ingredient list makes these cookies accessible to everyone, from beginner bakers to seasoned pros looking for a reliable go-to recipe.
Chocolate Chip Cookie Main Ingredients
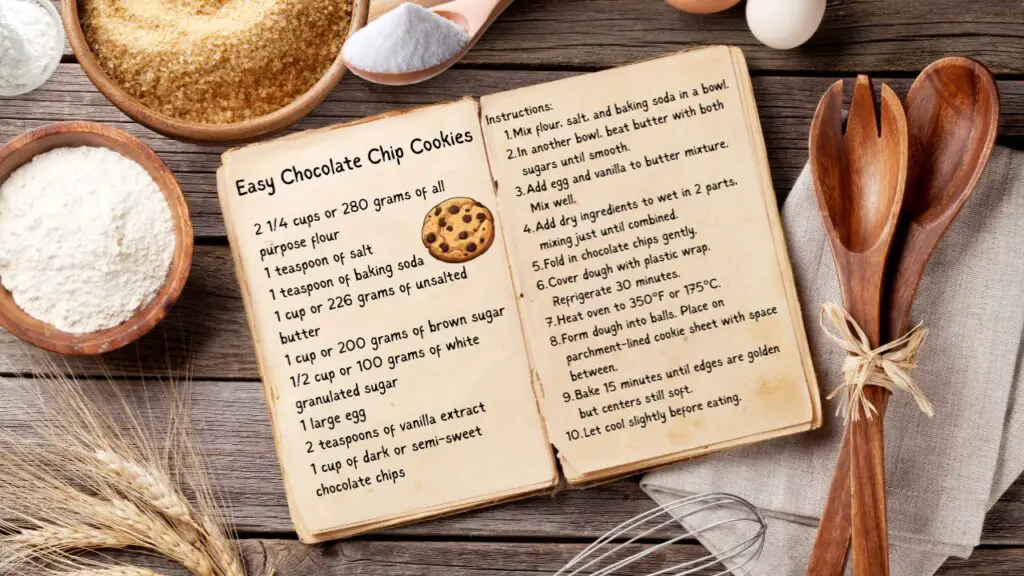
Before you start mixing, gather all your ingredients. This recipe uses basic baking staples that most people already have in their kitchen.
- 2 1/4 cups or 280 grams of all-purpose flour
- 1 teaspoon salt
- 1 teaspoon baking soda
- 1 cup or 226 grams of unsalted butter, softened
- 1 cup or 200 grams of brown sugar
- 1/2 cup or 100 grams of white granulated sugar
- 1 large egg
- 2 teaspoons vanilla extract
- 1 cup of dark or semi-sweet chocolate chips
Make your own brown sugar – Let me show you how to make brown sugar at home in just minutes. This quick trick creates that rich caramel flavor and gives your cookies the soft, moist texture that makes them irresistible.
Equipment Needed
You don’t need fancy equipment to make great cookies. Here’s what you’ll need:
- Two mixing bowls (one for dry ingredients, one for wet)
- Measuring cups and spoons
- Electric mixer or stand mixer (though you can mix by hand with a wooden spoon and some muscle!)
- Rubber spatula or wooden spoon
- Baking sheets
- Parchment paper
- Cookie scoop or spoon
- Cooling rack (optional but helpful)
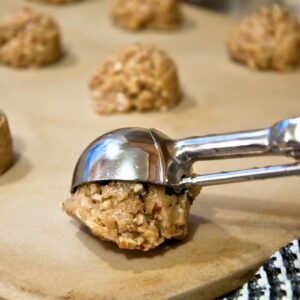
Note: While a cookie scoop isn’t essential, it helps create uniform cookies that will bake evenly. If you don’t have one, a regular tablespoon works fine too.
Step-by-Step Instructions
Follow these simple steps for perfect cookies every time. I’ve broken down the process into manageable steps to make it easy to follow.

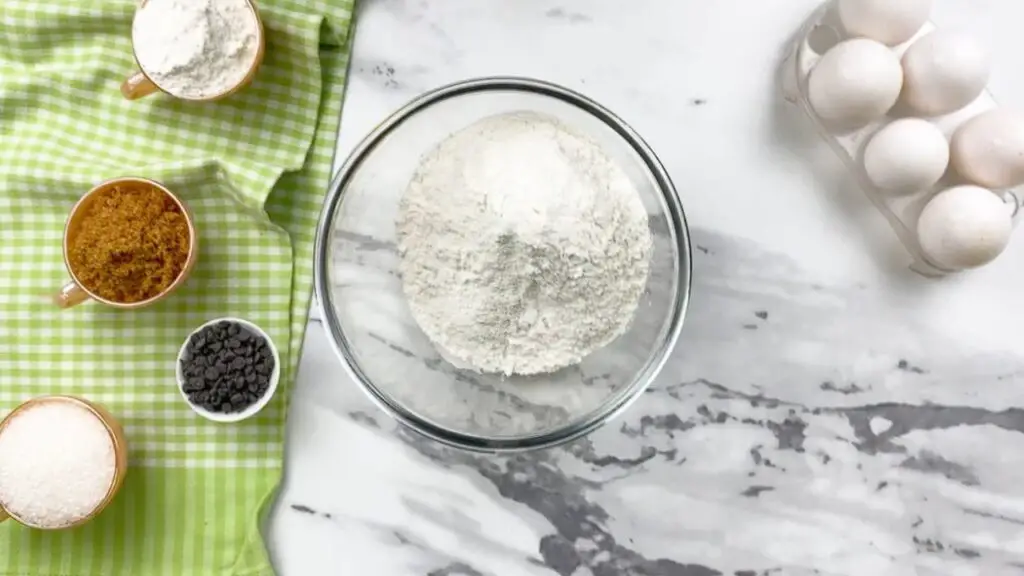
Preparing the Dry Ingredients
The foundation of any good cookie starts with properly measured dry ingredients.
Step 1: In a medium bowl, add 2 1/4 cups or 280 grams of all-purpose flour. I always measure flour by spooning it into the measuring cup rather than scooping directly from the bag, which can pack it down and result in too much flour.
Step 2: Add 1 teaspoon of salt. Don’t skip this! Salt balances the sweetness and enhances the chocolate flavor.
Step 3: Add 1 teaspoon of baking soda and whisk all dry ingredients together until well combined.
Did You Know? Baking soda helps cookies spread during baking and contributes to that golden-brown color we all love.
Mixing the Wet Ingredients
This is where the magic happens—creating that buttery, sugary base that gives cookies their irresistible flavor.
Step 4: In a separate, larger bowl, add 1 cup or 226 grams of softened unsalted butter. The butter should be soft enough that your finger leaves an indent when pressed, but not so soft that it’s melting.
Step 5: Add 1 cup or 200 grams of brown sugar and 1/2 cup or 100 grams of white granulated sugar to the butter.
Step 6: Using an electric mixer, beat the butter and sugars together until the mixture is light and fluffy, about 2-3 minutes. I used to rush this step, but I’ve learned that proper creaming creates a much better cookie texture.
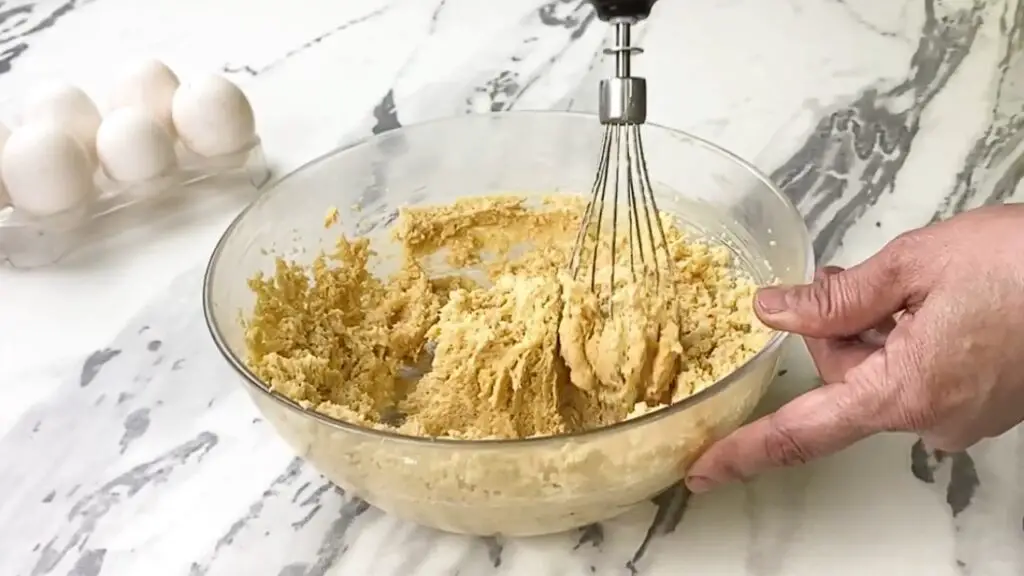
Step 7: Add 1 large egg and mix until completely incorporated.
Step 8: Add 2 teaspoons of vanilla extract and mix again until the wet ingredients are smooth and well combined.
Top Tip: Brown sugar adds moisture to cookies, which helps keep them soft and chewy. The molasses in brown sugar also adds depth of flavor that white sugar alone can’t provide.
Combining Wet and Dry Ingredients
Bringing the dough together requires a gentle touch to achieve the perfect texture.
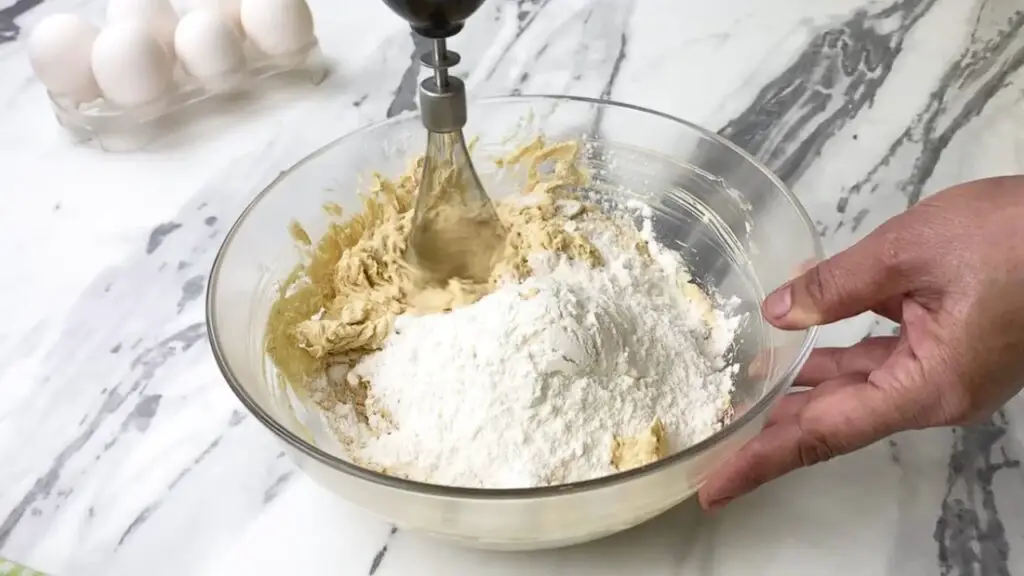
Step 9: Gradually add the dry ingredient mixture to the wet ingredients in two parts. I like doing it in portions because it’s easier to incorporate without creating a flour cloud or overmixing.
Step 10: Mix until the flour is just incorporated. The dough should look slightly shaggy but with no visible flour pockets.
Note: Be careful not to overmix at this stage! Overmixing develops gluten, which can make your cookies tough instead of tender.
Adding the Chocolate Chips
The star of the show deserves special attention.
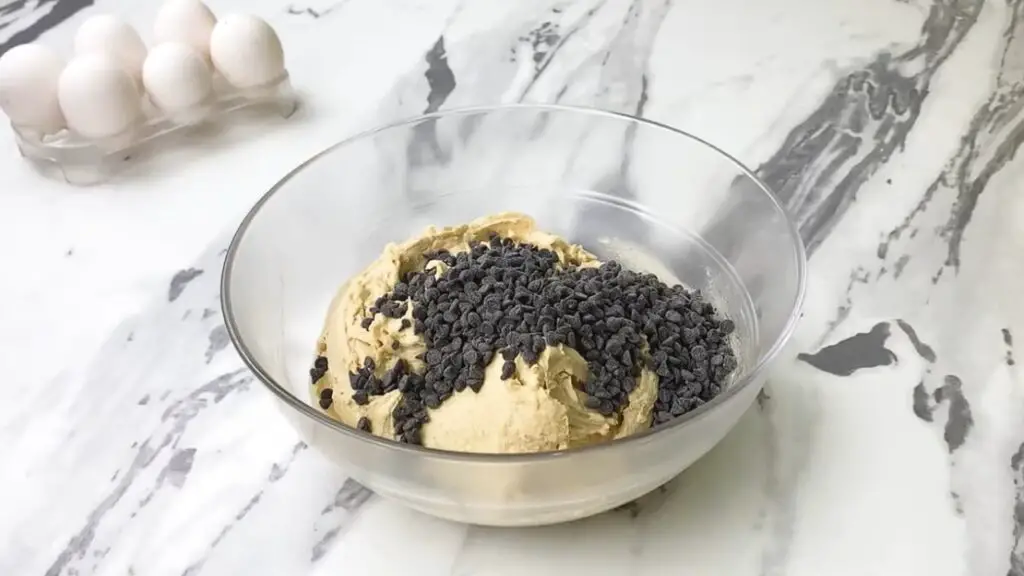
Step 11: Add 1 cup of dark or semi-sweet chocolate chips to the dough. I prefer semi-sweet because they offer the perfect balance of sweetness and chocolate flavor.
Step 12: Using a spatula or wooden spoon, gently fold the chocolate chips into the dough with just a few strokes. This is another place where I used to go overboard with mixing, but less is definitely more.
Top Tip: For cookies with more visual appeal, save a small handful of chocolate chips to press into the tops of the dough balls just before baking.
Chilling the Dough
This step is often overlooked but makes a huge difference in the final result.
Step 13: Cover the cookie dough with plastic wrap and refrigerate for at least 30 minutes. This chilling time firms up the butter, blends flavors, prevents excessive spreading during baking, and you can even leave it overnight for enhanced flavor.
The first time I made these cookies, I skipped this step because I was impatient. The cookies spread too thin and weren’t as flavorful. Now, I always make time for chilling, even if it’s just 30 minutes while I preheat the oven and clean up.
Did You Know? Many professional bakers insist on chilling cookie dough for 24-72 hours for the best flavor development!
Baking the Cookies
The moment of truth—turning your dough into delicious cookies.

Step 14: Preheat your oven to 350°F or 175°C and line your baking sheets with parchment paper.
Step 15: Once the dough has chilled, use your hands or a cookie scoop to form balls of dough, about 1.5 tablespoons each. Place them on the prepared baking sheets, leaving about 2 inches between each cookie to allow for spreading.
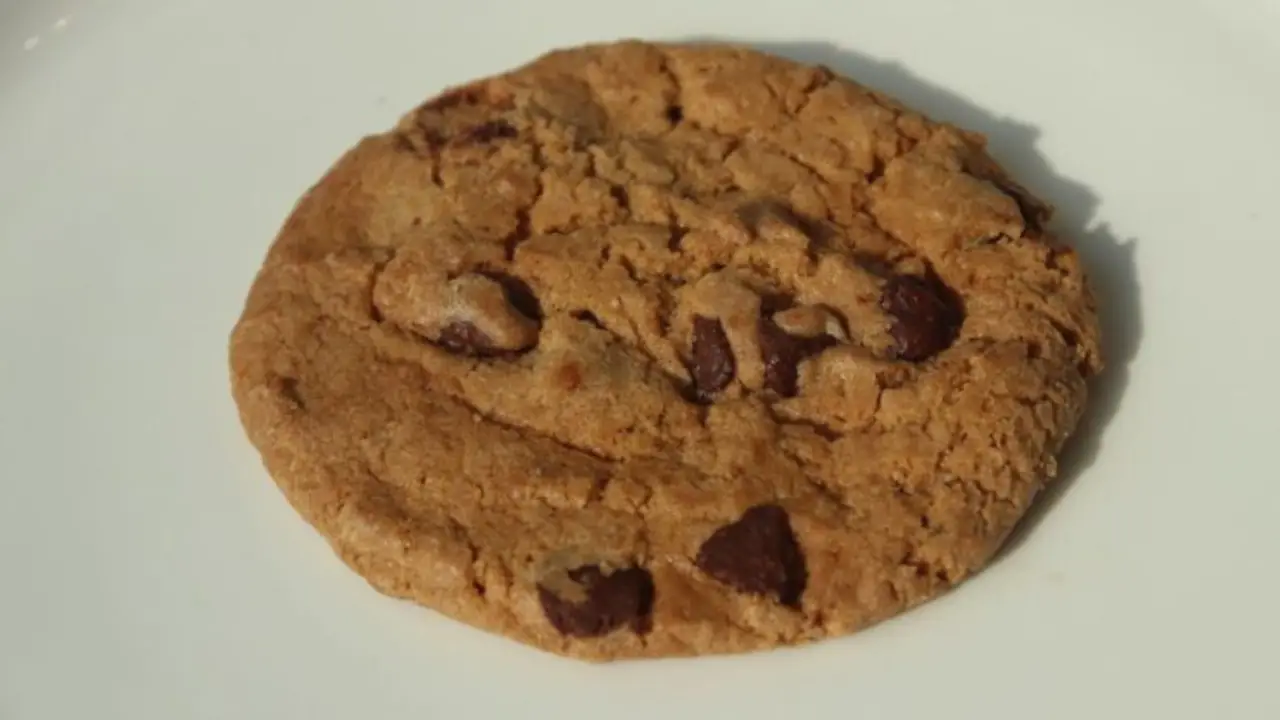
Step 16: Bake for approximately 10-12 minutes or until the edges turn golden brown while the centers still look slightly soft. My oven runs a bit cool, so I usually need the full 12 minutes, but start checking at 10 minutes to be safe.
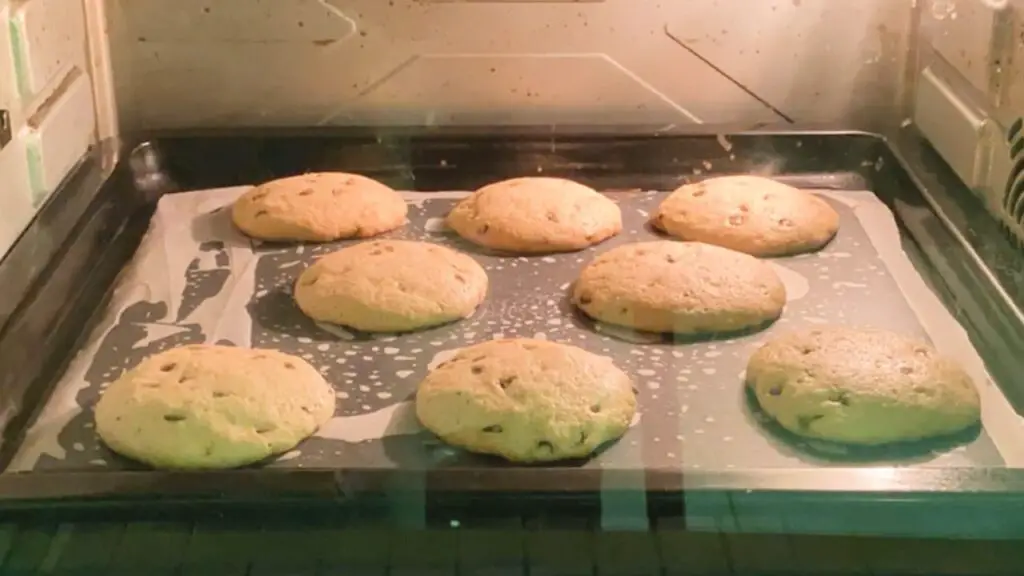
Note: The cookies might look slightly underdone in the center when you take them out. This is perfect! They’ll continue cooking from residual heat and will set up as they cool.
Cooling and Enjoying
Patience for just a few more minutes will reward you with perfect cookies.

Step 17: Allow the cookies to cool on the baking sheet for about 5 minutes. During this time, they’ll firm up enough to be moved without breaking.
Step 18: Transfer the cookies to a wire rack to cool completely—if you can wait that long! I always sneak at least one warm cookie before they make it to the rack.
If you liked these chocolate chip cookies, check out my M&M cookie recipe too! Both recipes are simple to make but give you different-looking cookies. I would love to know which one you prefer after trying both!
Chocolate Chip Cookie Recipes With Few Ingredients
20
servings45
minutes15
minutes230
kcal1
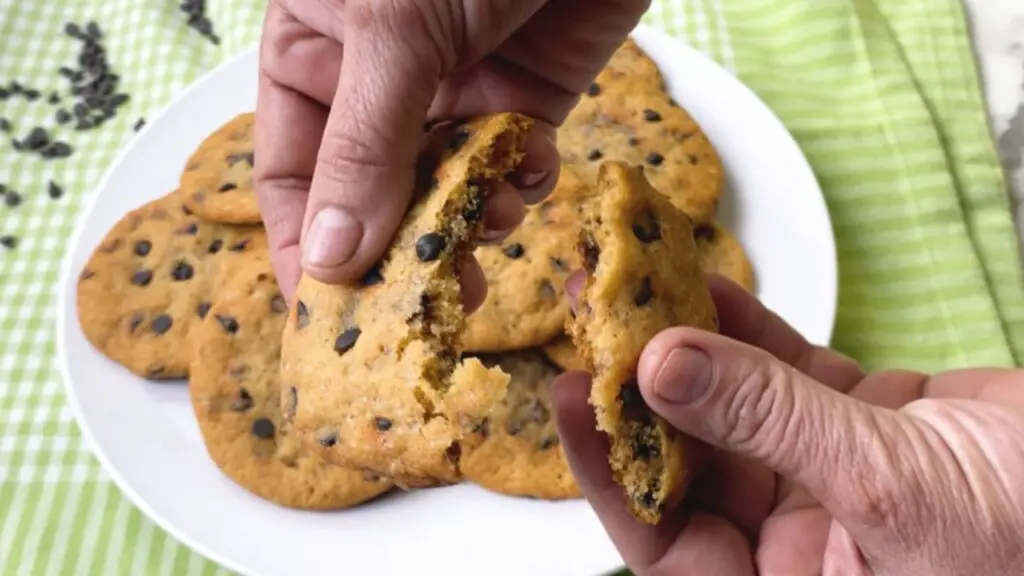
hourYou only need basic stuff like flour, sugar, butter, and chocolate chips to make these amazing cookies. They come out soft and chewy in the middle with slightly crispy edges – just like the ones from bakeries. My kids always ask me to make them because they taste so good!
Keep the screen of your device on
Ingredients
2.25 cups (280 grams) all-purpose flour
1 teaspoon (5.69 grams) salt
1 teaspoon (4.6 grams) baking soda
1 cup (226 grams) unsalted butter
1 cup (200 grams) brown sugar
1/2 cup (100 grams) white granulated sugar
1 piece large egg
2 teaspoons (9.9 milliliters) vanilla extract
1 cup (170 grams) dark or semi-sweet chocolate chips
Directions
- Add 2 1/4 cups of all-purpose flour to the mixing bowl, ensuring the cookies are not too thick or too flat.
- Add one teaspoon of salt to the flour, then add a teaspoon of baking soda, and whisk well to mix.
- In a separate bowl, add 1 cup of unsalted butter, 1 cup of brown sugar, and 1/2 cup of white sugar.
- Using an electric mixer, beat butter and sugars together until smooth and fluffy, about 2-3 minutes.
- Add one large egg and 2 teaspoons of vanilla extract and mix until well combined, about 30 seconds.
- Gradually add dry ingredients to the wet mixture in 2 parts, mixing just until the flour disappears.
- Fold one cup of chocolate chips into the dough with a spatula, avoiding overmixing for best results.
- Cover the dough with plastic wrap and refrigerate it for at least 30 minutes or overnight for better results.
- Form the dough into golf ball-sized balls and place on a parchment-covered sheet, spaced 2 inches apart.
- Bake at 350°F (175°C) for 15 minutes; edges should be golden brown and centers still soft.
- Let the cookies cool on the sheet to firm up as they cool, maintaining a chewy center and gooey chocolate.
Equipment
 Cookie Scoop for BakingCheck it out on Amazon here
Recipe Video
Notes
- Chill the dough – Even a quick 30-minute rest in the refrigerator helps cookies keep their shape and enhances flavors as ingredients meld together.
- Mix by hand at the end – Switch from an electric mixer to a wooden spoon when adding flour to prevent tough cookies from overmixing.
- Watch for golden edges – Take cookies out when just the edges are golden but the centers look slightly underdone. They’ll continue cooking from residual heat on the baking sheet.
- Salt the tops – Sprinkle a tiny pinch of flaky sea salt on the cookies right after baking to enhance all the flavors and create a sweet-salty balance.
- Underbake slightly for gifting – If taking cookies to an event, underbake by 1 minute as they’ll continue to set while traveling and won’t be too dry.
Nutrition Facts
- Total number of serves: 20
- Calories: 230kcal
- Fat: 12g
- Carbohydrates: 28g
- Protein: 2g
Like this recipe?
Check Out @FoodHow on Pinterest.
Like our Facebook Page!
Follow us on Facebook
Storing Your Chocolate Chip Cookies
These cookies have the perfect texture right after they’ve cooled, but they also store beautifully for several days.
Once completely cooled, store your cookies in an airtight container at room temperature. They’ll stay soft and chewy for up to 5 days. I like to add a piece of bread to the container—an old trick my grandmother taught me that helps keep the cookies from drying out.
You can also freeze the baked cookies for up to 3 months. Just thaw them at room temperature when you’re ready to enjoy.
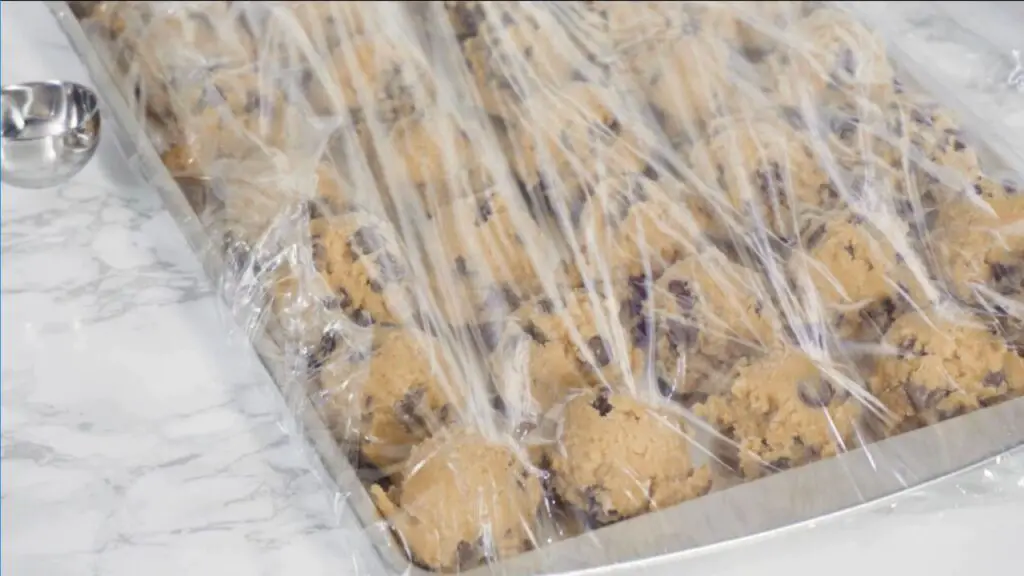
Top Tip: For fresh-baked cookies anytime, freeze balls of the raw dough on a baking sheet, then transfer to a freezer bag once solid. You can bake them straight from frozen—just add 1-2 minutes to the baking time.
Troubleshooting Tips
Even with an easy chocolate chip cookies recipe with few ingredients, things can sometimes go differently than expected. Here are solutions to common cookie problems:
- Cookies spread too much: Your butter might have been too soft. Try chilling the dough longer or adding 2 additional tablespoons of flour to the next batch.
- Cookies didn’t spread enough: Your oven might be running cool. Try slightly flattening the dough balls before baking or using 2 tablespoons less flour next time.
- Cookies browned too quickly: Your oven might be running hot. Try reducing the temperature by 25 degrees or positioning the rack in the center of the oven.
- Cookies are tough: You likely overmixed the dough after adding the flour. Remember to mix just until the flour disappears next time.
One batch of my cookies once came out completely flat because I accidentally melted the butter instead of just softening it. Now, I make sure my butter is soft but still holds its shape.
Variations to Try
While this basic recipe is perfect as is, here are some simple variations to try:
- Add nuts: Fold in 1/2 cup of chopped walnuts or pecans with the chocolate chips
- Different chocolate: Try milk chocolate chips, white chocolate, or a mix
- Extra flavor: Add 1/2 teaspoon of cinnamon or a tiny pinch of sea salt on top before baking
- Texture boost: Replace 1/4 cup of the all-purpose flour with old-fashioned oats
I once accidentally grabbed dark brown sugar instead of light brown sugar, and the cookies turned out with an even deeper flavor that my family now requests specifically.
Final Thoughts
There’s nothing quite like homemade chocolate chip cookies. This recipe proves that you don’t need complex techniques or hard-to-find ingredients to create something truly special. The joy of biting into a warm cookie with melty chocolate chips is one of life’s simple pleasures, and I’m so happy to share this recipe with you.
Remember, the best cookies are the ones shared with people you care about. Happy baking!
More Cookie Recipes To Try
If you loved these chewy chocolate chip cookies, here are more delicious cookie recipes you can try:
- Air Fryer Chocolate Chip Cookies – A fun twist using the air fryer!
- Simple Healthy Cookies – A lighter option that’s still super tasty.
- Easy Shortbread Cookie – Buttery and perfect for gifting or teatime.
Let me know in the comments below which one of these cookie recipes you’ll bake first! And don’t forget to like, subscribe to my YouTube channel here, and share this recipe with a fellow cookie lover.