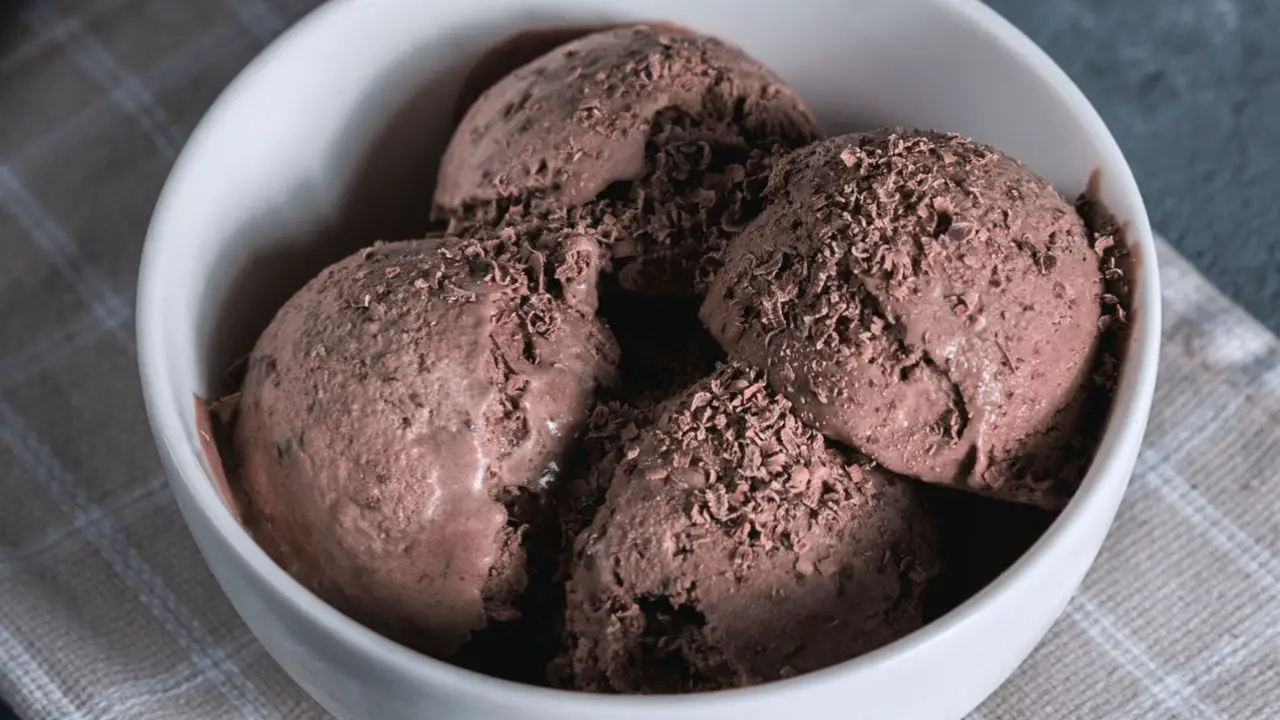
My friend Nadee sent me this recipe for homemade chocolate ice cream without a machine that uses just 3 ingredients. Who knew making ice cream could be this easy – just mix and freeze, and that’s it, and it actually works. I was skeptical at first about making chocolate ice cream at home without a machine, but the results convinced me. Now I make it all the time.
Check out my video below to see exactly how I make this homemade chocolate ice cream without a machine. If you enjoy easy desserts, please like and subscribe to my channel for more simple ice cream and dessert recipes!
Ingredients for No-Churn Chocolate Ice Cream
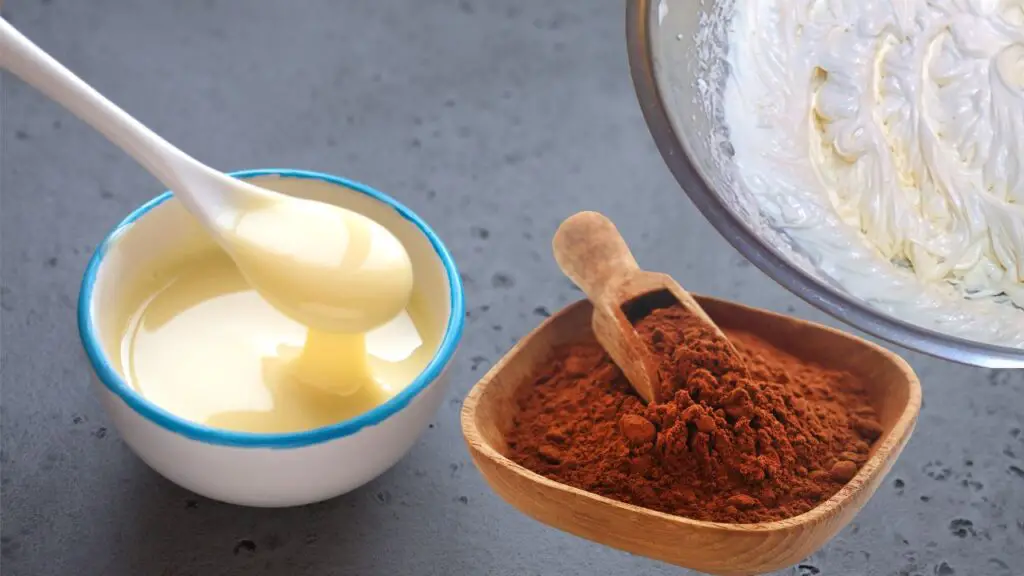
You only need three simple ingredients for this recipe:
- 2 cups (480ml) cold heavy whipping cream
- 1 can (14 oz/397g) sweetened condensed milk
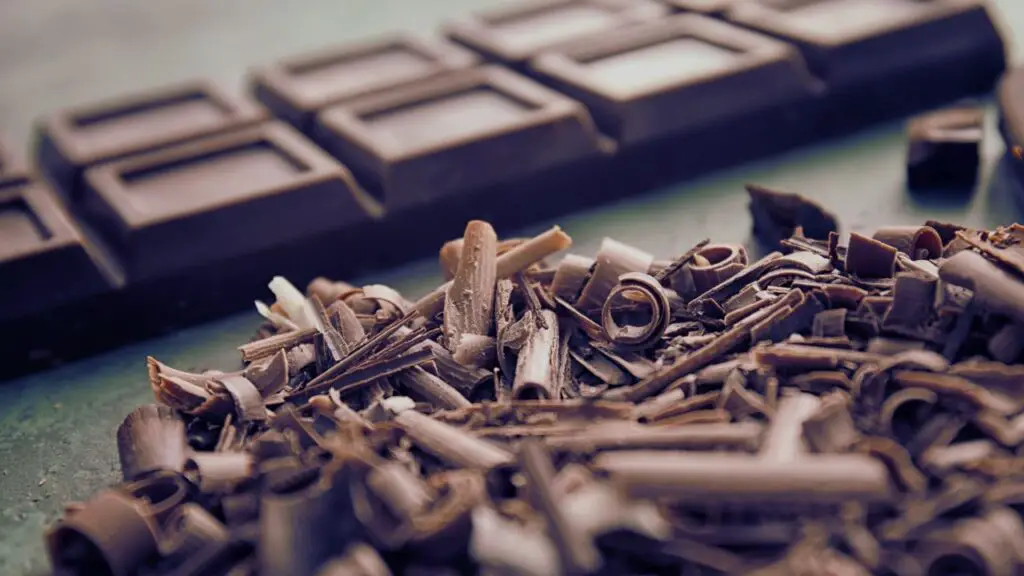
- 1/2 cup (60g) unsweetened cocoa powder (Dutch-processed cocoa)
Note: For the best chocolate flavor, use high-quality cocoa powder. Dutch-processed cocoa works especially well because it creates a smoother, richer chocolate taste.
 Dutch Processed Cocoa Powder, Unsweetened, Extra Rich Cocoa Flavor, 22-24% Fat, Premium Culinary Grade, Non-GMO Sourced, Fair Trade Certified, Perfect Cocoa for Baking and Cooking")
TAP ON IMAGE TO VIEW PRICE
Equipment Needed
This recipe requires minimal equipment:
- Large mixing bowl
- Electric mixer or whisk
- Rubber spatula
- Loaf pan or freezer-safe container
- Plastic wrap
Top Tip: Chill your mixing bowl and beaters in the freezer for 15 minutes before whipping the cream. Cold equipment helps the cream whip up faster and creates more volume.
How to Make 3-Ingredient Chocolate Ice Cream
Most homemade ice cream recipes require cooking a custard base with eggs or using an expensive ice cream machine to prevent ice crystals. This recipe skips all that fuss but still delivers smooth, creamy results every time.
Preparing the Base
The first step is creating a light, airy base that will freeze into creamy ice cream.
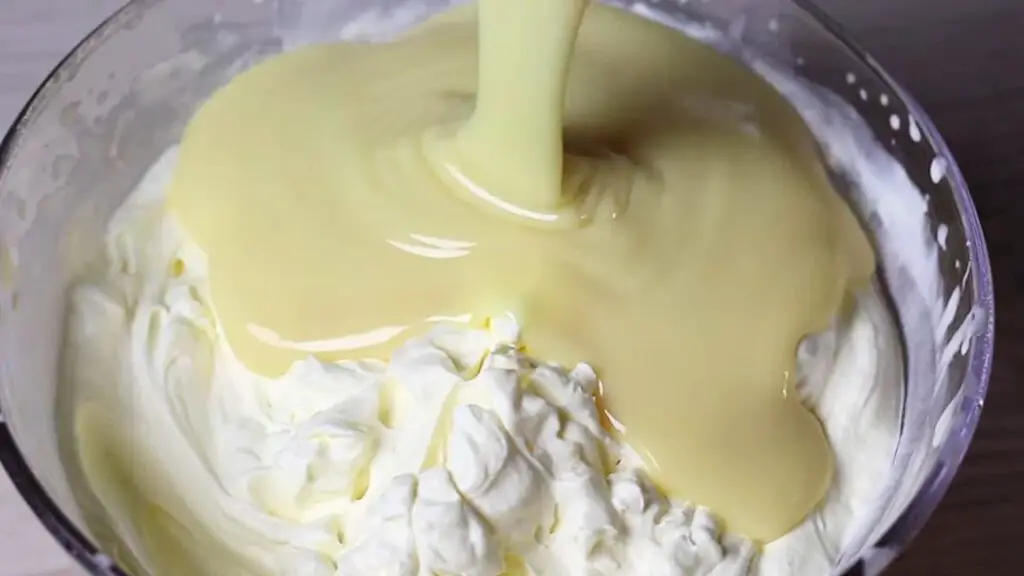
Step 1: Pour the cold heavy whipping cream into a large bowl and beat until it forms soft peaks. This takes about 3-4 minutes with an electric mixer or 7-8 minutes by hand. You’ll know it’s ready when the cream is fluffy and the peaks curl over slightly when you lift the beater.
Step 2: Add the sweetened condensed milk to your whipped cream. The condensed milk adds sweetness and helps create a smooth texture. You don’t need any additional sugar because the condensed milk contains enough sweetness.
Step 3: Mix until the condensed milk is completely blended with the whipped cream.
Did You Know? Sweetened condensed milk contains sugar that lowers the freezing point of the mixture, which helps prevent your ice cream from becoming too hard and icy.
Adding the Chocolate Flavor
Now it’s time to transform the base into chocolate ice cream.
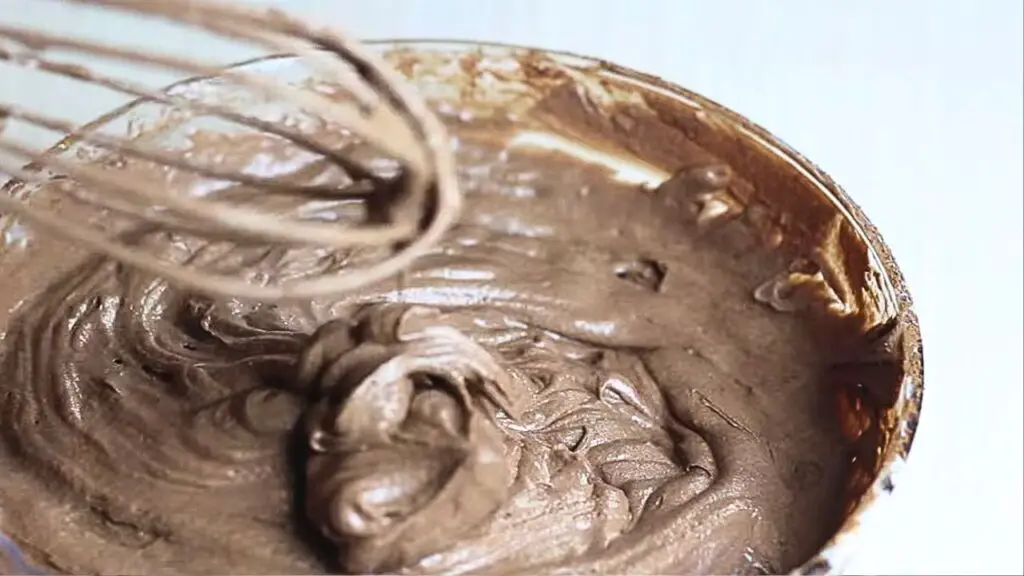
Step 4: Sieve the cocoa powder into your cream mixture. Using a sieve prevents lumps and ensures the cocoa powder incorporates evenly.
Step 5: Gently fold everything together until you have a smooth chocolate mixture with no white streaks or dry cocoa spots. The mixture will resemble a thick chocolate pudding.
Top Tip: If you want a more intense chocolate flavor, add 1 teaspoon of instant coffee powder along with the cocoa. You won’t taste the coffee, but it enhances the chocolate flavor.
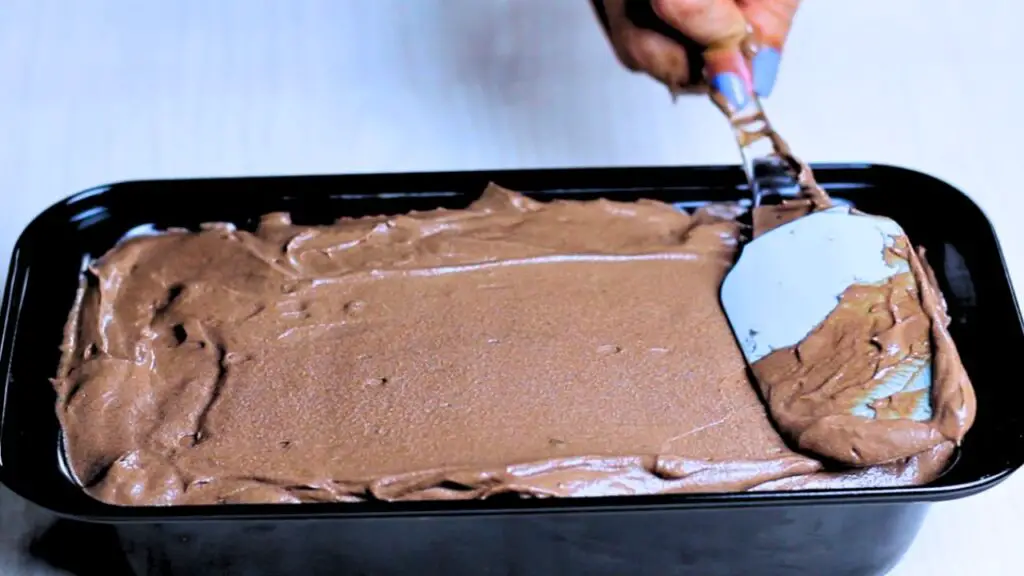
Freezing the Ice Cream
Proper freezing is essential for the right texture.
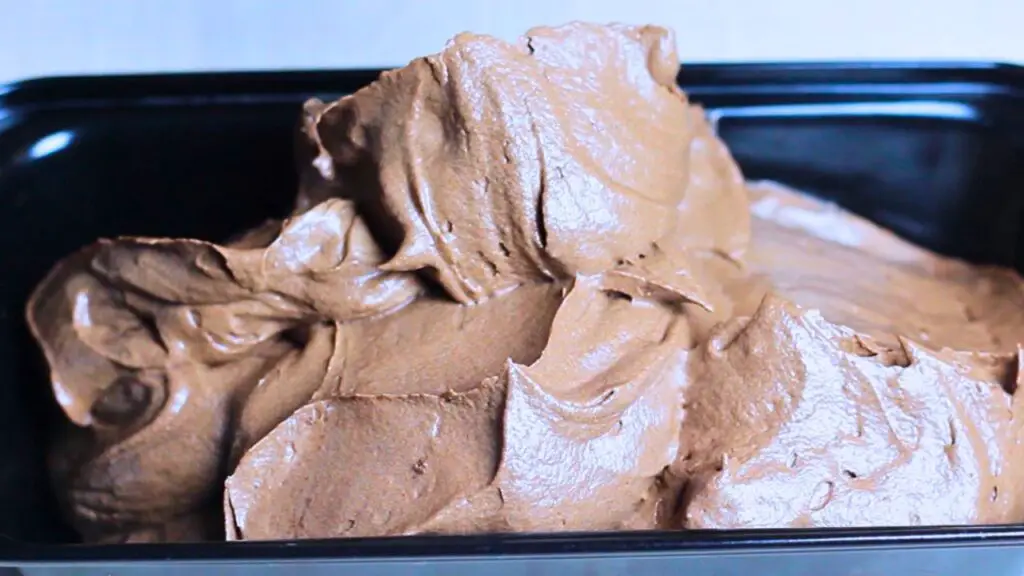
Step 6: Pour the chocolate mixture into a loaf pan or freezer-safe container. Spread it evenly with a spatula.
Step 7: Cover with plastic wrap, pressing it directly onto the surface of the ice cream. This prevents ice crystals from forming on top.
Step 8: Freeze for 6 hours, or until firm. Freezing time may vary depending on your freezer’s temperature.
Note: If you freeze the ice cream for longer than 6 hours, it might become quite hard. Let it sit at room temperature for 10 minutes before serving to make it easier to scoop.
Related Recipe: If you’re watching your sugar intake, check out my creamy sugar-free ice cream recipe that you won’t believe is low carb for a delicious alternative to this classic treat.
The EASIEST Chocolate Ice Cream You Will Ever Make
8
servings15
minutes6
hours335
kcalSimple, rich, and creamy homemade chocolate ice cream made with only three ingredients.
Keep the screen of your device on
Ingredients
2 cups (480ml) whipping cream, cold
1 can (397g) Sweetened condensed milk
1/2 cup (60g) unsweetened cocoa powder (Dutch-processed cocoa)
Directions
- Take 2 cups of cold heavy whipping cream and put it in a bowl. Whisk the cream until it becomes fluffy with soft peaks forming.
- Pour a 14-ounce can of sweetened condensed milk into the whipped cream and mix until completely blended.
- Sieve in half a cup of unsweetened cocoa powder using Dutch-processed cocoa for a rich taste, then mix until smooth and creamy.
- Scoop the chocolate mixture into a loaf pan or freezer-safe container, spread flat, cover with plastic wrap, and freeze for about 6 hours.
- Allow the ice cream to soften at room temperature for 10 minutes before scooping if left in the freezer overnight.
Recipe Video
Notes
- Cocoa Powder Options: Dutch-processed cocoa creates a smoother, richer chocolate flavor compared to natural cocoa powder.
- Texture Troubleshooting: If your ice cream becomes too hard, let it sit at room temperature for 10-20 minutes before scooping. For a consistently softer texture, add 1 tablespoon of vodka or 2 tablespoons of corn syrup to the mixture before freezing.
- No loaf pan? Use any freezer-safe container with a lid or even a metal bowl covered tightly with plastic wrap and foil. Metal containers will freeze the mixture faster than plastic ones.
- Flavor Boosting Options: Add 1 teaspoon of instant coffee powder or espresso powder to intensify the chocolate flavor without adding coffee taste. Alternatively, mix in 1 teaspoon of vanilla extract for depth.
- Quick Serving Hack: Run your ice cream scoop under hot water for a few seconds before scooping for perfectly smooth, round scoops even when the ice cream is fully frozen.
Nutrition Facts
- Total number of serves: 8
- Calories: 335kcal
- Carbohydrates: 30g
- Protein: 5g
Like this recipe?
Check Out @FoodHow on Pinterest.
Like our Facebook Page!
Follow us on Facebook
Serving Suggestions for Homemade Chocolate Ice Cream
This chocolate ice cream is delicious on its own, but also pairs wonderfully with various toppings and accompaniments.
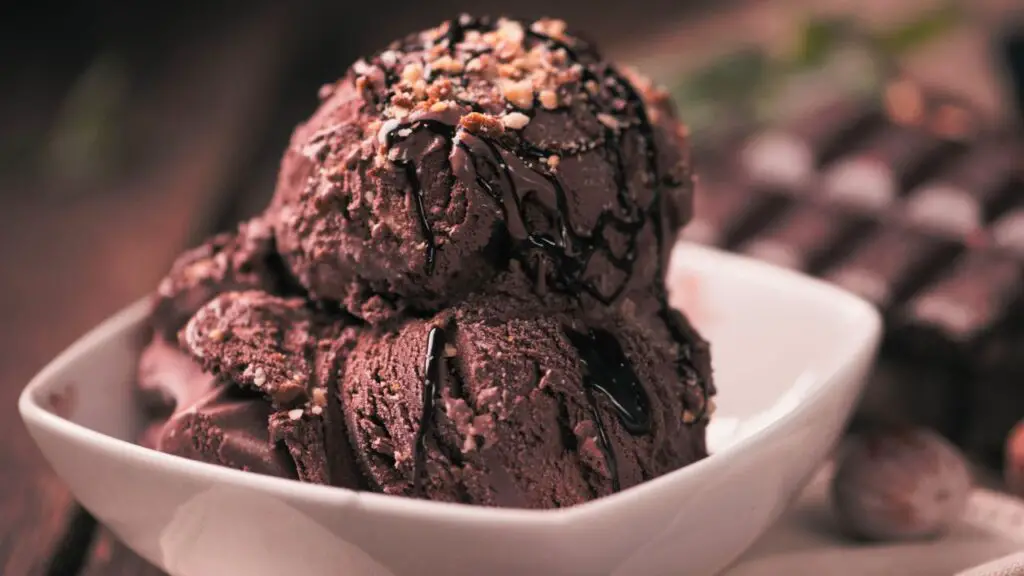
Try serving it with:
- Fresh berries
- Chocolate sauce
- Chopped nuts
- Hot fudge sauce
- Whipped cream
- Cookie crumbles
I particularly enjoy serving this ice cream with warm brownies for a simple but impressive dessert when friends come over.
Customizing Your Chocolate Ice Cream
The basic recipe is fantastic as is, but you can easily customize it to suit your taste preferences.
Mix-in Ideas
Add these ingredients just before freezing:
- 1/2 cup chocolate chips or chocolate shavings
- 1/2 cup crushed cookies
- 1/4 cup chopped nuts
- 1/4 cup mini marshmallows
- 2 tablespoons candy pieces
Top Tip: If adding mix-ins, increase the freezing time by 1-2 hours to make sure everything sets properly.
Flavor Variations
You can also experiment with different flavor additions:
- 1 teaspoon vanilla extract for a richer base
- 1 tablespoon instant espresso powder for mocha ice cream
- 1/4 teaspoon mint extract for chocolate mint ice cream
- 2 tablespoons peanut butter swirled in for chocolate peanut butter ice cream
Storing Your Homemade Chocolate Ice Cream
This ice cream keeps well in the freezer if properly stored.
- Step 1: Once the ice cream is completely frozen, you can transfer it to an airtight container if you didn’t freeze it in one initially.
- Step 2: Place a piece of plastic wrap directly on the surface of the ice cream before putting the lid on. This extra layer of protection prevents freezer burn.
- Step 3: Store in the freezer for up to 2 weeks.
Note: Homemade ice cream without preservatives is best enjoyed within the first week when the texture and flavor are optimal.
More Easy Ice Cream Recipes to Try
If you’re loving this creamy and chocolaty no-machine, no-fuss ice cream recipe, here are a few other super-easy recipes you’ve got to try:
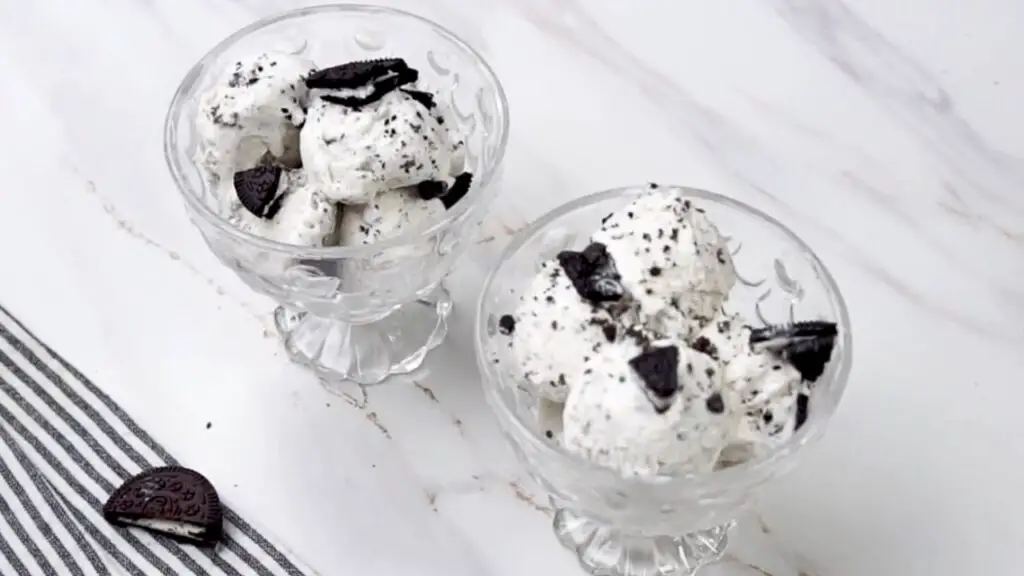
- 3-Ingredient Oreo Ice Cream (No Ice Cream Maker) – Cookies and cream lovers, this one’s for you—just three ingredients and pure magic.
- Just mix 2 ingredients with condensed milk for the best ice cream ever! -This is one of the simplest ice creams you’ll ever make—and the texture is incredible.
- Super Easy Old-Fashioned Vanilla Ice Cream Recipe – Classic, creamy, and full of real vanilla flavor. You’ll want to keep this one on repeat.
So if you’ve got some whipping cream and a can of condensed milk sitting in your kitchen, go make ice cream. You’re just one whisk away from a homemade chocolate treat you’ll want again and again.