Growing your own herbs at home is a fun and satisfying way to add flavor to your dishes or make a potent herbal tea. The only downfall is that they often grow faster than you can use them!
Come join me on Facebook here for easy recipes, cozy bakes, and little kitchen tips from my kitchen to yours.
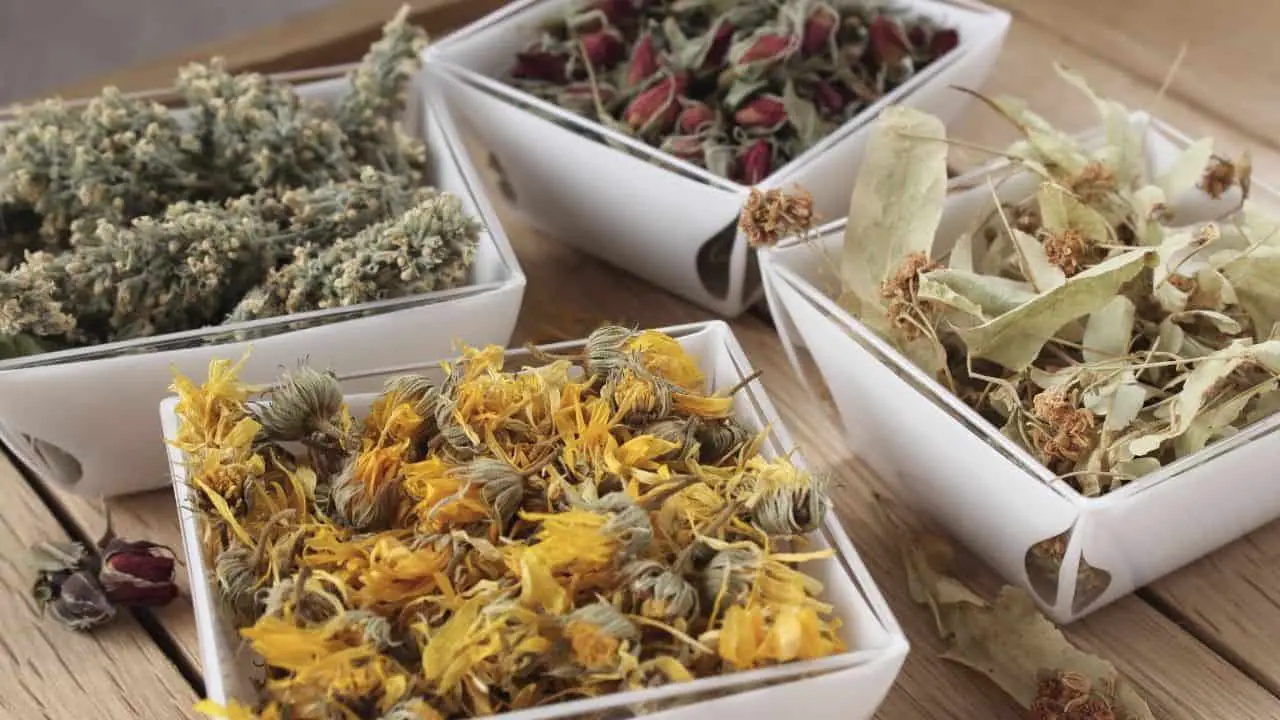
Drying your herbs is an excellent way to preserve them so you can enjoy them long after they’ve been harvested.
The most obvious way to dry herbs is with a dehydrator, but many people don’t just have one of these lying around.
In this post, I’m going to share with you three alternative ways to dry herbs without a dehydrator, as well as some useful tips and mistakes to avoid, so you can get started today!
Important: Whichever part of the plant you are drying, always make sure the bulbs, barks, stems, flower buds, fruits, seeds, or leaves are clean, mold-free, free of insects, and undamaged. If they are really dirty, give them a little rinse and then pat off any moisture with kitchen paper or dishtowel.
Method 1: Air-Drying Herbs

This method takes the longest of the techniques I am going to discuss but produces the purest results. Air-drying your herbs can be done in 2-3 days but can take up to 2 weeks if you have larger amounts of herbs and need to air-dry in bundles.
How To Air-Dry Your Herbs

- Spread each individual leaf or sprig on a cheesecloth or parchment paper-lined baking tray or herb drying rack, then place the tray in a warm spot away from direct sunlight.
- If air-drying in bundles, tie a small bunch of herbs into a bundle using twine, rubber bands, or string, then hang the bunch upside down in a warm spot away from direct sunlight.
- To keep the dust away, you can gently wrap the bundle in a paper bag with several holes poked into it.
- Flip over the herbs roughly every 12 hours, unless air-drying in bundles.
- When the herbs can easily crumble when pressed, they are dry. This will take 2-3 days, or up to 2 weeks if air-drying in bundles.
")
TAP ON IMAGE TO CHECK PRICE
Mistakes To Avoid:
- Be sure to set your herbs in a well-ventilated area that isn’t under direct sunlight.
- Humidity can cause mold to develop, so if you live in a place with high humidity, this may not be the best method to use.
- Making too large and dense bundles or bunches that can develop mold and stained leaves.
- Drying them in poorly ventilated or humid places.
- Not waiting till they feel crunchy-dry.
- Placing them in direct sunlight.
Pros:
- Easiest method.
- No heat is needed.
- Pure flavors.
Cons:
- Takes longer than other methods.
- There’s a chance of some of the herbs rotting or molding before they can fully dry, especially if air-drying in bundles.
Method 2: Use The Microwave To Dry Your Herbs
The quickest way to dry herbs is in the microwave. Because the drying process is completed so quickly, resulting herbs look greener and taste fresher than with other methods. If you’re drying a small batch of herbs or spices, the microwave is a great way to go.
How To Dry Herbs In The Microwave
- Separate the leaves from the stems, then lay the herbs on a paper towel-lined microwave-safe plate in a single layer. Cover with a second paper towel.
- Microwave on high for 60 seconds and keep a close eye to make sure the herbs don’t burn.
- If not yet thoroughly dried, continue to dry your herbs in 30-second intervals. If the paper towel gets too moist, replace the paper towel. Depending on which part of the plant you’re drying, this can take anywhere from 1 to 10 minutes.
Mistakes To Avoid:
- It’s important to keep a close watch on your herbs as they dry in the microwave; otherwise, you could wind up with burnt herbs.
- Your herbs were wet before placing them in the microwave.
- Before drying, make sure the plate you’re using is microwave-safe.
Pros:
- Quickest drying method.
- Freshest-tasting result.
- Produces the most vibrant colors.
Cons:
- Only works with smaller batches of herbs.
Method 3: Drying Herbs In The Oven

Drying herbs in the oven is more hands-off than microwave-drying and quicker than air-drying, making it the perfect balance between ease and convenience. It may take a little bit of experimenting to find the best technique for your specific oven, but once you get it down—it’s a breeze.
It works with both, non-fan and convection ovens.
How To Dry Herbs In The Oven
- Separate the leaves from stems, then lay them out on an oven rack or baking sheet over a layer of muslin cloth or parchment paper.
- Set your oven to the lowest possible temperature, ideally 100°F (38°C). Always remember, that the process must be done low and slow.
- Leave the oven door open a crack to allow excess moisture to escape and prevent the oven from getting too hot. Remember, you are drying them, not cooking!
- Let the leaves dry for 30 minutes before turning them over; check often. Then continue to dry for an additional 30 minutes. Drying time will vary between different plants. Branches of your plants hold the most water; these will take longer to dry than individual buds or leaves.
- After 60 minutes of drying, turn off the oven and leave the herbs in there to cool.
Mistakes To Avoid:
- Avoid allowing the oven to reach temperatures above 100°F (38°C). You can use an oven thermometer to help find the best temperature for your oven.
- Do not leave the oven unattended. Dry herbs can easily catch fire if the temperature is too hot.
- This method works best with robust herbs that can stand up to cooking, like sage, rosemary, and thyme.
Pros:
- Great for larger batches.
- Easy and relatively hands-off.
Cons:
- It may take some experimenting to get familiar with your oven, especially if your oven doesn’t display the exact temperature.
- More room for error than other methods.
Which Method Is The Best?

The leaves of herbs with lower moister and oil content, such as rosemary, sage, parsley, mint, and thyme, cleaned from their stalks, are perfect for drying without the dehydrator. Air-drying at room temperature is the most uncomplicated and least expensive way to dry herbs at home.
However, each of these methods above has a great ability to produce very good results; it’s all a matter of preference, really.
I love using the microwave to dry herbs when I’m pressed for time or only have a small amount that I need to dry out. If I’m drying a larger batch of herbs and still want the job done quickly, I turn to the oven. My favorite time to use the air-drying method is when I have a ton of herbs to dry and want to dry them in bundles.
When air-dried, the flavors of the herbs shine through beautifully, but air-drying in bundles definitely takes some patience.
Before deciding how to dry herbs at home, weigh the pros and cons to see which method is best for you.
Read Also: 7 Supper Effective Herbal Sleep Aids!
How To Store Dried Herbs At Home?

After drying herbs at home, you can use them right away, but chances are you’ll want to store them for later. It’s up to you whether you leave your herbs whole or crush them up.
However, some chefs say that it is best to store your herbs whole because as soon as you crumble them, they will begin to lose their flavor and potency.
If you do decide to crush them, you can use mortar and pestle, but you can also crumble them with your hands if you don’t have one.
Once crushed up, you will need small airtight containers (preferably glass) to store them in. You’ll want to keep your herbs in a cool, dry, and dark place like your pantry or a cupboard. The sooner you use them, the more flavorful they will be, but your dried herbs will keep for anywhere between six and twelve months.
To extend the shelf life even further, store them in vacuum-sealed jars.
Don’t forget to label your jar and containers.
Which Herbs Dry Well?
You can dry any herbs you like, but some retain their tang and flavor better than others when dried. The following herbs are good choices for drying, whether you use them for flavoring, garnishing food, or making herbal tea.
Leaves:
- Mint
- Celery
- Bay leaves
- Fenugreek
- Chervil
- Geranium
- Dill
- Curry leaves
- Thyme
- Lemon balm
- Lovage
- Lemon verbena
- Marjoram
- Rosemary
- Lemongrass
- Oregano
- Sage
- Tarragon
- Summer savory
Seeds:
- Mustard
- Anise
- Dill
- Celery
- Caraway
- Chervil
- Fennel
- Cumin
- Coriander
Flowers:
- Chamomile
- Bee balm
- Dill
- Lavender
- Marigold
- Geranium
- Linden
- Rose
- Calendula
- Nasturtium
- Yarrow
- Thyme
Drying herbs is an easy and economical food preservation strategy; for more innovative food storage ideas, check out my latest post here: 20 Clever Food Storage Ideas.