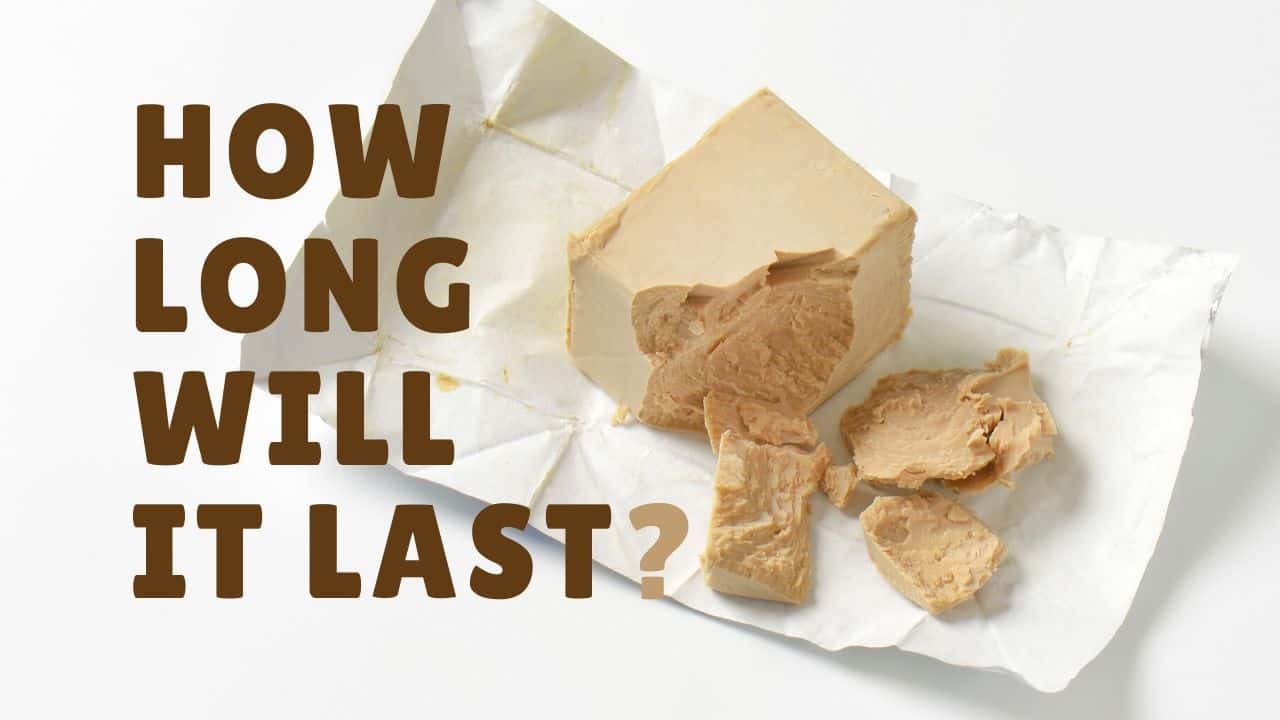
Fresh yeast, also called baker’s yeast, is hardly seen anymore except in professional bakeries. When in stock, you can find it in the dairy section of the supermarket. Fresh yeast is compressed, and it looks like a small block wrapped in foil.
Come join me on Facebook here for easy recipes, cozy bakes, and little kitchen tips from my kitchen to yours.

With this type of yeast, freshness is the key. So, before purchasing, check the expiration date so that you always grab the freshest batch.
Keep in mind that the older the yeast, the longer it will take to rise, and it is always best to use it before the expiration date. If you don’t store it right, fresh yeast can ‘go off’ (die) quite fast, rendering it completely useless.
Yeast that is just purchased and fresh will always give you the best results from my own experience.
However, if you wish to store it for later, here are some useful tips and tricks on how to do it to keep it alive as long as possible.
How To Keep Fresh Yeast Alive Longer?

Fresh yeast has no artificial additives, and it is highly perishable. It should be stored in the fridge at a temperature of 40° F (4° C) to make it dormant and keep it alive longer. When kept in a cool place, fresh yeast will last up to 4-6 weeks.
Just make sure that it is kept away from the door or areas of the fridge that regularly experience temperature shifts.
Unlike dry yeast, I don’t generally recommend freezing fresh yeast due to some risk of harming it. But, if you wish to freeze it, following the steps below will give you a better chance of keeping it alive and active.
How To Freeze Fresh Yeast?
Fresh yeast should be used within 4-6 weeks when kept in the fridge. For long-term storage, it is best to freeze it within two days after purchasing. It’s best to store it at the back of the freezer, away from drafts and limiting exposure to temperature change.
When storing fresh yeast, wrap it very well – heat and air are your enemies! Make sure that it remains moist. Once it dries out, it becomes useless.

Steps for storing it in the freezer:
- For long-term storage, freeze it within two days of buying it for the best results.
- Portion it out to little blocks or cubes so you can thaw only what you need later.
- Wrap it airtight, in foil or plastic wrap.
- Place the yeast in a saleable freezer bag or an airtight container or a zipper freezer bag.
- Store it at the back of the freezer.
- Prior to use, take it out of the freezer the night before and place it in the fridge to thaw. Do not defrost it at room temperature.
- Proof it before use.
Here is another way you can freeze it:
- Crumble the yeast into fine grains and mix with flour in a 1:2 ratio.
- Separate 46g into small Ziploc bags with the air pressed out.
- Store in an airtight container and unthaw one bag for a loaf.
How Do I Know If The Yeast Is Still Good?
It is simple to check if your fresh yeast is still good for baking. Look at the color; it should be ivory, off-white color throughout.
Check the consistency. It should be moist, but crumbly with no noticeable hard spots. If there are discolored darker spots or dry and hard consistency, you need to throw out that batch and buy a new one before baking. If you feel that it is still good, then proof it/test it to make sure the yeast is alive.
How To Proof Fresh Yeast?

- Take 1 teaspoon of sugar and one ice cube-sized piece of fresh yeast.
- Crumble the yeast in a small bowl or a cup, add the sugar, and one tablespoon of warm water no hotter than 100° F (40° C).
- Mix them all together until it is a paste consistency.
- Let it sit for 10 minutes.
- After about 5-10 minutes, the yeast will begin to foam on the surface. That foam means the yeast is alive.
Now, you can proceed with your recipe and mix flour and other dry ingredients. However, if there is no foam, the yeast is dead and not suitable for baking.
You can also use this method to test active dry yeast.
Read also: Is your dough not rising in the bread machine? Try this yeast instead, it will work every time. Read more.
Is Fresh Yeast Better Than Dry One?

Professional bakers use fresh yeast because they say it has superior quality and a slightly sweeter taste compared to dry versions. Although it is more expensive and harder to find than dry yeast, it is recommended for bread recipes that require a slow and long rising time, as it stays active for longer.
Also, some people claim that bread tastes better and has perfect puff and texture with fresh yeast compared to using dried one.
How Much Fresh Yeast For 7g Of Dried Yeast?

Now, if you want to try out fresh yeast to see if it really is better but the recipe calls for dry yeast, what do you do?
Don’t worry, you can substitute one type for another, but the quantities need to be adjusted. Remember, it is not an exact science; a few grams more or less won’t make much difference in your recipe.
To get the required amount of fresh yeast multiply it by 3. One sachet of 7 grams of dried yeast (7.39 ml, 0.25 oz, or 2 teaspoons) multiplied by 3 equals 21 grams of fresh yeast.
Another good way to remember the conversion is:
From Dry to Fresh – 1 teaspoon (3.5 grams) of dry yeast equals 10g of fresh one. Because fresh yeast has about 60-70% moisture in it, that is the reason you need to use a lot more of it compared to the try one.
Quick Summary
You must proof fresh yeast before adding it to your bread. If the recipe you are following does not give measurements for fresh yeast, then you can use our handy conversion guide to help you. Storing it in a cold, dry place is very important, and once opened, store it in an airtight container in the fridge or a freezer.
Do you want to master the art of bread baking? Check out my secret list of best bread-baking blogs here.