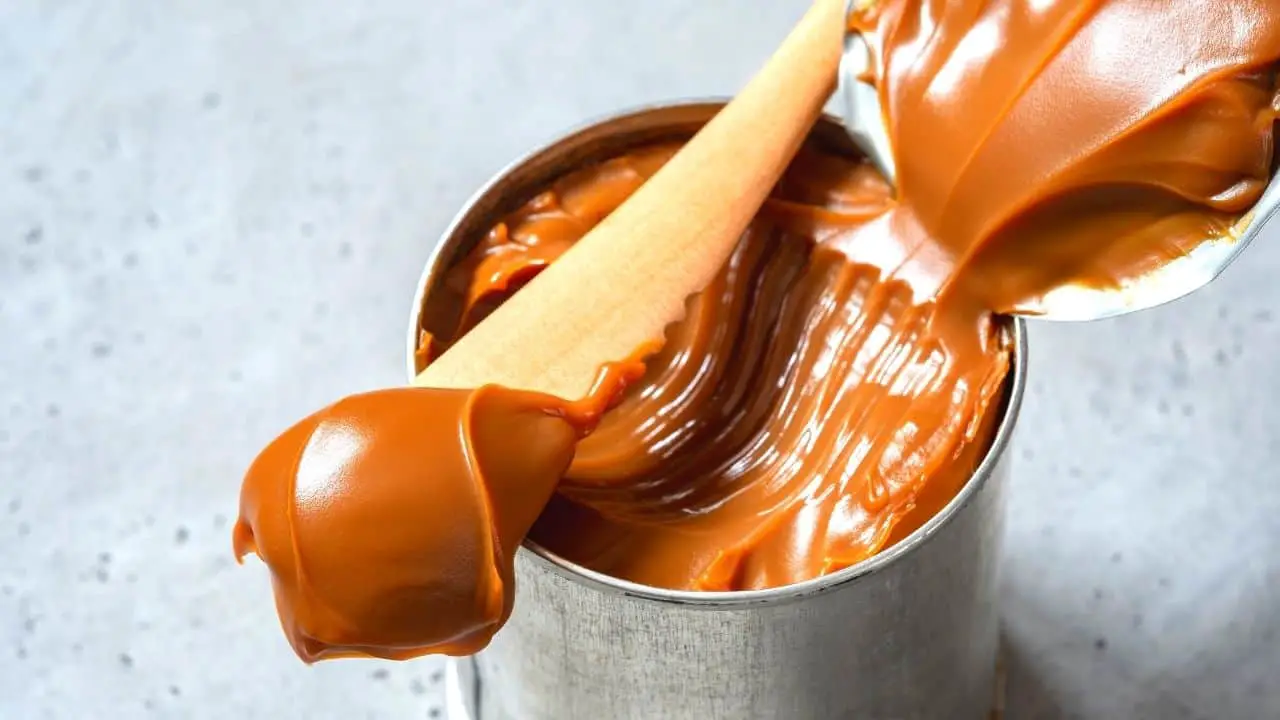
Caramel made of condensed milk – the delicious, rich joy in a jar that dreams are made of. It’s a delight to eat, but what is the best and fastest way to make it?
Come join me on Facebook here for easy recipes, cozy bakes, and little kitchen tips from my kitchen to yours.
Well, I’m here to tell you that caramel is surprisingly easy to make, but the process can be quite slow. Luckily, there are a variety of ways to make it; some of them are faster than others.
Microwaving is the quickest way to make caramel from condensed milk. Making it in the oven, using a crockpot, or even boiling it in the sealed can will take longer but will likely give you a better result.
I will take you through all the ways to get that thick butterscotch-like sauce from nothing but sweetened milk, from the quickest to the best methods.

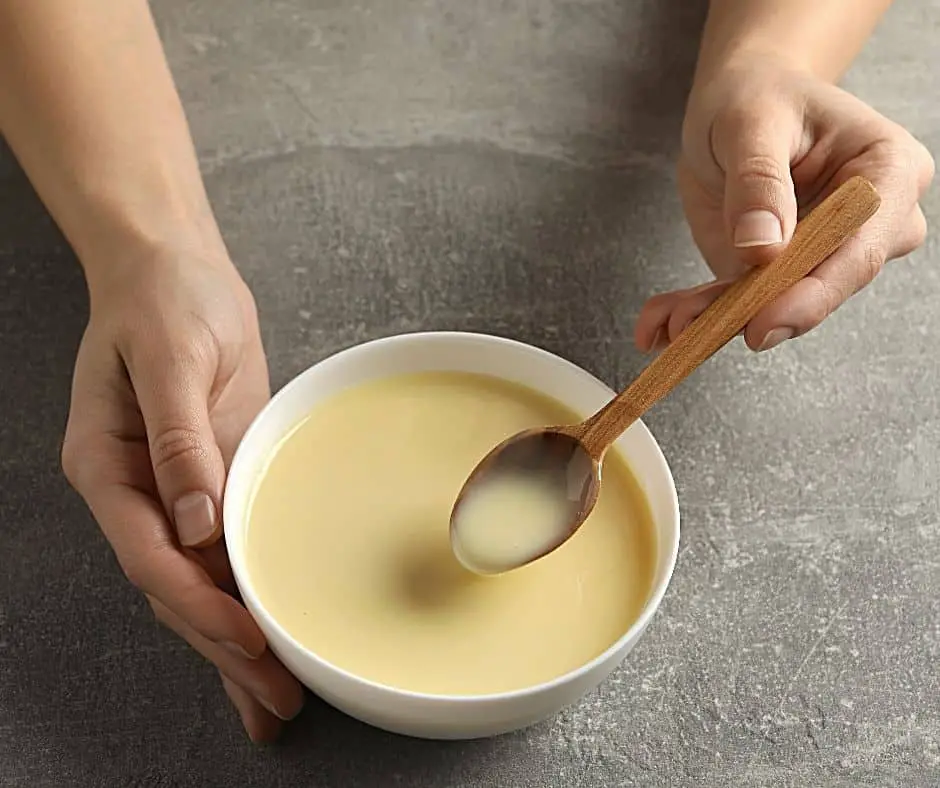
Before I start, it’s very important that you get sweetened condensed milk, not to be confused with evaporated milk, which has no added sugar. No matter how long you cook, evaporated milk will never turn into a rich toffee-like caramel, so to avoid any wasted time, double-check the label before you buy.
Why Does Heating Condensed Milk Make Caramel?
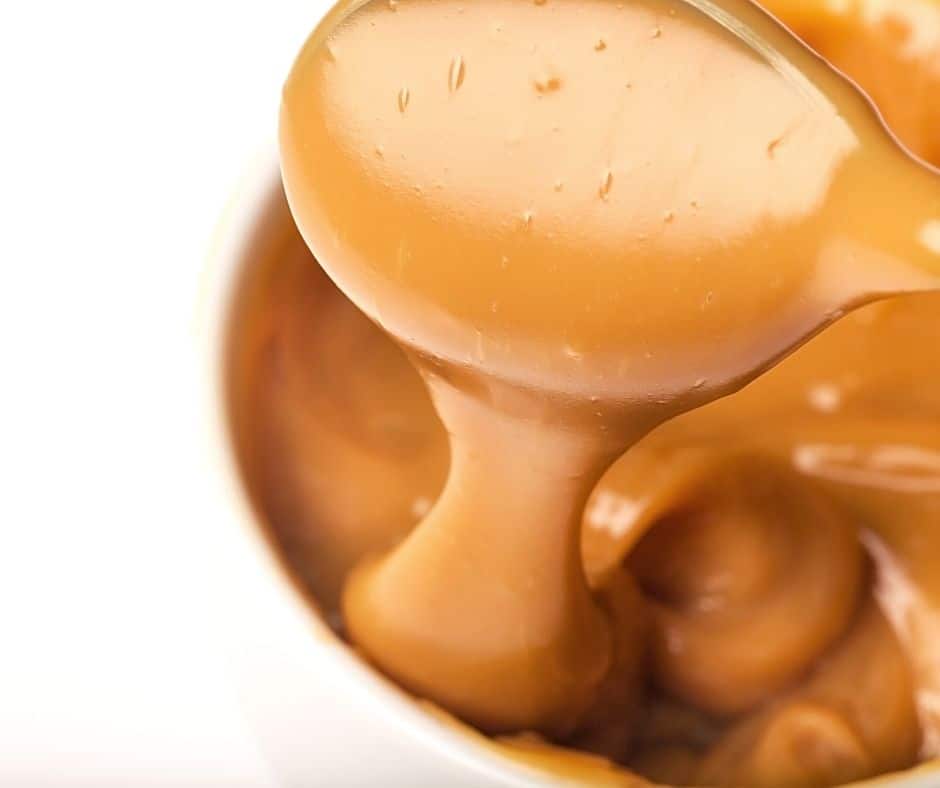
Slowly boiling or heating sugary milk for several hours results in a caramel-like substance that has caramel or butterscotch sauce consistency. So, it is not actually pure caramel but rather caramelized milk, also known as Dulce de leche.

As store-bought condensed milk has high sugar content, the browning or caramelization comes down to a chemical reaction called the Maillard reaction. This reaction happens when protein and sugar are exposed to high temperatures. [1]
It’s the same reaction that browns your butter, sears your steaks, and toasts your marshmallows. It’s how any food caramelizes, producing that deep brown color and signature buttery, nutty, sweet, or toasty flavor.
Is It Safe To Boil A Can Of Condensed Milk?
You will notice that half of the recipes below will require you to boil a sealed can of condensed milk. As long as you follow a few simple steps, you will avoid any unnecessary and messy incidents, and boiling an unopened can of condensed milk will be completely safe.
I know what you’re thinking. Explosions!? But these are tried and tested ways to make caramel, and some people even argue that boiling condensed milk in a sealed can is the best way to do it.
If you follow these steps, you won’t be scrubbing any wayward caramel off the walls.
- Thoroughly check the can is not damaged in any way before beginning.
- Always make sure that the can is completely covered with water throughout the whole duration of boiling. This will prevent the can from getting too hot and exploding, as water acts as a temperature-controlled buffer.
- Make sure to check regularly and top up any water that has evaporated.
- Do not open the can until it has thoroughly cooled to room temperature; otherwise, the hot sauce will shoot out when you open the lid.
Disclaimer: A few of my readers have reported a leakage or popping of the closed metal tin while heating. Because I don’t know the full details of the cooking methods used, I can not comment. Nevertheless, the utmost care should be taken when cooking something at a high temperature for long periods.
How Long Does It Take To Turn Condensed Milk Into Caramel?
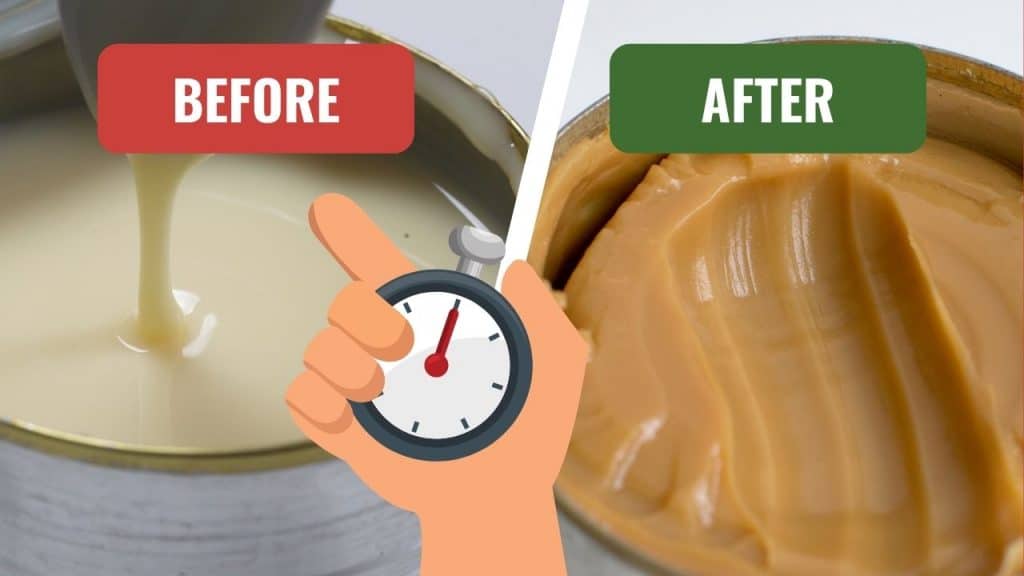
This entirely depends on what cooking method you are using. For instance, using a microwave or pressure cooker requires approximately 15-45 minutes of cooking time. But using a slow cooker or boiling a sealed can of condensed milk on a stovetop can take anywhere between 2-10 hours.
I will take you through each technique, as well as the pros and cons of each method down below.
1. Making Caramel From Condensed Milk In The Microwave
Using a microwave is undoubtedly the fastest way to make mellow and sweet toffee-like caramel, but there are some important things to keep in mind in the pursuit of a quick Dulce de leche.
For people who are wary about cooking the sealed tin can, this technique avoids that.
As you know, there are certain things you should never put in the microwave, and metal cans and sealed containers are a definite no-no.
Since you are not allowed to heat the sealed metal cans of condensed milk in the microwave, this method won’t completely trap the moisture, and you may end up with a slightly drier consistency.
It will also be lighter in color and slightly off-flavor as it’s challenging to get a deeper color without ‘burning’ the caramel.
While it might not be as dark and silky smooth, it is quick and still yummy.
It does only takes 10 to 15 minutes to make a rich and sweet caramel sauce from condensed milk in the microwave.
Here is how to make it:
- Open the can of condensed milk and pour it into a spacious microwaveable bowl (there needs to be enough room to whisk!)
- Cover with a microwave splatter guard or plastic wrap, leaving a corner uncovered so the steam can escape.
- Microwave on medium setting in 1-minute bursts for 10 minutes. Whisk every minute to ensure a smooth texture. Keep an eye on the color and consistency as cooking times vary from one microwave to another.
- If the caramel is thick and lightly golden, carefully remove it from the microwave. If it isn’t at that stage yet, return it to the microwave for 1-minute intervals until it has reached the right color and consistency.
2. Using An Oven
Using an oven is another method that doesn’t require you to cook the condensed milk in a can, though again, like a microwave, you are more likely to get a slightly drier and less smooth consistency than with the other recipes.
This oven method in the video below takes two hours and involves creating a water bath to replenish moisture and avoid burning while it cooks.
Instructions:
- Preheat your oven to 425°F (218°C).
- Pour the can of condensed milk into a baking dish and tightly cover it with a lid or foil.
- Place this baking dish inside another slightly larger baking dish that has enough room for water.
- Fill the outer dish with enough water to reach halfway up the side of the inner dish, essentially creating a double boiler or a heated bath.
- Bake for one hour before checking that the water hasn’t evaporated. Top up to the halfway line if required.
- Keep baking till condensed milk has turned into a golden brown, toffee-like color, as you can see in the video above.
- Remove from the oven and very carefully stir the hot caramelized condensed milk until it becomes smooth. Or better yet, using an immersion blender, blend it into a smooth and creamy caramel sauce. Check the video above for the delicious-looking result.
- Now, cover it with plastic wrap. Make sure the plastic wrap completely covers the surface of the caramel, so it won’t get a chance to form a skin on the surface when it cools.
- Place the bowl in the refrigerator for a few hours so that the caramel cools down and takes on a slightly thicker, richer, luxuriously gooey, and utterly drool-worthy texture.
Place the bowl in the refrigerator for a few hours so that the caramel cools down and takes on a slightly thicker, richer, luxuriously gooey, and utterly drool-worthy texture.
3. Yes, You Can Make It On The Stove Top
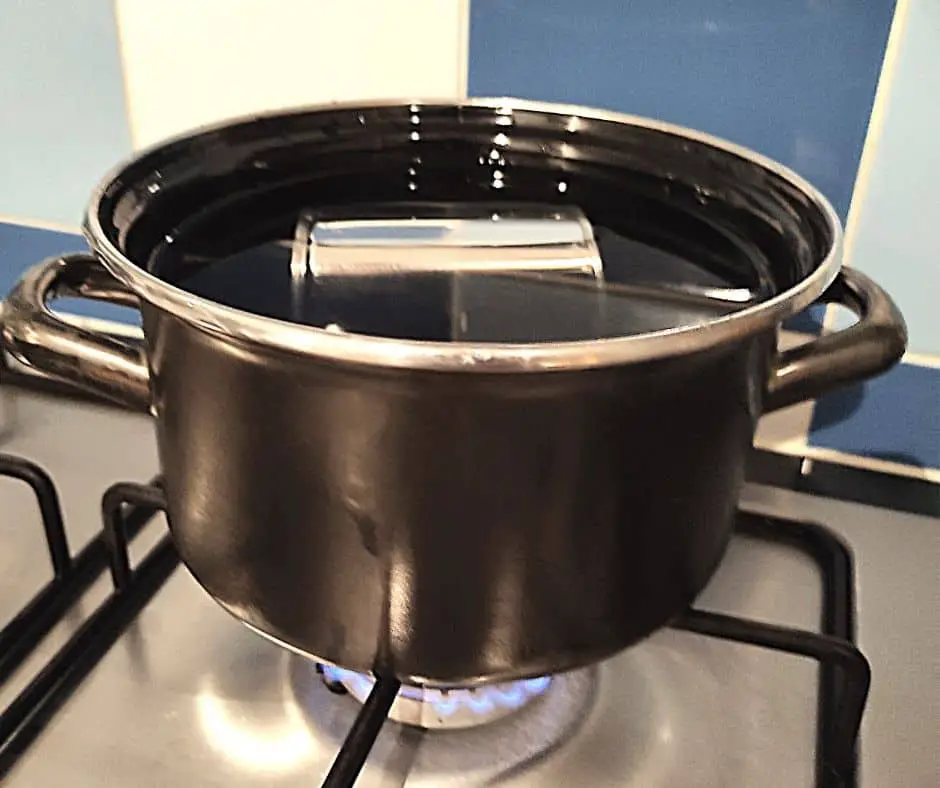
Cooking a sealed can of condensed milk on the stovetop is perhaps the most popular and easiest way to turn it into caramel. As the moisture is being trapped in the can, it creates a more luxurious, smooth, and evenly colored texture.
You can also achieve a darker color than you would be able to with a microwave or an oven method, as the metal can acts as insulation to stop the caramel from burning.
Boiling a sealed can of condensed milk to create rich light to medium brown caramel will take 2 to 3 hours of boiling.
Directions:
- Remove the label and clean the can to avoid any gluey mess.
- Place the sealed can of condensed milk on its side in a large saucepan, and fill it with water until it is entirely submerged and the water reaches a couple of inches above the can.
- Remember to check on the water level regularly. The can should always be completely covered with water, or it may get too hot and explode.
- Bring the water to a boil, then reduce the heat and simmer for 2 to 3 hours, depending on whether you like your caramel lighter or thicker, deeper mahogany.
- Turn off the heat and make sure that the can and water have completely cooled before removing.
- Wait until the can has entirely cooled before opening.
4. Pressure Cooking A Can Of Condensed Milk
Using a pressure cooker is the quickest way of creating caramel out of all the can-based methods. It will take about 40 minutes as well as cooling down time to turn the condensed milk into a deliciously gooey, caramelly sauce.
How to do it:
- Peel the label off the can and wash off any sticky residue.
- Put the sealed can in the pressure cooker, ensuring that it’s on its side.
- Fill the pressure cooker with water, submerge the can, and allow an extra 2 inches of water after the can is covered.
- Seal the lock and cook on high until it reaches the correct pressure, then lower the heat to maintain a steady simmer without the cooker whistling.
- Continue to cook for 40 minutes.
- After 40 minutes, open the valve to release the pressure.
- Once the pressure has been released, open the lid and allow the water to completely cool before carefully removing the can with tongs.
- Wait until the can has entirely cooled before opening.
5. Crock Pot Dulce De Leche
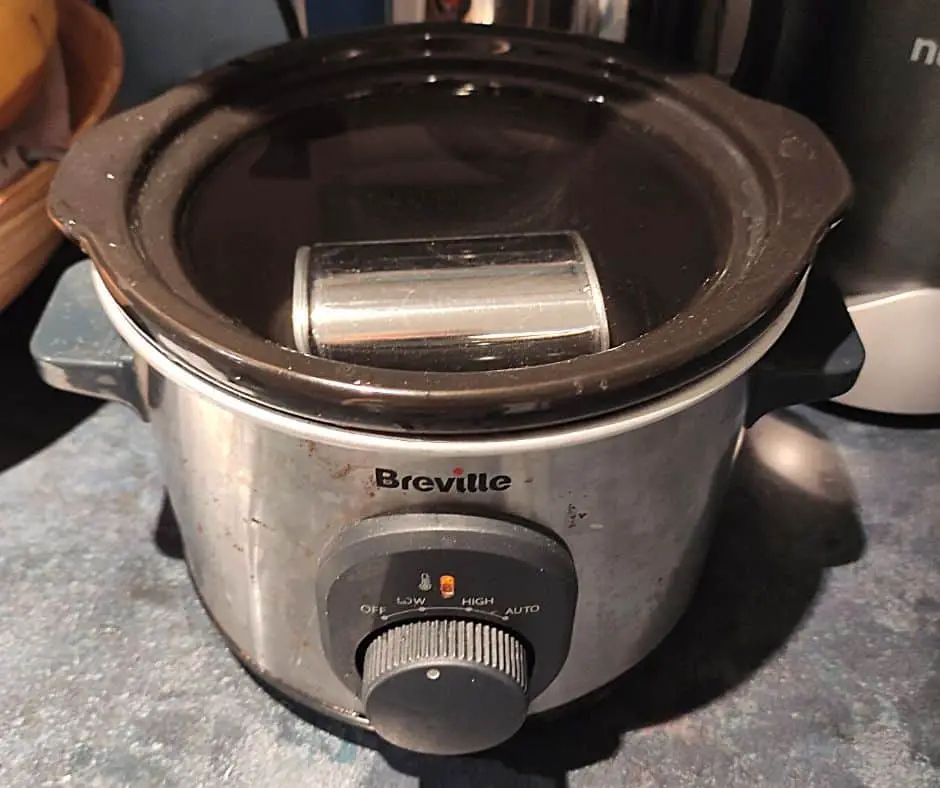
As you can probably guess, cooking slow and low will take longer than any other method, but good things come to those who wait. It takes about 8 to 10 hours to make a glossy, smooth, evenly-colored caramel, but it will be worth it in the end!
Instructions:
- Remove the label and clean any sticky residue off the side of the can.
- Place the sealed can on its side in the slow cooker and fill with water until it’s fully submerged, then add an extra 2 inches of water.
- Cover with a lid and cook on a low setting for 8 to 10 hours, depending on whether you want lighter caramel or deeper brown color.
- Check the water level regularly to ensure that the can is always completely submerged to avoid overheating and any explosions.
- After your preferred cooking time, remove the lid of the crockpot and wait for the water to completely cool before using tongs to remove the can. Place it on a heatproof surface.
- Wait until the can has entirely cooled before opening.
Read Also: 13 Best Condensed Milk Substitutes (Dairy And Plant-Based)
In Conclusion
- To thin out overly thick caramel for better pouring, add a few teaspoons of cream or milk and give it a good mix, or use an immersion blender.
- An unopened can of dulce de leche lasts up to 3 months at room temperature. Any leftovers should be kept in an airtight container in the fridge for up to 3 weeks.
- Do NOT store opened leftover dulce de leche in a can!
- Do NOT use evaporated milk because it is unsweetened and will not give you the same result as condensed milk.
- When boiling, make sure cans are fully submerged in water at all times.
- Do NOT attempt to open the cans while still hot. The content may come flying out because of the pressure inside.
- When boiling it in a closed can, there is no way you can check the progress, so the final result will always be a bit of trial and error.
- You can use any brand of sweetened condensed milk with similar results.
- Use it on your ice cream, pancakes, and waffles, or as a sweetener in your coffee, spread on muffins, toast, or as a tip for biscuits, crackers, or shortbread.
Read More: How To Boil Milk Without Burning Or Sticking
Mʏ brotһer suggesteԀ I might like this website. The best way to make caramel from condensed milk is in the microwave if you don’t want to boil it for hours. But be careful; if you leave it in for too long, it will explode!
Condensed milk is a key ingredient in making candy. When making caramel, you need to cook the condensed milk until it forms a thick caramel. The best way to do this is by boiling it. Boiling is also the best way to make sure the caramel is evenly cooked and has a smooth texture. However, if you boil the condensed milk for too long, it will burn and taste terrible.
After spending hours boiling the condensed milk, I was determined to make caramel. I had invested so much energy that nothing would stop me from achieving perfection. But after stirring for several more hours I realized in despair – making caramel with condensed milk takes too long! Fortunately, it all worked out for the best as I discovered a simpler way to enjoy this caramel goodness without all the boiling – by buying a jar of delicious pre-made caramel sauce at the store!