
Let me show you a super-easy way how to make cheese at home. You will get delicious firm cheese that slices perfectly for sandwiches.
Check out my full video recipe below to see all the steps in action and learn my extra tips for perfect homemade cheese. If you enjoyed this recipe, please like and subscribe for more easy recipes that save money and taste amazing.
What You’ll Need To Make Cheese

Before you start, gather these ingredients:
- 1 liter (4¼ cups) of milk
- 1 kg (4 cups) of cottage cheese (full-fat works best)
- 30 grams (2 tablespoons) of butter, melted
- 1 teaspoon of salt
- 1 teaspoon of baking soda
- 1 tablespoon of vinegar (white vinegar or apple cider vinegar)
You’ll also need this equipment:
 Butter Muslin")
TAP ON IMAGE TO VIEW PRICE
- Large pot
- Wooden spoon for stirring
- Colander
- Large bowl (to catch whey)
- Cheesecloth
- A container for storing the finished cheese
How to Make Cheese at Home: Step-by-Step
The process is straightforward but requires some attention to detail. Here’s how to do it right.
Preparing the Milk and Cottage Cheese Mixture
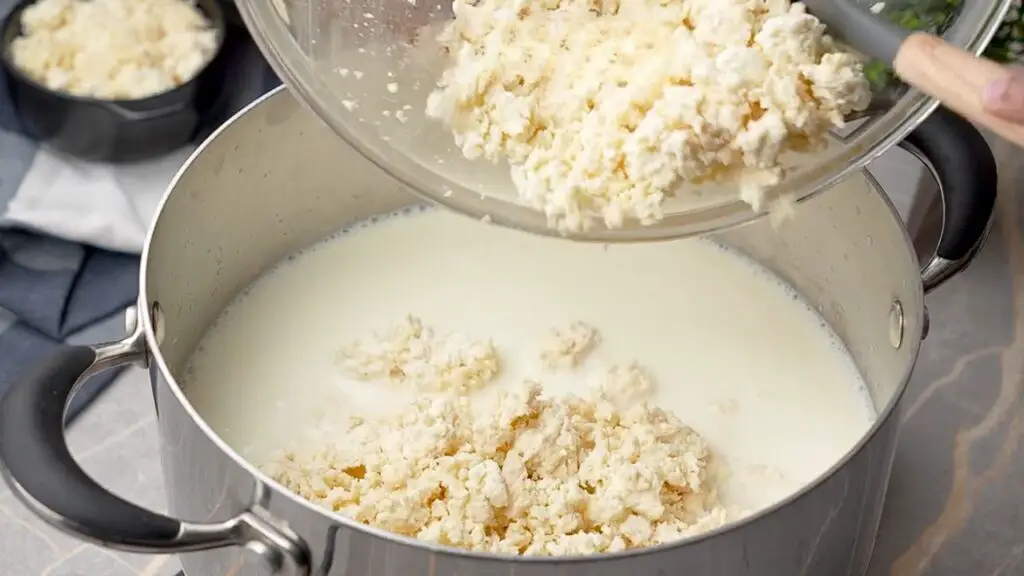
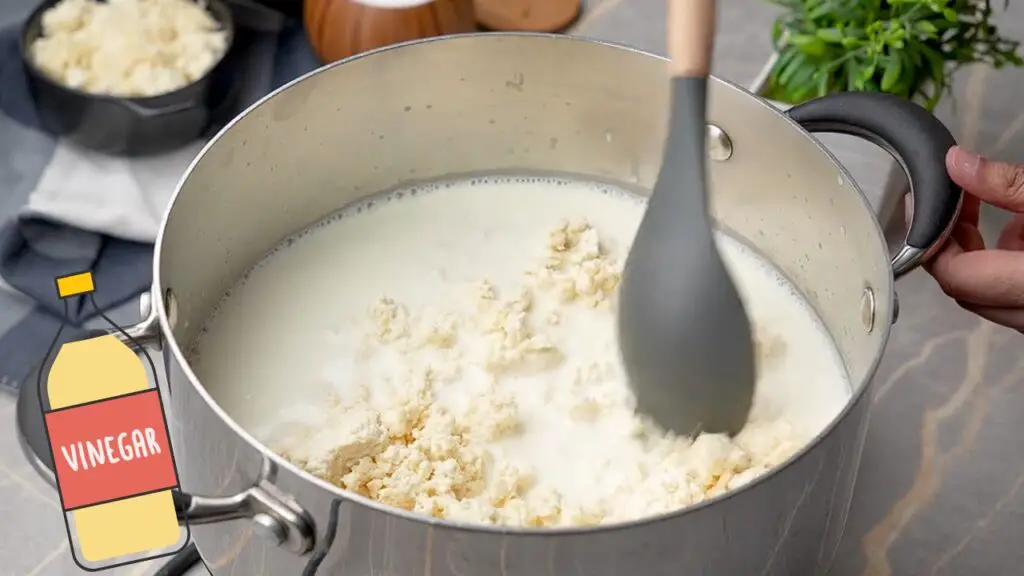
Step 1: Pour the milk into a large pot. Make sure your pot has plenty of extra space since we’ll be adding more ingredients.
Step 2: Add the cottage cheese to the milk. I’ve found that full-fat cottage cheese creates a smoother, creamier final cheese. Low-fat cottage cheese tends to make the cheese too dry and crumbly.
Step 3: Turn on medium heat and stir the mixture. Add a tablespoon of vinegar to help the separation process. This wasn’t in the original recipe I found, but it makes a big difference in how well everything separates.
Top Tip: Stir gently but consistently while heating to prevent the mixture from sticking to the bottom of the pot.
Separating the Curds and Whey
Step 4: Continue heating the mixture, stirring occasionally. We’re not trying to boil it – just heat until the whey starts separating from the curds. This usually takes about 5-7 minutes.
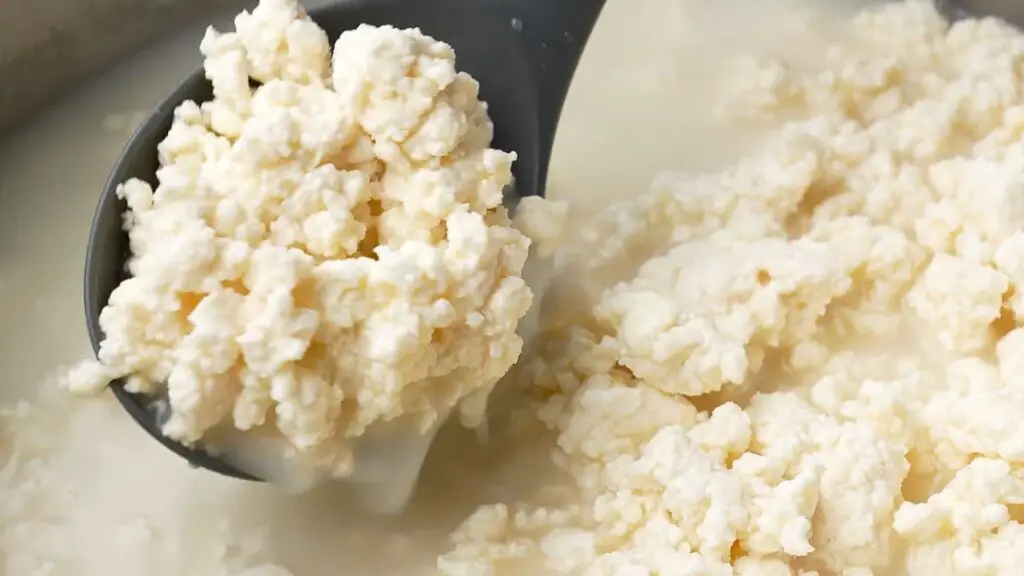
Step 5: You’ll know it’s ready when you see yellowish liquid (the whey) separating from the white curds.
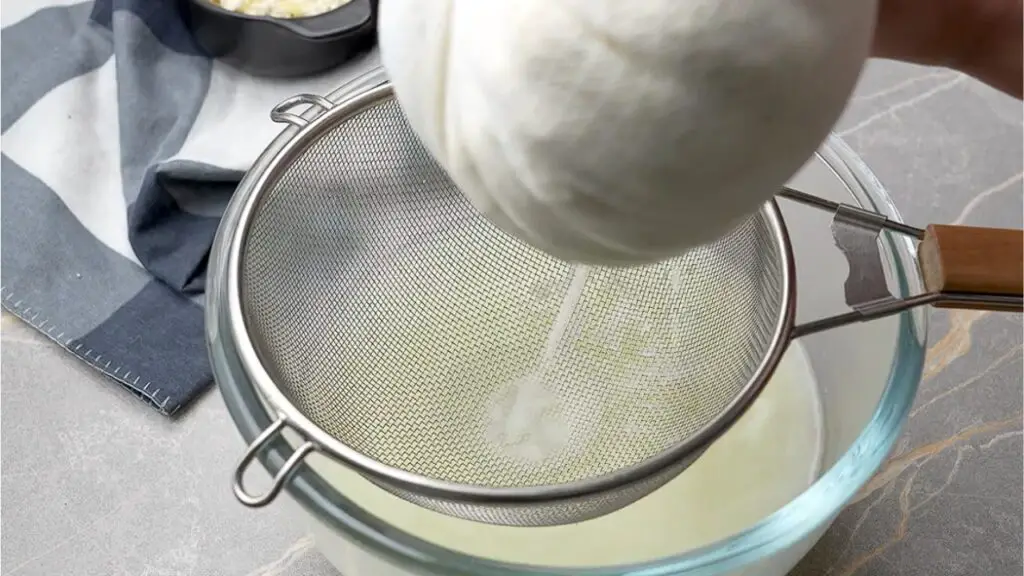
Step 6: Place a colander over a large bowl and line it with cheesecloth. Carefully pour the hot mixture into the cheesecloth-lined colander. Be careful not to splash yourself since the mixture is still hot.
Note: Some people save the whey for other recipes like bread or smoothies – it’s full of protein!
Draining and Seasoning the Cheese
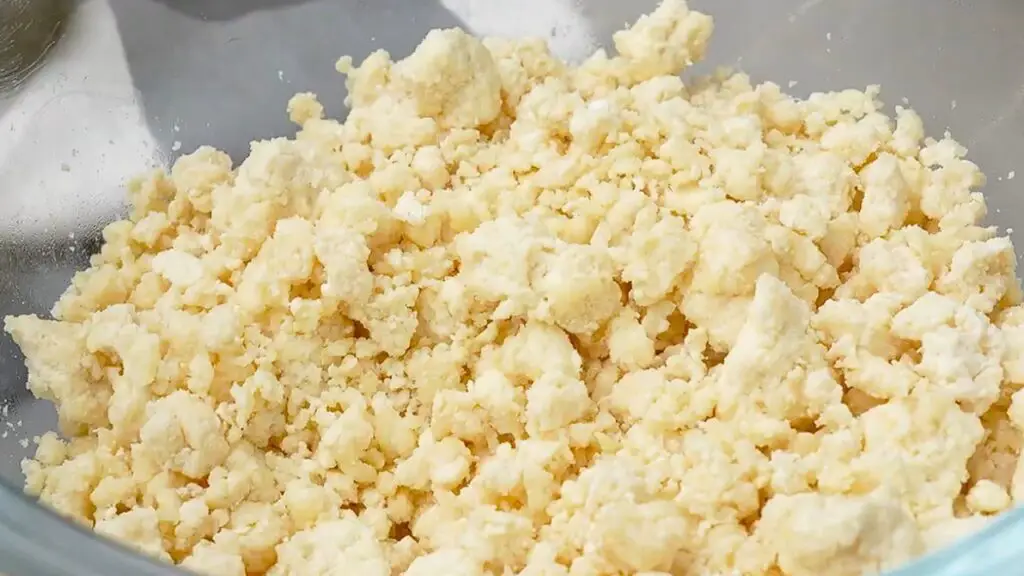
Step 7: Gather the edges of the cheesecloth and hold them tightly closed with your hand. Gently squeeze to remove more of the whey liquid.
Top Tip: Don’t squeeze too hard or you’ll push out too much moisture, which can make your cheese too dry later. Just a gentle squeeze is enough.
Step 8: Transfer the cheese curds to a bowl and add 30 grams (2 tablespoons) of melted butter.
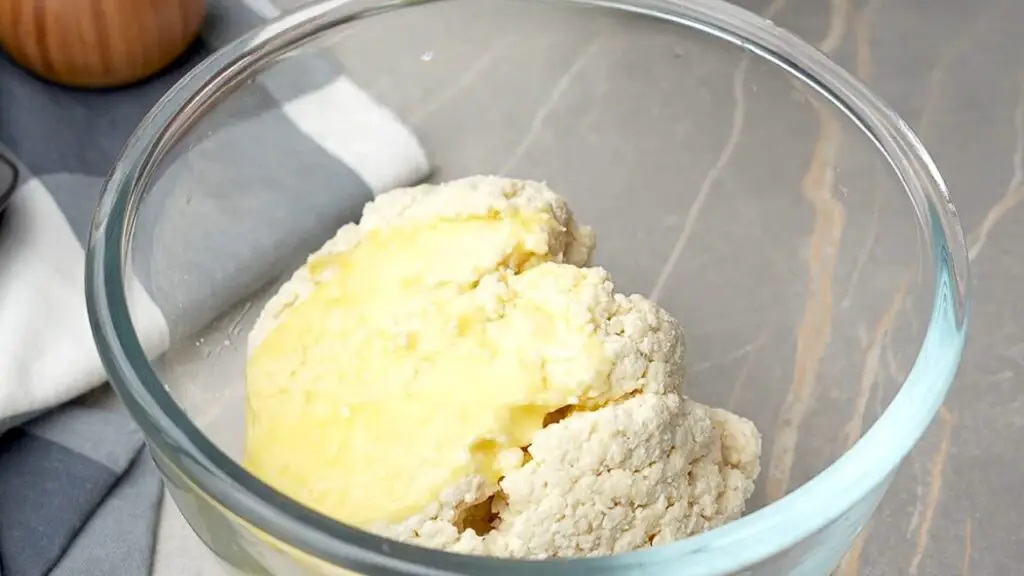
Step 9: Add 1 teaspoon of baking soda and 1 teaspoon of salt to the cheese curds.
Step 10: Mix everything together thoroughly. I usually use a spoon or clean hands to make sure everything gets mixed evenly.
Melting and Shaping the Cheese
Step 11: Place the bowl with your cheese mixture over a pot of simmering water, creating a double boiler. This gentle heat helps melt everything together without burning.
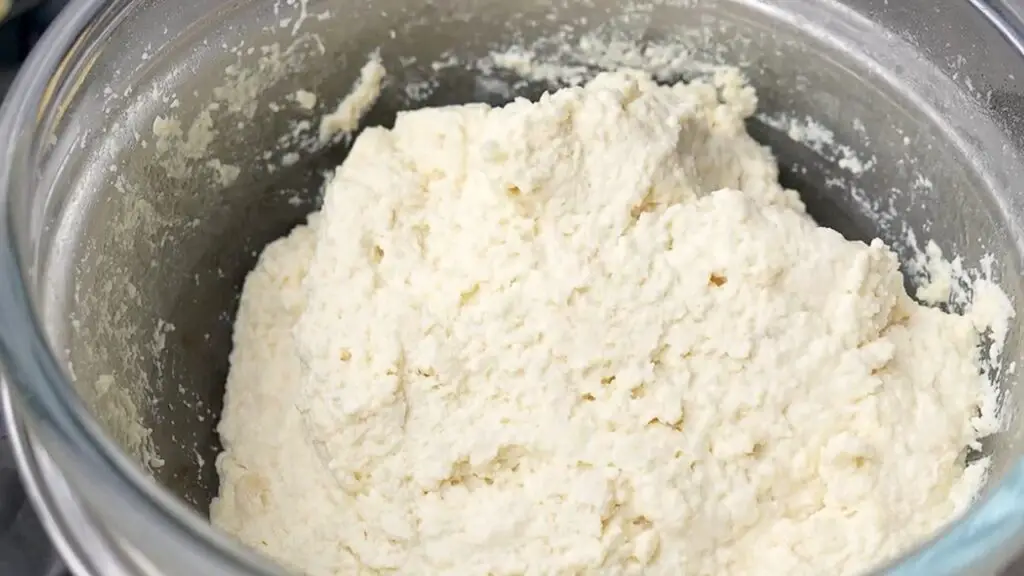
Step 12: Stir occasionally as the cheese softens and becomes more uniform. This step usually takes about 10-15 minutes.
Top Tip: If your cheese seems too dry while melting, add 2-3 tablespoons of milk to restore a creamy texture.
Step 13: Once melted and smooth, scoop the cheese into a plastic food storage container or an empty butter container. Press it down firmly with the back of a spoon to remove any air pockets.

Step 14: Cover the container with a lid or plastic wrap and refrigerate for at least 30 minutes. I usually leave mine in the fridge overnight to make sure it sets completely.
Easy Homemade Cheese Block for Sandwiches
Super easy recipe for firm homemade cheese, perfect for sandwiches.
10
servings10
minutes25
minutes235
kcal1
hours35
minutesKeep the screen of your device on
Ingredients
4.25 cups (1 liter) milk
4 cups (1 kg) cottage cheese
2 tablespoons (30 g) melted butter
1 teaspoon (5 g)baking soda
1 teaspoon (6 g) salt
1 tablespoon (15 g)white vinegar or apple cider vinegar
Directions
- Pour 4¼ cups of milk into a large pot, ensuring there is extra space for mixing.
- Add 1 kg of full-fat cottage cheese to the milk. Stir on medium heat until the whey starts separating.
- Add a tablespoon of vinegar to assist in separating. Do not let the mixture boil.
- Line a strainer with cheesecloth and pour the mixture through it to separate the curds.
- Gather the edges of the cheesecloth to hold the curds, squeezing gently to remove excess whey.
- Add 2 tablespoons of melted butter, 1 teaspoon of baking soda, and salt to the curds and mix well.
- Place the bowl with cheese over a pot of simmering water; stir until the mixture becomes uniform and creamy.
- If the mixture dries, add some milk for a creamy texture.
- Transfer the cheese into a container, pressing it down to eliminate air pockets.
- Cover and refrigerate for at least one hour, preferably overnight, until firm.
- Once set, release the cheese onto a cutting board and slice or cube as desired.
Recipe Video
Notes
- Milk Fat Matters: Full-fat milk produces the best results in this recipe. If using lower-fat milk, the cheese may turn out drier and less creamy, so consider adding an extra tablespoon of butter to compensate.
- Fixing Dry Cheese: If your cheese seems too dry while melting in the double boiler, add 1-2 tablespoons of milk and stir until incorporated. This restores moisture without affecting the setting process.
- Heat Control: Always use medium-low heat when creating the double boiler. High heat can cause the proteins to tighten too much, resulting in a rubbery texture rather than a smooth, creamy one.
- Cottage Cheese Selection: Choose high-fat, small-curd cottage cheese rather than large-curd for smoother melting. The small curds integrate more easily and create a more uniform texture in the final cheese.
- Slicing Technique: For the cleanest slices, chill the cheese thoroughly (at least 4 hours) and use a thin, sharp knife dipped in hot water between cuts. This prevents dragging and creates professional-looking cheese slices.
- Storage Tips: Keep the finished cheese wrapped in parchment paper, then place it in an airtight container. It stays fresh for 5-7 days in the refrigerator. Do not freeze, as this significantly alters the texture.
Nutrition Facts
- Total number of serves: 10
- Calories: 235kcal
- Fat: 17g
- Carbohydrates: 4g
- Protein: 15g
Related Recipe: If you enjoyed this recipe, check out How To Make Brown Sugar At Home — a quick and easy guide to creating soft, fresh brown sugar using just two ingredients.
Serving and Storing Your Homemade Cheese
Once the cheese has become nice and solid, take it out of the refrigerator and gently turn the container upside down to release it onto a cutting board. If it sticks a bit, run a butter knife around the edges first.
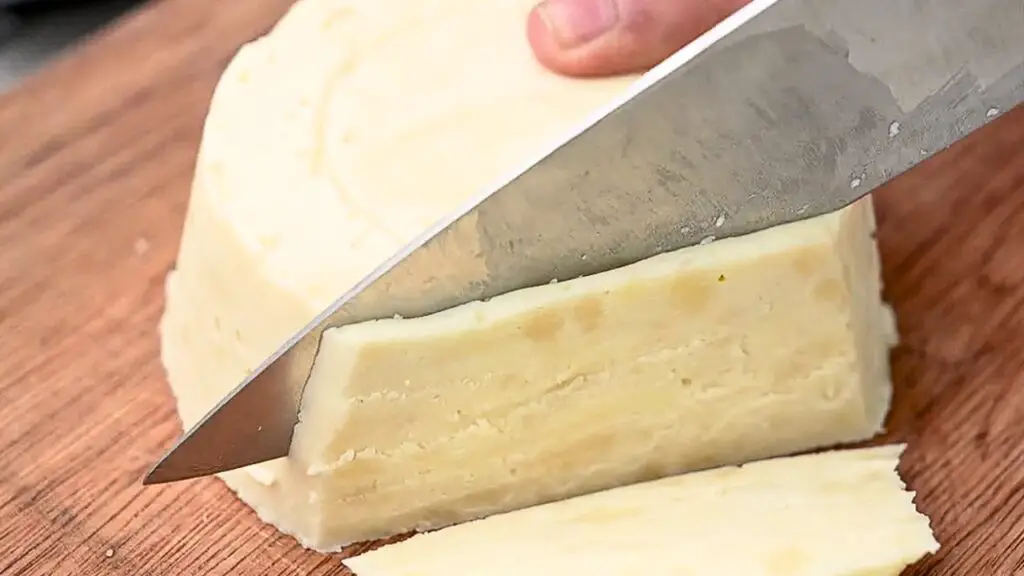
This homemade cheese has a mild, slightly tangy flavor and a firm texture that slices cleanly without crumbling. It’s great on sandwiches, crackers, or as part of a cheese board.
The cheese keeps well in the refrigerator for about 5-7 days if you store it wrapped in parchment paper or in an airtight container.
Troubleshooting Common Issues
Making cheese at home can sometimes come with challenges. Here are solutions to common problems:
Cheese Too Dry
If your final cheese turns out too dry, you likely squeezed out too much whey during the straining step. Next time, be gentler when squeezing the cheesecloth.
Cheese Not Setting Properly
If your cheese isn’t firming up in the refrigerator, you might not have heated it long enough in the double boiler. Make sure the cheese is completely melted and smooth before transferring it to the storage container.
Separation Issues
If the milk and cottage cheese aren’t separating properly during heating, adding a tablespoon of vinegar helps kickstart the process. The acidity helps the proteins coagulate and separate from the whey.
Variations to Try
Once you’ve mastered the basic recipe, try these simple variations:
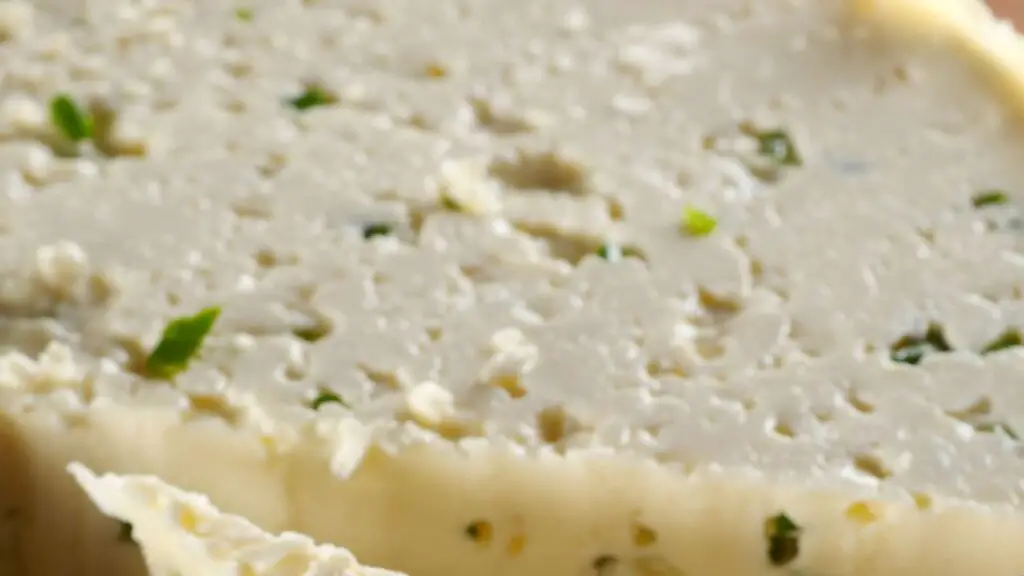
Herb-Infused Cheese
Add 1-2 tablespoons of finely chopped fresh herbs like dill, chives, or basil when you add the salt and baking soda.
Garlic Cheese
Mix in 2-3 cloves of finely minced garlic along with the salt for a flavorful option that’s great on bread.
Spicy Cheese
Add a teaspoon of red pepper flakes or a finely chopped jalapeño for a cheese with a bit of heat.
More Simple Recipes For You
Check out my YouTube channel for more quick and easy recipes just like this one. I share new, simple recipes every week that use basic ingredients and straightforward methods

- Easy Cheesecake Recipe (ONLY 3 ingredients!) – Make a rich, creamy cheesecake with just three simple ingredients—no fuss, all flavor.
- Mix Sunflower Seeds And Sugar To Make This High-Protein Dessert – A naturally sweet, nutty treat packed with protein and ready in minutes.
- Simple Semolina Cake Recipe That Is Incredibly Moist and Irresistibly Crumbly! – This easy semolina cake delivers the perfect balance of soft, moist texture and delicate crumb.
I’ve made this recipe several times now and think I’ve got it just right. Give it a try and see how you like it! If you have any questions about this homemade cheese recipe, feel free to ask in the comments below or below the YouTube video.