Imagine this: you had a rough afternoon. A yummy idea pops into your head, making you run to the kitchen and swing open up the cupboard, only to find a bit too bitter dark chocolate when you’re really only craving sweet and creamy milk chocolate.
Come join me on Facebook here for easy recipes, cozy bakes, and little kitchen tips from my kitchen to yours.
While sometimes dark chocolate is exactly what we’re hoping for, other times call for a comforting bite of a classic, milky piece of heaven. So, what can we do with dark chocolate when our taste buds are yearning for its long-lost brother?

Fret not. There are several ideas for turning the dark chocolate that you have on hand into milky and creamy chocolatey possibilities.
Difference Between Dark And Milk Chocolate?

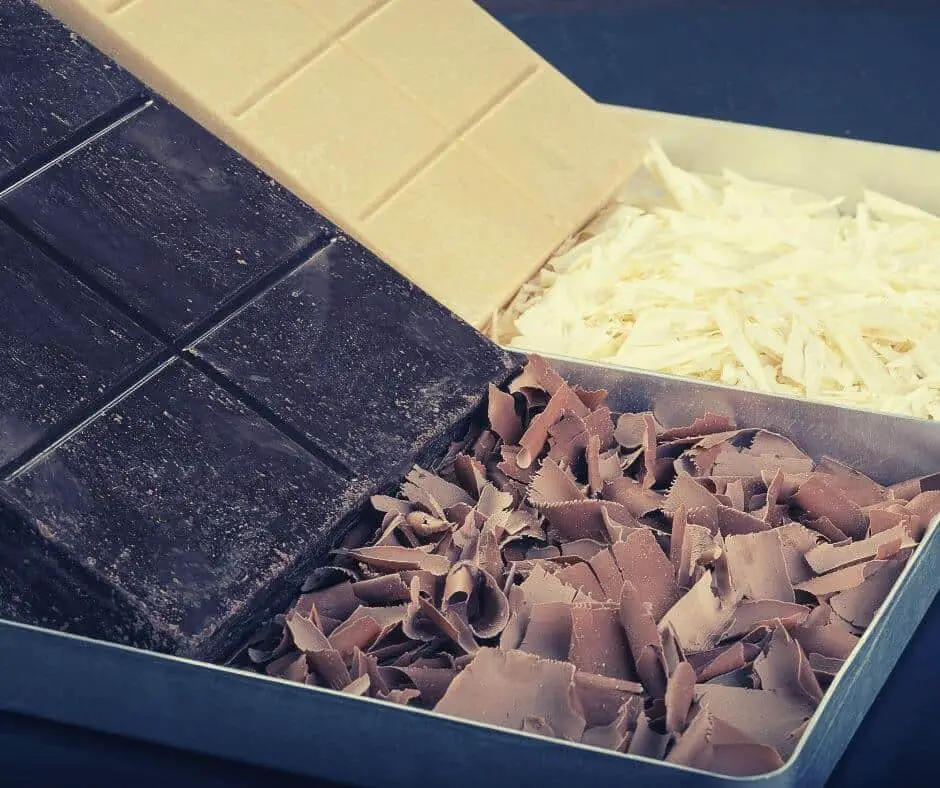
Before we jump into the common practices for making milk chocolate out of the dark, let’s cover the basic differences between the two.
Chocolate is considered dark when it has at least 55 percent—but typically lands at 70-80 percent—cocoa, which causes it to have its dark color and more of a bitter taste. It lacks any milk solids and gives more of a dense, cocoa flavor. Dark chocolate maintains a bitterness that aids in its ability to pair well with a diversity of flavors. [1]
Milk chocolate is significantly sweeter than dark because it contains much less cocoa—only around 10-50 percent—and is made with powdered, liquid, or condensed milk, hence its name.
Milk chocolate is the more popular option when it comes to being paired with other sweet flavors as its milk content makes it smooth and creamy.
So, What About White And Baking Chocolate?
Believe it or not, white chocolate is not genuine chocolate at all. White chocolate does not contain any amount of cocoa solids, which are the main ingredient for what makes chocolate, well, chocolate.
Instead, white chocolate contains a blend of cocoa butter, vanilla, sugar, and milk products. While cocoa butter is derived from cacao beans, it doesn’t count as a cocoa solid, which makes white chocolate a distant relative to dark and milk chocolate.
Baking chocolate is essentially unsweetened dark chocolate. That said, the most traditional form is 100 percent chocolate liquor, which is ground and processed cocoa beans, making it very bitter and typically not a sought-after option for a sweet tooth.
There are various options to choose from, however, and some often contain sweeteners as well. Baking chocolate is best used in recipes that include plenty of sugar to counteract its bitterness.
Tips And Tricks For Melting Chocolate

Before we go into some techniques for converting dark chocolate into milk chocolate, I want to cover some tips and tricks for melting it. As quite often, when doing something with chocolate, it does require melting it, and it can be a bit tricky if you have not done it before.
Keep in mind that chocolate needs to melt slowly; it can burn quickly and easily if you’re not careful. Nonetheless, you can use the microwave or the stove. It will certainly melt either way, but there are special tips for each method.
Melting It In The Microwave
This is the option that takes quite a lot of care; it is the quicker of the two, but the microwave can burn chocolate in a snap. If you choose to melt it in the microwave, there are some important steps to follow.
- Place your chocolate in a microwave-safe bowl and microwave for only 15-30 seconds at a time.
- After each round, stir it with a silicone spatula before placing it back in for another round.
- Repeat this process until the chocolate looks almost melted but still has lumps. Then, stir until it smooths out completely. It will continue to melt as you stir.
- You can also add a scoop of coconut oil, which will help lumps smooth out nicely while microwaving.
Melting It On The Stove
If you have more time, melting it on the stovetop is the better method of the two. However, the stove can still easily burn your chocolate, so you’ll need to keep a close eye on it.
You’ll need to create a double boiler.
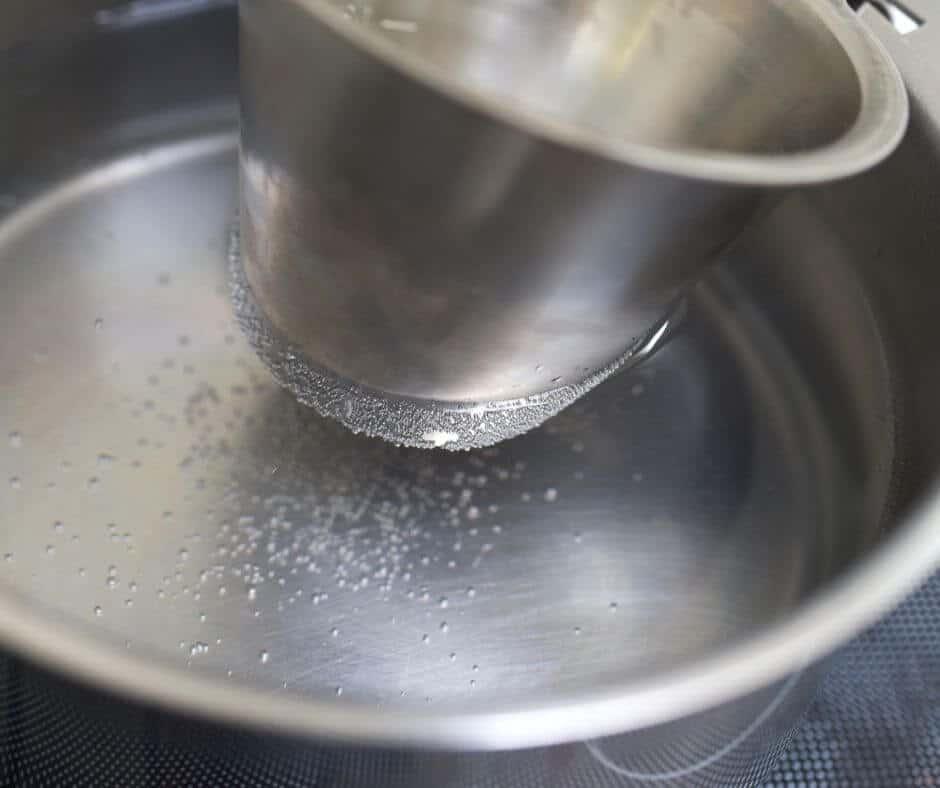
- Take a medium-large pot of water—filled a little less than halfway—and bring it to a simmer.
- Leave the heat on low, and place a glass bowl inside the pot; choose one that will rest on the edges of the pot and won’t fall in.
- Add your chocolate to the bowl and stir with a rubber spatula until it begins to smooth out.
- Once it has all melted, be careful to remove the bowl from the pot and dry off any water from the underside. This is crucial because if any water makes its way into your chocolate, it will seize.
6 Ways You Can Turn Dark Chocolate Into Milk Chocolate (From Best To Worst)
Various ideas have been tossed around the recipe world for converting dark chocolate to milk chocolate. The methods we’ll cover will explore some of the most commonly discussed techniques for transforming dark chocolate and whether they are credible.
While some may come closer to genuine milk chocolate than others, each is surely on the path to pure deliciousness.
1. Using Sweetened Condensed Milk & Honey
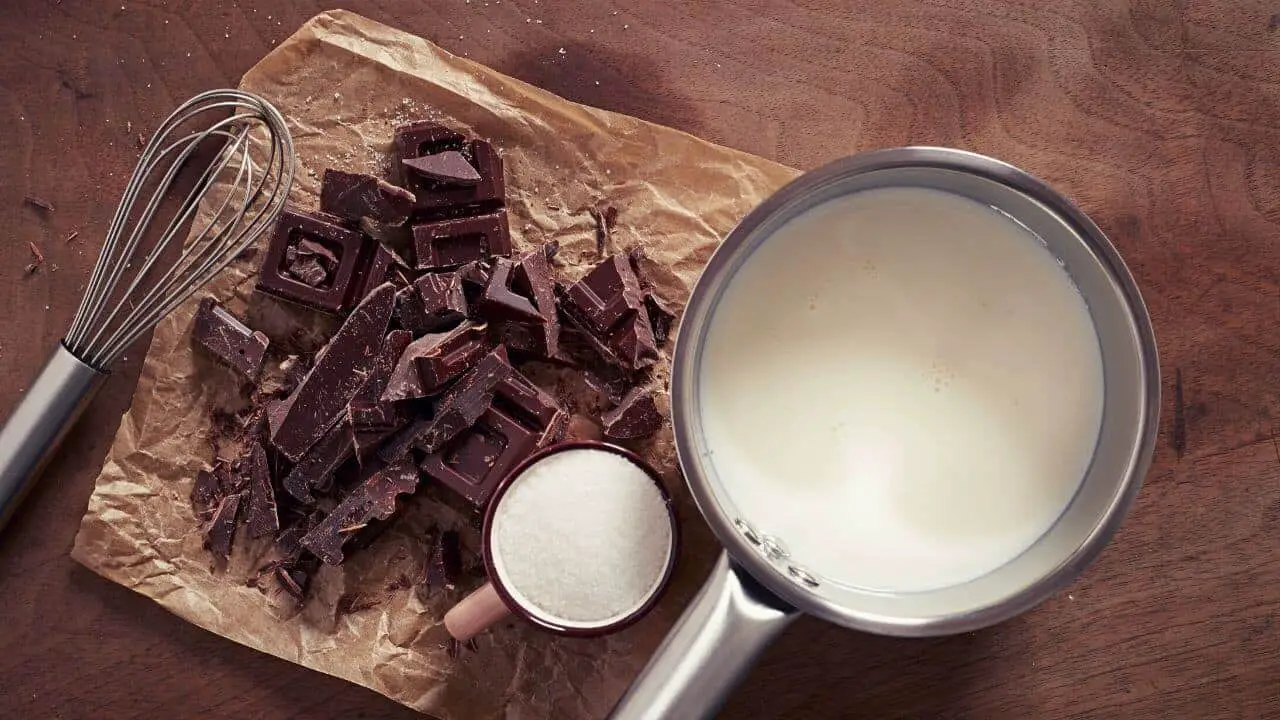
If you’re in search of a simple recipe for milk chocolate that sustains a similar consistency; this one only uses three readily available ingredients: dark chocolate (of course), sweetened condensed milk, and honey.
Keep in mind this recipe is best when used as a dipping sauce.
Note: if you’re looking for a dairy-free version, try replacing the sweetened condensed milk in this recipe with coconut condensed milk which is a great dairy-free milk alternative. This may leave you with a slightly tropical flavor, but should be equally delicious!
You’ll need:
- 1 Bar of dark chocolate (4 oz or 100 g) Anything above 80 percent will do, but 90 percent is preferred
- 5-8 Tbsp. of sweetened condensed milk
- 1 Tbsp. of honey
Instructions:
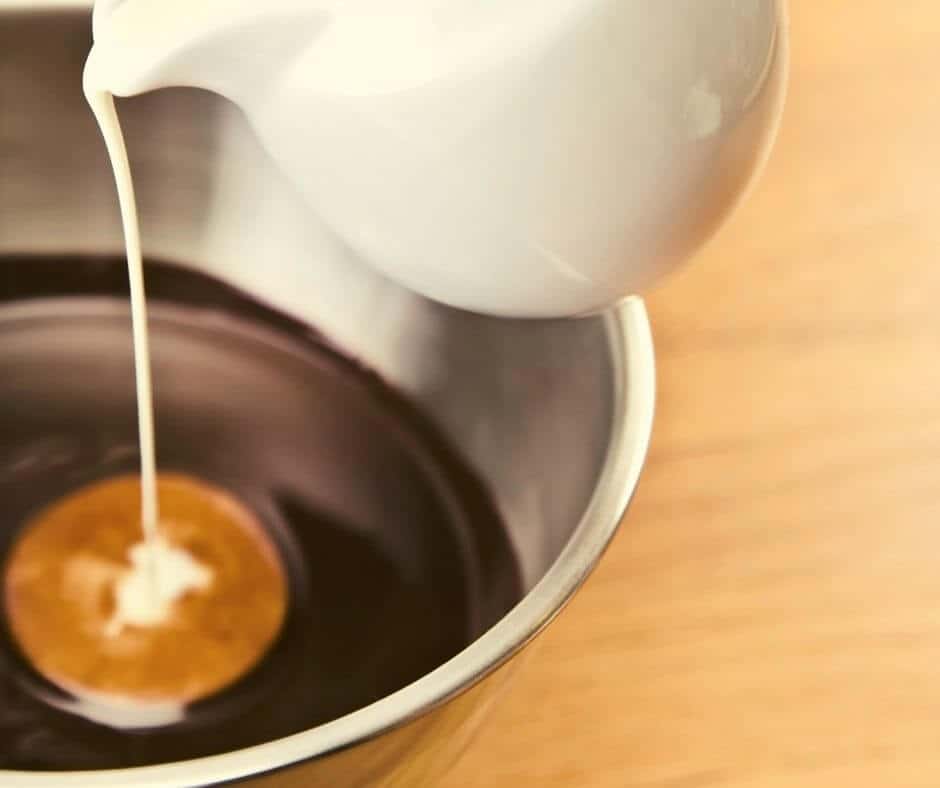
- In a double boiler, break up your chocolate bar and place it in the bowl. Stir continuously with a rubber spatula until completely smooth.
- Add only 3-4 tbsp. of condensed milk and continue to stir.
- If the mixture is still too dark and not creamy enough, add another 1-4 tablespoons of condensed milk till you have reached the desired sweetness and thickness.
- Continue to stir for a few minutes until it has smoothed out entirely, and remove it from the heat.
- Add honey and mix well. Adding honey is entirely optional, but this will add a nice flavor and sweetness to the mix.
This recipe will leave you with perfectly melted and nicely sweetened chocolate that you can use for dipping fruit, popcorn, or other tasty treats.
You can also try to pour this into a mold and place it in the fridge. If you do not let the chocolate harden in the refrigerator, this may not leave you with the same hardened chocolate bar that you started with.
2. Making Keto-Friendly Milk Chocolate
Finding keto-friendly treats in stores is not always easy. Not to mention, they’re usually moderately expensive. This recipe is great for anyone in search of keto-friendly, low-carb chocolate that won’t hurt your diet and kick you out of ketosis.
There are two options: one sticks by using 99 percent unsweetened chocolate, while the other begins with cocoa powder and cocoa butter. We’ll go over both below.
Using Unsweetened Chocolate
What you’ll need:
- 6 oz of unsweetened chocolate
- 1/2 cup of powdered erythritol
- 6 tbsp. of unsweetened coffee creamer (powdered)
Instructions:
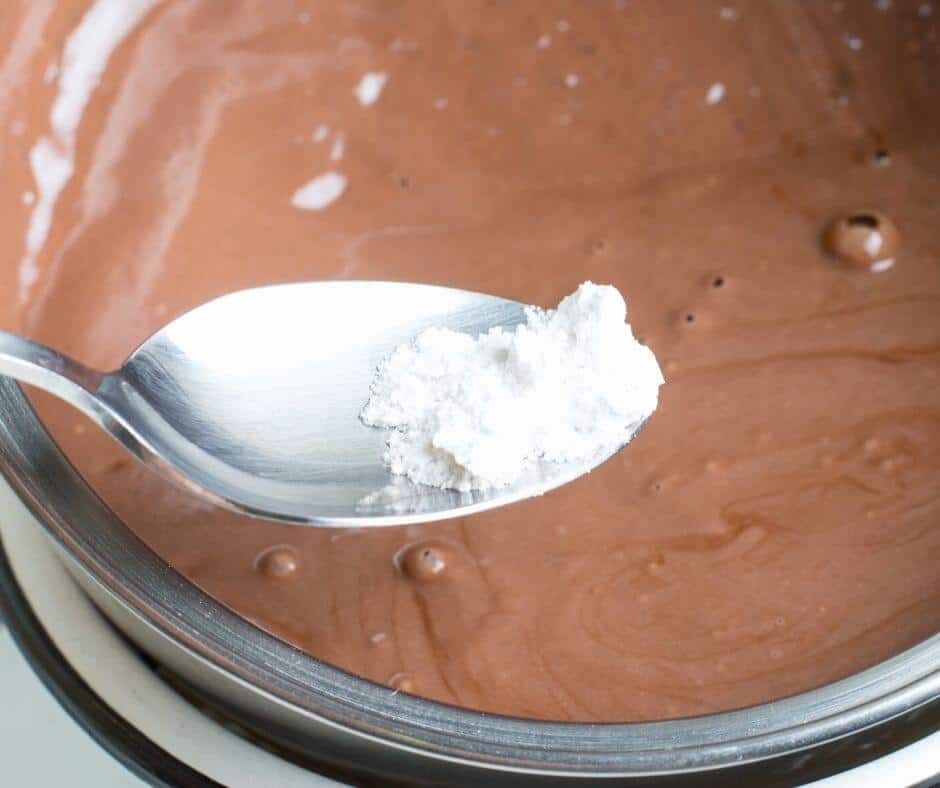
- Begin by melting your chocolate in the microwave or a double boiler; keep a small amount not melted, reserved.
- Once smooth, add the erythritol powder and the coffee creamer and blend until completely smooth (you can use an immersion blender or a food processor).
- Add in the reserved chunks and stir until they’ve melted entirely.
- Pour into mold and let it stand for 10-20 minutes, and voila!
Using Cocoa Powder
What you’ll need:
- 3.5 oz of pure cocoa butter (you can also use vegetable shortening)
- 1/2 cup + 1 tbsp. of unsweetened cocoa powder
- 1/2 cup of powdered erythritol
- 6 tbsp. of unsweetened coffee creamer (powdered)
Instructions:
- Melt your cocoa butter until it is entirely liquid.
- Add in all of the powders, stirring in between each.
- Blend (with an immersion blender or a food processor) until completely smooth.
- Pour into molds and place in the fridge for 15-30 minutes or until hardened.
3. Powdered Milk Method
Using powdered milk is a slightly more extensive process that may or may not be worth your time. Dark chocolate lacks both milk and sugar, so converting it will entail adding those two ingredients.
Regular milk is not recommended (see below). Instead, milk powders should be used to ensure its ability to set up and have a similar consistency to store-bought milk chocolate.
The powdered milk process includes chocolate formulation and plenty of ratios that can become very tricky. Milk powder, if merely mixed with dark chocolate, will result in a much different consistency than smooth, creamy milk chocolate.
Instead, you may be left with a gritty, unfavorable chocolate bar in terms of texture. This is where the formulation comes in.
There are few recipes for chocolate formulation as it is similar to an art form and trial and error.
For the best results, you will need a wet grinder, like the one below, in which you can assimilate the milk powder and sugar with the chocolate to smooth it out completely.

TAP ON IMAGE TO VIEW PRICE
According to one Quora user and claimed chocolatier:
- Start with approximately 42% unsweetened chocolate, 24–27% milk powder, and the rest of it can be sugar.
- Keep adding little by little and taste so that you know what you like eventually. In case you don’t get the perfect texture, do add some extra cocoa butter (5% or more, depending on your choice).
The formulation process can take hours, alongside plenty of patience but will certainly leave you with melted milk chocolate that can be molded and hardened into the perfect bar of heaven.
4. Homemade Chocolate From Cocoa Nibs (With Wet Grinder)
Ingredients:
- 1/2 cup (120 g) of cocoa nibs
- 1/3 cup (65 g) of sugar or of agave syrup, or 2-3 teaspoons of stevia
- 1/4 cup (35 g) of milk powder or soy milk, rice, or almond milk powder.
- 2 tbsp (35 g) of cocoa butter
- 1 teaspoon of vanilla extract
- A tiny pinch of salt to taste
Instructions For Using The Wet Grinder:

TAP ON IMAGE TO VIEW PRICE
Before Use
Before you use the grinder for the first time, use it with 1 kg of granulated sugar. You should run this for 30-60 minutes while you gradually tighten the grinders. This will smooth the rollers and help remove any minerals. The sugar should be thrown away once done.
Making Chocolate
First, using the screw on top, loosen the stones so they are not tight, and gradually add the cocoa nibs to break them down. After around 30 minutes, gradually add the sugar or other sweetener, then apply some heat — you can use a hairdryer for this if you don’t have a heat gun — and tighten the stones slowly until they are as tight as they go.
If you are making milk chocolate or adding cocoa butter for taste, do this now. Gently heat the cocoa butter to around 105°F (40-45ºC) and when it is fully melted, carefully pour it into the grinder. The chocolate will become visibly more fluid.
If you are making milk chocolate, then add milk powder now. Again, add this gradually, so it mixes thoroughly and evenly. You will notice the chocolate lighten in color.
Now you can add the vanilla extract and a tiny pinch of salt.
All the ingredients are in, so now use your heat gun or hair dryer to gently heat your chocolate to around 105°F (45ºC). Once heated, as long as you are in a nice warm room, the grinder will generate enough heat to maintain the temperature. If it needs a little help, an ordinary table lamp carefully placed will provide some gentle warmth.
Conching, mixing, or grinding, is the next stage and will depend on your personal preference. The longer the coaching, the smoother the chocolate, and at least 18 hours is needed for a nice smooth mouthfeel.
Nice and smooth milk chocolate will need around 18-24 hours, and dark chocolate will need 24-48 hours.
You should occasionally scrape down the chocolate during conching to ensure everything is coached and help avoid gritty bits in your chocolate.
For the first few hours, leaving the lid on will help warm the chocolate, but you should remove the lid to allow the acidity to escape afterward, especially if you have a high cocoa content.
Once the conching is over, stop the grinder from removing the rollers and scraping off excess chocolate. Your chocolate is now ready to be poured out and tempered.
Cleaning The Grinder
As the grinders are quite expensive, you want to take good care of it.
If you do not plan to use the grinder, you can wash it in hot soapy water. Avoid using scented detergents, as this can taint future batches. Once washed, it can be rinsed and stored. Make sure that it is thoroughly dry before using it again.
If you plan to use it again, simply try to remove as much chocolate as possible and cover or store it to prevent anything from getting into the grinder.
If the chocolate sets between uses, you must melt this before using it; otherwise, you risk breaking the shaft and damaging the motor.
5. Mixing White And Dark Chocolate
You may think that melting white chocolate and dark chocolate together will leave you with a bar of perfect milk chocolate. This, however, is not necessarily the case. As we covered before, this is the case because white chocolate is not considered actual chocolate but rather a sweet confection.
Regardless, melting and combining white and dark chocolate at a 1:1 ratio would not be a wasted experiment, and doing so will certainly result in a very delicious chocolaty flavor.
Although the formulation of the two combined could very well be similar to that of milk chocolate, it would not technically create milk chocolate due to white chocolate’s internal differences. Nonetheless, testing this method is worth the shot.
Note: white chocolate is more sensitive to heat than dark, so you will need to be careful when melting as the white can split or seize much easier than its distant relative. It is best to melt using a double boiler, as we covered above if you’re looking to try this method.
6. Using Liquid Milk or Heavy Cream
Using regular milk for your conversion can leave you with some issues. The water content in milk can leave you with a clumpy mess at worst and a chocolatey sauce at best. While this is still tasty, it may not give you the result you’re hoping for, as it won’t harden or solidify as a chocolate bar does.
Adding heavy cream to dark chocolate will create a thick, ganache or mousse-type creamy dessert, which has a much different consistency than the average milk chocolate bar that you can buy at the store; however, it is still yummy.
While both of these options may not leave you with chocolate that will set up and give you that nice bite, each can leave you with a nice dipping sauce for special treats that is similar in taste to your average chocolate sauce.
If you are hoping to try one of these methods, they can be reasonably simple. Although, you may have to experiment with your liquid-to-chocolate ratio as it varies depending on the cocoa percentage that you’re working with.
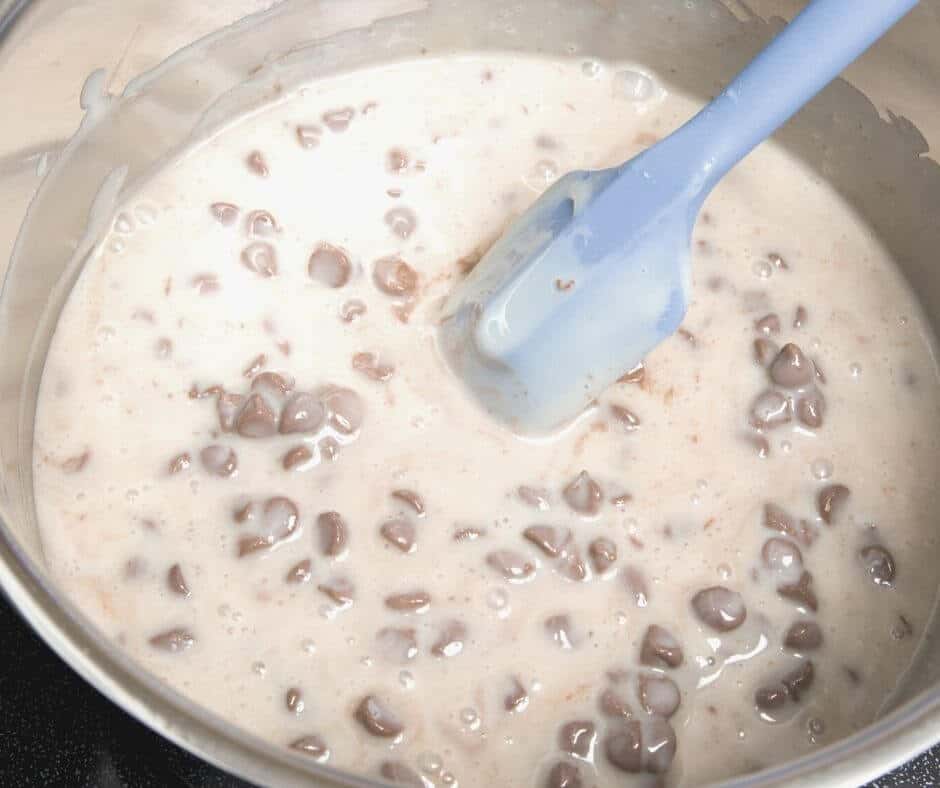
Begin by heating your milk or cream in a double boiler and start adding your chocolate to melt at the same time. Be careful not to start with too much liquid, as this will seize your chocolate and turn it into a pasty mess.
It may also not taste anywhere near milk chocolate because it will also need a sweetener. You can always try to add sweeteners like honey or sugar.
Nonetheless, be careful with this method and be patient as it is a finicky process that may take plenty of testing and experimenting to make it work.
Can I Convert Milk Chocolate to Dark Chocolate?
If you’re wondering whether it’s possible to convert milk chocolate into dark one, it is possible. However, it’s typically only best to do so if you want to use it for baking and recipes.
If you need dark chocolate for a recipe and you only have milk one, you can make up for the bitter flavor by adding unsweetened cocoa powder.
This practice is generally best incorporated into recipes that have chocolate throughout—like a chocolate cake or brownies. If you try to do so in a recipe like chocolate chip cookies, this concept may not work as well.
Create Your Choco-Lover Paradise
While there may not be a plethora of techniques for transforming your dark chocolate into a genuine milky version, these five ideas could give you plenty of opportunities to experiment and seek out new chocolatey flavors. No matter the specifics, cocoa is cocoa—trying new methods will almost always turn out delicious.
Read Also: The 7 Best Milk Chocolates in the World You Must Try!